
ESAB 460445881
ESAB Caddy Arc 151i User Manual
Portable solutions for professional welding
1. Introduction
The ESAB Caddy Arc 151i is a robust and durable welding tool designed for professional welders. Representing the fifth generation of portable welding equipment from ESAB, this machine incorporates over 30 years of inverter technology experience. Its compact design, impact-resistant polymer casing, and efficient cooling system ensure a long life expectancy even in harsh working environments. The Caddy Arc 151i is built to IP23 standards, allowing for outdoor use.
Key Features:
- Adjustable Hot Start (A33): Facilitates easy electrode striking and helps prevent starting problems.
- Adjustable Arc Force (A33): Allows setting the intensity of the arc for improved weld quality.
- ArcPlus II (A33): Enhances welding characteristics, simplifies operation, and contributes to better weld quality with reduced post-treatment.
- Equipped with large OKC 50 cable connectors for enhanced durability.
- Compact and lightweight design for easy portability.
- Efficient cooling system and sealed internal components for extended lifespan and protection against dust.
- User-friendly control panel with intuitive operation.
2. Safety Information
Always prioritize safety when operating welding equipment. Failure to follow safety guidelines can result in serious injury or death.
General Safety Precautions:
- Ensure the welding area is well-ventilated to avoid inhaling welding fumes.
- Wear appropriate Personal Protective Equipment (PPE), including a welding helmet with proper shade, flame-resistant clothing, welding gloves, and safety shoes.
- Protect eyes and skin from arc rays, which can cause severe burns.
- Avoid electrical shock. Do not touch live electrical parts or electrodes with bare hands or wet gloves.
- Ensure the welding machine is properly grounded.
- Keep flammable materials away from the welding area.
- Do not operate the machine in damp or wet conditions unless specifically designed for it (IP23 rating allows outdoor use, but caution is still advised).
- Disconnect power before performing any maintenance or service.
3. Product Overview
The ESAB Caddy Arc 151i is designed for ease of use and portability. Below are images illustrating the product and its key components.

Figure 3.1: The ESAB Caddy Arc 151i welding machine, shown with its power cables and ground clamp, ready for operation. The machine features a yellow and black casing with a central control panel.
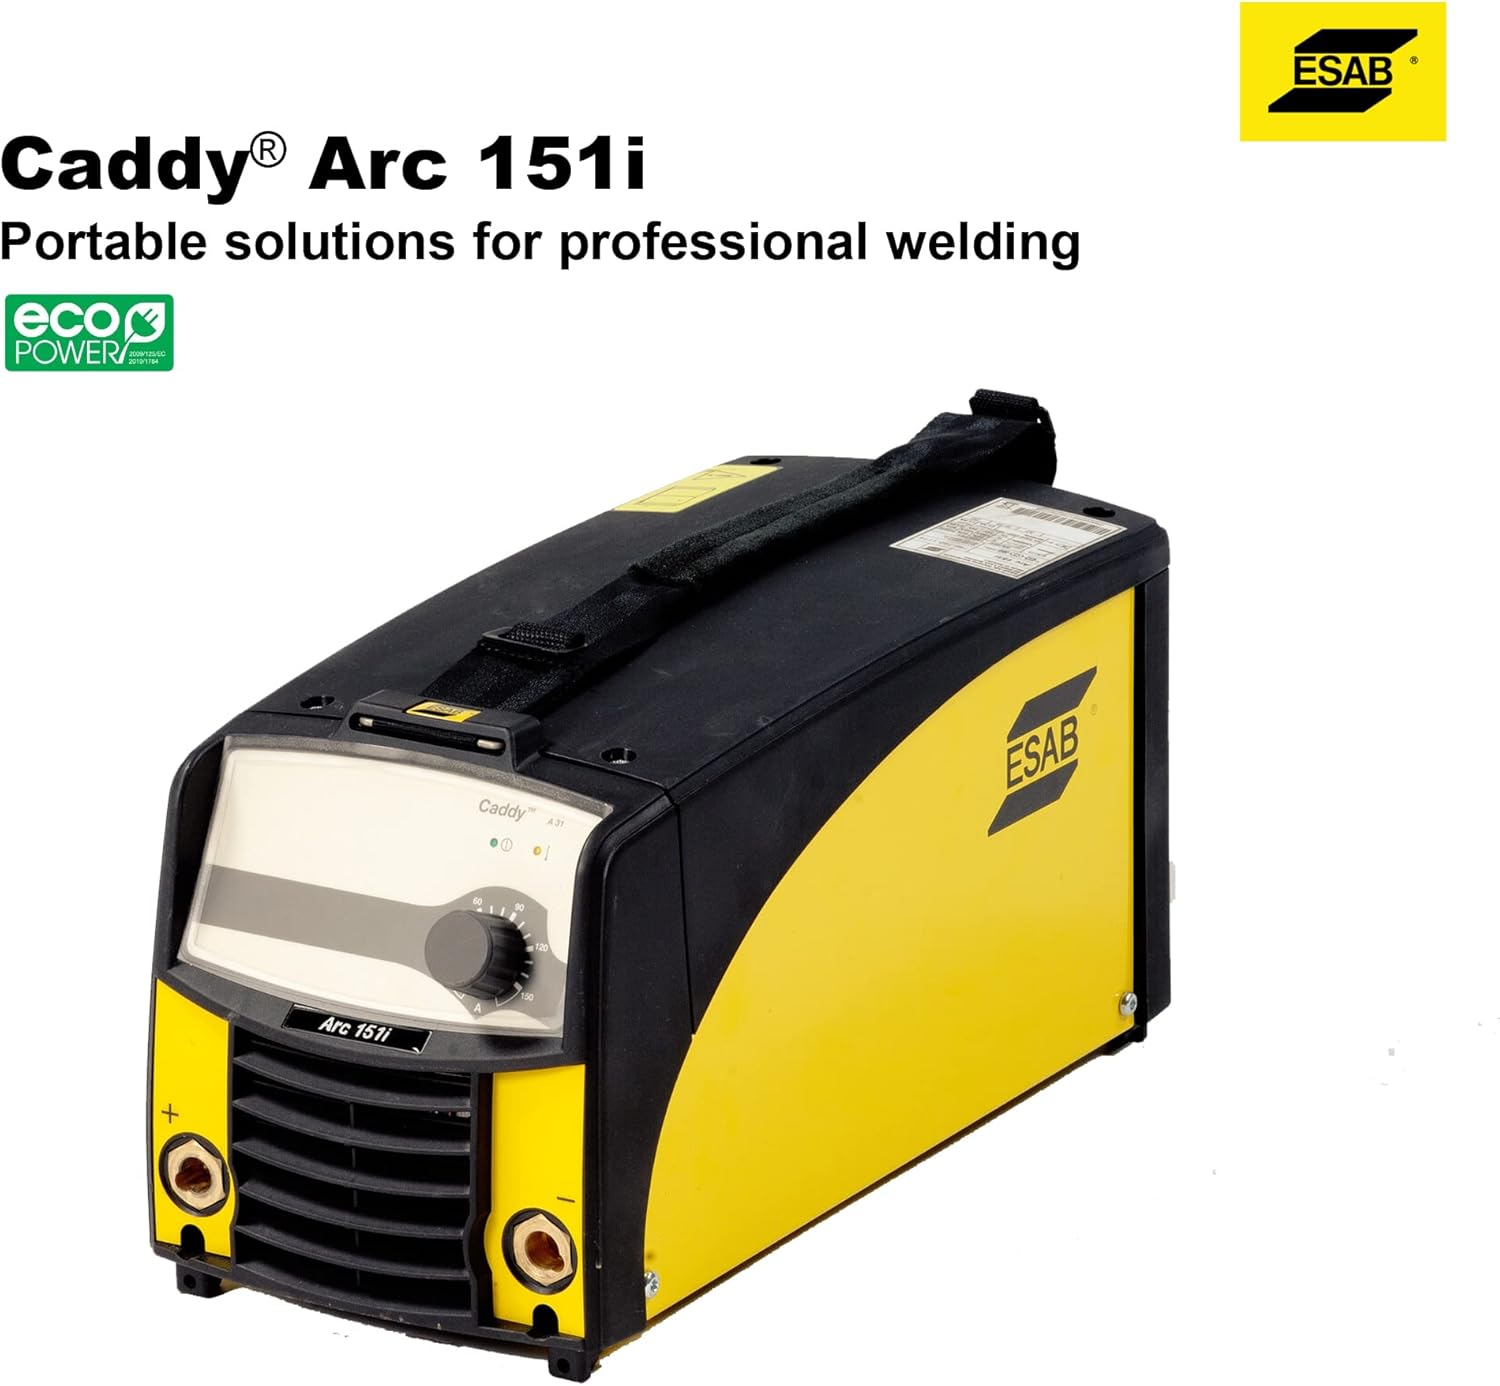
Figure 3.2: Front view of the ESAB Caddy Arc 151i, highlighting the main control panel and the output terminals for welding cables. The ESAB logo is visible on the top right.

Figure 3.3: Side view of the ESAB Caddy Arc 151i, showcasing its compact and durable casing. The integrated handle for portability is clearly visible.
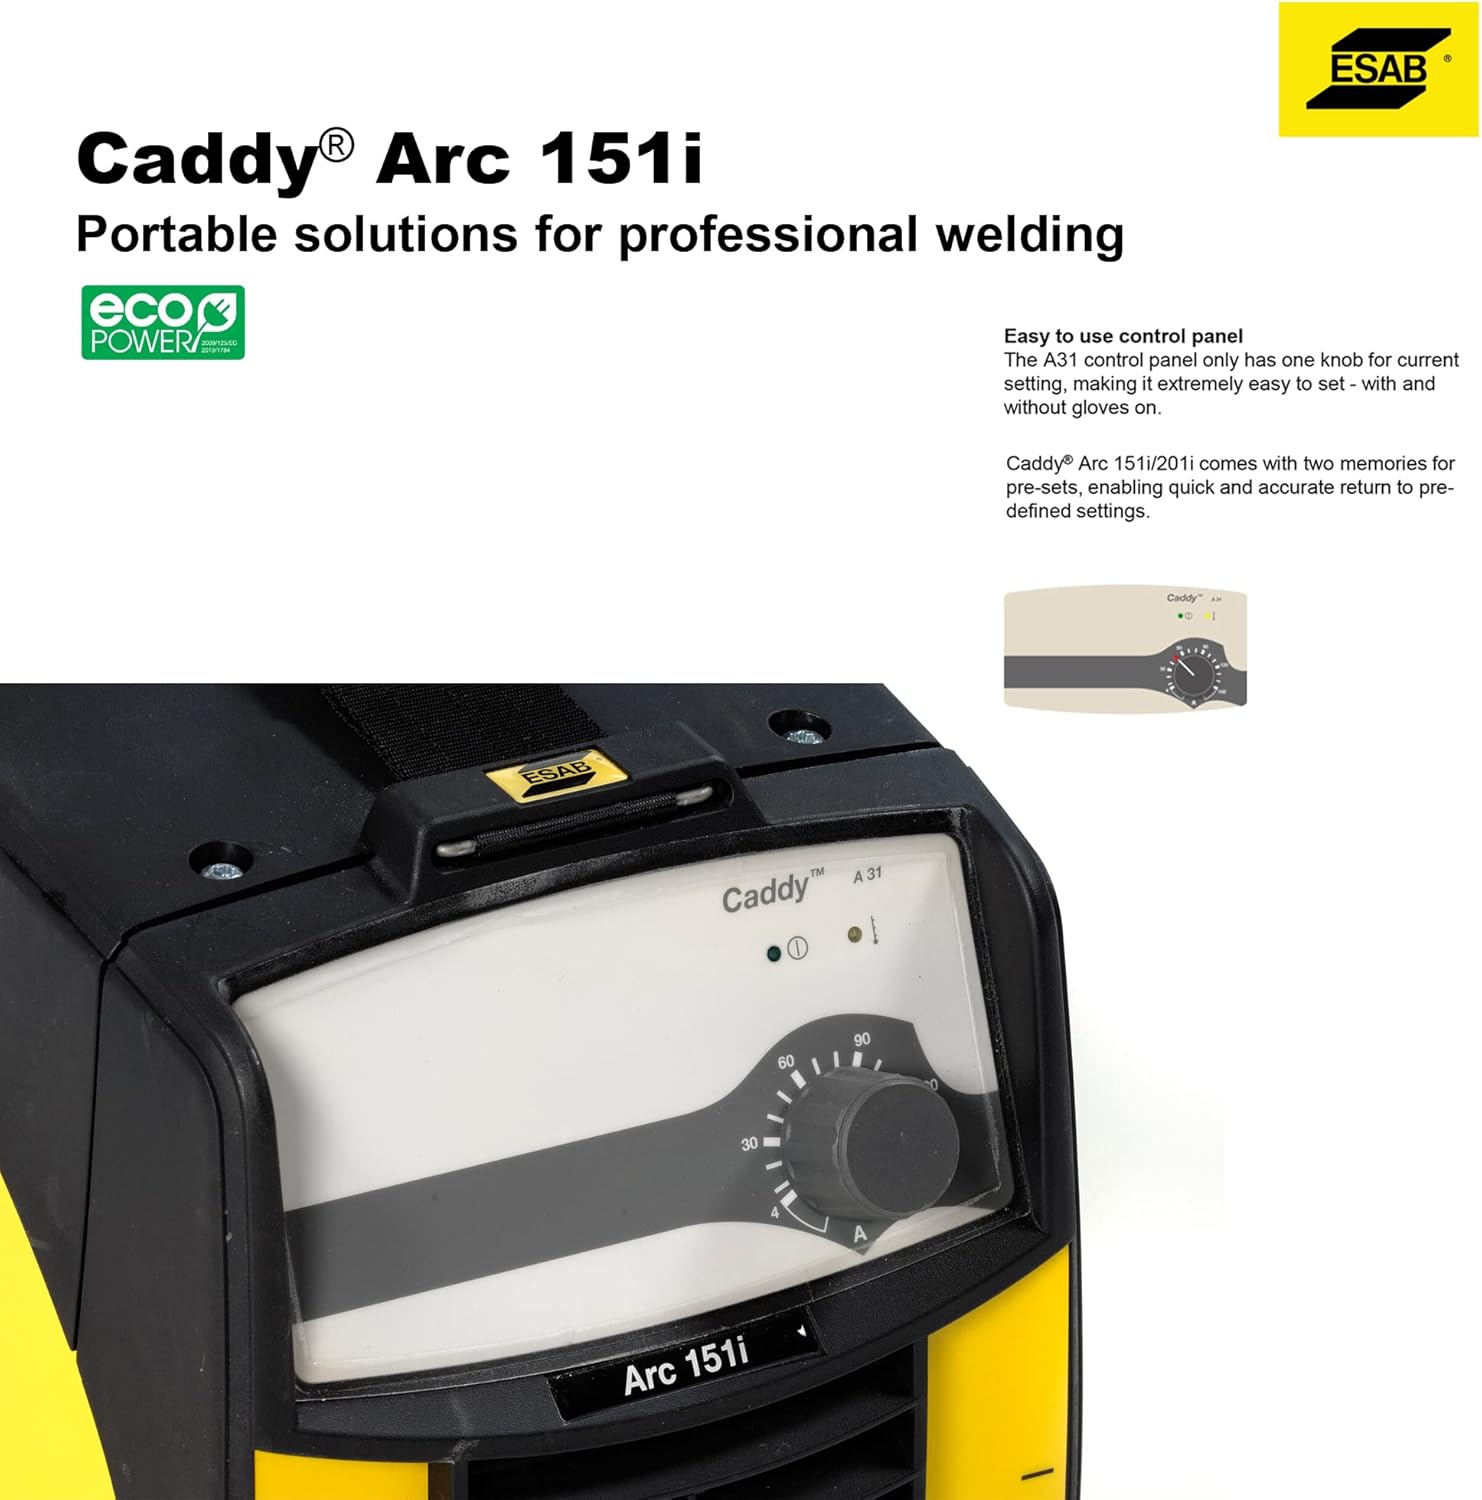
Figure 3.4: A close-up view of the ESAB Caddy Arc 151i's control panel, showing the single knob for current setting and indicators. This panel is designed for ease of use, even with gloves.
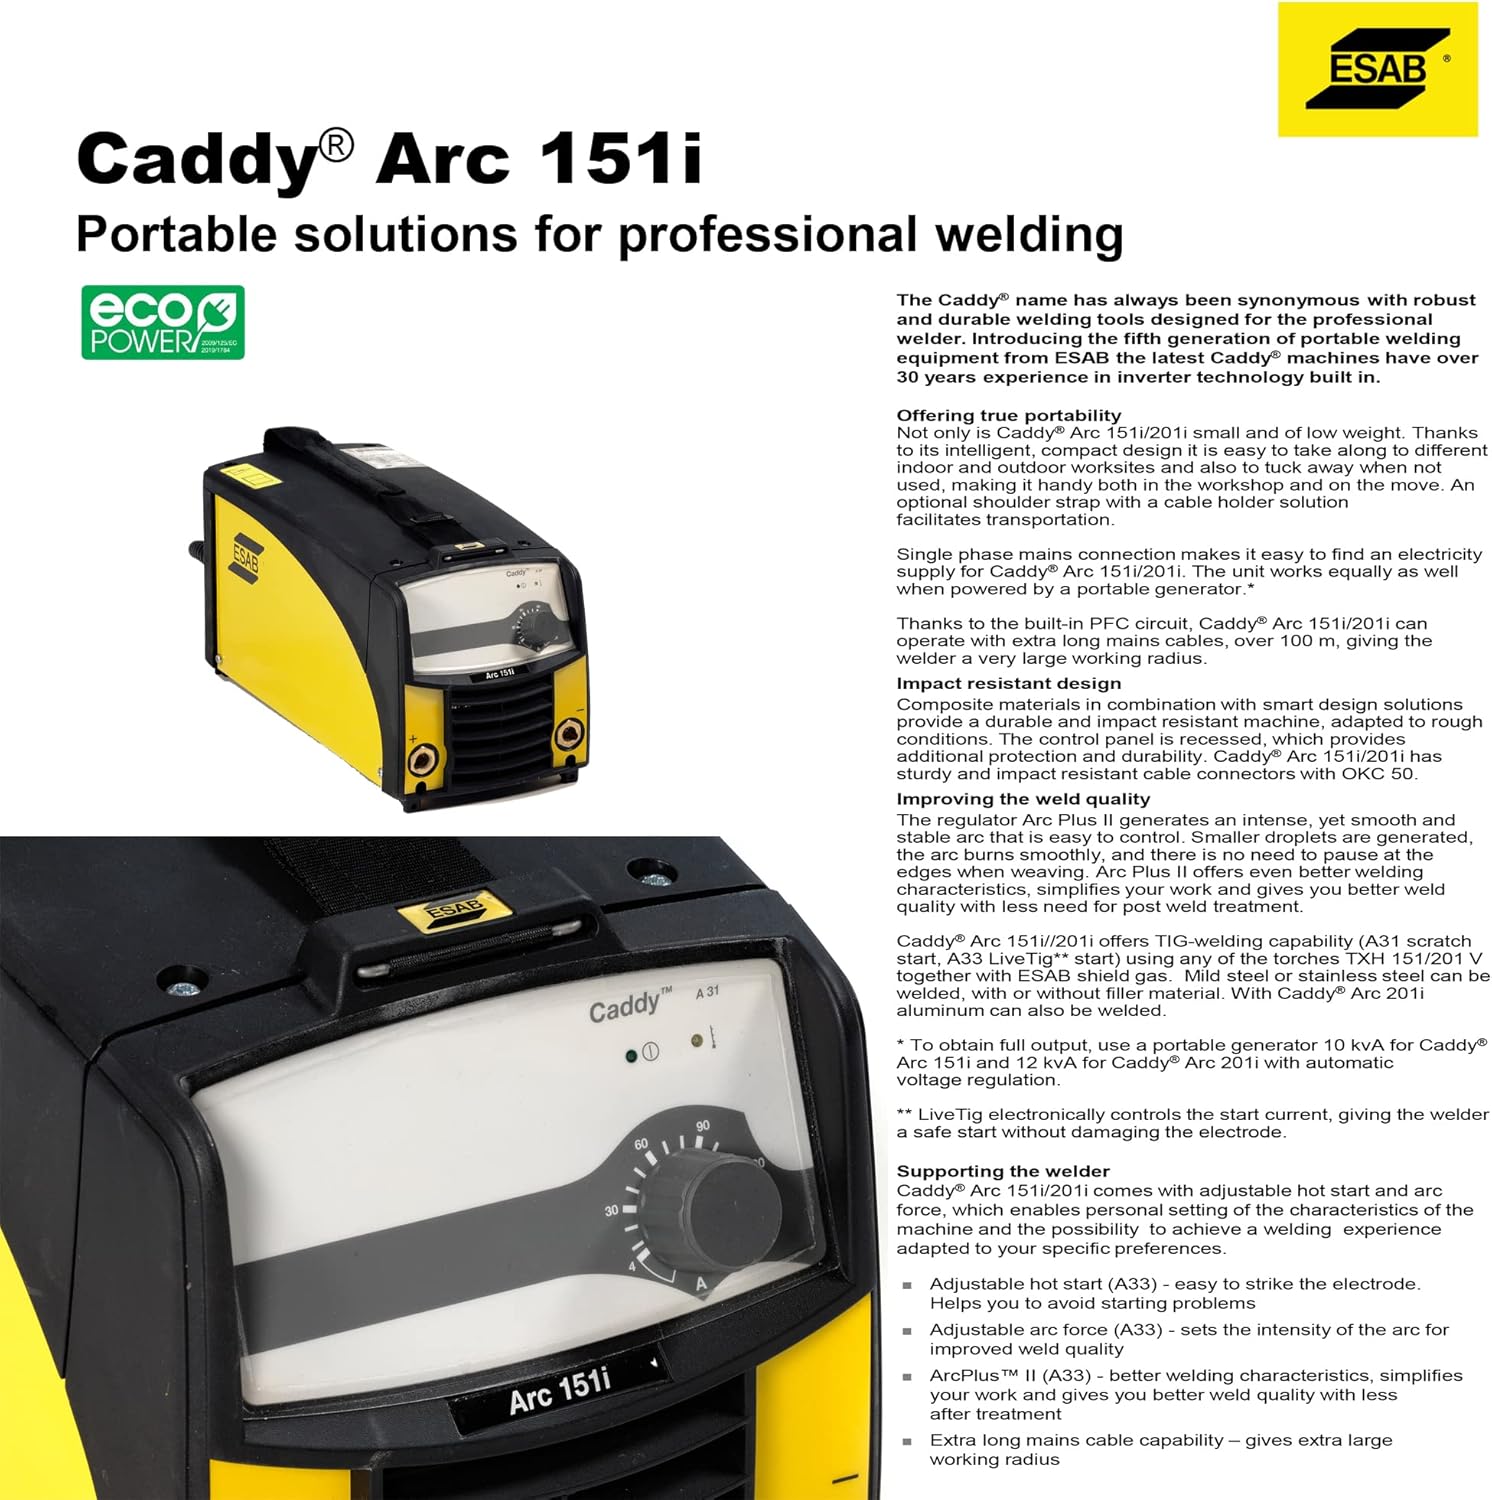
Figure 3.5: The ESAB Caddy Arc 151i, emphasizing its "Eco Power" efficiency. This image highlights the overall robust design suitable for professional use.
4. Setup
Follow these steps to set up your ESAB Caddy Arc 151i for operation.
- Power Connection: Connect the machine to a suitable 230 Volts (AC) power supply. Ensure the power source can handle the machine's requirements.
- Electrode Holder Connection: Connect the electrode holder cable to the positive (+) terminal on the front panel using the OKC 50 connector.
- Work Clamp Connection: Connect the work clamp (ground clamp) cable to the negative (-) terminal on the front panel using the OKC 50 connector.
- Electrode Insertion: Securely insert the appropriate welding electrode into the electrode holder.
- Workpiece Connection: Attach the work clamp firmly to the workpiece, ensuring good electrical contact.
- Power On: Turn on the main power switch located on the machine.
5. Operating Instructions
The Caddy Arc 151i features an intuitive control panel designed for ease of use.
Control Panel Operation:
- The A31 control panel features a single knob for current setting, making it extremely easy to adjust, even while wearing gloves.
- The Caddy Arc 151i (and 201i) models come with two memories for pre-set welding parameters, enabling quick and accurate return to predefined settings.
Welding Features:
- Adjustable Hot Start (A33): This feature provides an initial surge of current to help strike the electrode easily, preventing sticking and ensuring a smooth start to the weld. Adjust this setting based on the electrode type and material thickness.
- Adjustable Arc Force (A33): Controls the intensity of the arc, which helps prevent the electrode from sticking during welding, especially with cellulosic electrodes. Adjusting this can improve weld quality and penetration.
- ArcPlus II (A33): This advanced feature optimizes welding characteristics, providing a more stable arc and better control. It simplifies the welding process and results in higher quality welds with less need for post-weld cleanup.
- LiveTig (A31): Electronically controls the start current, giving the welder a safe start without damaging the electrode.
Basic Welding Procedure:
- Ensure all safety precautions are observed and PPE is worn.
- Select the appropriate electrode and set the welding current using the control knob.
- Position the electrode near the workpiece and initiate the arc using the chosen technique (e.g., scratch start or tap start).
- Maintain a consistent arc length and travel speed to achieve a uniform weld bead.
- Upon completion, break the arc and allow the weld to cool before inspection.
6. Maintenance
Regular maintenance ensures the longevity and optimal performance of your ESAB Caddy Arc 151i.
- Cleaning: Periodically clean the machine's exterior and ventilation openings to prevent dust and debris buildup. The design helps keep sensitive internal parts clean, but external cleaning is still important. Use compressed air to gently clear vents.
- Cable Inspection: Regularly inspect all welding cables, electrode holder, and work clamp for signs of wear, damage, or loose connections. Replace damaged components immediately.
- Storage: Store the machine in a clean, dry environment when not in use. Protect it from extreme temperatures and humidity.
- Professional Service: For internal cleaning or complex repairs, it is recommended to contact an authorized ESAB service center.
7. Troubleshooting
This section provides solutions to common issues you might encounter.
| Problem | Possible Cause | Solution |
|---|---|---|
| No power to the machine | Power cable disconnected, circuit breaker tripped, faulty power outlet. | Check power cable connection. Reset circuit breaker. Test power outlet with another device. |
| Arc difficult to strike or unstable | Incorrect current setting, poor ground connection, damp electrode, incorrect electrode type, Hot Start/Arc Force settings too low. | Adjust current. Ensure work clamp has good contact. Use dry electrodes. Verify electrode type. Adjust Hot Start and Arc Force settings. |
| Machine overheats and shuts down | Exceeding duty cycle, poor ventilation, blocked air vents. | Allow machine to cool down. Ensure adequate ventilation around the machine. Clean air vents. |
| Poor weld quality (porosity, lack of fusion) | Incorrect current, improper arc length, contaminated workpiece, incorrect travel speed. | Adjust current. Maintain proper arc length. Clean workpiece thoroughly. Adjust travel speed. |
8. Specifications
Detailed technical specifications for the ESAB Caddy Arc 151i.
| Attribute | Detail |
|---|---|
| Manufacturer | ESAB |
| Product Dimensions | 41.8 x 18.8 x 20.8 cm |
| Item Model Number | 460445881 |
| Color | Yellow |
| Style | Manual |
| Material | Steel |
| Voltage | 230 Volts (AC) |
| Item Package Quantity | 1 |
| ASIN | B0BS1S4QP5 |
| Date First Available | 22 December 2022 |
9. Warranty and Support
For warranty information and technical support, please refer to the official ESAB website or contact your local authorized ESAB dealer. Keep your purchase receipt as proof of purchase for warranty claims.
Online Resources: Visit the official ESAB website for the latest product information, FAQs, and support documents.
Customer Service: Contact ESAB customer service for assistance with product operation, troubleshooting, or service requests. Contact details can typically be found on the ESAB website or in your product packaging.
Related documents460445881


Ask a question about this manual
Ask about setup, troubleshooting, compatibility, parts, safety, or missing instructions. Manuals+ will review the question and use this page’s manual context to help answer it.