
Introduction
This manual provides detailed instructions for the installation, operation, and maintenance of your Sysracks 15U Wall Mount Server Rack. The 15U SRE-Series network enclosure is designed for securely storing and organizing IT and AV equipment. Its welded frame construction ensures stability and security for installed devices.
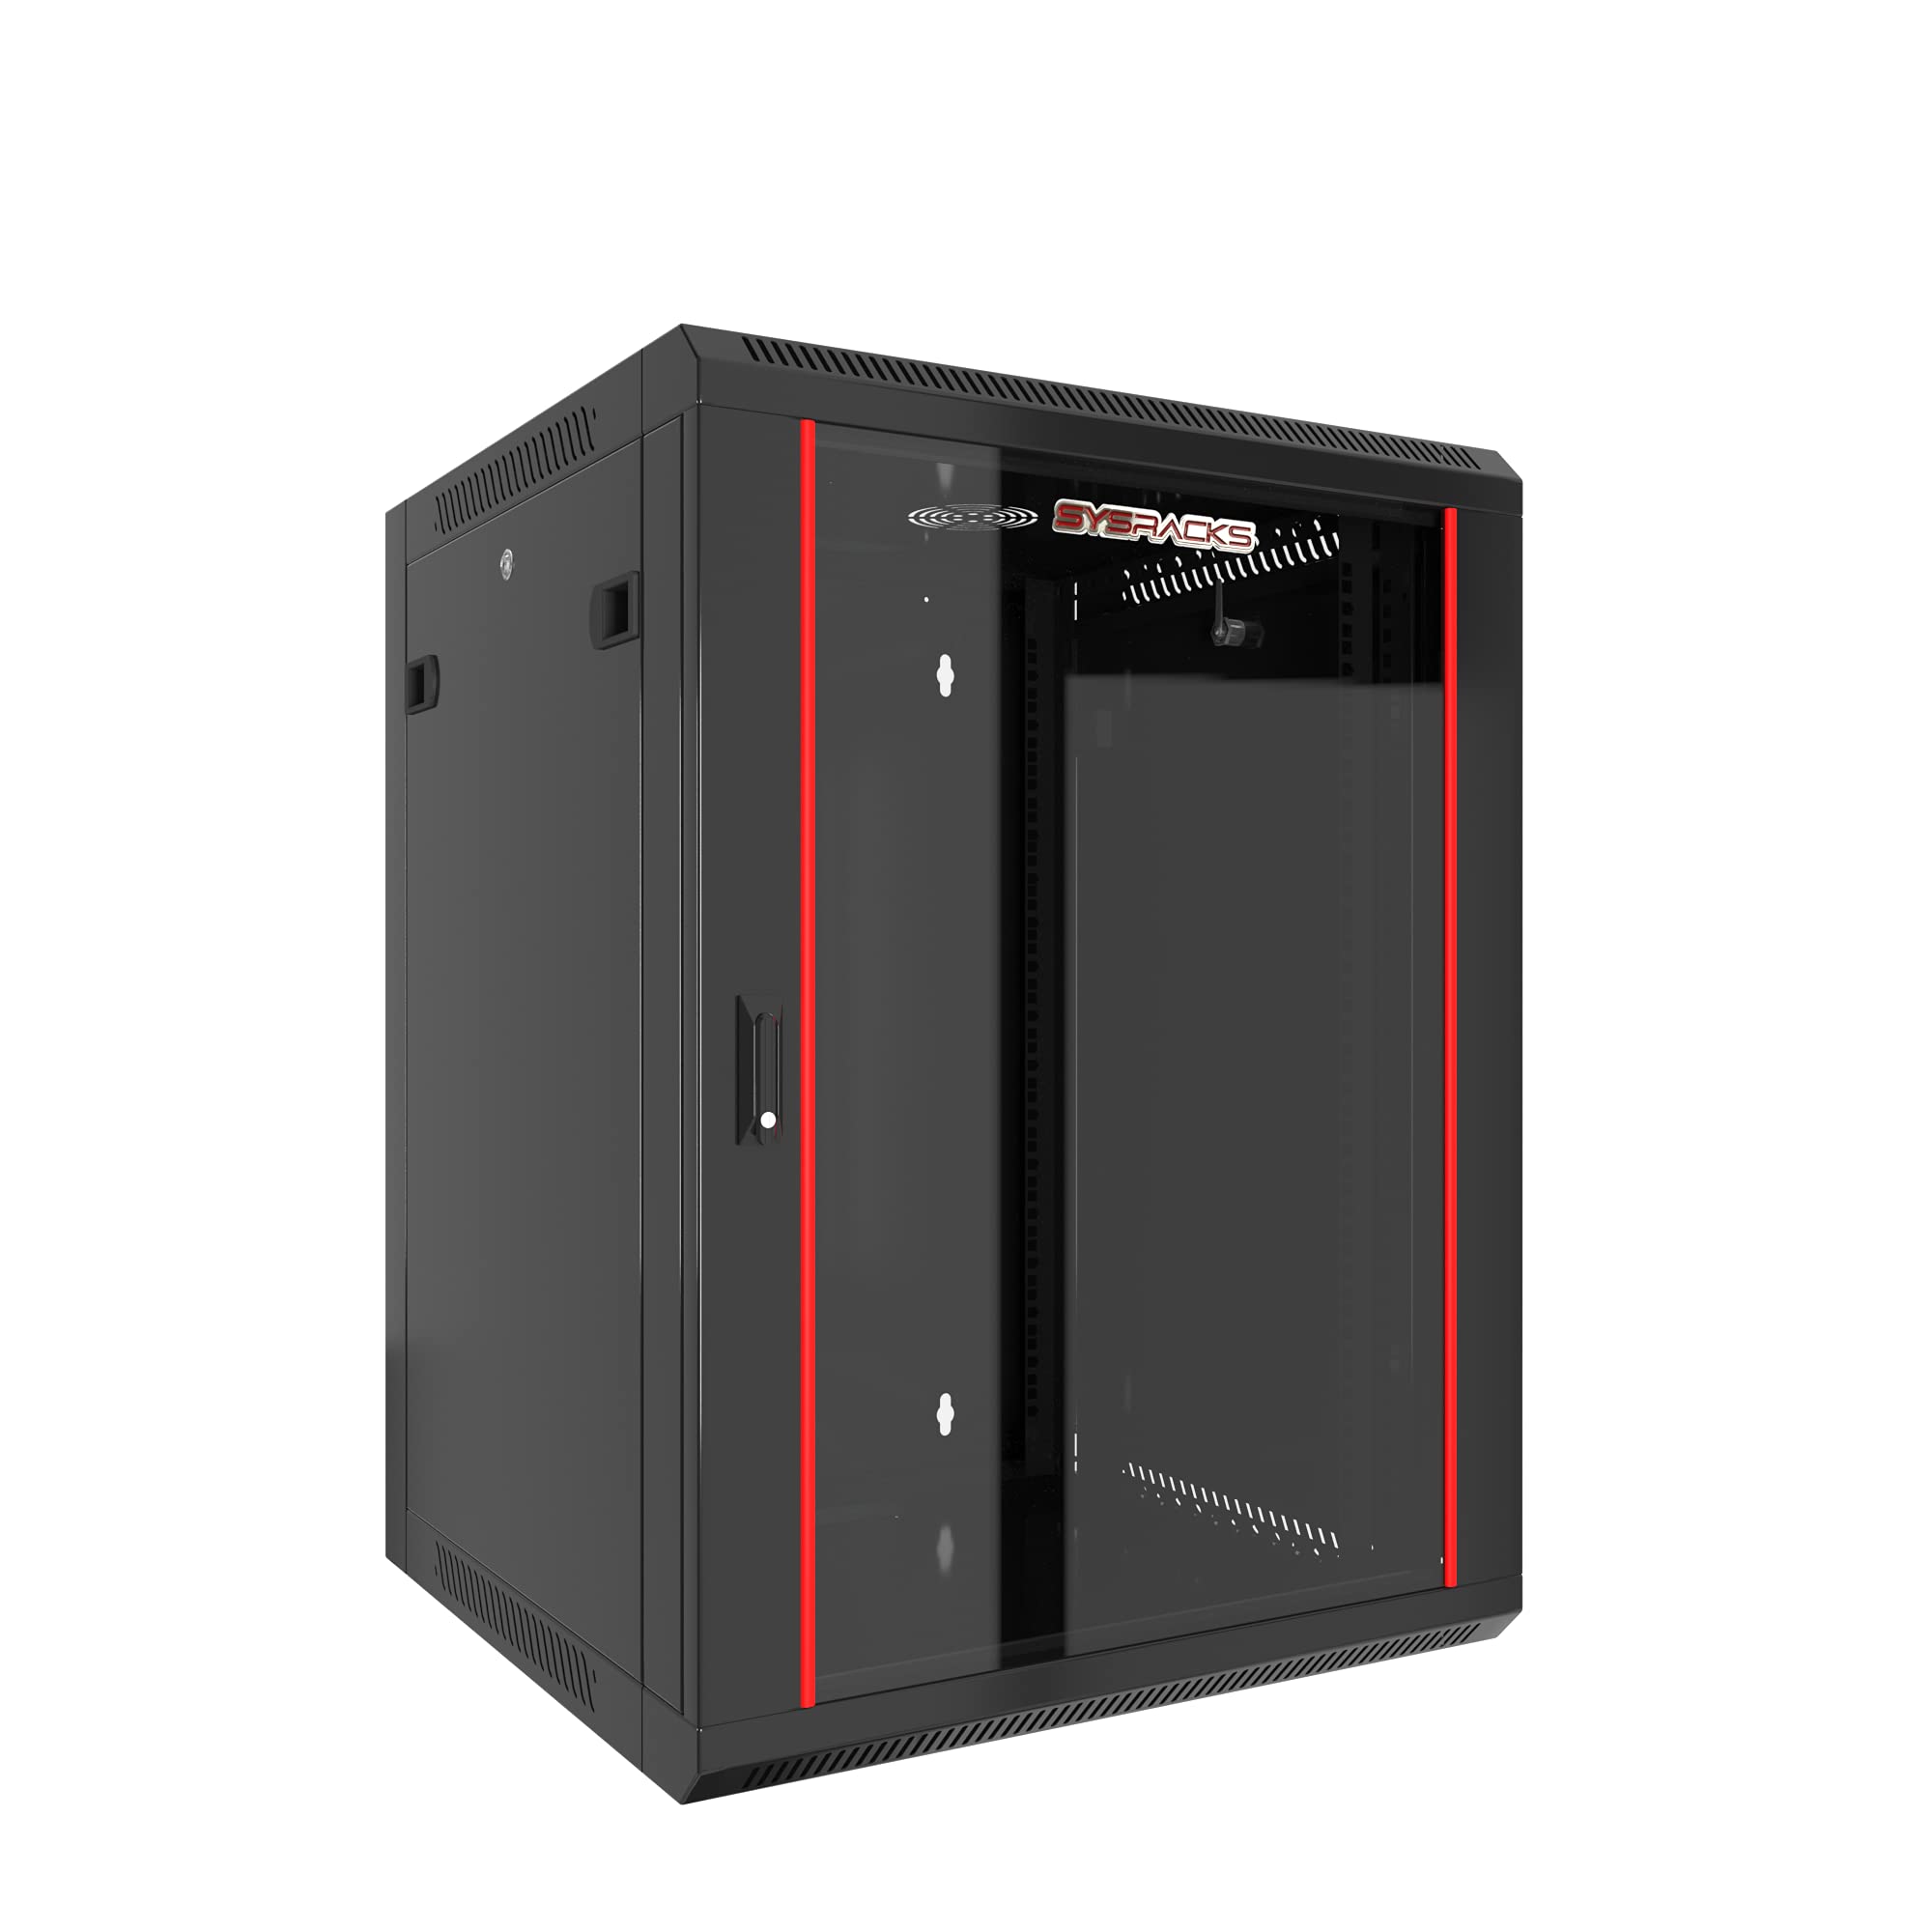
Figure 1: Front view of the Sysracks 15U Wall Mount Server Rack.
Safety Information
- Always ensure the rack is securely mounted to a structurally sound wall or placed on a stable surface before installing any equipment.
- Distribute equipment weight evenly within the rack to prevent tipping or instability.
- Do not exceed the maximum static loading weight of 133 lbs (60.33 kg).
- Use appropriate lifting techniques when handling the rack and installing heavy equipment.
- Keep all ventilation openings clear to ensure proper airflow and prevent overheating.
- Ensure all power cables are routed safely and do not obstruct access or ventilation.
Package Contents
Verify that all components are present before beginning installation:
- 15U Server Rack Cabinet
- Lockable Front Door Handle with Keys
- Lockable Side Panels
- U-Mark Vertical Mounting Rails (adjustable)
- Mounting Hardware (Square Cage Nuts)
- Dust-Tight Cable Entries (top and bottom)
- Wall-Mount Plate / Pre-drilled Holes
Setup and Installation
1. Wall Mounting
The Sysracks 15U cabinet is designed for wall mounting. Identify a suitable location on a structurally sound wall capable of supporting the rack's weight plus the weight of all installed equipment. Use the pre-drilled holes on the back of the cabinet as a template for marking drilling points. Secure the rack using appropriate wall anchors and fasteners (not included) suitable for your wall type and the total anticipated load.

Figure 2: Rear view with wall mounting points.
2. Adjusting Mounting Rails
The U-Mark vertical mounting rails inside the cabinet are adjustable to accommodate various equipment depths. Loosen the screws securing the rails, slide them to the desired depth (up to 21 inches apart), and then tighten the screws firmly. The U-marks assist in precise positioning of your equipment.
3. Cable Management
Utilize the dust-tight cable entry caps located at the top and bottom of the cabinet for organized and protected cable routing. Ensure cables are neatly bundled and do not obstruct airflow or door closure.
Operating Instructions
1. Accessing the Cabinet
The front door and side panels are fully lockable to prevent unauthorized access. Use the provided keys to unlock the front door handle. The side panels can also be removed for easier installation and maintenance access by unlocking and disengaging their latches.

Figure 3: Side panel and door hinge mechanism.
2. Installing Equipment
Mount your 19-inch standard equipment onto the adjustable U-Mark vertical rails using the provided square cage nuts and screws. Ensure equipment is securely fastened and evenly distributed to maintain stability.
3. Airflow Management
The cabinet features top and bottom perforations, along with side perforation, to facilitate passive air circulation. Ensure these perforations are not blocked by equipment or cables to allow for efficient heat dissipation from your installed devices.

Figure 4: Top panel with ventilation perforations.
Maintenance
- Cleaning: Regularly clean the exterior surfaces of the cabinet with a soft, damp cloth. Avoid abrasive cleaners. For the interior, use compressed air to remove dust from equipment and ventilation areas.
- Lock and Hinge Inspection: Periodically check the functionality of the door lock and side panel latches. Lubricate hinges if necessary to ensure smooth operation.
- Ventilation Check: Ensure all top, bottom, and side perforations remain clear of obstructions to maintain optimal passive airflow.
- Fastener Tightness: Occasionally inspect all mounting screws and equipment fasteners to ensure they remain tight and secure.
Troubleshooting
1. Overheating Equipment
If equipment inside the rack is overheating, check the following:
- Ensure all ventilation perforations (top, bottom, sides) are clear and not blocked.
- Verify that the ambient room temperature is within acceptable limits for your equipment.
- Consider adding active cooling solutions if passive ventilation is insufficient for your equipment load.
2. Difficulty Opening/Closing Door or Panels
If the door or side panels are stiff or difficult to operate:
- Check for any obstructions or misaligned equipment.
- Inspect hinges and locks for damage or debris. Lubricate if necessary.
- Ensure the rack itself is level and not warped, which could affect door alignment.
3. Rack Instability
If the wall-mounted rack feels unstable:
- Immediately remove all equipment.
- Re-evaluate the wall mounting points and fasteners. Ensure they are appropriate for the wall type and total weight.
- Verify that the equipment weight is evenly distributed.
Specifications
| Feature | Specification |
|---|---|
| Model | 15U SRE-Series |
| External Dimensions (WxDxH) | 23.5" x 24" x 30" (59.7 cm x 61 cm x 76.2 cm) |
| Usable Depth | 21 inches (53.34 cm) |
| Maximum Static Loading Weight | 133 lbs (60.33 kg) |
| Material | Alloy Steel |
| Color | Black (RAL 9005) |
| Mounting Type | Wall Mount |
| Door Type | Lockable Glass Front Door |
| Side Panels | Lockable and Removable |
| Ventilation | Top/Bottom and Side Perforation for Passive Air-Circulation |
| Cable Management | Dust-Tight Cable Entry Caps |
| UPC | 744985601318 |
Warranty and Support
This Sysracks product is eligible for return or refund within 30 days of receipt, subject to the seller's return policy. For any product inquiries, technical assistance, or support, please contact Sysracks Equipement customer service. Refer to your purchase documentation for specific contact details.