1. Product Overview
The YISSVIC Electric Fly Swatter Bug Zapper Racket, Model WD-9013, is designed for effective insect elimination in various environments. It features a powerful 4000V grid, an LED screen for battery monitoring, and dual operating modes for versatile use.

Image: Two YISSVIC Electric Fly Swatters with charging bases, illustrating the product's design and purpose.
Key Features:
- Dual Operating Modes: Offers both manual swatter mode and an automatic insect trap mode with an attractant light.
- High Voltage Grid: Equipped with a 4000V grid for efficient insect elimination.
- LED Screen: Provides easy monitoring of the battery level.
- Rechargeable Design: Features a built-in 1800mAh rechargeable Lithium-Ion battery, eliminating the need for constant battery replacement.
- Triple-Layer Mesh Protection: Designed with safety in mind to prevent accidental contact with the electrical grid.
- Portable and Ergonomic: Lightweight and easy to handle for catching flying insects.
- Type-C USB Charging: Convenient charging compatible with standard Type-C ports.
- 365nm Wavelength Attractant Light: Integrated light to attract insects in automatic mode.
2. Product Components

Image: Labeled diagram of the YISSVIC Electric Fly Swatter components.
- Three-layer Nets: Outer protective layers and inner electrified grid.
- Attractant Light: UV light at the base of the racket head.
- Battery Indicator: LED lights showing remaining battery charge.
- Working Indicator: Light indicating when the electrical grid is active.
- Type-C Charging Port: For recharging the device.
- Non-slip Handle: Ergonomically designed for secure grip.
- Power OFF Switch: Turns the device off.
- Manual Mode Switch: Activates manual zapping.
- Auto Mode Switch: Activates automatic insect attraction and zapping.
- Zap Button: Activates the electrical grid in manual mode.
- Detachable Base: For upright storage and automatic mode operation.
3. Setup and Charging
Initial Charging:
Before first use, ensure the device is fully charged. Connect the provided Type-C USB charging cable to the charging port on the handle and to a compatible USB power source (e.g., adapter, power bank, PC). Charge for approximately 4 hours under power off mode.
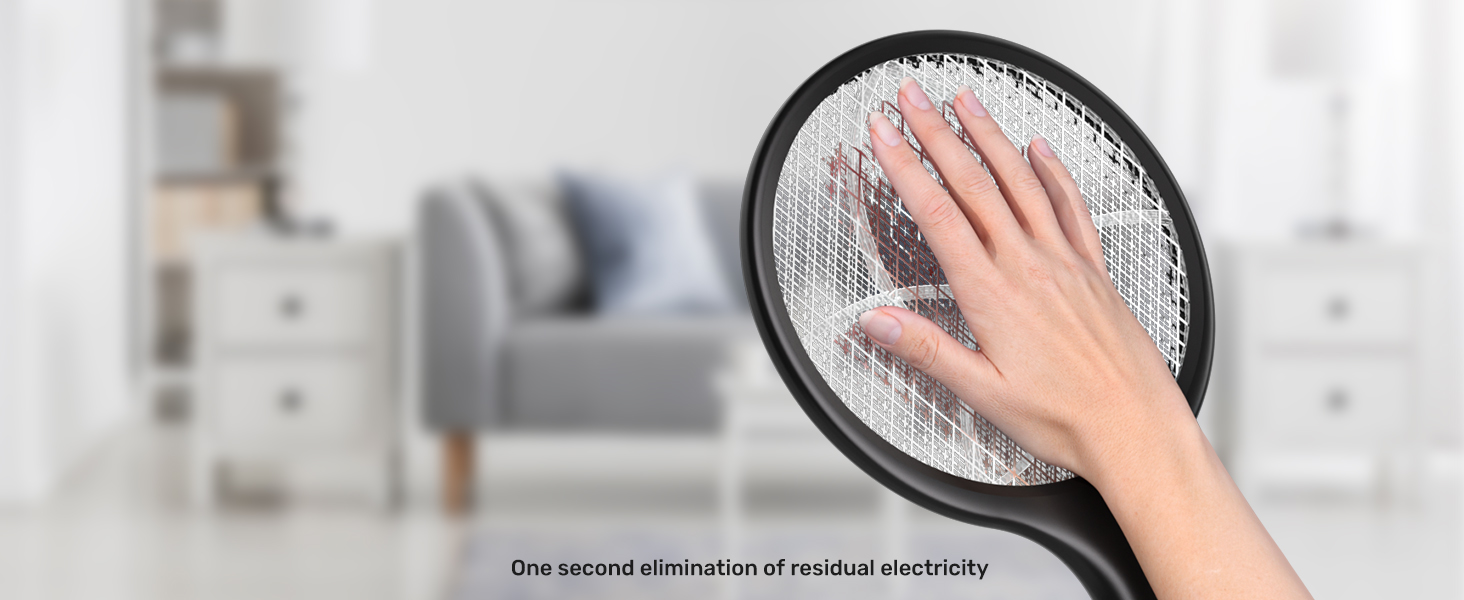
Image: Initial charging instructions for the fly swatter.
Battery Indicator:
The LED battery indicator lights on the handle show the remaining charge level (100%, 75%, 50%, 25%). A red lightning bolt icon indicates charging is in progress or low battery.

Image: Battery indicator lights on the device handle.
4. Operating Instructions
Manual Mode:
- Slide the mode switch to the middle position (Manual Mode).
- Press and hold the Zap Button until the red working indicator light illuminates.
- Wave the racket towards flying insects to make contact with the electrified grid.
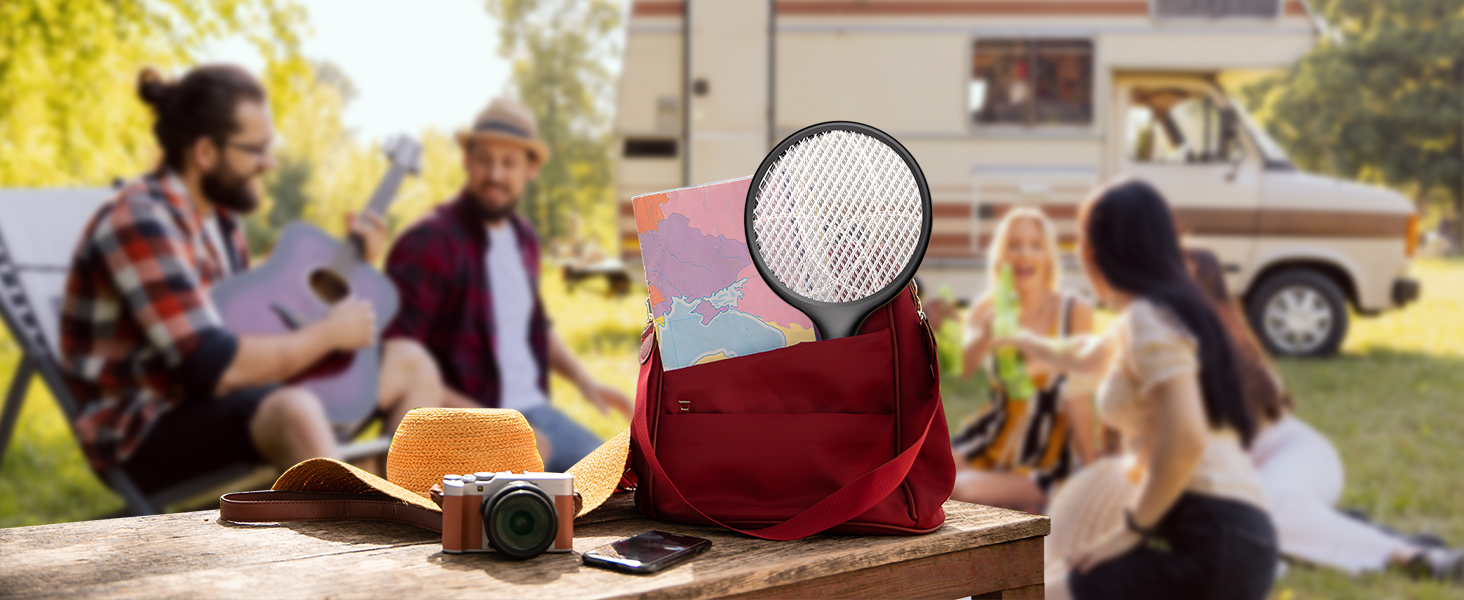
Image: Steps for operating the fly swatter in manual mode.
Automatic Mode (Trap Mode):
- Slide the mode switch to the top position (Auto Mode).
- Place the racket into its detachable base on a flat surface.
- The 365nm attractant light will activate, drawing insects to the grid for automatic zapping.
- For continuous operation and charging in Auto Mode, connect the separated charging cable.
Note: For optimal performance in Auto Mode, especially at night, it is recommended to use the swatter as the primary light source in the area to maximize insect attraction.

Image: The fly swatter in automatic mode, attracting insects with its 365nm wavelength light.
5. Safety Precautions
- Keep the device out of reach of children and pets.
- Do not touch the inner electrified grid when the device is active or charging. The triple-layer mesh provides protection, but caution is advised.
- Avoid using the device near flammable gases or liquids.
- Do not immerse the device in water or other liquids.
- After use, ensure the device is switched off. The device is designed for one-second elimination of residual electricity after deactivation.
- Do not attempt to modify or repair the device yourself. Contact customer support for assistance.
6. Maintenance
- Cleaning: Ensure the device is completely off and unplugged before cleaning. Use a soft, dry brush or cloth to gently remove any insect debris from the grid. Do not use water or cleaning solutions directly on the grid.
- Storage: Store the device in a cool, dry place when not in use.
- Battery Care: To prolong battery life, avoid fully discharging the battery frequently. Recharge the device when the battery indicator shows a low charge.
7. Specifications
| Brand | YISSVIC |
| Model Number | WD-9013 |
| Material | Stainless Steel |
| Product Dimensions | 10"L x 3"W x 15"H |
| Item Weight | 1 Pound |
| Battery | 1800mAh Lithium Ion (included) |
| Charging Time | 3 Hours |
| Grid Voltage | 4000V |
| Target Species | Fly, Gnat, Mosquito, Moth |

Image: Product dimensions and key specifications.
8. Troubleshooting
- Device not activating: Ensure the device is sufficiently charged. Check the battery indicator lights.
- No zap in Manual Mode: Confirm the mode switch is in the middle position and the Zap Button is pressed and held.
- Insects not attracted in Auto Mode: Verify the mode switch is in the top position. Ensure the area is dark enough for the attractant light to be effective.
- Charging issues: Check if the Type-C USB cable is securely connected to both the device and the power source. Ensure the power source is functional.
9. Warranty and Support
Information regarding product warranty and customer support was not available in the provided data. Please refer to the product packaging or the manufacturer's official website for details on warranty coverage and how to contact customer service for technical assistance or repairs.


