
1. Introduction
Thank you for purchasing the R.W.FLAME Portable Ice Maker. This manual provides important information regarding the safe operation, installation, maintenance, and troubleshooting of your ice maker. Please read this manual thoroughly before use and retain it for future reference.
2. Safety Instructions
To reduce the risk of fire, electric shock, or injury, always follow basic safety precautions when using this appliance:
- Ensure the voltage matches the rating label on the appliance.
- Do not immerse the power cord, plug, or any part of the appliance in water or other liquids.
- Unplug the appliance from the outlet when not in use, before cleaning, or before performing any maintenance.
- Do not operate any appliance with a damaged cord or plug, or after the appliance malfunctions or has been damaged in any manner.
- Keep the appliance away from heat sources and direct sunlight.
- Ensure proper ventilation around the appliance. Maintain at least 6 inches of space on all sides.
- Use only potable water in the ice maker.
- This appliance is for household use only.
3. Product Overview
3.1 Components
- Ice Maker Unit
- Ice Basket
- Ice Scoop
- Drain Plug (located at the bottom)
- Portable Handle
3.2 Control Panel and Indicators
The control panel features indicator lights and a button for operation.

Image: The control panel displays three indicator lights: 'ADD WATER' (red), 'ICE FULL' (red), and 'POWER' (green). A large 'ON/OFF' button is also present, which doubles as the self-cleaning activation button.
- ADD WATER Indicator (Red): Illuminates when the water reservoir is low and needs refilling.
- ICE FULL Indicator (Red): Illuminates when the ice basket is full, and ice production will pause.
- POWER Indicator (Green): Illuminates when the unit is powered on and operating.
- ON/OFF Button: Press to turn the unit on or off. Press and hold for 5 seconds to activate the self-cleaning function.
4. Setup
4.1 Unpacking
- Carefully remove the ice maker from its packaging.
- Remove all packaging materials, including any tape or protective films.
- Check for any damage during transit. If the unit is damaged, do not operate it and contact customer support.
4.2 Placement
- Place the ice maker on a stable, level surface.
- Ensure there is at least 6 inches (15 cm) of clear space around the unit for proper ventilation. Avoid placing it in an enclosed cabinet.
- Keep the unit away from direct sunlight, heat sources (e.g., stoves, ovens), and corrosive gases.
- Do not place the unit where the temperature will drop below 50°F (10°C).

Image: The R.W.FLAME ice maker is shown on a kitchen countertop, demonstrating its compact and portable design suitable for various settings.
4.3 Initial Cleaning
Before first use, it is recommended to clean the unit:
- Remove the ice basket.
- Clean the interior with a soft cloth and warm water with a mild detergent.
- Rinse thoroughly and drain any water through the drain plug at the bottom.
- Wipe the exterior with a damp cloth.
5. Operating Instructions
5.1 First Use
After placing the unit and performing initial cleaning:
- Plug the power cord into a grounded electrical outlet.
- Open the lid and remove the ice basket.
- Fill the water reservoir with potable water up to the MAX fill line. Do not overfill.
- Replace the ice basket and close the lid.
- Press the ON/OFF button to start the ice making cycle. The POWER indicator will illuminate green.
5.2 Ice Production
The ice maker will begin producing bullet-shaped ice cubes. The first batch of ice may take slightly longer, but subsequent batches are typically produced quickly.

Image: A visual representation of the ice maker's rapid ice production, showing ice cubes forming within 6 minutes.
- The unit can produce 9 ice cubes in approximately 6 minutes.
- It can produce up to 26.5 lbs (12 kg) of ice in 24 hours under optimal conditions.
- When the 'ADD WATER' indicator lights up, add more water to the reservoir.
- When the 'ICE FULL' indicator lights up, the ice basket is full. Remove ice to resume production.

Image: This image illustrates the ice maker's key features: self-cleaning, fast ice production (9 pieces in 6 minutes), and high daily capacity (26 lbs in 24 hours).
5.3 Collecting Ice
Once ice cubes are formed, they will drop into the ice basket. Use the provided ice scoop to retrieve ice. The ice maker does not keep ice frozen for extended periods; it is recommended to transfer ice to a freezer for storage or use it immediately.
6. Maintenance
6.1 Automatic Self-Cleaning Function
The ice maker is equipped with an automatic self-cleaning function to simplify maintenance:
- Ensure the water reservoir is filled with clean water.
- Press and hold the ON/OFF button for 5 seconds. The unit will enter self-cleaning mode.
- The self-cleaning cycle typically runs for approximately 30 minutes.
- Once the cycle is complete, drain the water from the unit using the drain plug.
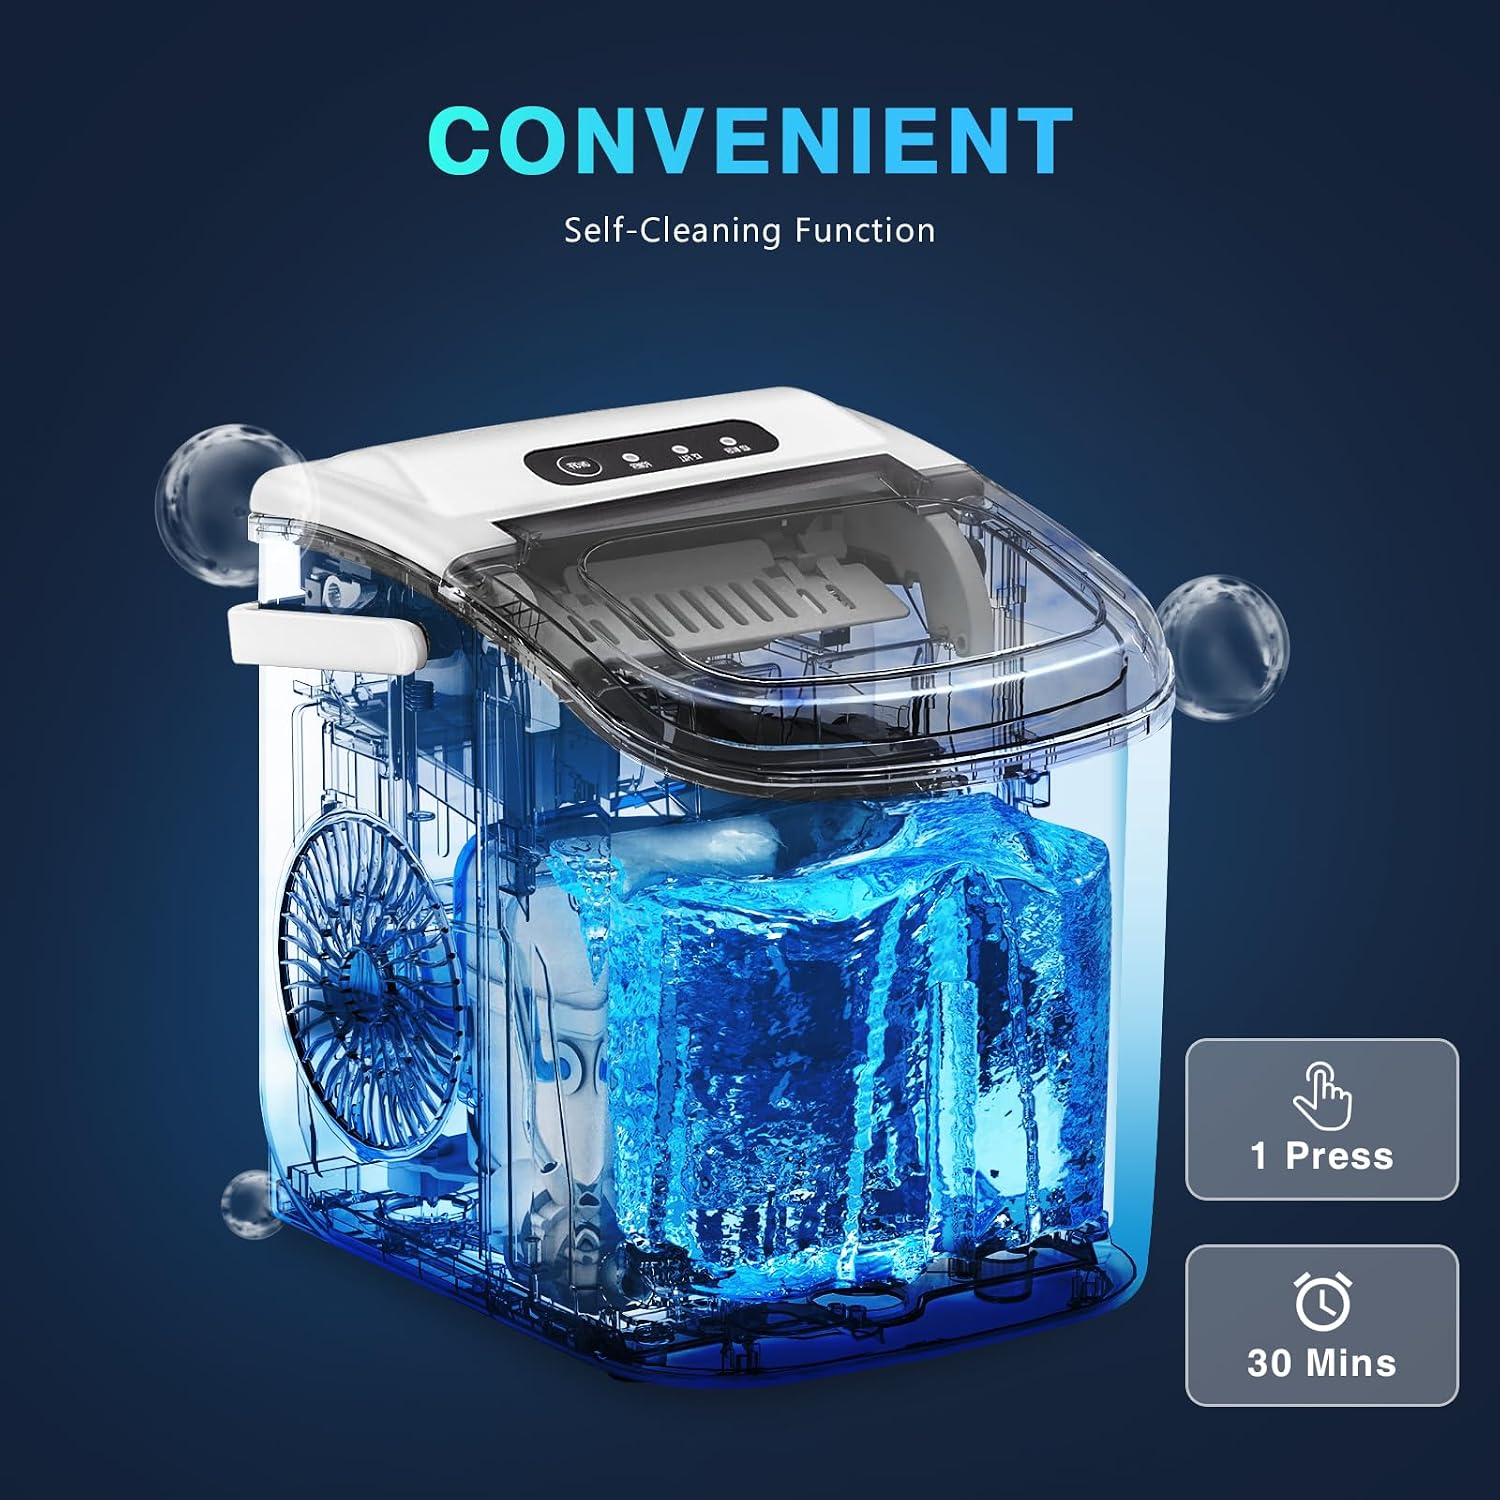
Image: This image illustrates the self-cleaning process, showing water circulating within the unit, activated by a single press and lasting about 30 minutes.
6.2 Regular Cleaning
For optimal performance and hygiene, regular manual cleaning is recommended:
- Exterior: Wipe the exterior with a soft, damp cloth. Do not use harsh chemicals or abrasive cleaners.
- Interior: After draining the water, clean the interior surfaces, including the water reservoir and ice basket, with a soft cloth and a mild, food-safe detergent. Rinse thoroughly.
- Drain Plug: Periodically check and clean the drain plug area to prevent blockages.
6.3 Draining and Storage
When not in use for an extended period:
- Turn off the unit and unplug it from the power outlet.
- Open the drain plug at the bottom of the unit and allow all water to drain out.
- Close the drain plug securely.
- Dry the interior thoroughly with a soft cloth.
- Store the ice maker in a cool, dry place, away from direct sunlight.
7. Troubleshooting
Refer to the table below for common issues and their solutions:
| Problem | Possible Cause | Solution |
|---|---|---|
| Ice maker not working | No power; Unit not plugged in; Power button not pressed. | Check power connection; Press ON/OFF button. |
| 'ADD WATER' indicator on | Water reservoir is empty or low. | Add potable water to the reservoir up to the MAX line. |
| 'ICE FULL' indicator on | Ice basket is full. | Remove ice from the basket. |
| Ice cubes are small or cloudy | Water temperature too high; Mineral deposits in water. | Use colder water; Perform self-cleaning cycle; Use filtered water. |
| Unit is noisy | Normal operation sounds (compressor, water pump); Unit not level. | Ensure unit is on a level surface; These sounds are normal during operation. |
8. Specifications
Technical specifications for the R.W.FLAME Ice Maker Model Z5812H:

Image: Detailed view of the ice maker highlighting its compact dimensions and key accessories like the ice scoop, basket, portable handle, and drain plug.
| Feature | Specification |
|---|---|
| Model Name | Z5812H |
| Brand | R.W.FLAME |
| Product Dimensions (D x W x H) | 8.66" x 11.22" x 11.73" (22cm x 28.5cm x 29.8cm) |
| Ice Production Capacity | Up to 26.5 lbs (12 kg) per 24 hours |
| Ice Cube Shape | Bullet |
| Ice Making Cycle | 9 cubes in approximately 6 minutes |
| Voltage | 115 Volts |
| Wattage | 8.74 Watts |
| Refrigerant | R600a |
| Material Type | Stainless Steel (internal components), Plastic (exterior) |
| Included Components | Ice Maker, Ice Basket, Ice Scoop |
9. Warranty and Support
R.W.FLAME products are manufactured to high-quality standards. For warranty information or technical support, please refer to the warranty card included with your product or contact R.W.FLAME customer service. Please have your model number (Z5812H) and purchase information ready when contacting support.