
1. Introduction
This instruction manual provides detailed guidance for assembling and caring for your 4D Build Harry Potter Hedwig 3D Model Kit. This kit allows you to construct a detailed replica of Hedwig, Harry Potter's iconic owl, perched on a stack of books. Designed for ages 12 and up, this 118-piece model offers an engaging building experience without the need for glue or additional tools.

Figure 1: The 4D Build Harry Potter Hedwig 3D Model Kit, showing the product box and the completed Hedwig model.
2. Package Contents
Verify that all components are present before beginning assembly:
- 10 x 3D Puzzle Sheets (containing 118 punch-out pieces)
- 1 x Instruction Manual
3. Assembly Instructions
Follow these steps to assemble your Hedwig 3D Model Kit. No glue or tools are required, as pieces are designed to snap together securely.
- Prepare Pieces: Carefully punch out all 118 pieces from the 10 provided cardstock sheets. Refer to the instruction manual for piece identification.
- Follow Numbered Steps: The included instruction manual provides a step-by-step visual guide. Each piece is numbered, and the instructions illustrate how to fold and connect them.
- Fold and Connect: Fold pieces along designated lines and connect them by aligning the tabs with corresponding slots. Apply gentle pressure to snap them into place.
- Assemble Base: Begin by assembling the book stack base, ensuring it is stable before attaching the Hedwig figure.
- Attach Hedwig: Once the base is complete, carefully attach the assembled Hedwig figure to the designated points on the book stack.

Figure 2: Demonstrates the process of carefully punching out the individual pieces from the sheets.
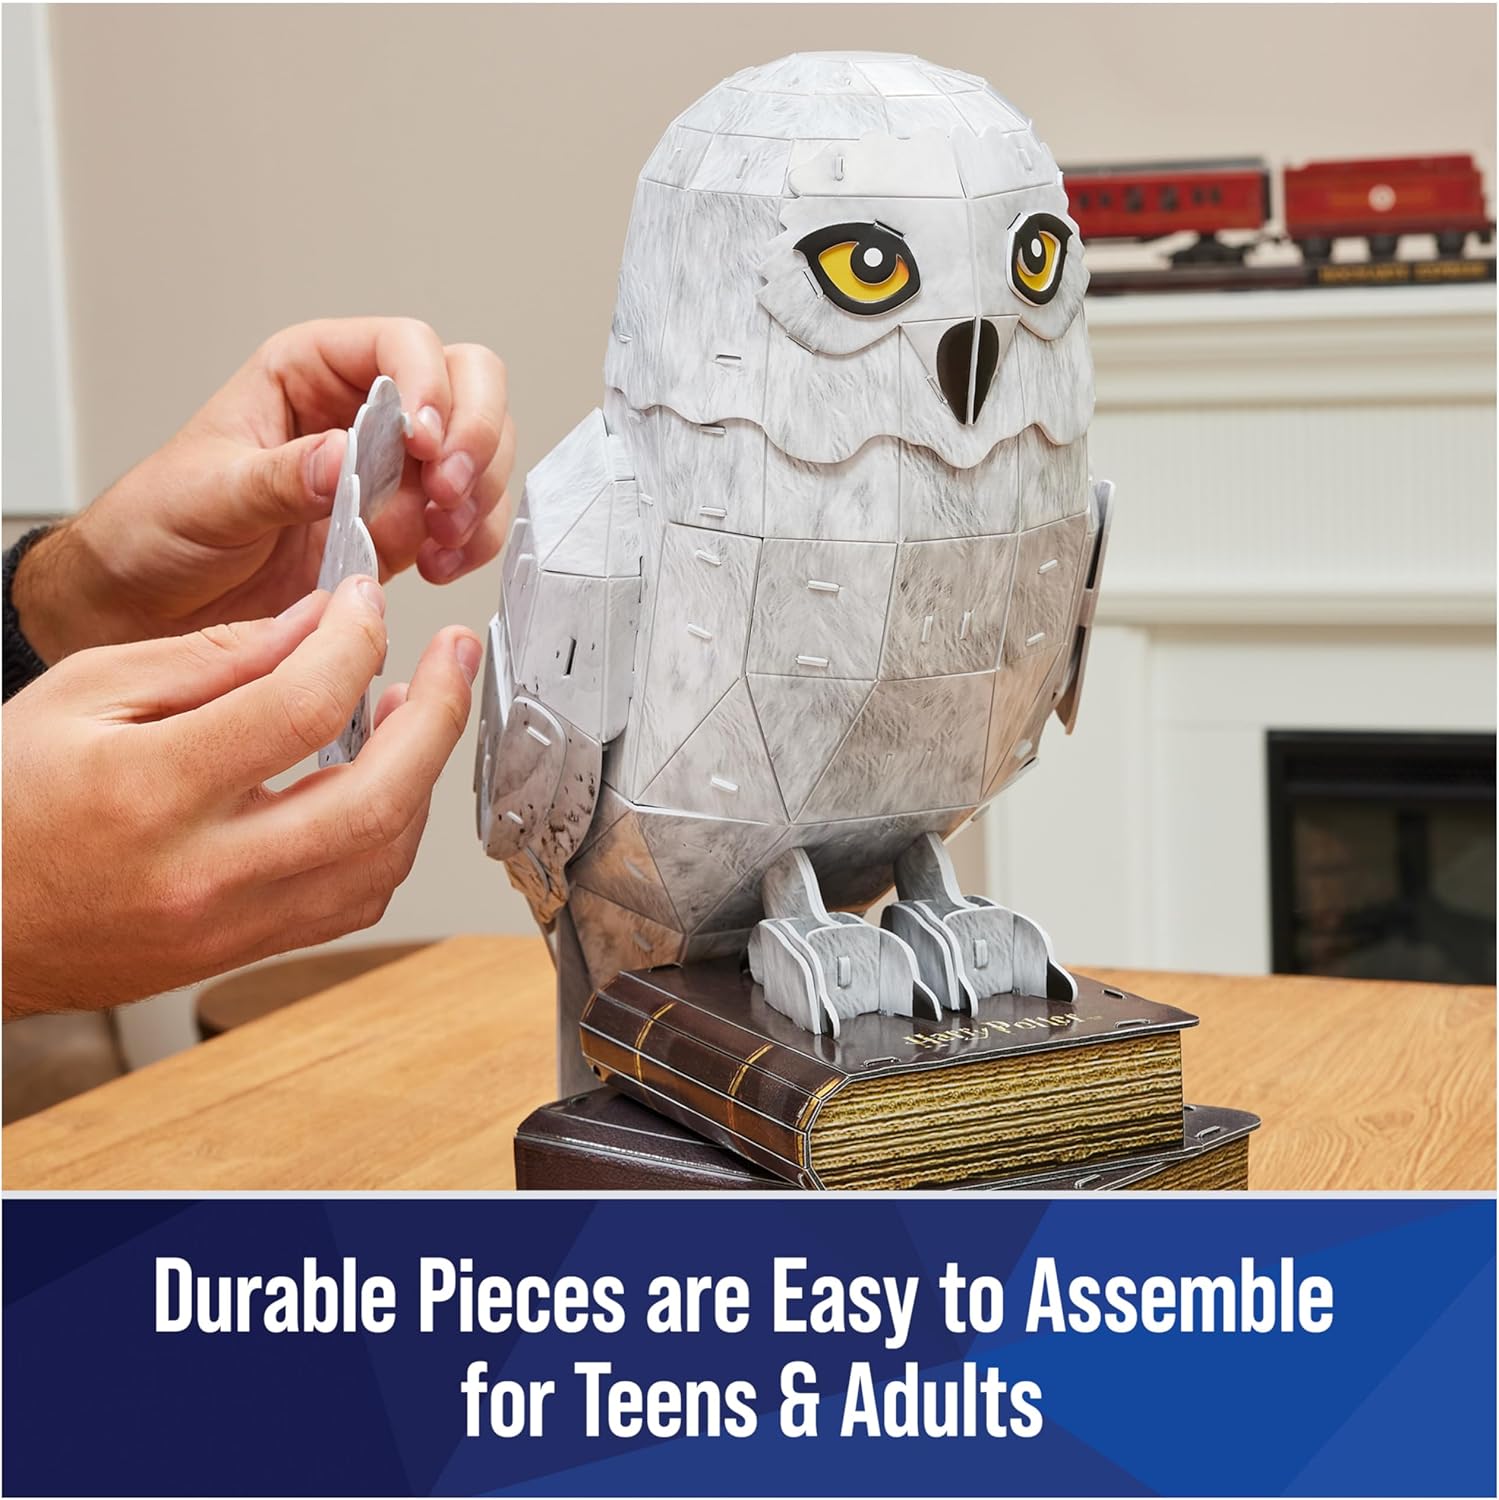
Figure 3: A close-up of hands connecting two pieces of the Hedwig model, illustrating the snap-together assembly.
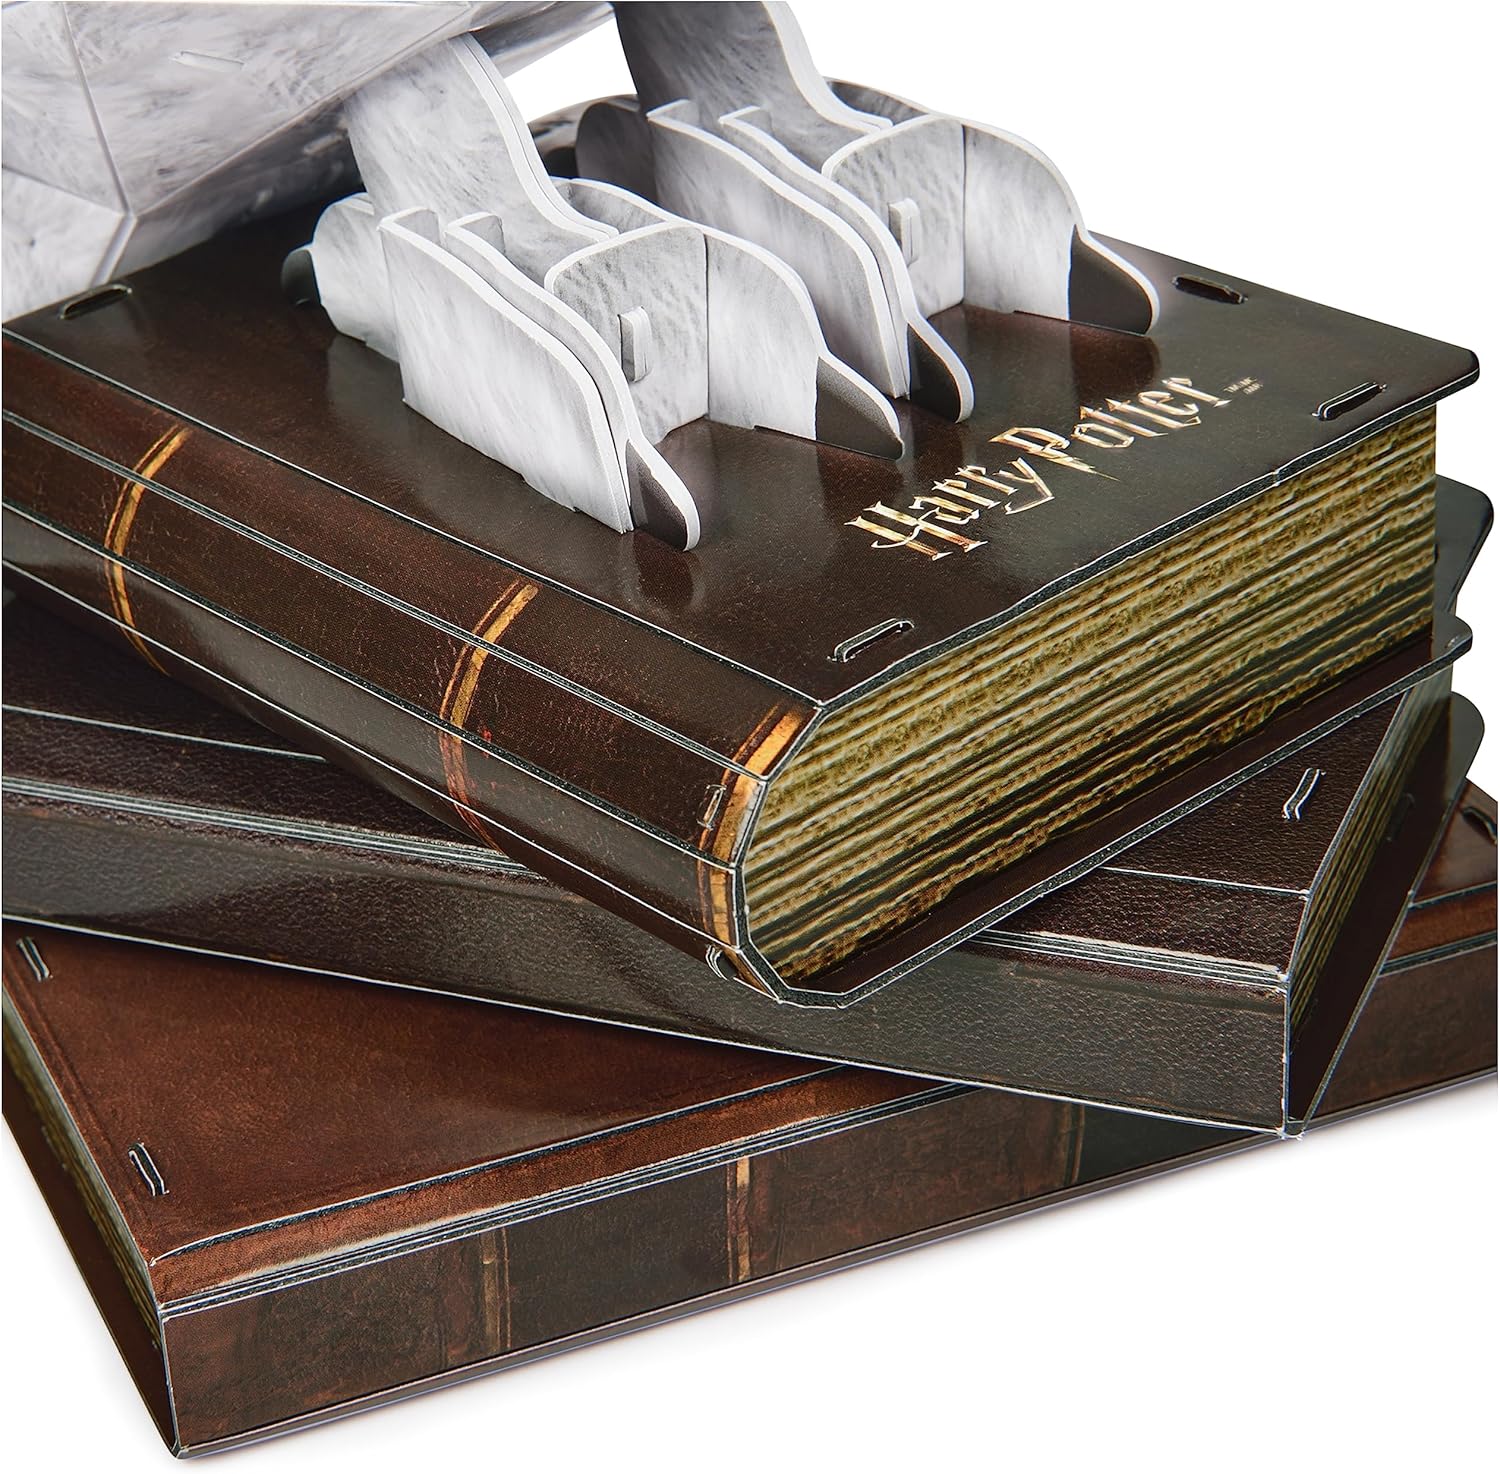
Figure 4: A detailed view of the assembled book stack base, which provides a stable foundation for the Hedwig model.
Video 1: This video demonstrates the assembly process and final display of the 4D Build Harry Potter Hedwig 3D Model Kit, highlighting its detailed features and ease of construction.
4. Display and Care
The Hedwig 3D Model Kit is designed for display. Once assembled, it measures approximately 10.6 inches x 8 inches x 13.9 inches (26.9 cm x 20.4 cm x 35.3 cm).

Figure 5: The assembled Hedwig model with its approximate dimensions indicated.
To maintain the quality and appearance of your model:
- Keep the model in a dry environment.
- Avoid prolonged exposure to direct sunlight to prevent fading.
- Dust gently with a soft, dry cloth as needed.

Figure 6: The completed Hedwig model displayed as a decorative item on a wooden surface.
5. Specifications
| Feature | Detail |
|---|---|
| Product Dimensions | 10.6 x 10.6 x 0.04 inches (flat sheets) |
| Assembled Dimensions | 10.6 in x 8 in x 13.9 in (26.9 cm x 20.4 cm x 35.3 cm) |
| Item Weight | 1.59 pounds |
| ASIN | B0BRYHS7VV |
| Item Model Number | 6068752 |
| Manufacturer Recommended Age | 12 years and up |
| Number of Pieces | 118 |
| Manufacturer | Spin Master |
6. Troubleshooting
- Pieces Not Fitting: Ensure you are using the correct pieces for the current step as indicated in the instruction manual. Some pieces may require a gentle but firm push to snap into place. Avoid forcing pieces, which could cause damage.
- Model Instability: Double-check all connections to ensure tabs are fully inserted into their corresponding slots. The base must be securely assembled to provide proper support for the entire model.
- Damaged Pieces: If any pieces are damaged during the punching out or assembly process, contact customer support for assistance.
7. Warranty and Support
This product is covered by the Spin Master Care Commitment. For full details regarding warranty, returns, or customer support, please refer to the information provided on the product packaging or visit the official Spin Master website. Contact information for customer service is typically available on the product box.


