
1. Introduction
The Godox XProII-O is a versatile TTL wireless flash trigger designed for use with Olympus and Panasonic camera systems. It offers stable 2.4G wireless transmission, High-Speed Sync (HSS) up to 1/8000s, and Bluetooth connectivity for remote control via a smartphone app. This manual provides detailed instructions for setting up and operating your XProII-O flash trigger to achieve optimal lighting control in various photographic scenarios.

Image: The Godox XProII-O TTL Wireless Flash Trigger, shown with an included cleaning cloth.
2. Key Features
- Camera Compatibility: Fully compatible with Olympus and Panasonic cameras, supporting TTL and HSS functions.
- Wireless X System: Controls Godox wireless X system flashes, including camera flashes, outdoor flashes, and studio flashes.
- Bluetooth Connectivity: Remote control via the Godox Flash app for adjusting flash output and settings.
- Even Exposure: Supports HSS up to 1/8000s for consistent exposure across the entire image.
- TCM Function: Two-way conversion between TTL and Manual modes, retaining parameters for quick exposure adjustments.
- Large LCD Display: Provides real-time display of remote flash settings for easy monitoring and control of 16 groups and 32 channels.
- Quick Release Lock: Updated lever design for secure and fast attachment/detachment from the camera hot shoe.
- Enhanced Customization: Save user settings to 5 memory slots, individual modeling lamp control, and USB-C firmware updates.
- Channel Scan Function: Scans for the least interference to ensure stable wireless communication.
3. What's in the Box
- Godox XProII-O Flash Trigger x1
4. Setup
4.1. Battery Installation
The Godox XProII-O requires 2 AA batteries for operation. Open the battery compartment cover, insert the batteries according to the polarity indicators, and close the cover securely.
4.2. Mounting on Camera
Slide the XProII-O onto your camera's hot shoe. Use the quick release lock lever to secure the trigger firmly in place. Ensure it is fully seated to establish proper electrical contact.
4.3. Power On/Off
To power on the device, locate the power switch and slide it to the 'ON' position. The LCD screen will illuminate. To power off, slide the switch to the 'OFF' position.

Image: The quick release lock ensures secure mounting and easy removal from the camera hot shoe.
5. Operating Instructions
5.1. Basic Controls and Display
The XProII-O features a large LCD screen and intuitive buttons for navigation. The main display shows active groups, power settings, and channel information. Use the control dial and dedicated buttons to adjust parameters.
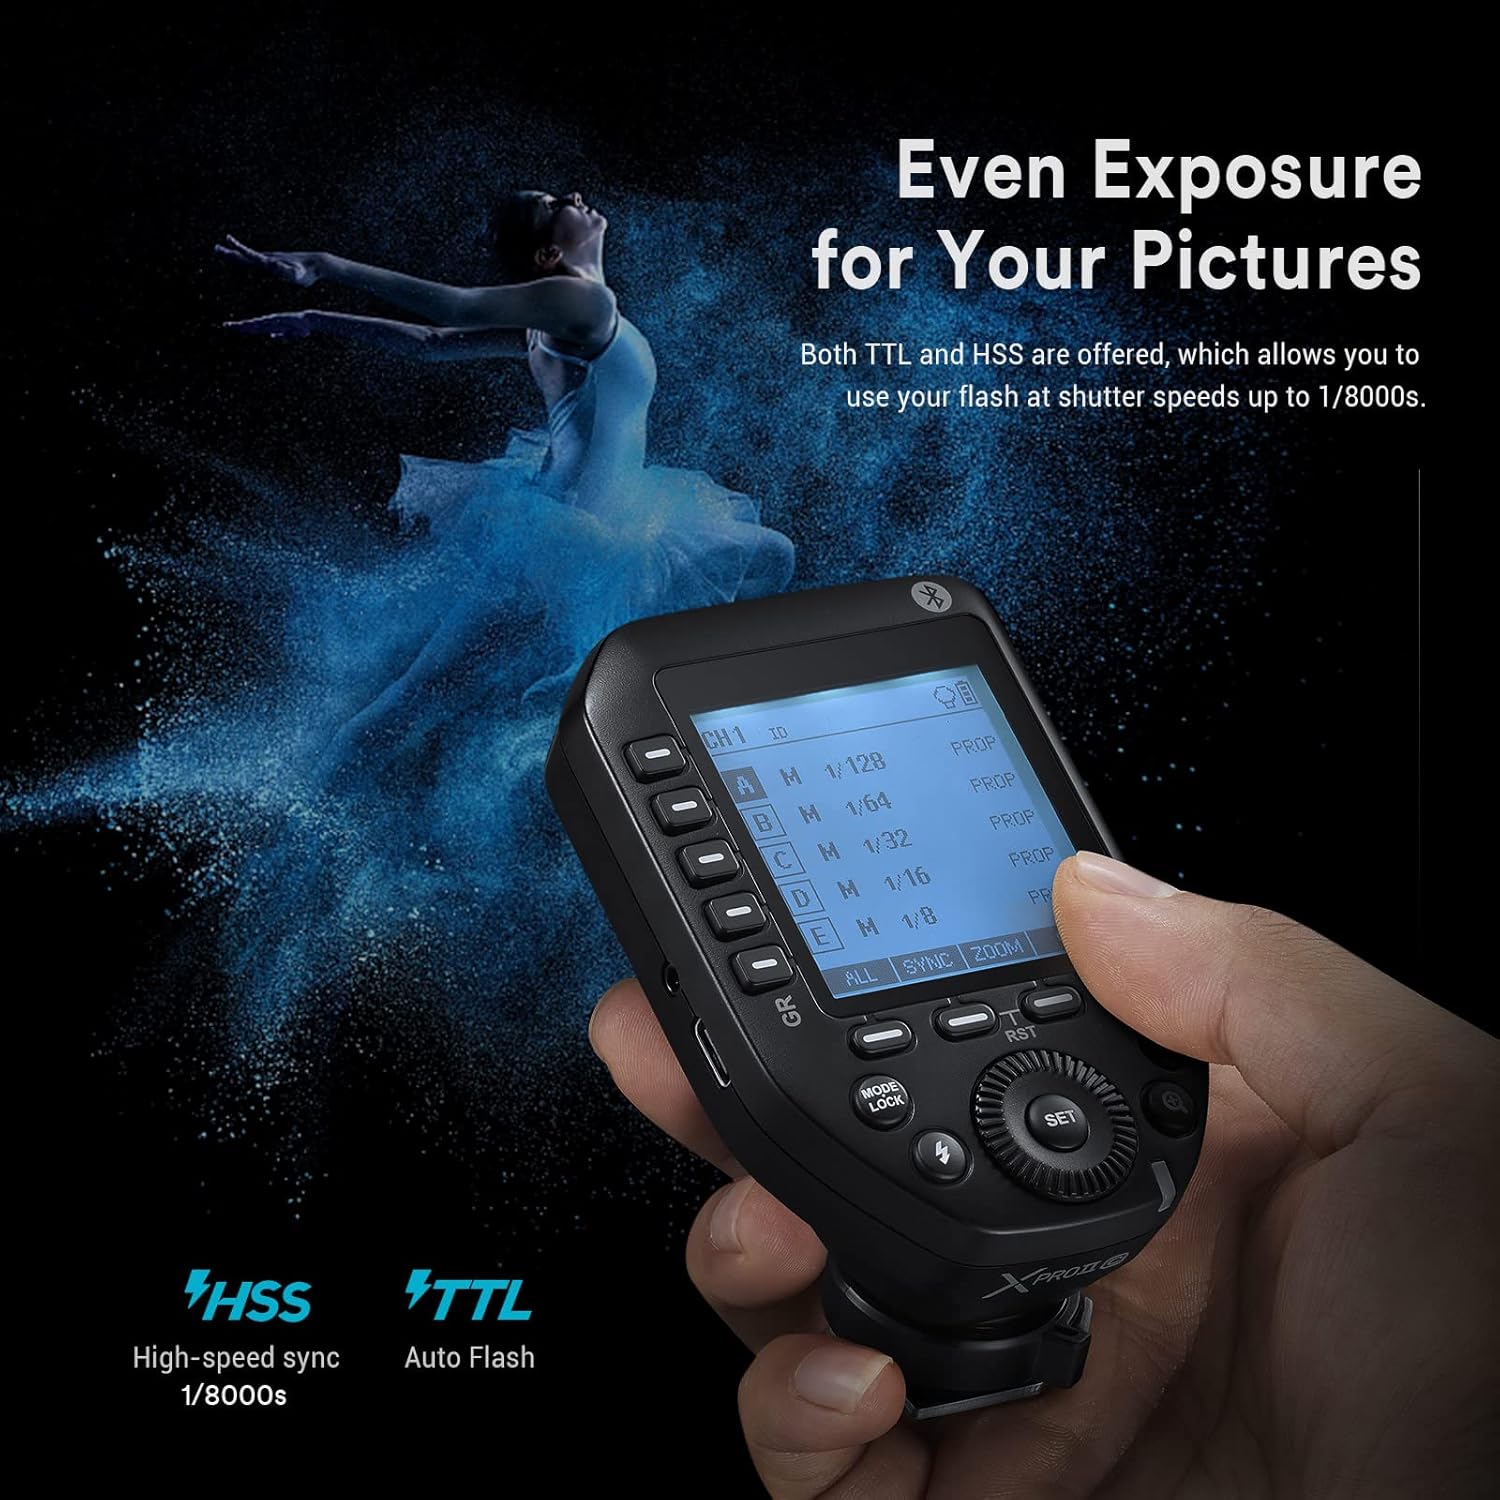
Image: The large LCD display provides clear visibility of flash settings for precise control.
5.2. 2.4G Wireless Control
The XProII-O utilizes a 2.4GHz wireless system to communicate with compatible flashes. Ensure both the trigger and the flash units are set to the same channel and ID to avoid interference. The channel scan function can help identify optimal channels in busy environments.
Video: This video demonstrates the 2.4GHz wireless control features of the Godox XProII flash trigger, including channel scanning and setting IDs for seamless communication with flash units.

Image: The XProII-O trigger on a camera, wirelessly controlling a remote Godox flash unit.
5.3. Bluetooth App Control
For enhanced convenience, connect your XProII-O to the Godox Flash smartphone app via Bluetooth. The app provides an intuitive interface to remotely adjust flash values, groups, and other settings directly from your mobile device.
Video: This tutorial demonstrates the operation of the Godox XProII TTL Wireless Flash Trigger, focusing on its Bluetooth app control capabilities for remote adjustments.

Image: A smartphone displaying the Godox Flash app, illustrating intuitive remote control over flash settings.
5.4. TTL and HSS Functions
The XProII-O fully supports TTL (Through-The-Lens) automatic flash metering and HSS (High-Speed Sync) for shutter speeds up to 1/8000s. These features ensure accurate and consistent exposure, even in challenging lighting conditions.
5.5. TCM Mode
The innovative TCM (TTL Convert Manual) function allows for instant conversion of TTL settings to manual mode with retained parameters. This helps photographers quickly achieve proper exposure values and maintain consistent lighting.

Image: The XProII-O display illustrating the TCM function, which converts TTL flash values to manual settings.
5.6. Multi-Shooting Mode
In multi-shooting mode, the XProII-O sends the flash values you set to a group of fixed lights, allowing them to operate according to your specified parameters. This is useful for collaborative shoots or complex lighting setups.

Image: An illustration of the multi-shooting mode, where the XProII-O controls multiple flash units simultaneously.
5.7. Single Contact Triggering
Activating the single contact triggering feature can significantly increase the speed of burst mode shooting. Flashes are triggered in rapid succession, reducing the interval between each flash for high-speed photography.

Image: The XProII-O display showing the settings for single contact triggering, optimized for burst mode performance.
5.8. L-858 Mode (Light Meter Integration)
The XProII-O can integrate with the Sekonic L-858 light meter, which features a built-in Godox 2.4G module. This allows for direct adjustment of flash parameters through the light meter, streamlining your workflow for precise lighting control.
Video: This demonstration highlights the usage of the Godox XProII TTL Wireless Flash Trigger, including its integration with light meters for advanced control.
6. Maintenance
To ensure the longevity and optimal performance of your Godox XProII-O, follow these maintenance guidelines:
- Cleaning: Use a soft, dry cloth to clean the device. Avoid using harsh chemicals or abrasive materials.
- Storage: Store the trigger in a cool, dry place away from direct sunlight and extreme temperatures. Remove batteries if storing for extended periods.
- Handling: Handle the device with care to prevent drops or impacts that could damage internal components.
- Firmware Updates: Regularly check the Godox website for firmware updates. Updates can be installed via the USB-C port using the Godox V3 utility on a PC or Mac.
7. Troubleshooting
If you encounter issues with your XProII-O, refer to the following common troubleshooting steps:
- No Power: Ensure batteries are correctly inserted and fully charged. Replace batteries if necessary.
- No Flash Triggering: Verify that the trigger and flash units are set to the same channel and ID. Check that the flash units are powered on and ready to fire.
- Interference: Use the channel scan function to find a clear channel with minimal interference.
- App Connectivity Issues: Ensure Bluetooth is enabled on your smartphone and the XProII-O. Restart both devices and try reconnecting.
- Incorrect Exposure: Check TTL/Manual settings and adjust exposure compensation or manual power levels as needed. Utilize TCM for quick adjustments.
8. Specifications
| Specification | Detail |
|---|---|
| Product Dimensions | 1.93 x 2.44 x 2.4 inches |
| Item Weight | 9.2 ounces |
| Batteries | 2 AA batteries required |
| Compatible Mountings | Panasonic (and Olympus) |
| Camera Flash | External |
| Flash Sync Speed | 1/8000s |
| Included Components | Godox XProII-O Flash Trigger |
9. Warranty and Support
For warranty information, technical support, or service inquiries, please refer to the official Godox website or contact your authorized dealer. Keep your purchase receipt as proof of purchase for warranty claims.