
1. Introduction
This instruction manual provides comprehensive guidance for the safe and effective installation, operation, and maintenance of your Philips 10-inch LED Flush Mount Double Ring Ceiling Light. This integrated LED light features a brushed nickel finish, providing 1200 lumens of bright white light at 3000K. It offers smooth dimming functionality without flicker or hum, ensuring uniform light distribution. Designed with Philips EyeComfort criteria, this light aims to provide visual comfort and has a long operational lifetime.
2. Safety Information
Please read all instructions carefully before installation and use. Retain this manual for future reference.
- Electrical Safety: Always turn off power at the circuit breaker or fuse box before beginning installation or performing any maintenance. Improper wiring can result in electric shock or fire.
- Qualified Electrician: If you are unsure about the installation process, consult a qualified electrician.
- Voltage: Ensure the power supply voltage matches the fixture's requirements (120 Volts).
- Mounting: Mount the fixture securely to a structural element of the ceiling to prevent it from falling.
- Integrated LED: This fixture contains an integrated LED light source. Do not attempt to replace the LED bulbs, as they are not user-serviceable.
- Dimmability: Use only with compatible LED dimmers. Refer to the dimmer manufacturer's instructions for compatibility.
- Indoor Use Only: This product is designed for indoor use in dry locations. Do not expose to moisture or direct water.
3. Package Contents
Verify that all components are present before beginning installation:
- Philips LED Flush Mount Double Ring Ceiling Light (2 units)
- Mounting Hardware (screws, wire nuts)
- Instruction Manual

Image 3.1: Packaging for the Philips LED Flush Mount Double Ring Ceiling Light 2-Pack, showing the two lights and their boxes.
4. Specifications
| Feature | Specification |
|---|---|
| Brand | Philips LED |
| Model Name | LED Double Ring Light |
| Item Model Number | 574608 |
| Color | Bright White (3000K) |
| Material | Plastic |
| Style | 10 Inch - Brushed Nickel |
| Light Fixture Form | Ceiling |
| Product Dimensions | 9.8" Diameter x 3.4" Height |
| Installation Type | Flush Mount |
| Special Feature | Dimmable, Energy Efficient |
| Light Source Type | LED (Integrated) |
| Voltage | 120 Volts |
| Wattage | 16 Watts (equivalent to 75W incandescent) |
| Brightness | 1200 Lumens |
| Lifetime | Up to 50,000 hours |
| Indoor/Outdoor Usage | Indoor |
| Assembly Required | Yes |

Image 4.1: Dimensional diagram of the ceiling light, indicating a diameter of 9.8 inches and a height of 3.4 inches.
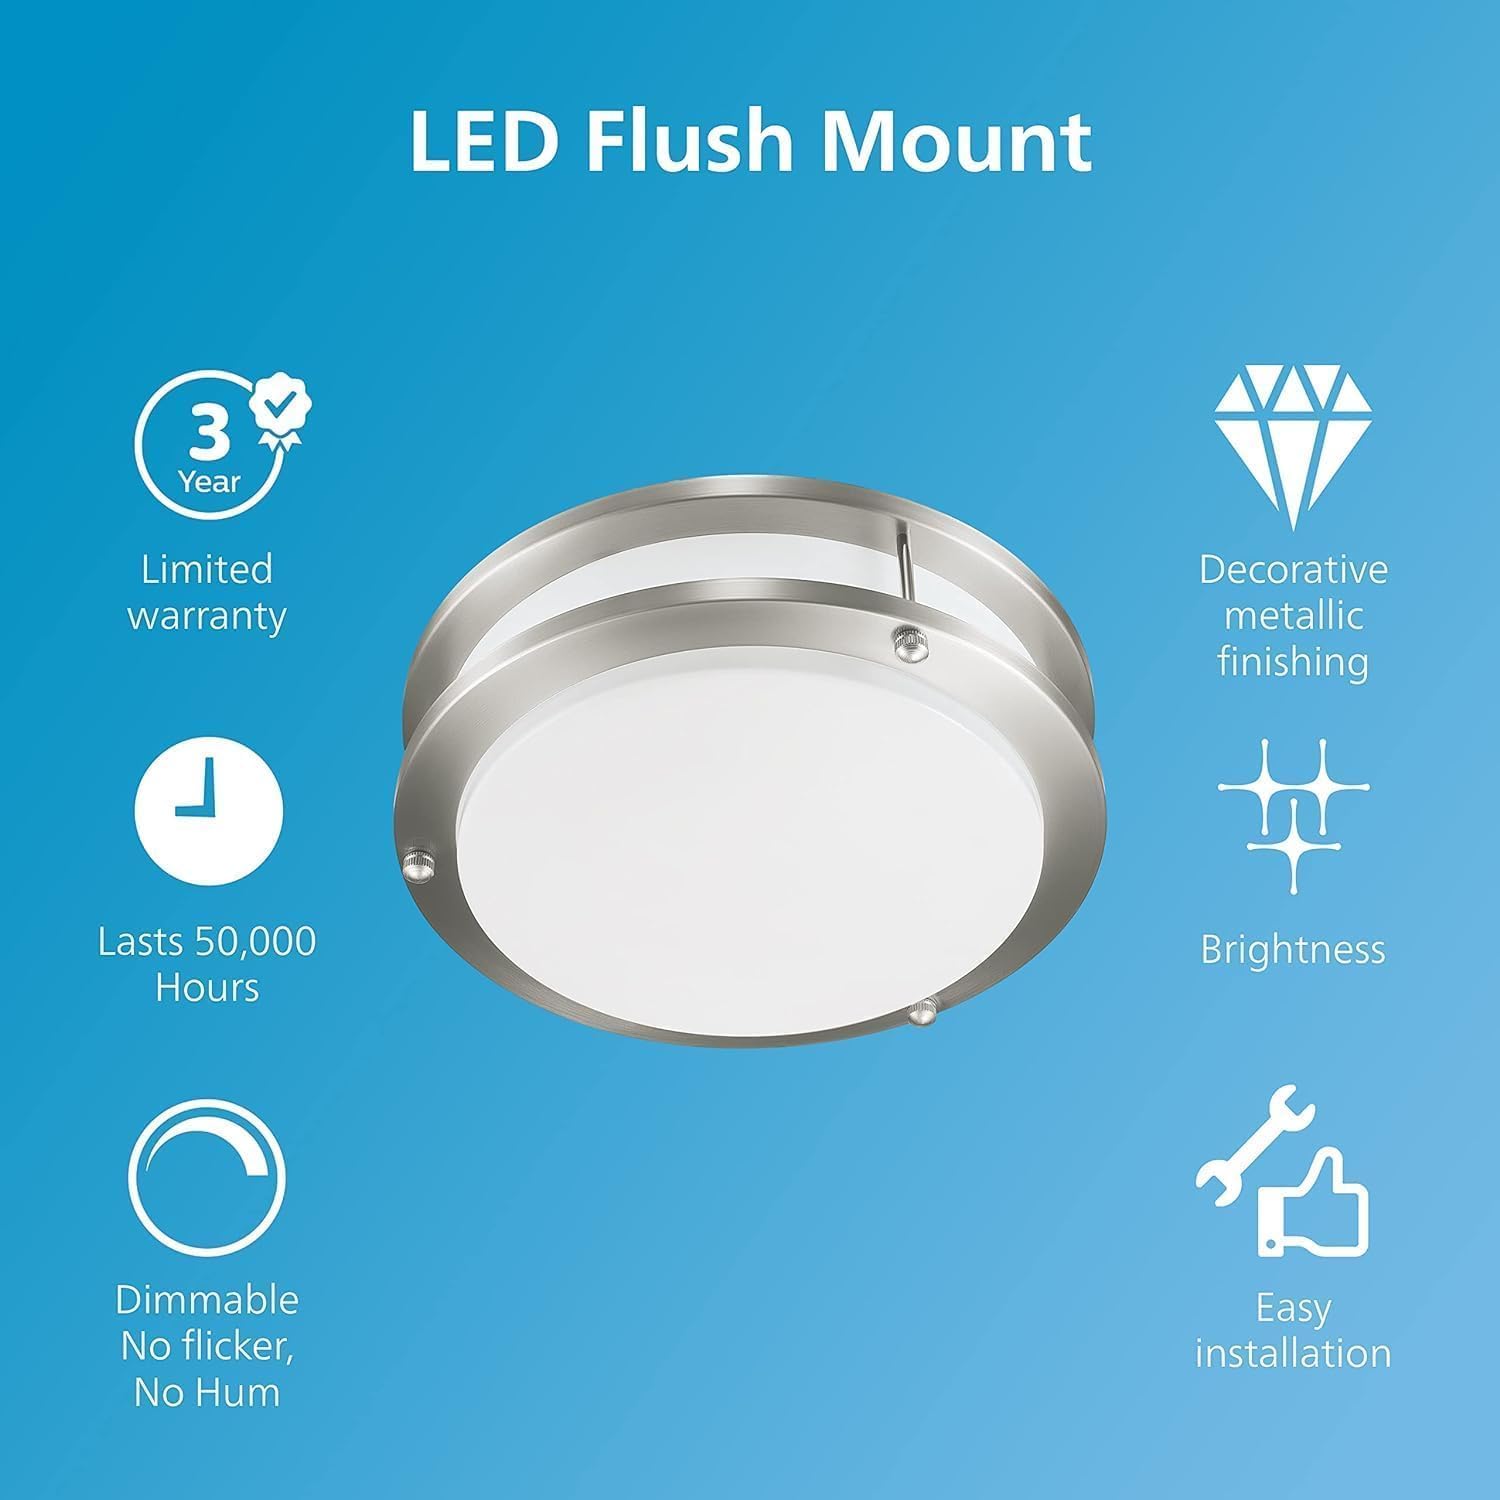
Image 4.2: Technical line drawing providing precise measurements for the top and side profiles of the light fixture.
5. Setup and Installation
Follow these steps to properly install your Philips LED Flush Mount Double Ring Ceiling Light. Ensure power is OFF at the circuit breaker before starting.
- Prepare the Area: Turn off the power to the junction box at the circuit breaker. Clear the work area and gather necessary tools (screwdriver, wire strippers, ladder).
- Remove Old Fixture (if applicable): Carefully disconnect and remove any existing light fixture.
- Mount the Bracket: Attach the mounting bracket (usually included with the fixture) to the junction box using the provided screws. Ensure it is securely fastened.
- Wire Connections: Connect the electrical wires from the ceiling to the fixture's wires. Match black to black (live), white to white (neutral), and green or bare copper to green or bare copper (ground). Secure connections with wire nuts.
- Secure the Fixture: Carefully push the wired fixture up towards the ceiling, tucking the wires into the junction box. Align the fixture with the mounting bracket and secure it with the decorative screws or nuts provided.
- Restore Power: Once the fixture is securely installed, turn the power back on at the circuit breaker.
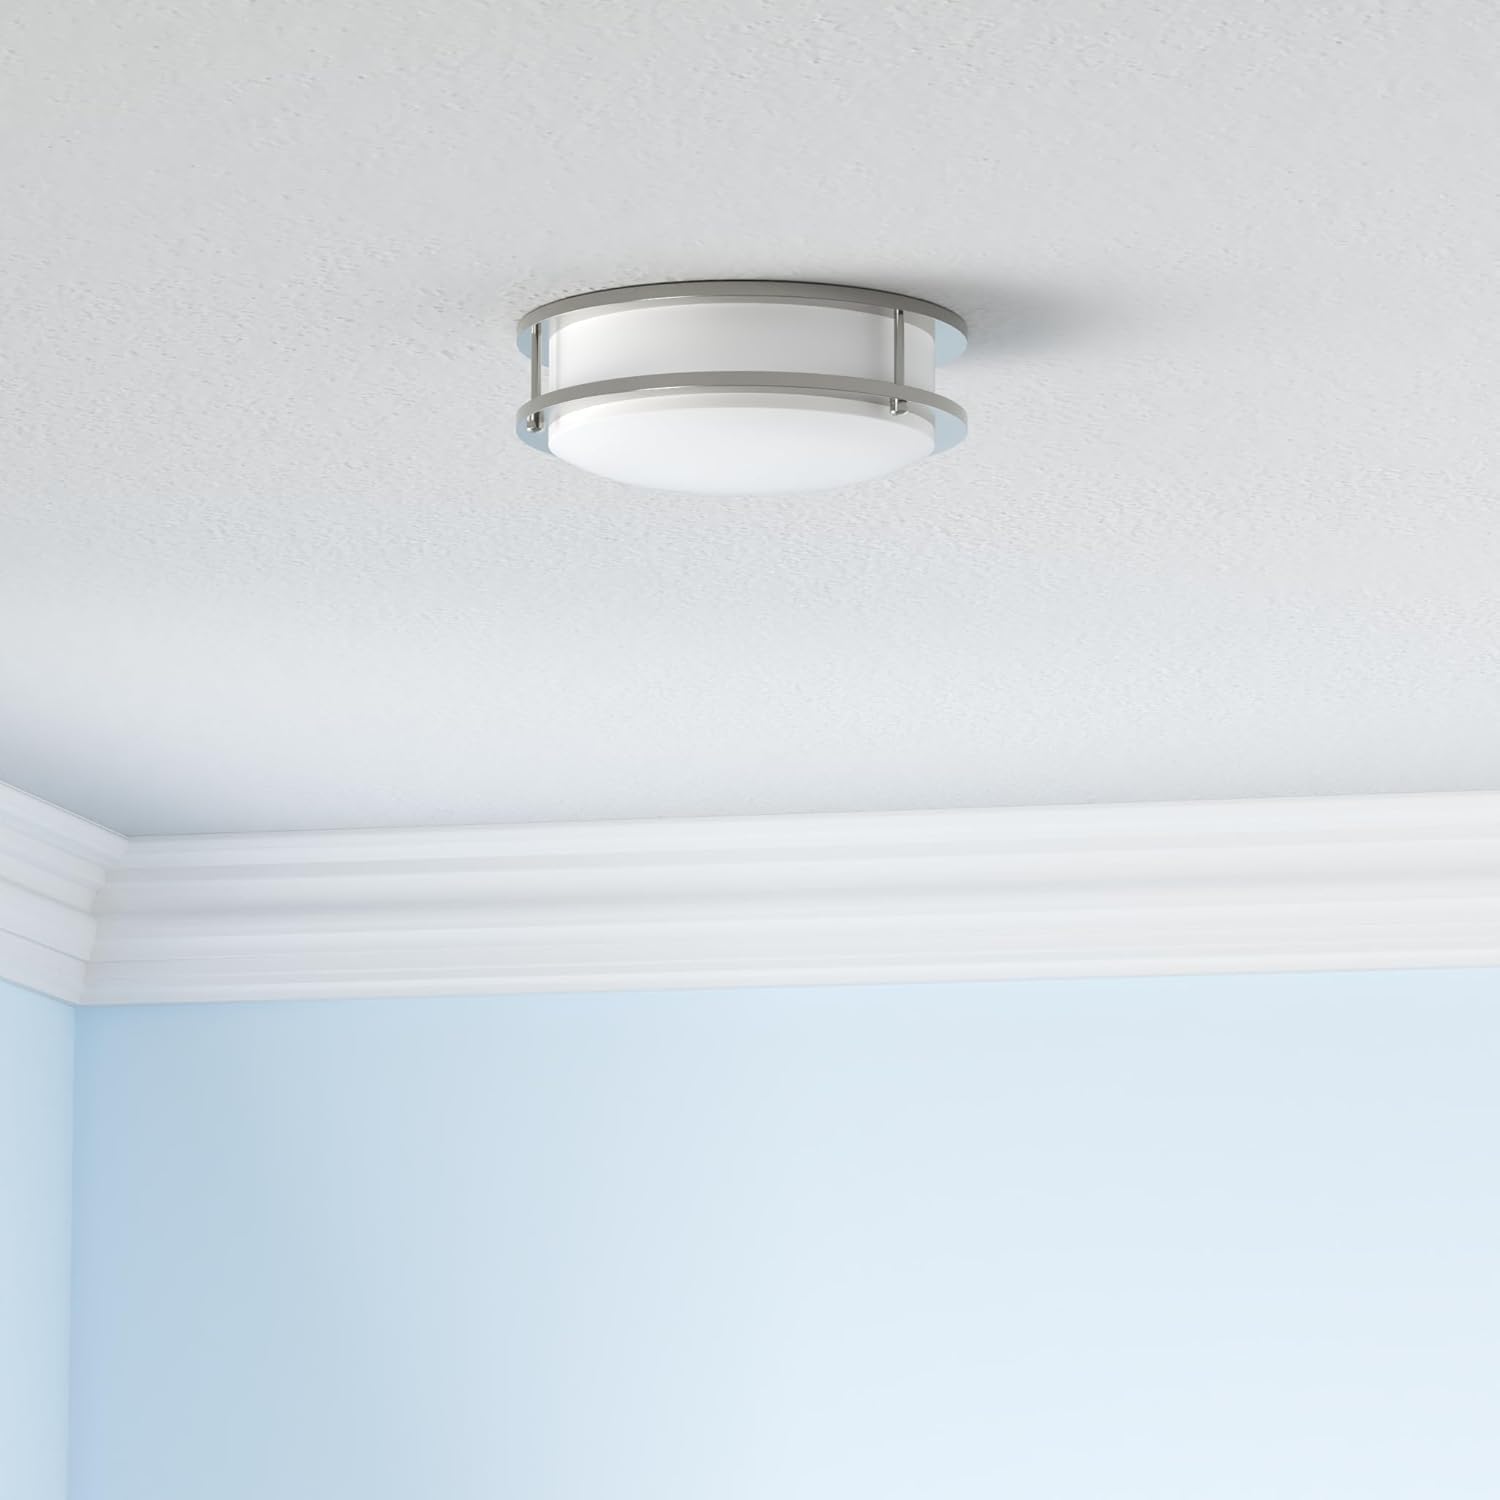
Image 5.1: The Philips LED Flush Mount Double Ring Ceiling Light seamlessly installed on a ceiling, demonstrating its flush profile.

Image 5.2: A detailed close-up of the light fixture, showcasing its brushed nickel finish and double ring design.

Image 5.3: An angled perspective of the light fixture, highlighting the quality of the brushed nickel finish.
6. Operating Instructions
The Philips LED Flush Mount Double Ring Ceiling Light is designed for simple operation and enhanced visual comfort.
6.1 Turning On/Off
Operate the light using a standard wall switch connected to the fixture's circuit.
6.2 Dimming Functionality
This fixture is dimmable from 100% down to 10% brightness. To utilize the dimming feature, ensure you have a compatible LED dimmer switch installed. Adjust the dimmer to achieve your desired light level and ambiance. The light is engineered to provide smooth dimming without noticeable flicker or hum.

Image 6.1: Visual representation of the light's dimming range, transitioning from full brightness to a softer illumination.
6.3 EyeComfort Technology
Philips EyeComfort LED lights are designed to meet strict criteria for visual comfort, minimizing factors like flicker and glare that can cause eye strain. This ensures a comfortable lighting experience for various activities.

Image 6.2: The Philips EyeComfort logo, signifying the light's design for optimal visual comfort.
Video 6.1: An official Philips video explaining the benefits and features of Philips EyeComfort LED lighting, including flicker reduction, glare minimization, and accurate color rendering.
7. Maintenance
The Philips LED Flush Mount Double Ring Ceiling Light requires minimal maintenance.
- Cleaning: Ensure the power is turned off before cleaning. Use a soft, dry, or slightly damp cloth to wipe the exterior of the fixture. Do not use abrasive cleaners, solvents, or polishes, as these can damage the finish or electrical components.
- No Bulb Replacement: As this fixture uses integrated LED technology, there are no bulbs to replace. The LED light source is designed to last for the lifetime of the product.
8. Troubleshooting
If you encounter issues with your light fixture, refer to the following common problems and solutions:
| Problem | Possible Cause | Solution |
|---|---|---|
| Light does not turn on | No power to the fixture; loose wiring; faulty switch. | Check circuit breaker/fuse. Ensure all wire connections are secure. Test the wall switch. |
| Light flickers or hums | Incompatible dimmer switch; loose wiring. | Ensure you are using an LED-compatible dimmer. Check wire connections. |
| Light is too dim or too bright | Dimmer setting; incorrect light selection for the space. | Adjust the dimmer switch. This fixture provides 1200 lumens at 3000K. |
| Physical damage to the fixture | Impact or improper handling. | Discontinue use. Contact customer support for assistance. |
If the problem persists after attempting these solutions, please contact Philips customer support.
9. Warranty and Support
This Philips LED Flush Mount Double Ring Ceiling Light is covered by a 3-year manufacturer's warranty. This warranty covers defects in materials and workmanship under normal use.
For warranty claims, technical support, or any questions regarding your product, please visit the official Philips Lighting website or contact their customer service department. Keep your proof of purchase for warranty validation.