
1. Important Safety Instructions
Read and understand all safety warnings and instructions before operating this generator. Failure to follow these instructions may result in electric shock, fire, serious injury, or death. Keep this manual for future reference.
- Carbon Monoxide Hazard: Generators produce carbon monoxide, a colorless, odorless, poisonous gas. Operate the generator outdoors in a well-ventilated area, far from windows, doors, and vents. Never operate indoors, in garages, or enclosed spaces.
- Fire Hazard: Gasoline is highly flammable. Refuel in a well-ventilated area with the engine off and cool. Do not smoke or allow open flames near the generator. Store fuel in approved containers.
- Electrical Shock Hazard: Never operate the generator in wet conditions. Ensure all electrical connections are dry and properly grounded. Do not touch live electrical parts.
- Hot Surfaces: The generator engine and muffler become very hot during operation and remain hot for some time after shutdown. Avoid contact to prevent burns.
- Children and Pets: Keep children and pets away from the generator, especially during operation.
2. Product Overview
The EXTRALINK EGP-3000 is a reliable gasoline-powered generator designed to provide portable electricity. It features a robust frame, easy-start mechanism, and multiple outlets for various applications.
2.1 Generator Components

Figure 2.1: Overview of EXTRALINK EGP-3000 Generator components, including the fuel tank, engine, control panel, and frame.

Figure 2.2: Detailed view of generator components. Labels include: Motorsschalter (Engine Switch), Tank (Fuel Tank), Auspuff-Schalldämpfer (Exhaust Muffler), Tankdeckel (Fuel Cap), Zündkerze (Spark Plug), Ölmessstab (Oil Dipstick), Erdung (Grounding Terminal), Rahmen (Frame), Griff am Ausgang (Handle at Outlet), Luftfilter (Air Filter).
2.2 Control Panel

Figure 2.3: The control panel features the Motorsschalter (Engine Switch), Voltmeter, two AC 230V outlets, and a DC Battery Charge port.
3. Setup
Before first use, ensure the generator is properly set up and all safety checks are performed.
3.1 Unpacking and Assembly
- Carefully remove the generator from its packaging.
- Inspect for any shipping damage. Contact customer support if damage is found.
- Attach the wheels and handles if they are not pre-installed, following the instructions in the separate assembly guide (if provided).
3.2 Adding Engine Oil
The engine is shipped without oil. You must add the correct type and amount of oil before starting.
- Place the generator on a level surface.
- Locate the oil fill cap/dipstick (refer to Figure 2.2).
- Remove the dipstick and wipe it clean.
- Pour the recommended engine oil (e.g., SAE 10W-30) into the oil fill opening until it reaches the upper mark on the dipstick. Do not overfill.
- Replace the dipstick and tighten the cap.
3.3 Adding Fuel
Use fresh, unleaded gasoline with an octane rating of 87 or higher. Do not use E85 or mixed fuels.
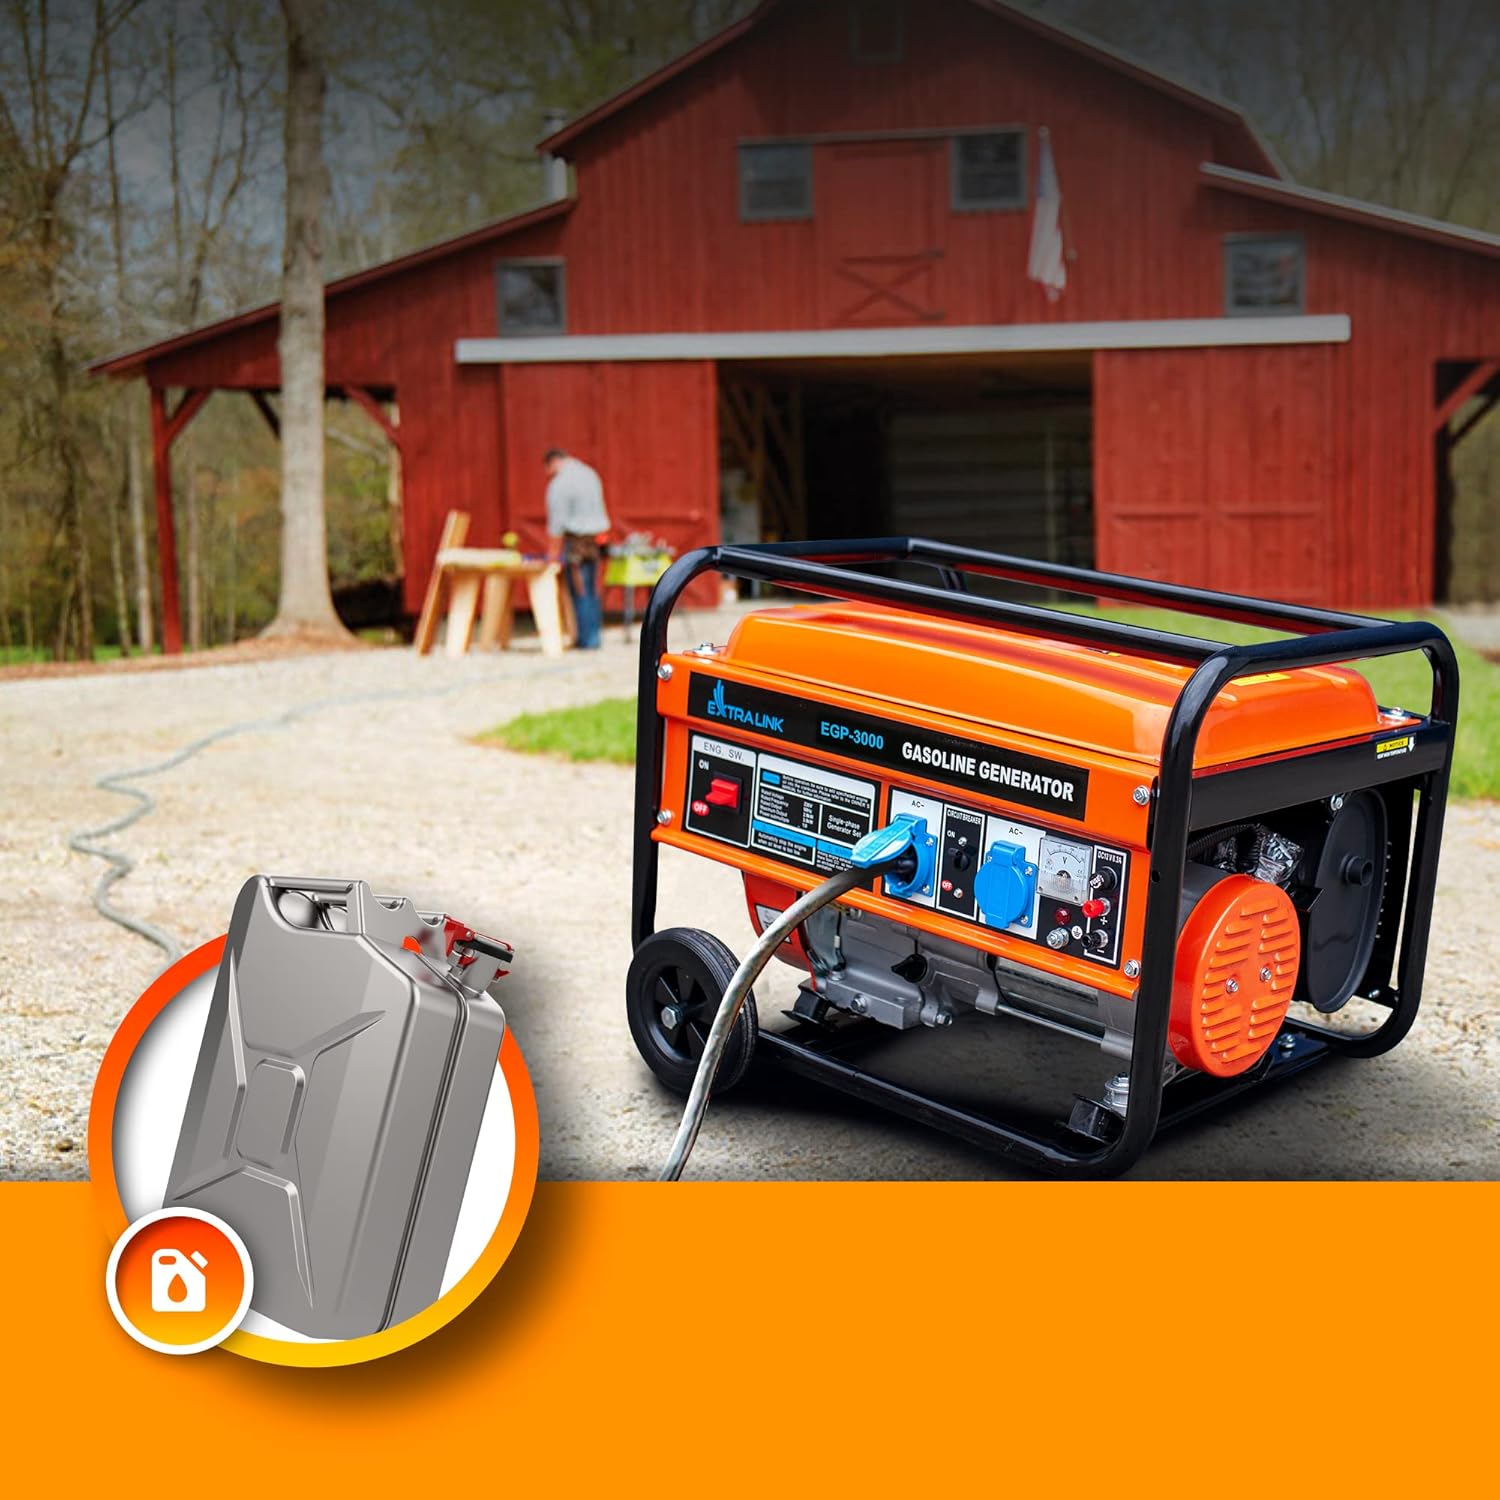
Figure 3.1: Safely adding gasoline to the generator's fuel tank.
- Ensure the generator is off and cool.
- Move the generator to a well-ventilated outdoor area.
- Unscrew the fuel cap (refer to Figure 2.2).
- Carefully pour gasoline into the fuel tank, avoiding spills. Do not fill above the red indicator or the bottom of the filler neck.
- Securely replace the fuel cap. Wipe up any spilled fuel immediately.
3.4 Grounding the Generator
Proper grounding is essential for safety. Connect the generator to an appropriate ground source using a heavy-gauge wire (not included) to the grounding terminal (refer to Figure 2.2).
4. Operating Instructions
4.1 Starting the Generator
Always ensure the generator is in a safe, well-ventilated outdoor location before starting.

Figure 4.1: Close-up of the engine switch on the control panel.

Figure 4.2: Using the manual pull start cord to ignite the engine.
- Ensure the generator has sufficient oil and fuel.
- Turn the engine switch (Motorsschalter) to the "ON" position (refer to Figure 2.3 and 4.1).
- If the engine is cold, move the choke lever to the "CHOKE" position.
- Firmly pull the recoil starter handle (refer to Figure 4.2) until the engine starts. Do not let the rope snap back.
- Once the engine starts, slowly move the choke lever to the "RUN" position.
- Allow the generator to run for a few minutes to warm up before connecting any electrical devices.
4.2 Connecting Electrical Devices
Only connect devices that match the generator's voltage and wattage capabilities.
- Ensure the generator is running smoothly.
- Plug your electrical devices into the 230V AC outlets on the control panel (refer to Figure 2.3).
- Do not overload the generator. The total wattage of all connected devices must not exceed the generator's rated output (2800W continuous, 3000W peak).
- The generator features overload protection, which will shut down the unit if overloaded. If this occurs, disconnect devices, restart the generator, and reduce the load.
4.3 Stopping the Generator
- Disconnect all electrical devices from the generator.
- Allow the generator to run for a few minutes without load to cool down.
- Turn the engine switch (Motorsschalter) to the "OFF" position.
- Turn the fuel valve to the "OFF" position (if applicable).
5. Maintenance
Regular maintenance ensures optimal performance and extends the life of your generator. Always perform maintenance with the engine off and cool.
5.1 Regular Checks
- Before Each Use: Check engine oil level, fuel level, and inspect for any loose parts or leaks.
- Every 20 Hours or Monthly: Check spark plug, clean air filter.
- Every 50 Hours or 3 Months: Change engine oil.
5.2 Oil Change
- Run the engine for a few minutes to warm the oil, then shut it off.
- Place a drain pan under the oil drain plug.
- Remove the oil drain plug and the oil fill cap/dipstick to allow the oil to drain completely.
- Replace the drain plug and refill with the recommended amount and type of new engine oil (refer to Section 3.2).
5.3 Air Filter Cleaning
A dirty air filter can reduce engine performance and lifespan.
- Remove the air filter cover and element (refer to Figure 2.2).
- Clean the foam element with warm, soapy water, rinse thoroughly, and let it air dry completely.
- Lightly oil the foam element with engine oil and squeeze out excess.
- Reinstall the air filter element and cover.
5.4 Spark Plug Inspection
- Remove the spark plug cap and use a spark plug wrench to remove the spark plug (refer to Figure 2.2).
- Inspect the spark plug for carbon buildup or wear. Clean with a wire brush or replace if necessary.
- Check the spark plug gap and adjust if needed according to specifications.
- Reinstall the spark plug and cap.
5.5 Storage
For long-term storage (over 30 days), prepare the generator as follows:
- Drain the fuel tank and carburetor. Run the engine until it stops from lack of fuel.
- Change the engine oil.
- Remove the spark plug and pour a small amount of engine oil into the cylinder. Pull the recoil starter a few times to distribute the oil, then reinstall the spark plug.
- Clean the exterior of the generator.
- Store in a clean, dry, well-ventilated area.
6. Troubleshooting
This section provides solutions for common issues you might encounter.
| Problem | Possible Cause | Solution |
|---|---|---|
| Engine does not start | No fuel Low oil level Engine switch OFF Choke incorrect Spark plug issue | Add fuel Add oil Turn engine switch ON Adjust choke Inspect/clean/replace spark plug |
| No power output | Overload protection tripped Circuit breaker tripped Faulty connection | Reduce load, restart generator Reset circuit breaker Check connections |
| Engine runs rough | Stale fuel Dirty air filter Spark plug issue | Drain and refill with fresh fuel Clean/replace air filter Inspect/clean/replace spark plug |
| Excessive smoke | Overfilled oil Wrong oil type Engine malfunction | Drain excess oil Use recommended oil Contact service center |
7. Specifications
Technical data for the EXTRALINK EGP-3000 Gasoline Generator.

Figure 7.1: Dimensions (Length: 605mm, Width: 440mm, Height: 440mm) and weight (45kg) of the EXTRALINK EGP-3000 generator. The robust wheels and stable handles facilitate easy transport.
| Feature | Specification |
|---|---|
| Brand | EXTRALINK |
| Model Number | EGP-3000 |
| Manufacturer | EXTRALINK |
| Product Dimensions (L x W x H) | 50 x 50 x 28 cm (approx. 60.5 x 44 x 44 cm as per image) |
| Item Weight | 44.1 Kilograms |
| Output Power (Rated) | 2800 Watts |
| Output Power (Max) | 3000 Watts |
| Voltage | 230 Volts |
| Fuel Type | Gasoline |
| Fuel Tank Capacity | 15 Liters (inferred from product title) |
| Continuous Operation Time (100% load) | Up to 11 hours |
| Special Feature | Digital Display, Overload Protection |
| Included Components | Gasoline power unit |
8. Warranty and Customer Support
8.1 Warranty Information
The EXTRALINK EGP-3000 Gasoline Generator comes with a 36-month warranty from the date of purchase. This warranty covers defects in materials and workmanship under normal use. Please retain your proof of purchase for warranty claims.
The warranty does not cover:
- Damage caused by improper use, neglect, or unauthorized modifications.
- Normal wear and tear of consumable parts (e.g., spark plugs, air filters).
- Damage from accidents or natural disasters.
8.2 Customer Support
For technical assistance, troubleshooting beyond this manual, or warranty inquiries, please contact EXTRALINK customer support. Refer to the product packaging or the official EXTRALINK website for the most current contact information.