1. Introduction
The AstroAI Digital Clamp Meter Multimeter is a professional-grade instrument designed for precise electrical measurements. This device offers a comprehensive range of functions including AC/DC current, AC/DC voltage, resistance, capacitance, frequency, duty cycle, temperature, diode, and continuity testing. Its advanced features like Inrush Current, VFD, and LoZ modes make it an indispensable tool for electricians, technicians, and DIY enthusiasts.
Built with safety and convenience in mind, the CM600 model ensures reliable performance in various applications, from industrial electrical testing to solar PV projects. Please read this manual thoroughly before operation to ensure safe and effective use of the device.
2. Safety Information
Always adhere to safety precautions when using electrical testing equipment. Failure to do so may result in injury or damage to the meter.
- Do not exceed the maximum input value of any measurement range.
- Exercise extreme caution when working with voltages above 30V AC RMS, 42V peak, or 60V DC. These voltages pose a shock hazard.
- Before changing functions, disconnect the test leads from the circuit under test.
- Ensure the meter is in the correct mode and range for the measurement being performed.
- Inspect test leads for damage before each use. Do not use if insulation is compromised.
- Do not operate the meter if it appears damaged or if the case is open.
- Adhere to local and national safety codes.
This device complies with IEC 61010-1, CAT IV 600V, CAT III 1000V safety standards.
3. Product Components
The AstroAI Digital Clamp Meter Multimeter package includes the following items:
- AstroAI Digital Clamp Meter (CM600)
- Test Leads (Red and Black)
- K-Type Thermocouple
- Carrying Case
- AAA Batteries (3 included)
- User Manual

4. Setup
4.1 Battery Installation
The AstroAI CM600 requires 3 AAA batteries, which are included in the package. To install or replace batteries:
- Ensure the meter is turned OFF.
- Locate the battery compartment cover on the back of the meter.
- Use a screwdriver to open the battery compartment.
- Insert the 3 AAA batteries, observing the correct polarity (+/-) as indicated inside the compartment.
- Replace the battery compartment cover and secure it with the screw.
4.2 Connecting Test Leads
To connect the test leads:
- Insert the black test lead into the 'COM' (Common) input jack.
- Insert the red test lead into the 'INPUT' jack for voltage, resistance, capacitance, frequency, and diode measurements.
- For temperature measurements, connect the K-type thermocouple to the appropriate input terminals, observing polarity.
5. Operating Instructions
5.1 Power On/Off and Mode Selection
Turn the rotary dial to the desired measurement function to power on the meter. Turn the dial to 'OFF' to power off the meter. Use the 'FUNC' button to cycle through different measurement modes within a single dial position (e.g., AC/DC voltage, resistance/continuity/diode).

5.2 AC/DC Current Measurement (Clamp Function)
To measure AC/DC current using the clamp:
- Turn the rotary dial to the AC/DC Current (A~) or (A=) position.
- Press the clamp trigger to open the jaws.
- Place only one conductor within the clamp jaws. Do not clamp around an entire power cord, as this will result in a zero reading due to opposing magnetic fields.
- Read the current value on the display.

5.3 AC/DC Voltage Measurement
To measure AC/DC voltage:
- Turn the rotary dial to the Voltage (V~) or (V=) position.
- Connect the test leads in parallel to the circuit or component being measured.
- Read the voltage value on the display.
5.4 Inrush Current Measurement
The Inrush function measures the initial surge of current when a device is powered on, useful for diagnosing motor startup issues. This function is only available for AC current.
- Turn the rotary dial to the AC Current (A~) position.
- Press the 'INRUSH' button.
- Clamp the meter around the single live conductor of the device to be tested.
- Power on the device and observe the inrush current reading. The measurement time is approximately 100ms.

5.5 VFD Function (Variable Frequency Drive)
The VFD function allows for accurate voltage and current measurements on variable frequency drives, which often produce non-sinusoidal waveforms.
- Turn the rotary dial to the VFD position (often combined with AC Voltage/Current).
- Connect the test leads or clamp the jaws as appropriate for voltage or current measurement on the VFD circuit.
- Read the measurement on the display.

5.6 LoZ Function (Low Impedance Voltage)
The LoZ function provides a low input impedance voltage measurement, which helps to eliminate 'ghost voltages' caused by capacitive coupling in unused or open circuits.
- Turn the rotary dial to the LoZ position (often combined with AC/DC Voltage).
- Connect the test leads to the circuit where ghost voltages are suspected.
- The meter will display the true voltage, effectively draining any induced voltage.

5.7 NCV Detection (Non-Contact Voltage)
The NCV function allows for voltage detection without physical contact, enhancing safety.
- Turn the rotary dial to the NCV position.
- Move the top tip of the meter close to the conductor or outlet.
- The meter will emit an audible beep and/or visual indication (e.g., LED light) when AC voltage is detected.

5.8 Other Functions
- Resistance: Measure the opposition to current flow.
- Continuity: Test for a complete circuit path. An audible beep indicates continuity.
- Diode: Test the functionality of diodes.
- Capacitance: Measure the ability of a component to store an electrical charge.
- Frequency/Duty Cycle: Measure the frequency and duty cycle of AC signals.
- Temperature: Use the included K-type thermocouple to measure temperature.
- Data Hold: Press the 'HOLD' button to freeze the current reading on the display.
- Max/Min: Record the maximum and minimum readings during a measurement session.
- REL/ZERO: Use the relative mode to display the difference between a stored reference value and the current measurement, or zero out the display.
6. Maintenance
6.1 Cleaning
To clean the meter, wipe the case with a damp cloth and a mild detergent. Do not use abrasives or solvents. Ensure the meter is completely dry before use.
6.2 Battery Replacement
When the battery indicator appears on the display, replace the batteries promptly to ensure accurate readings. Refer to Section 4.1 for battery installation instructions.
6.3 Storage
If the meter is not to be used for an extended period, remove the batteries to prevent leakage and corrosion. Store the meter in its carrying case in a cool, dry environment, away from direct sunlight and extreme temperatures.
7. Troubleshooting
If you encounter issues with your AstroAI Digital Clamp Meter, refer to the following common problems and solutions:
| Problem | Possible Cause | Solution |
|---|---|---|
| Meter does not power on | Dead or incorrectly installed batteries | Check battery polarity; replace batteries. |
| No reading or 'OL' displayed | Overload, incorrect range, or open circuit | Select a higher range; check circuit continuity; ensure proper connection. |
| Inaccurate readings | Low battery, external interference, or incorrect mode | Replace batteries; move away from strong electromagnetic fields; ensure correct function is selected. |
| NCV not detecting voltage | Voltage too low, shielded wire, or incorrect distance | Ensure voltage is within detectable range; test on unshielded wire; adjust proximity to conductor. |
If the problem persists after attempting these solutions, please contact AstroAI Customer Support.
8. Specifications
| Specification | Value |
|---|---|
| Model | CM600 |
| Batteries | 3 AAA batteries (included) |
| Product Dimensions | 16.9 x 6.8 x 2.8 cm |
| Weight | 0.64 Kilograms |
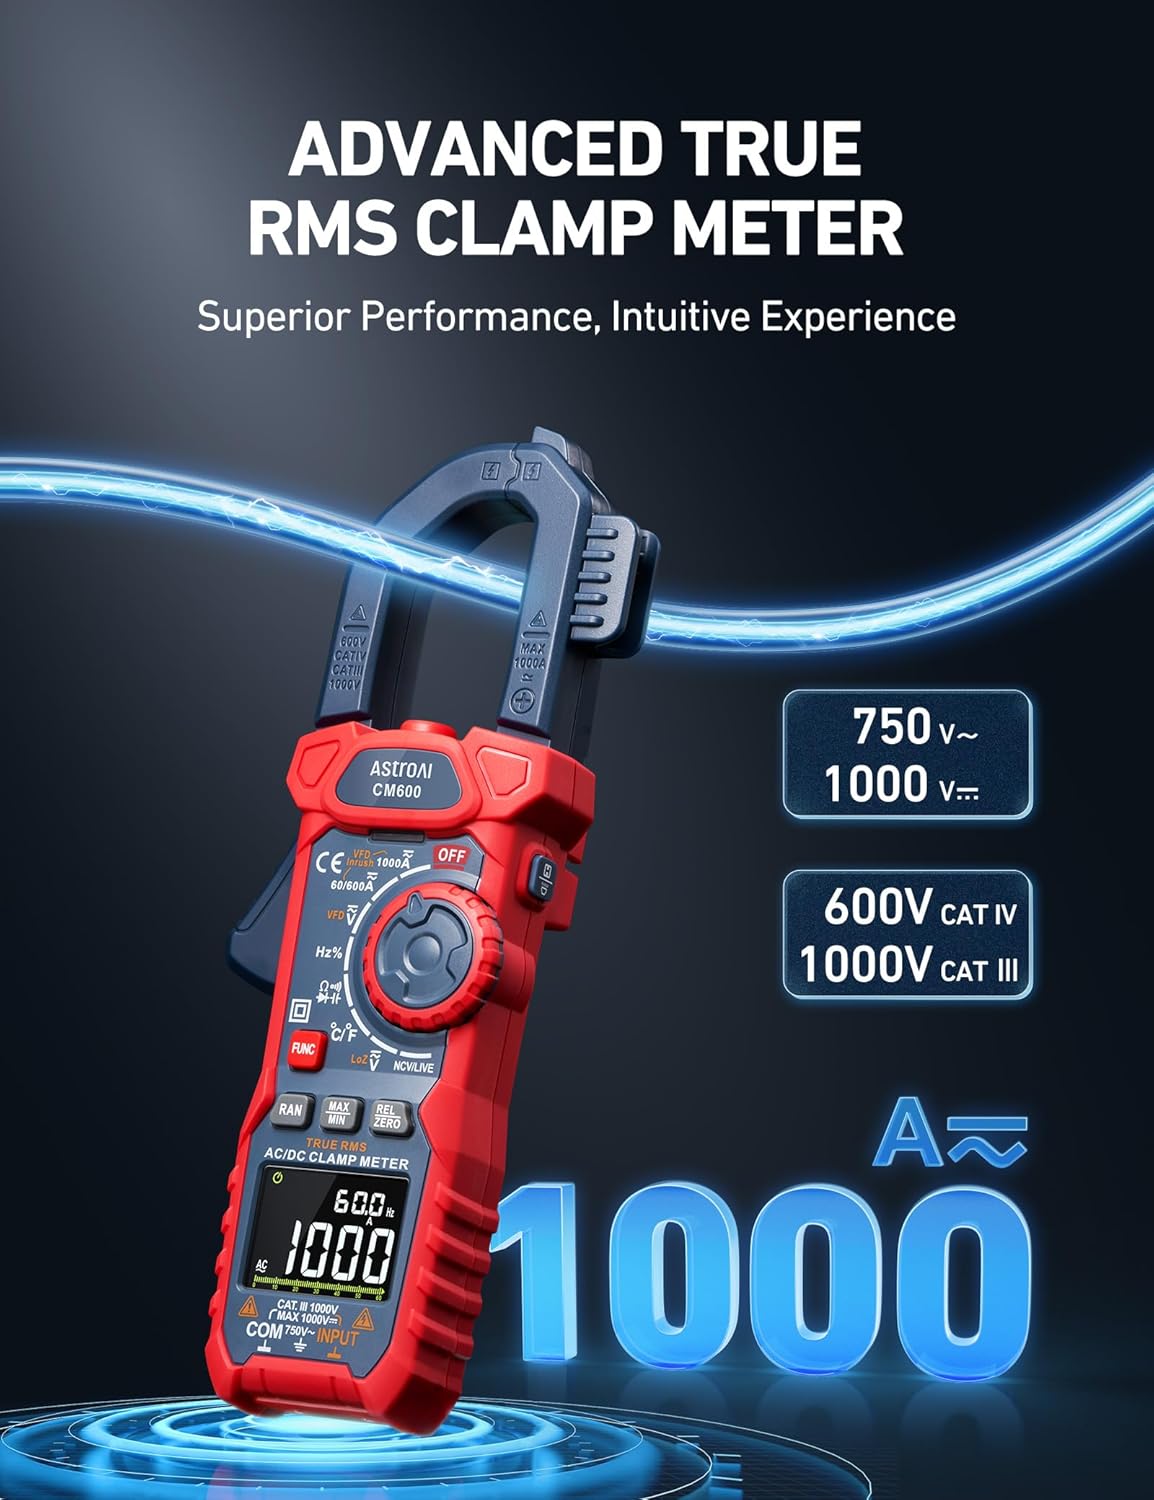
| Safety Standard | IEC 61010-1, CAT IV 600V, CAT III 1000V |
| AC/DC Current | Up to 1000A |
| AC Voltage | Up to 750V |
| DC Voltage | Up to 1000V |
| Counts | 6000 Counts |
| Color | Red |
| Country of Origin | China |
9. Warranty and Support
AstroAI products are designed and manufactured to the highest quality standards. For information regarding warranty coverage and customer support, please refer to the warranty card included with your product or visit the official AstroAI website. If you have any questions or require assistance with your Digital Clamp Meter, please do not hesitate to contact AstroAI customer service.
For further assistance, you may visit the AstroAI Store online: AstroAI Official Store