
1. Introduction
The Dasqua 8400-0010 Digital Electronic Angle Gage is a precision measuring instrument designed for accurate angle measurements. It features a large, easy-to-read backlight LCD display and a robust CNC machined aluminum body. This manual provides essential information for the proper setup, operation, and maintenance of your angle gage.
Key Features:
- Large easy-to-read backlight LCD display
- Absolute 0 degree measuring at level surface
- Measure relative bevel
- Permanent strong magnet on measuring faces
- CNC machined aluminum body
2. Product Overview
Familiarize yourself with the components and appearance of your Dasqua Digital Electronic Angle Gage.

Figure 2.1: Angled view of the Dasqua 8400-0010 Digital Electronic Angle Gage, showing the blue casing and digital display.

Figure 2.2: Front view of the Dasqua 8400-0010 Digital Electronic Angle Gage, highlighting the LCD display and control buttons.
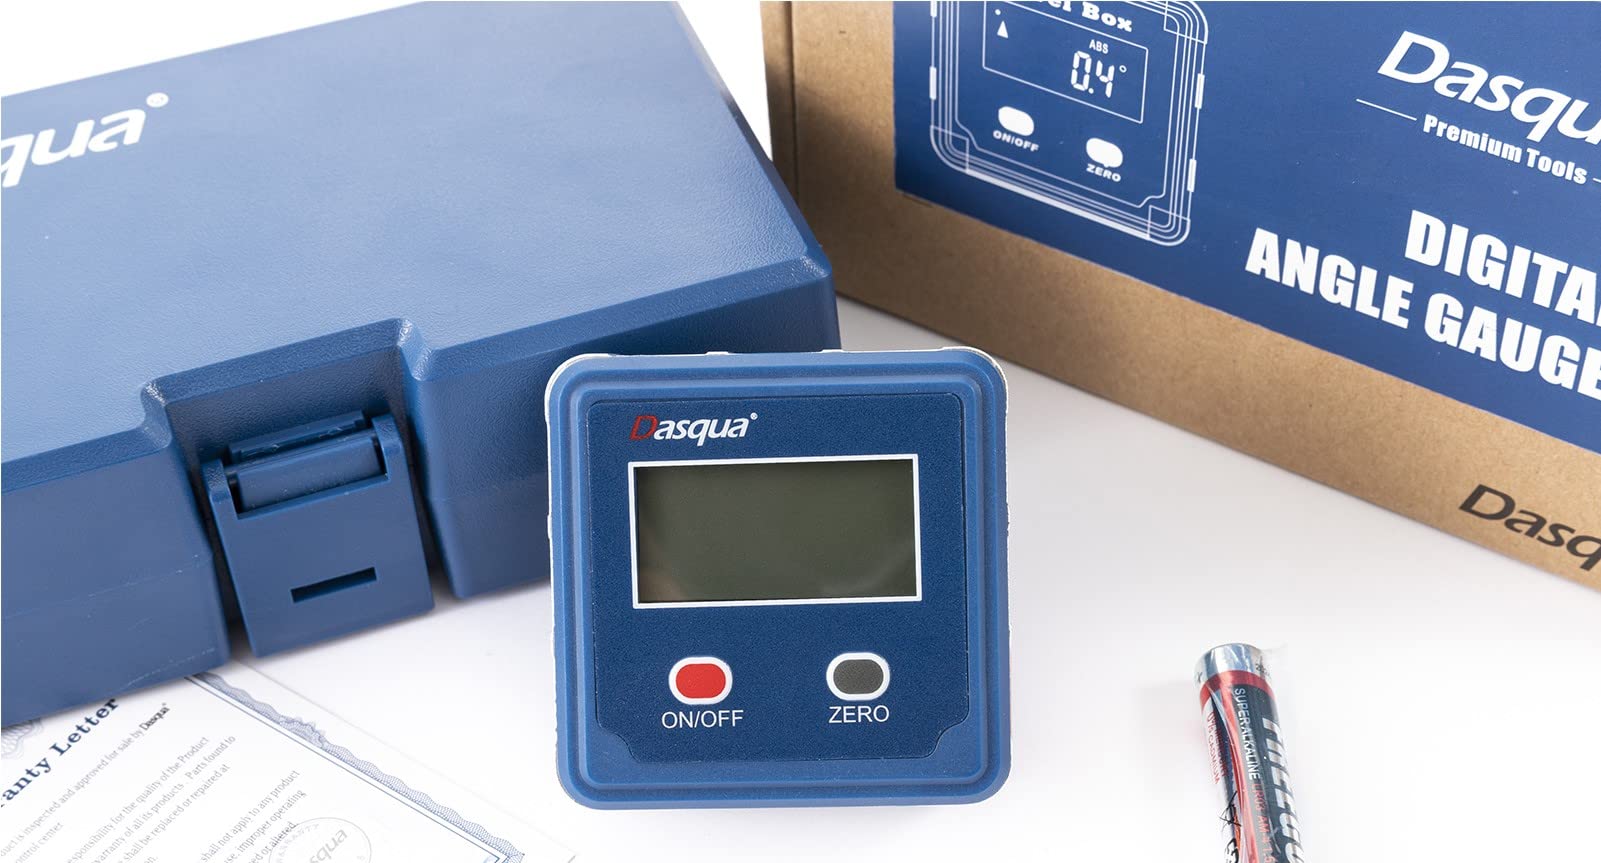
Figure 2.3: Diagram illustrating the key components of the Dasqua 8400-0010 Digital Electronic Angle Gage, including the ON/OFF button, ZERO button, battery cover, V-type magnet, and bottom surface.
Product Video:
Video 2.1: This video demonstrates the Dasqua Digital Electronic Angle Gage in use, showcasing its functionality and ease of measurement.
3. Setup
3.1 Battery Installation
- Locate the battery cover on the back of the angle gage (refer to Figure 2.3).
- Open the battery cover.
- Insert the required battery type, ensuring correct polarity.
- Close the battery cover securely.
3.2 Initial Power On
Press the ON/OFF button to power on the device. The backlight LCD display will illuminate.
4. Operating Instructions
4.1 Absolute Measurement
- Place the angle gage on a known level surface.
- Press the ZERO button. The display will show 0.0° (or very close to it), indicating the absolute zero reference.
- Move the angle gage to the surface you wish to measure. The display will show the absolute angle relative to the initial zero reference.
4.2 Relative Measurement (Bevel)
- Place the angle gage on the first surface of the bevel.
- Press the ZERO button. The display will show 0.0°. This sets the current position as the relative zero.
- Move the angle gage to the second surface of the bevel. The display will show the angle between the two surfaces.
4.3 Using the Magnetic Base
The angle gage features a permanent strong magnet on its measuring faces (bottom and V-type magnet). This allows for secure attachment to ferrous surfaces for hands-free measurement.
4.4 Power Off
Press and hold the ON/OFF button to power off the device. The device may also automatically power off after a period of inactivity to conserve battery life.
5. Maintenance
- Cleaning: Wipe the angle gage with a soft, dry cloth. Do not use abrasive cleaners or solvents, as they may damage the display or casing.
- Storage: Store the device in a clean, dry environment away from direct sunlight and extreme temperatures.
- Battery Replacement: Replace the battery when the low battery indicator appears on the display or if the device fails to power on. Ensure proper disposal of used batteries according to local regulations.
- Calibration: While the device is factory calibrated, periodic checks against known accurate angles are recommended for critical applications.
6. Troubleshooting
6.1 Display Not Turning On
- Check if the battery is correctly installed and has sufficient charge. Replace if necessary.
- Ensure the ON/OFF button is pressed firmly.
6.2 Inaccurate Readings
- Ensure the measuring surface is clean and free of debris.
- Perform a zero calibration on a known level surface before taking measurements.
- Avoid strong magnetic fields or electromagnetic interference during operation.
6.3 Display Flickering or Erratic Behavior
- Replace the battery.
- If the issue persists, contact customer support.
7. Specifications
| Feature | Specification |
|---|---|
| Model Number | 8400-0010 |
| Range | 4 x 90° |
| Resolution | 0.1° |
| Accuracy | +/-0.2° |
| Display | Backlight LCD |
| Body Material | CNC Machined Aluminum |
| Magnetic Base | Yes, permanent strong magnet |
| Item Weight | 9.5 ounces |
| Package Dimensions | 6.81 x 4.02 x 2.01 inches |
8. Warranty and Support
8.1 Warranty Information
Please refer to the warranty card included with your product or visit the official Dasqua website for detailed warranty terms and conditions. Keep your purchase receipt as proof of purchase for any warranty claims.
8.2 Customer Support
For technical assistance, troubleshooting, or spare parts, please contact Dasqua customer support through their official website or the contact information provided with your product packaging. When contacting support, please have your model number (8400-0010) and purchase details ready.