1. Introduction
This manual provides essential instructions for the safe and efficient operation of your SkyRC T1000 Maestro Charger. Please read this manual thoroughly before use to ensure proper setup and functionality. This charger is designed for charging various battery types commonly used in RC models.
2. Safety Instructions
Always observe the following safety precautions to prevent injury or damage to the charger or batteries:
- Read the entire instruction manual before operating the charger.
- Ensure adequate ventilation during charging to prevent overheating.
- Only charge battery types supported by this charger and ensure correct settings are selected.
- Never leave the charger unattended while it is in operation.
- Disconnect the charger from the power source when not in use.
- Avoid exposing the charger to moisture, dust, or direct sunlight.
- Keep the charger out of reach of children and pets.
- Do not attempt to disassemble or modify the charger.
3. Product Overview
The SkyRC T1000 Maestro Charger features a dual-port design, allowing for simultaneous charging of two batteries. It includes an intuitive LCD display and control buttons for easy navigation and setting adjustments.
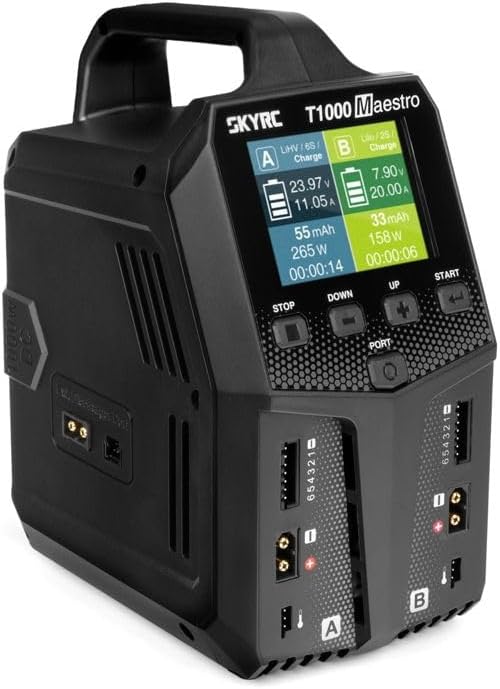
Figure 3.1: Front view of the SkyRC T1000 Maestro Charger, showing the LCD display, control buttons, and dual charging ports (A and B).
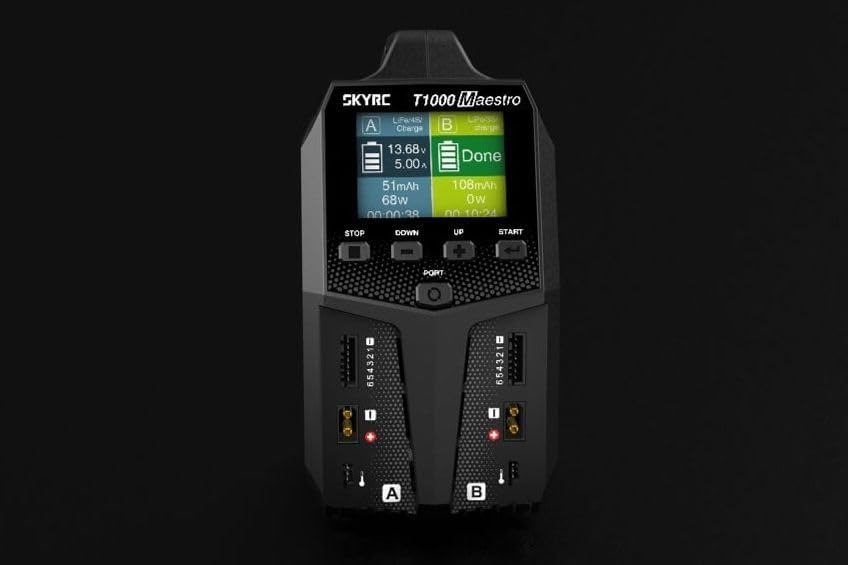
Figure 3.2: Detailed view of the charger's display interface and control buttons (STOP, DOWN, UP, START, PORT).
4. Setup
Before operating the charger, ensure it is properly connected to a power source.
- Power Connection: Connect the charger to an appropriate AC (100-240V) or DC (10-30V) power source using the provided power cable. The power input ports are located at the rear of the unit.
- Initial Power-On: Once connected, the charger will power on, and the display will illuminate.

Figure 4.1: Rear view of the charger, highlighting the AC 100-240V and DC 10-30V input connections.
5. Operating the Charger
The SkyRC T1000 Maestro offers various charging modes for different battery types. Follow these general steps for operation:
- Connect Battery: Connect your battery to one of the charging ports (A or B). Ensure the balance lead (if applicable) is also connected to the corresponding balance port.
- Select Port: Use the 'PORT' button to select the desired charging port (A or B) if you are using only one, or to view status for both.
- Choose Program: Navigate through the menu using the 'UP' and 'DOWN' buttons to select the appropriate charging program for your battery type (e.g., LiPo Charge, NiMH Charge, Storage, Discharge, Balance).
- Set Parameters: Adjust charging parameters such as current (Amps) and cell count (for LiPo/LiFe/LiHV) using the 'UP' and 'DOWN' buttons.
- Start Charging: Press and hold the 'START' button to initiate the charging process. The charger will perform a safety check before starting.
- Monitor Progress: The LCD display will show real-time charging information, including voltage, current, charged capacity (mAh), and elapsed time.
- Stop Charging: Press the 'STOP' button at any time to end the charging process.
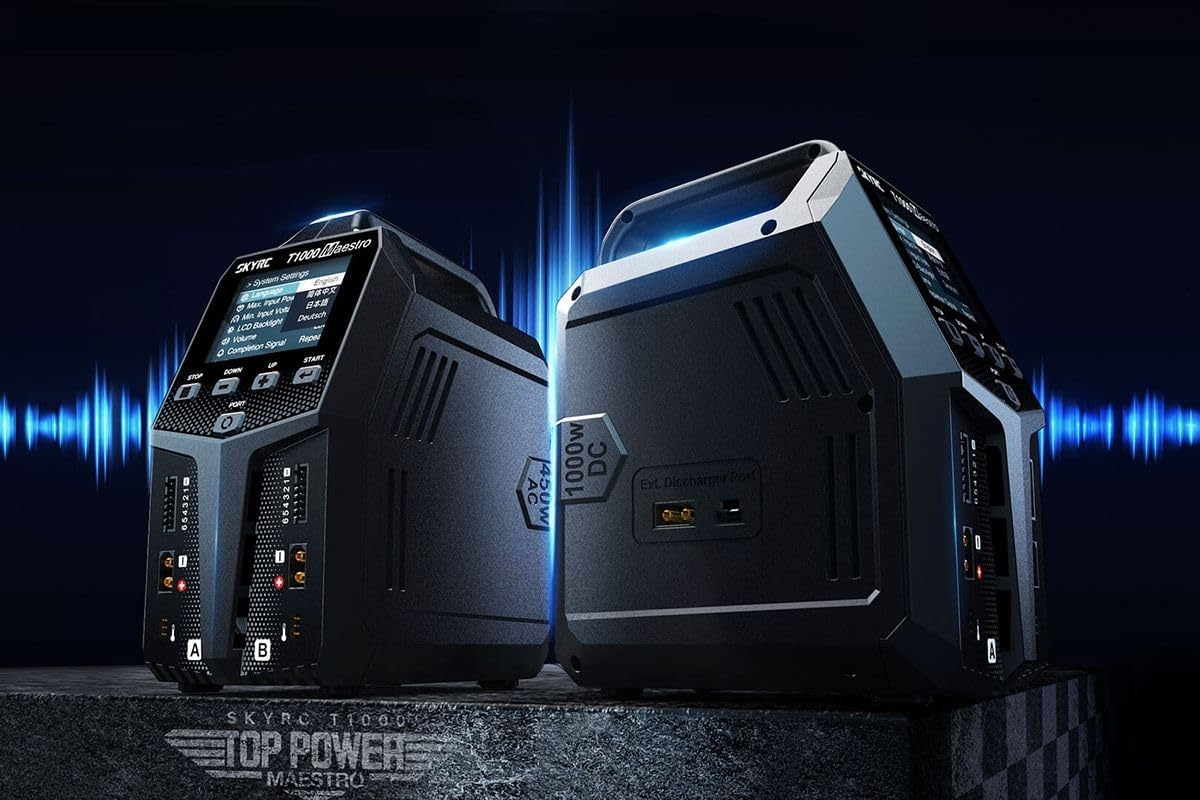
Figure 5.1: The charger's display showing various menu options and settings for operation.
6. Maintenance
Proper maintenance ensures the longevity and reliable performance of your charger.
- Cleaning: Use a soft, dry cloth to clean the exterior of the charger. Do not use solvents or abrasive cleaners.
- Storage: Store the charger in a cool, dry place away from direct sunlight and extreme temperatures.
- Inspection: Periodically inspect cables and connectors for any signs of wear or damage. Replace damaged components immediately.
7. Troubleshooting
If you encounter issues with your SkyRC T1000 Maestro Charger, refer to the following common problems and solutions:
- Charger Not Powering On:
- Check that the power cable is securely connected to both the charger and the power outlet.
- Verify that the power outlet is functional. - Charging Error Message:
- Ensure the battery type and cell count settings match the connected battery.
- Check all battery connections, including the balance lead, for proper contact.
- The battery may be damaged or over-discharged. - Display Not Responding:
- Try disconnecting and reconnecting the power. If the issue persists, contact support.
8. Specifications
| Feature | Specification |
|---|---|
| Manufacturer | SkyRC |
| Item Model Number | SK100182-01 |
| Product Dimensions | 25.6 x 22.3 x 12.9 cm |
| Item Weight | 1762 Grams (1.76 kg) |
| Input Voltage | 12 Volt (DC) |
| Output Voltage | 20 Volt (DC) |
9. Warranty and Support
For warranty information and technical support, please refer to the official SkyRC website or contact your local distributor. Keep your purchase receipt as proof of purchase for any warranty claims.