
1. Introduction
The Makeid Label Maker E1 is a versatile and portable labeling device designed for home, office, and workshop organization. It features dual printing modes, allowing for direct input via its QWERTY keyboard or through a connected mobile application. With a clear 3.4-inch backlit LCD screen, rechargeable battery, and support for various label widths, the E1 provides a convenient and efficient solution for all your labeling needs.
2. What's in the Box
- Makeid Label Maker E1
- USB Cable (Type-C)
- Label Tape Roll (pre-installed or included separately)
- User Manual

Figure 2.1: Contents of the Makeid Label Maker E1 package.
3. Setup
3.1. Charging the Device
Before first use, ensure the label maker is fully charged. Connect the provided USB-C cable to the charging port on the device and to a compatible USB power adapter (not included). The device features a rechargeable lithium battery.

Figure 3.1: The Makeid Label Maker E1 charging via its USB-C port.
3.2. Label Roll Installation
To install or replace a label roll:
- Open the label storage cover on the back of the device.
- Pull out any transparent guide piece from the leading edge of the old label roll (if applicable).
- Insert the new label roll into the storage compartment, ensuring the label feeds correctly through the slot. Make sure the transparent part of the label is pulled out of the exit.
- Close the storage cover securely.

Figure 3.2: Proper installation of the label tape roll.
Video 3.1: A detailed guide on how to use the MakeID E1 handheld label maker, including label installation and basic operation.
4. Operating Instructions
4.1. Power On/Off
To power on the device, long press the power button (usually located on the top left of the keyboard). To power off, long press the power button again.
4.2. Dual Printing Modes
The Makeid E1 offers two convenient printing modes:
- Keyboard Input: Directly type and edit labels using the integrated QWERTY keyboard and the device's LCD screen. This mode is ideal for quick and simple labels.
- APP Printing: Connect the label maker to your smartphone via Bluetooth and use the MakeID-Life app for advanced design options, including various fonts, symbols, and templates.
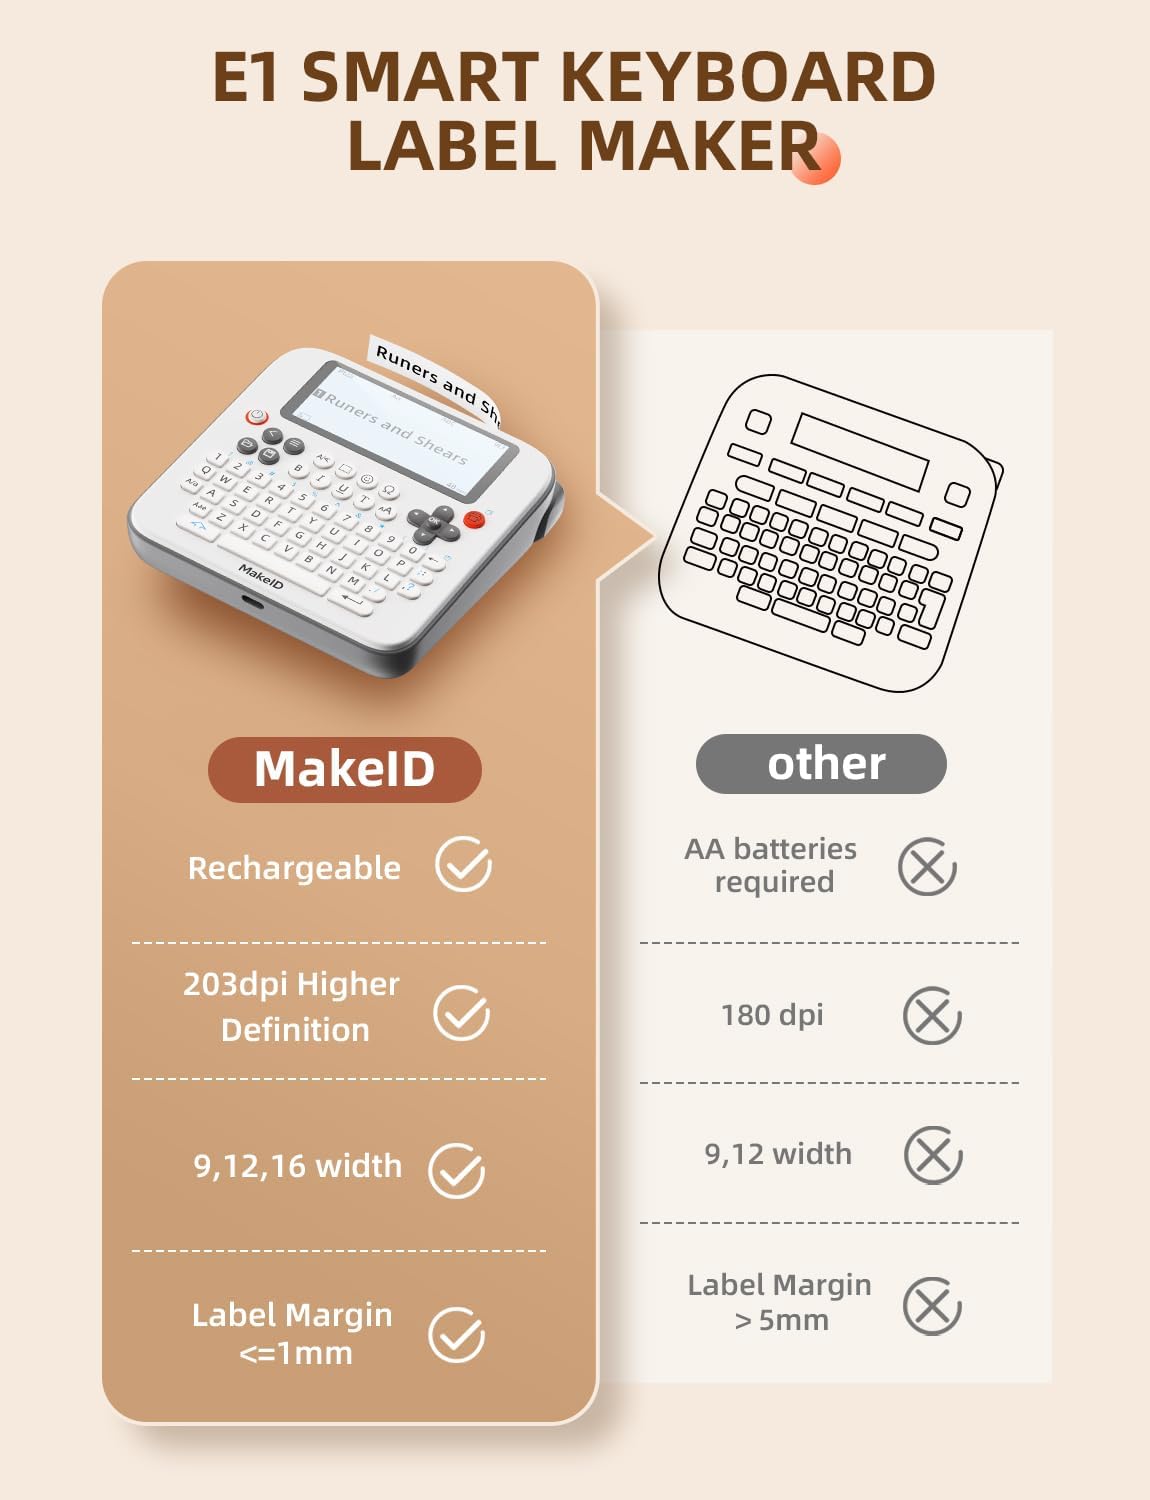
Figure 4.1: The two primary printing modes: Creative APP Input and Efficient Keyboard Input.
Video 4.1: A demonstration of the Makeid E1 label maker's capabilities, highlighting its use in organizing tools and other items.
4.3. QWERTY Keyboard Usage
The integrated QWERTY keyboard allows for intuitive text entry. The 3.4-inch backlit LCD screen provides a clear preview of up to four lines of text.
- Text Entry: Type characters using the QWERTY layout. Use the Shift key for uppercase letters and symbols.
- Navigation: Use the directional keys (up, down, left, right) and the OK button to navigate menus and confirm selections.
- Formatting: Dedicated buttons allow for quick formatting such as bold (B), italic (I), underline (U), and font size adjustments.
- Symbols & Borders: Access a wide range of symbols and decorative borders to customize your labels.
- Batch Printing: Print multiple copies of the same label, up to 9 at a time, for repetitive tasks.

Figure 4.2: The Makeid Label Maker E1 with its QWERTY keyboard and LCD screen.

Figure 4.3: The large 3.4-inch LCD screen with backlighting for enhanced visibility.
4.4. App Connectivity (Bluetooth)
For more creative freedom and advanced features, connect your Makeid E1 to the MakeID-Life app via Bluetooth. The app offers over 40 fonts and 300 icons, along with QR code and 1D code generation.
- Download App: Scan the QR code in the manual or search for
