
1. Introduction
Thank you for purchasing the AINAVI 13.1 Inch Universal Single DIN Rotatable Android Car Stereo. This manual provides detailed instructions for the installation, operation, and maintenance of your new car stereo system. Please read this manual thoroughly before use to ensure proper functionality and to maximize your user experience.
This advanced head unit features a 13.1-inch QLED 1920x1200 display, Android 12 operating system, 3GB RAM, 32GB ROM, GPS navigation, Apple CarPlay, Android Auto, Bluetooth 5.0, and 4G LTE connectivity. Its rotatable design offers flexible viewing angles for optimal comfort and visibility.
2. What's in the Box
Carefully unpack your AINAVI car stereo and verify that all items listed below are present and in good condition:
- Head Unit (1900*1200) x 1
- User Manual x 1
- Power Cable x 1
- AHD 1080P Rear View Camera x 1
- Microphone x 1
- Blue Tool x 1
- GPS Antenna x 1
- USB Cables (4Pin & 6Pin) x 2
- Pre and After Sale 24 Hours Engineer Services (Contact Information)
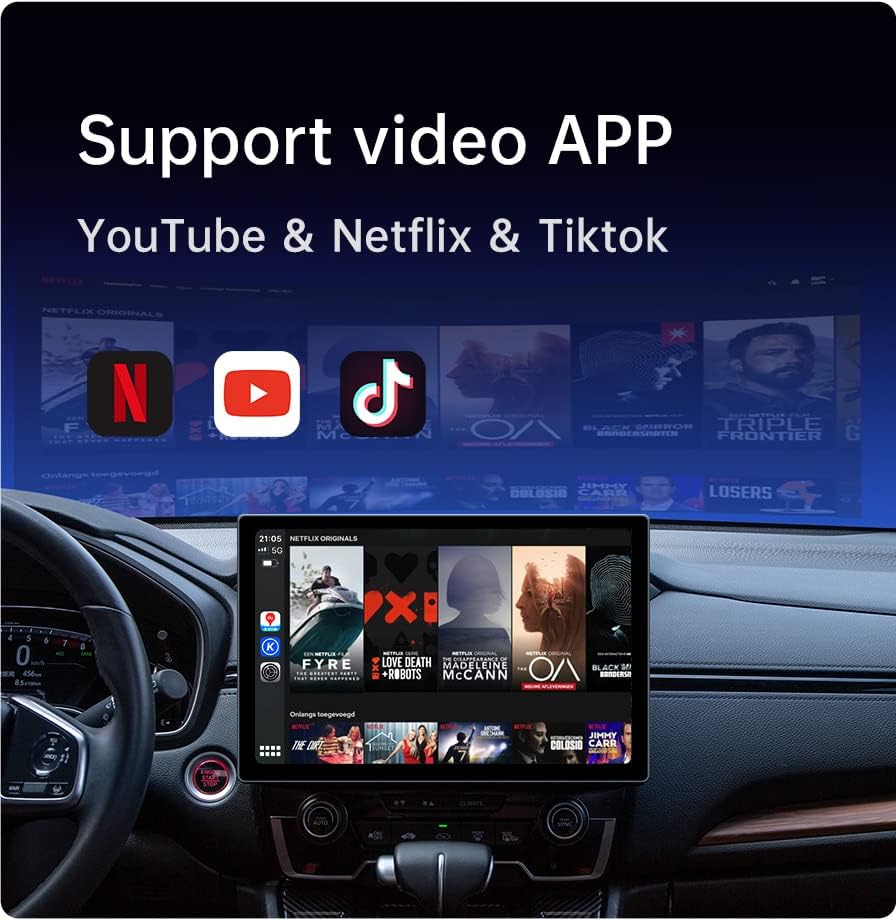
Figure 2.1: Included Components
3. Specifications
Key technical specifications of the AINAVI 13.1 Inch Car Stereo:
| Feature | Description |
|---|---|
| Display Size | 13.1 inches |
| Resolution | 1920x1200 (QLED) |
| Operating System | Android 12 |
| Processor | 8-Core |
| Memory (RAM) | 3GB |
| Storage (ROM) | 32GB |
| Connectivity | 5G WiFi, Bluetooth 5.0, 4G LTE (SIM card not included), USB |
| Audio Output | 4-channel, Surround Sound, 48-EQ DSP |
| Compatible Devices | Smartphone (Android, iOS) |
| Special Features | Rotatable Screen, Apple CarPlay, Android Auto, GPS Navigation, Split Screen Function, Rear View Camera Support |
| Item Weight | 6.04 pounds |
| Package Dimensions | 13.4 x 11.4 x 6 inches |
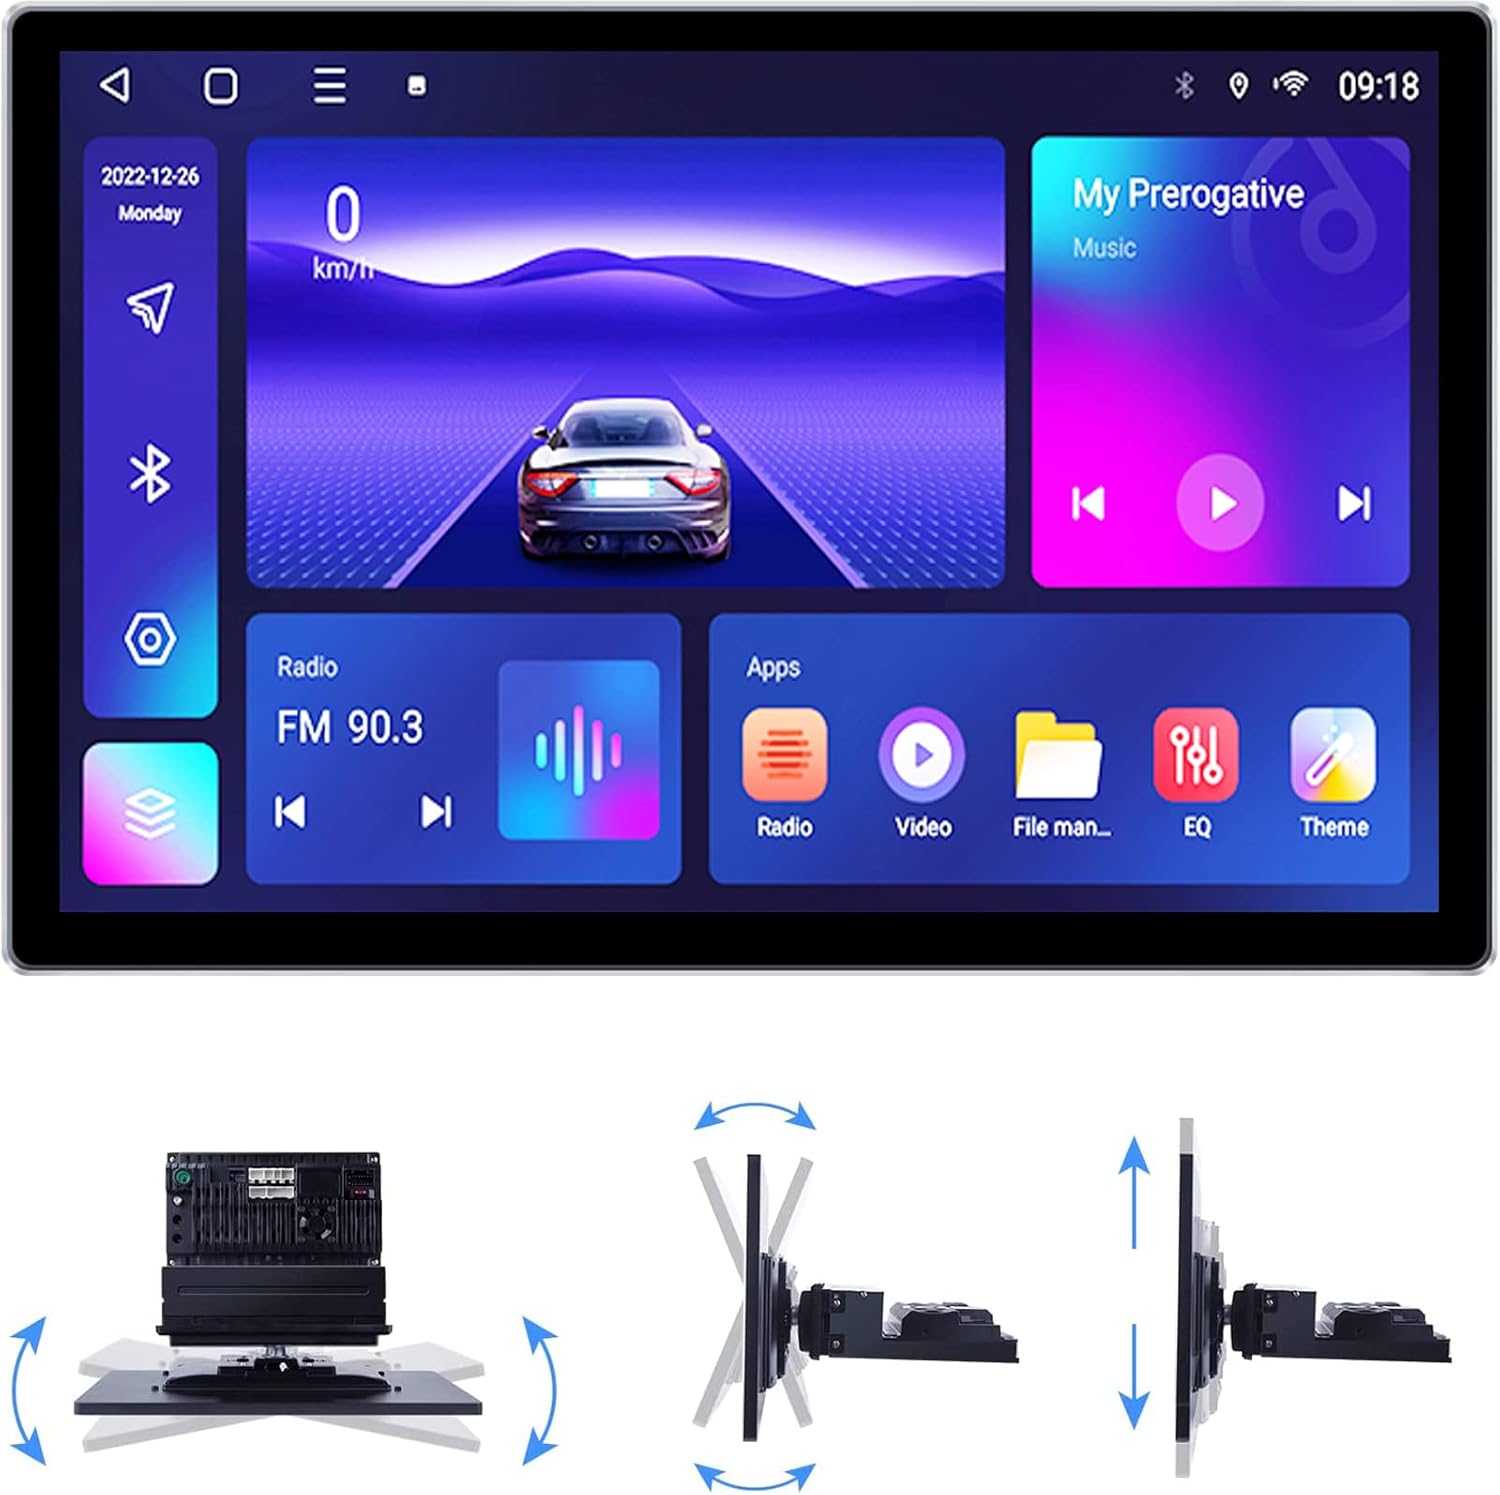
Figure 3.1: Rotatable Display Mechanism
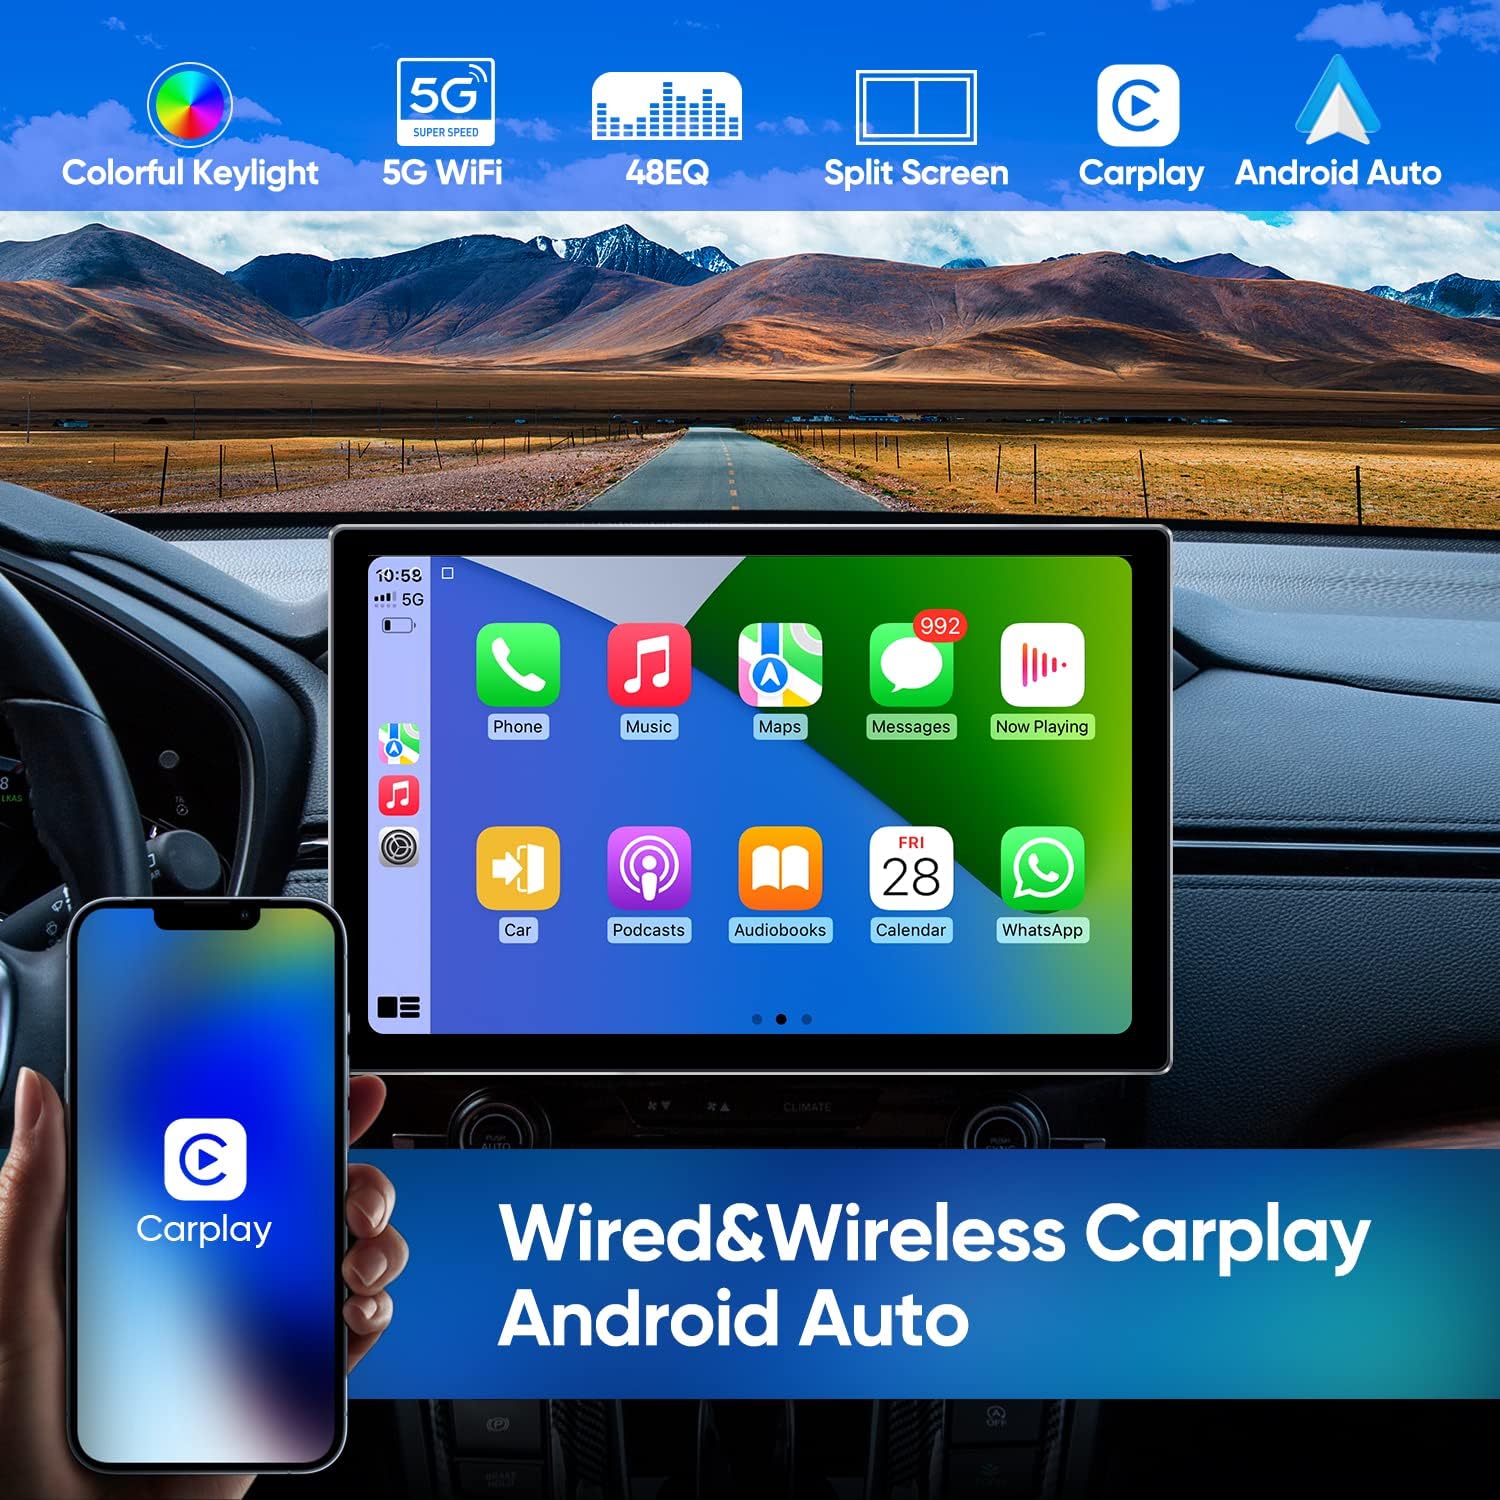
Figure 3.2: 2K Full HD Screen Resolution
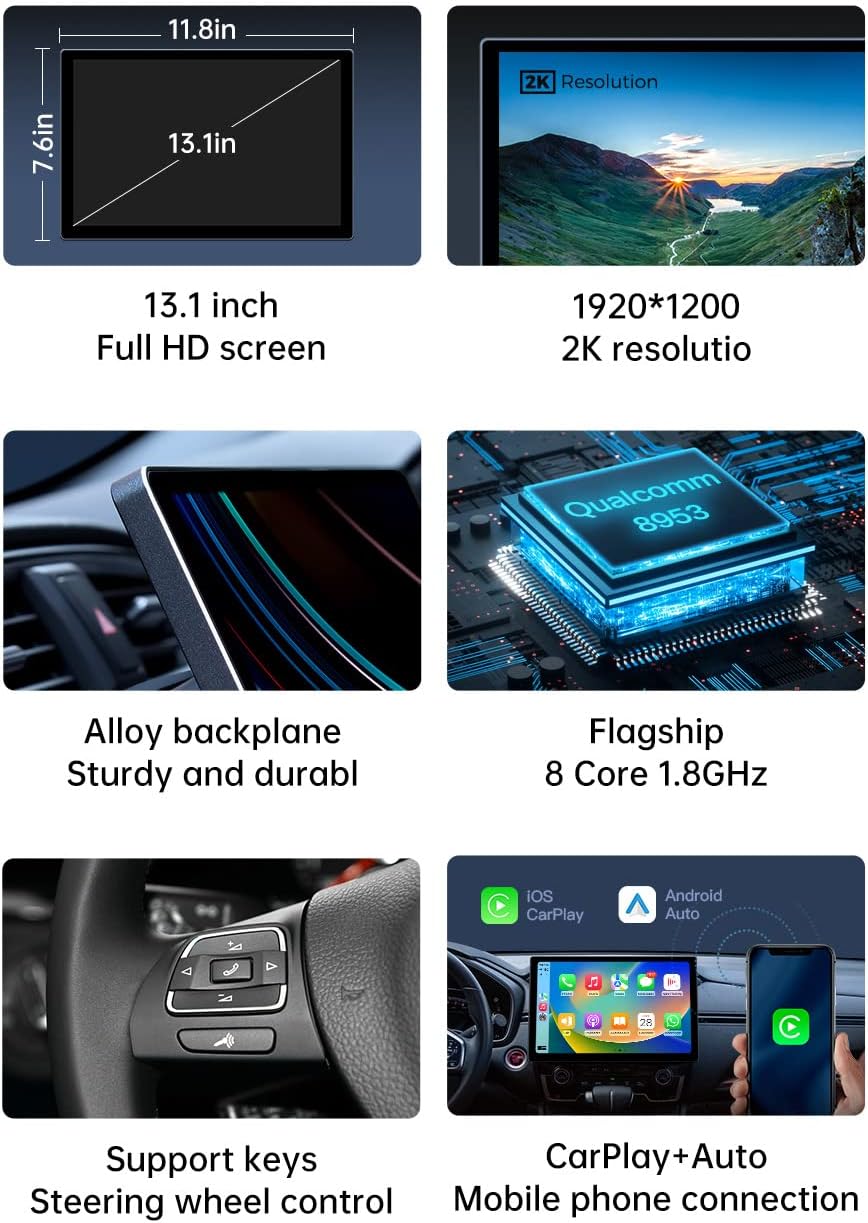
Figure 3.3: Product Dimensions and Key Features
4. Setup & Installation
Installation of the AINAVI car stereo requires basic knowledge of car audio wiring. If you are unsure, it is recommended to seek professional installation.
4.1 Pre-Installation Checklist
- Ensure your vehicle supports a single DIN head unit.
- Disconnect the vehicle's battery before starting any electrical work.
- Gather necessary tools (wire strippers, crimpers, screwdrivers, electrical tape).
4.2 Wiring Connections
Refer to the included wiring diagram for specific connections. General connections include:
- Power (Yellow): Constant 12V supply.
- Accessory (Red): Switched 12V supply (turns on/off with ignition).
- Ground (Black): Connect to a solid metal point on the vehicle chassis.
- Speaker Wires: Connect to your vehicle's speakers (ensure correct polarity).
- Rear View Camera Input: Connect the AHD camera's video output to the designated input.
- GPS Antenna: Mount the GPS antenna in a location with a clear view of the sky.
- USB Cables: Connect the provided USB cables for external devices or data transfer.
- Microphone: Connect the external microphone for hands-free calling and voice commands.
4.3 Mounting the Head Unit
Secure the single DIN chassis into your vehicle's dashboard opening. The rotatable screen can then be adjusted to your preferred viewing angle after installation.
5. Operating Instructions
5.1 Power On/Off and Initial Setup
- Power On: Turn your vehicle's ignition to the ACC or ON position. The unit should power on automatically.
- Initial Boot: On first use, the system may guide you through initial setup steps, including language selection, time zone, and Wi-Fi connection.
5.2 Apple CarPlay & Android Auto
The unit supports both wired and wireless Apple CarPlay and Android Auto for seamless smartphone integration.
- Wireless Connection: Enable Bluetooth and Wi-Fi on your smartphone. On the car stereo, navigate to the CarPlay/Android Auto app, then follow the on-screen prompts to pair your device.
- Wired Connection: Connect your smartphone to one of the USB ports using a high-quality USB cable. The system should automatically detect and launch CarPlay or Android Auto.

Figure 5.1: CarPlay/Android Auto Interface

Figure 5.2: Wired & Wireless CarPlay/Android Auto
5.3 GPS Navigation
The unit supports various satellite navigation systems (GPS+BDS+GNSS) for accurate positioning. You can install your preferred navigation applications from the Google Play Store.
- Ensure the GPS antenna is properly installed and has a clear view of the sky.
- Connect to Wi-Fi or insert a 4G SIM card for real-time traffic updates and online map services.
- Use pre-installed or downloaded map apps like Google Maps for turn-by-turn directions.
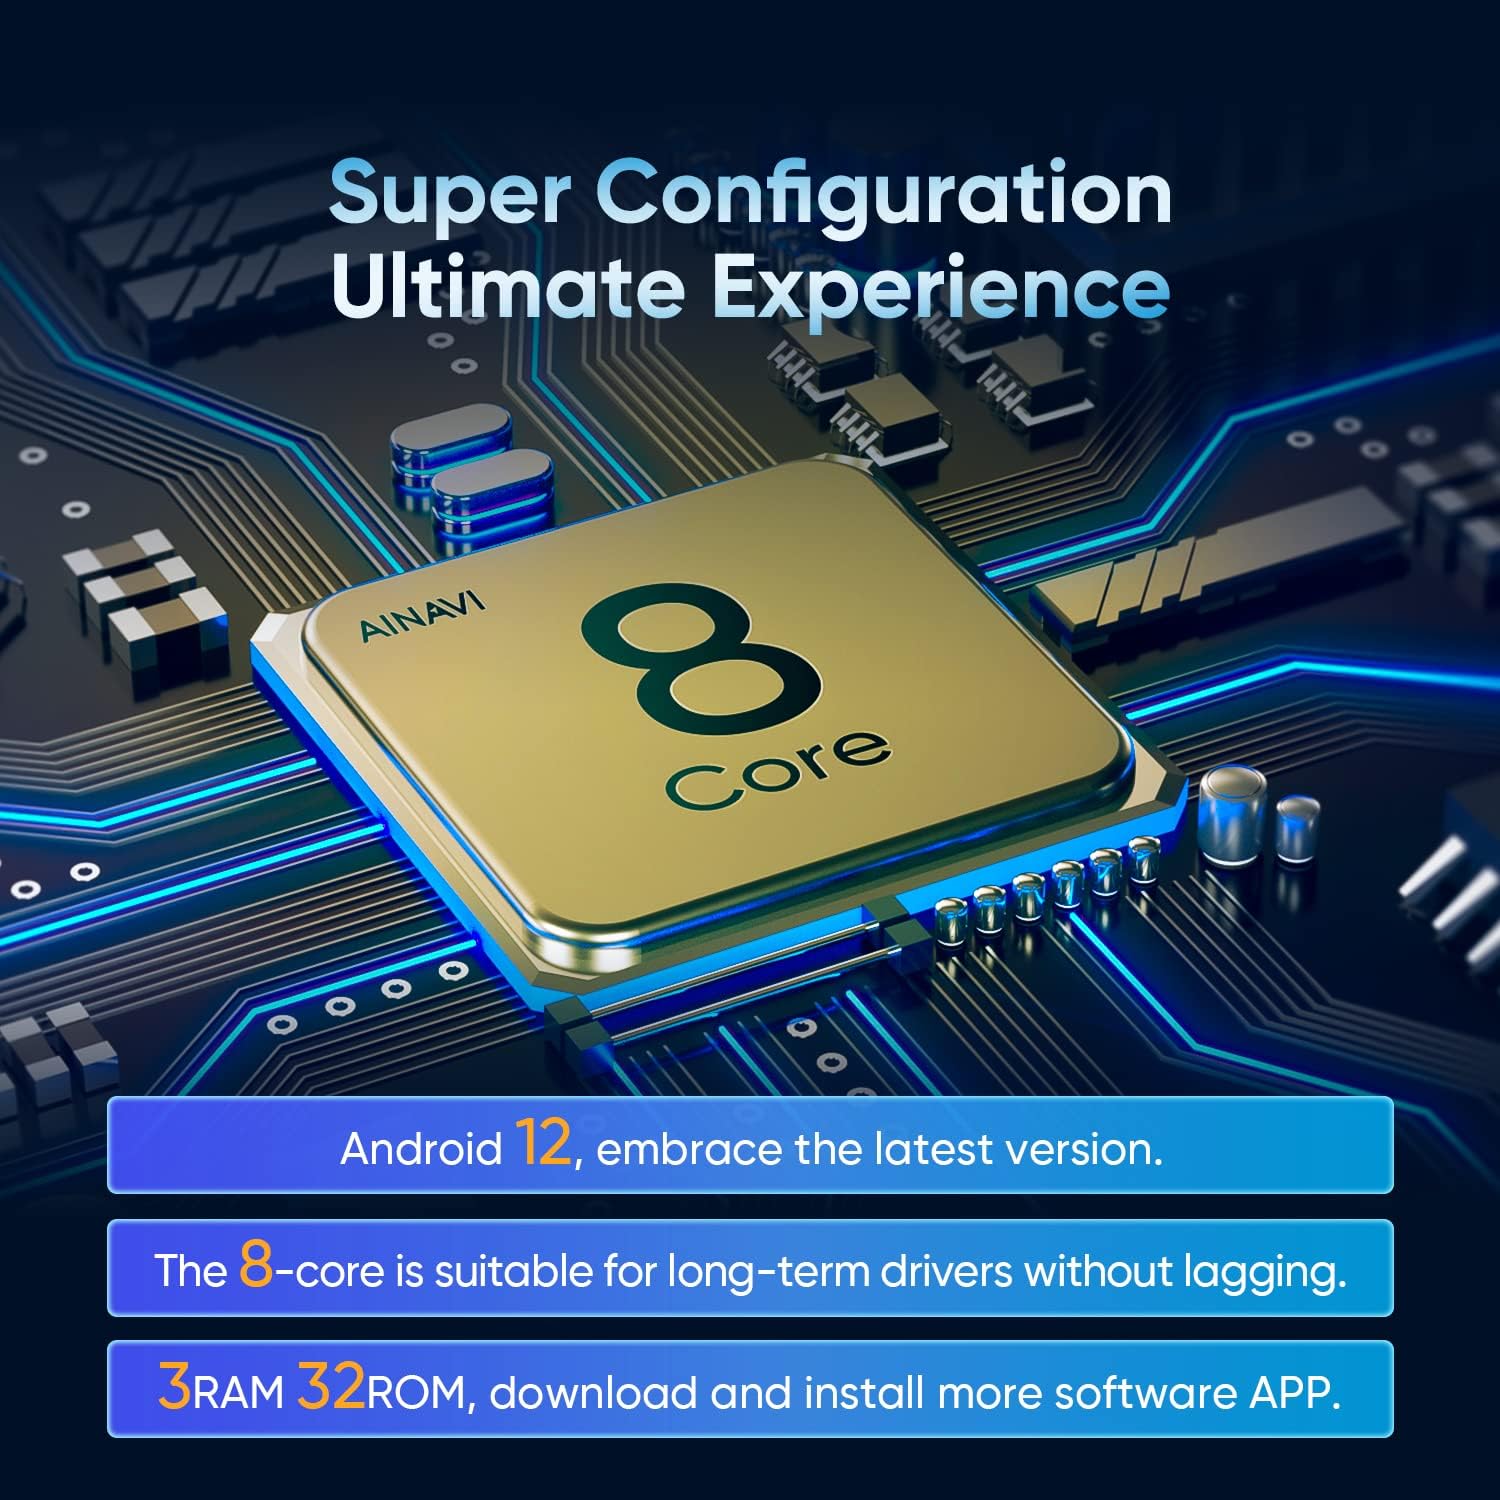
Figure 5.3: Multiple Map Application Support
5.4 Audio Features (DSP & EQ)
The built-in 48-band Equalizer (EQ) and Digital Sound Processor (DSP) allow for extensive audio customization.
- EQ Settings: Access the EQ menu to select from preset sound modes (Normal, Jazz, Pop, Classical, Heavy Metal, Vocal, Soft) or create custom profiles.
- Surround Sound: Adjust sound delay and balance for different seating positions (Full Car, Driver, Co-pilot, Passenger modes).
- Bass Boost: Enhance low frequencies for a more impactful audio experience.
- Individual Speaker Control: Fine-tune the volume and frequency for each speaker in your vehicle.

Figure 5.4: Intelligent Tone Adjustment System

Sound Bass

Surround

Boost Bass Filter
5.5 Multimedia Playback
Enjoy various multimedia content directly on your car stereo.
- Video Apps: Download and stream content from popular apps like YouTube, Netflix, and TikTok via Wi-Fi or 4G LTE.
- Local Media: Play audio and video files from connected USB drives.

Figure 5.5: Video Application Support
5.6 Split Screen Function
The split-screen feature allows you to run two applications simultaneously on the display, enhancing multitasking capabilities.
- To activate, open an app, then swipe from the side or use the designated split-screen button (if available) to select a second app.
- Adjust the size of each app window as needed.

Figure 5.6: Split Screen Functionality
5.7 Rear View Camera
The included 1080P AHD rear view camera provides a clear image when reversing.
- When the vehicle is shifted into reverse gear, the display will automatically switch to the camera view.
- Dynamic guidelines may be displayed to assist with parking, depending on vehicle compatibility.
6. Maintenance
6.1 Cleaning the Display
To clean the QLED display, use a soft, lint-free cloth. For stubborn smudges, lightly dampen the cloth with water or a screen-safe cleaning solution. Avoid harsh chemicals or abrasive materials.
6.2 Software Updates
Periodically check for software updates to ensure optimal performance and access to new features. Updates can typically be found in the system settings under 'About Device' or 'System Updates'. Ensure a stable internet connection during updates.
7. Troubleshooting
If you encounter issues with your AINAVI car stereo, refer to the following common problems and solutions:
- No Power: Check all power connections (constant 12V, accessory 12V, ground). Verify vehicle fuses.
- No Sound: Check speaker wiring connections. Ensure volume is not muted or set too low. Verify audio output settings in the DSP/EQ menu.
- GPS Not Working/Inaccurate: Ensure the GPS antenna is properly connected and mounted with a clear view of the sky. Check location services settings in Android.
- Touch Screen Unresponsive: Try restarting the unit. If the issue persists, a factory reset may be necessary (note: this will erase all user data).
- Bluetooth/Wi-Fi Connectivity Issues: Ensure Bluetooth/Wi-Fi is enabled on both the stereo and your device. Try unpairing and re-pairing devices. Check for interference.
- Rear Camera Not Displaying: Verify the camera's power and video connections. Ensure the reverse trigger wire is correctly connected to the vehicle's reverse light circuit.
For issues not covered here, please contact customer support.
8. Warranty and Support
AINAVI products are designed for reliability and performance. This product comes with a standard manufacturer's warranty. Please refer to the warranty card included in your package for specific terms and conditions.
For technical assistance, troubleshooting, or warranty claims, please contact AINAVI customer support. You can typically find contact information on the manufacturer's website or through your purchase platform.

Figure 8.1: Customer Support
