
Big Dipper LPC007
Contents
Big Dipper DJ Stage Lights User Manual
Model: LPC007
1. Introduction
Thank you for choosing Big Dipper DJ Stage Lights. This manual provides essential information for the safe and effective operation of your new LED Par Lights. Please read this manual thoroughly before use and retain it for future reference.
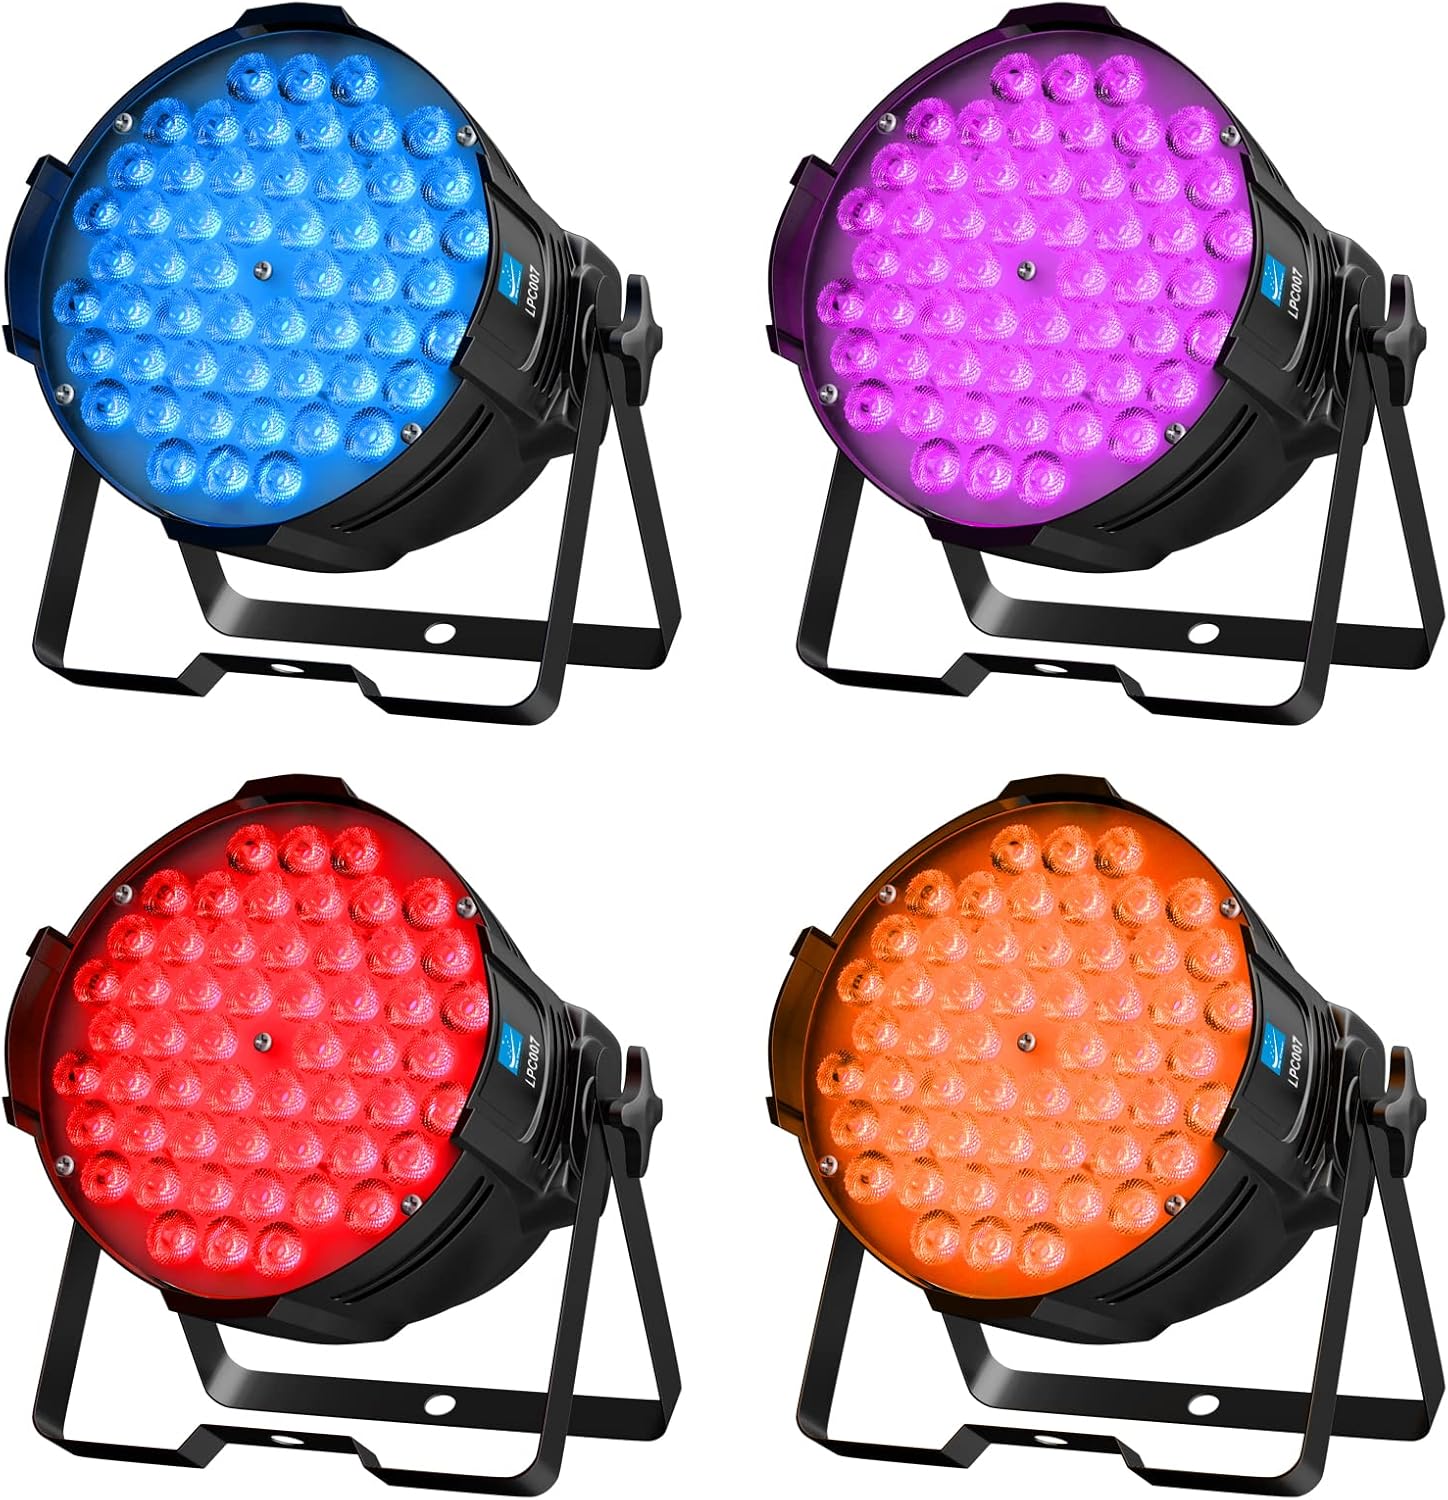
Image 1.1: Overview of the Big Dipper LED Par Lights (4-pack).
2. Safety Information
Always observe the following safety precautions to prevent electric shock, fire, or injury:
- Ensure the power supply voltage matches the product's requirements.
- Do not open the housing; there are no user-serviceable parts inside. Refer all servicing to qualified personnel.
- Keep the device away from water, moisture, and excessive heat.
- Avoid direct eye exposure to the light source.
- Ensure proper ventilation to prevent overheating. Do not block cooling vents.
- Disconnect from power before cleaning or maintenance.
3. Package Contents
Verify that all items are present in your package:
- 4 x Big Dipper LED Par Lights
- 8 x Brackets
- 8 x Screws
- 1 x User Manual (this document)
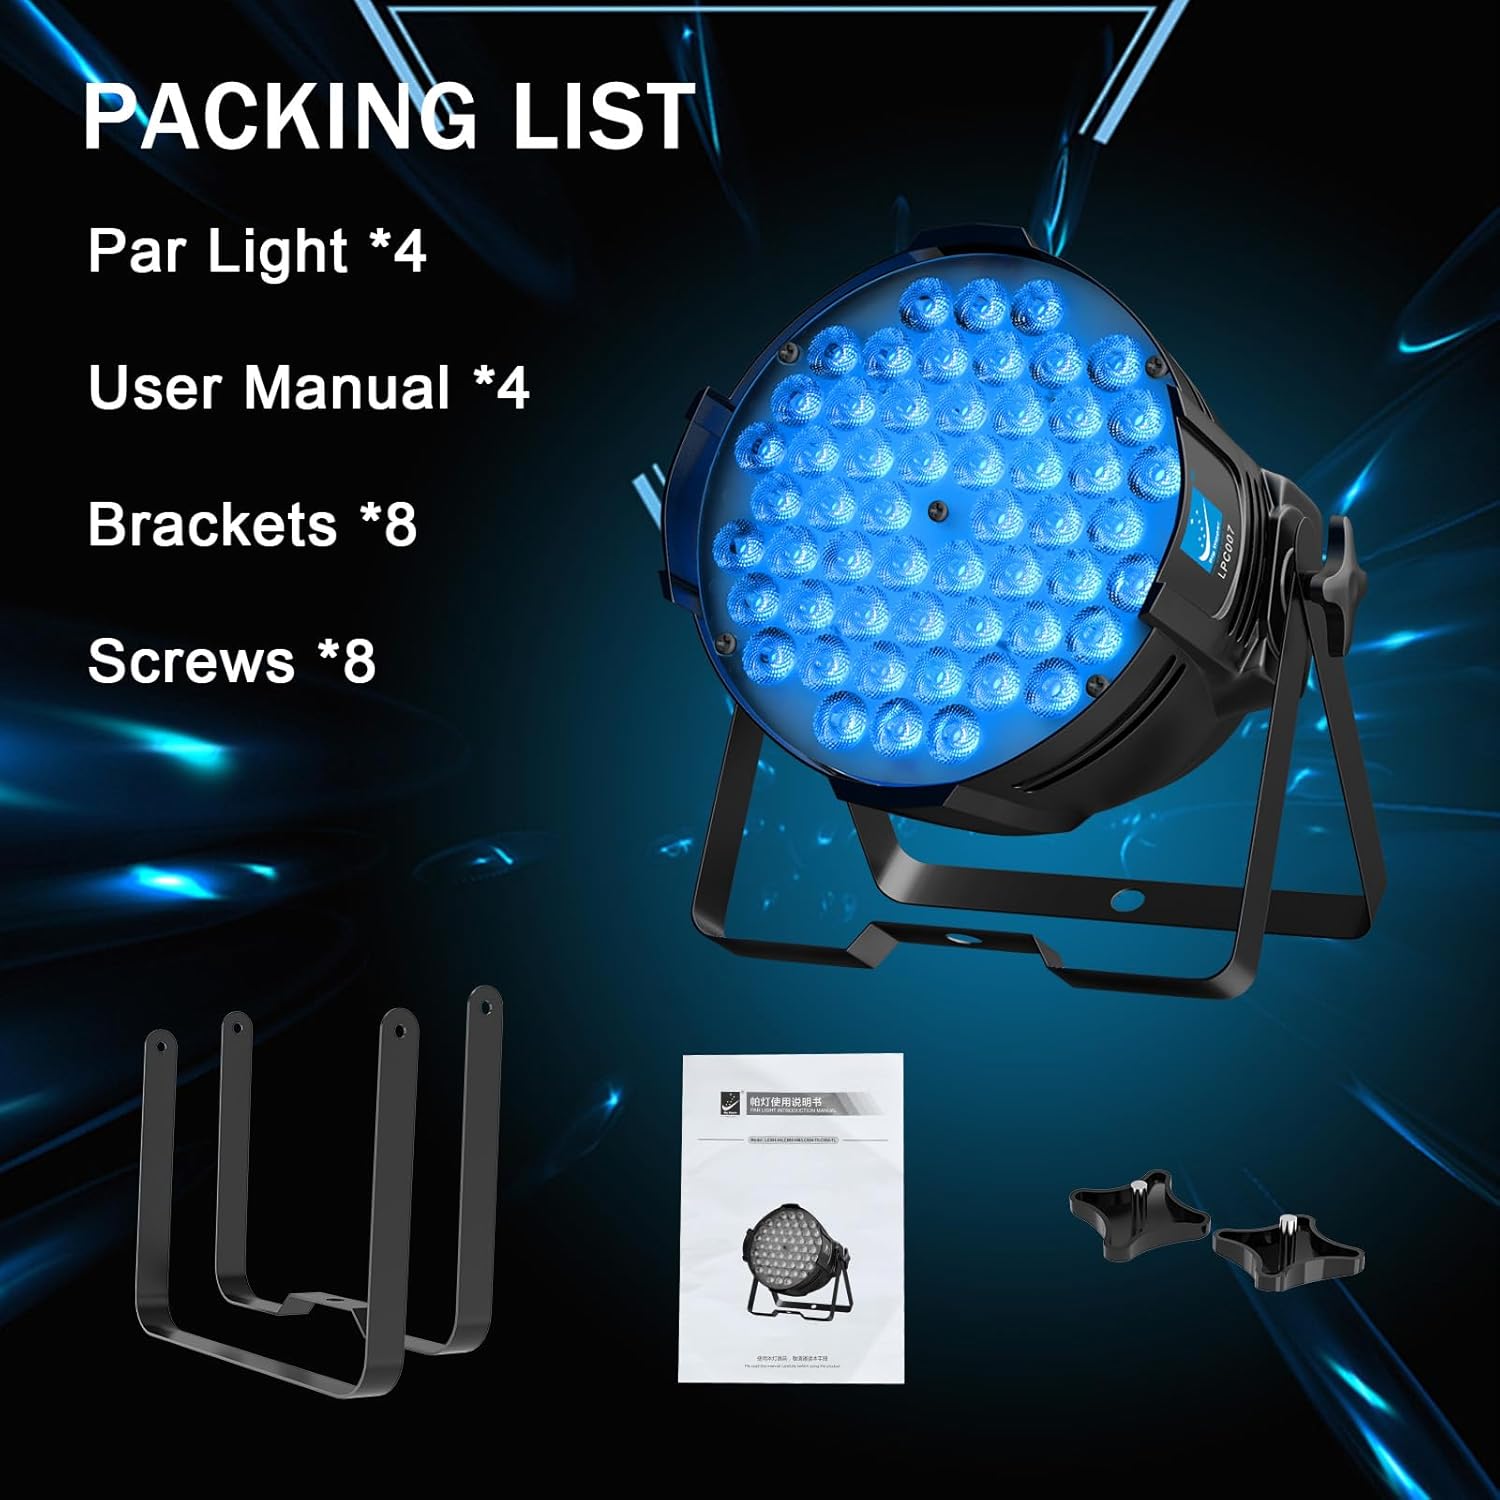
Image 3.1: Contents included in the 4-pack.
4. Product Features
The Big Dipper LED Par Lights offer a range of features for versatile lighting applications:
- High Brightness: Equipped with 54x3W RGB 3-in-1 high-power LED beads, capable of illuminating a 30-40 square meter area with 1-2 lights.
- Rich Color Effects: Features full-color beads and upgraded integrated light panels for richer and more vivid lighting. Supports static colors (red, green, blue, etc.), color mixing, changing, strobe, and dimmable 0-100%.
- Multiple Operating Modes:
- Sound-activated (built-in HD microphone, beats with music rhythm)
- DMX-512 (2 modes: 3-channel and 7-channel)
- Master-slave
- Strobe
- Color mixing
- Jump
- Fade
- Pulse
- Auto mode
- Durable Construction: Aluminum alloy housing with a built-in cooling fan for outstanding heat dissipation and a service life of up to 50,000 hours.
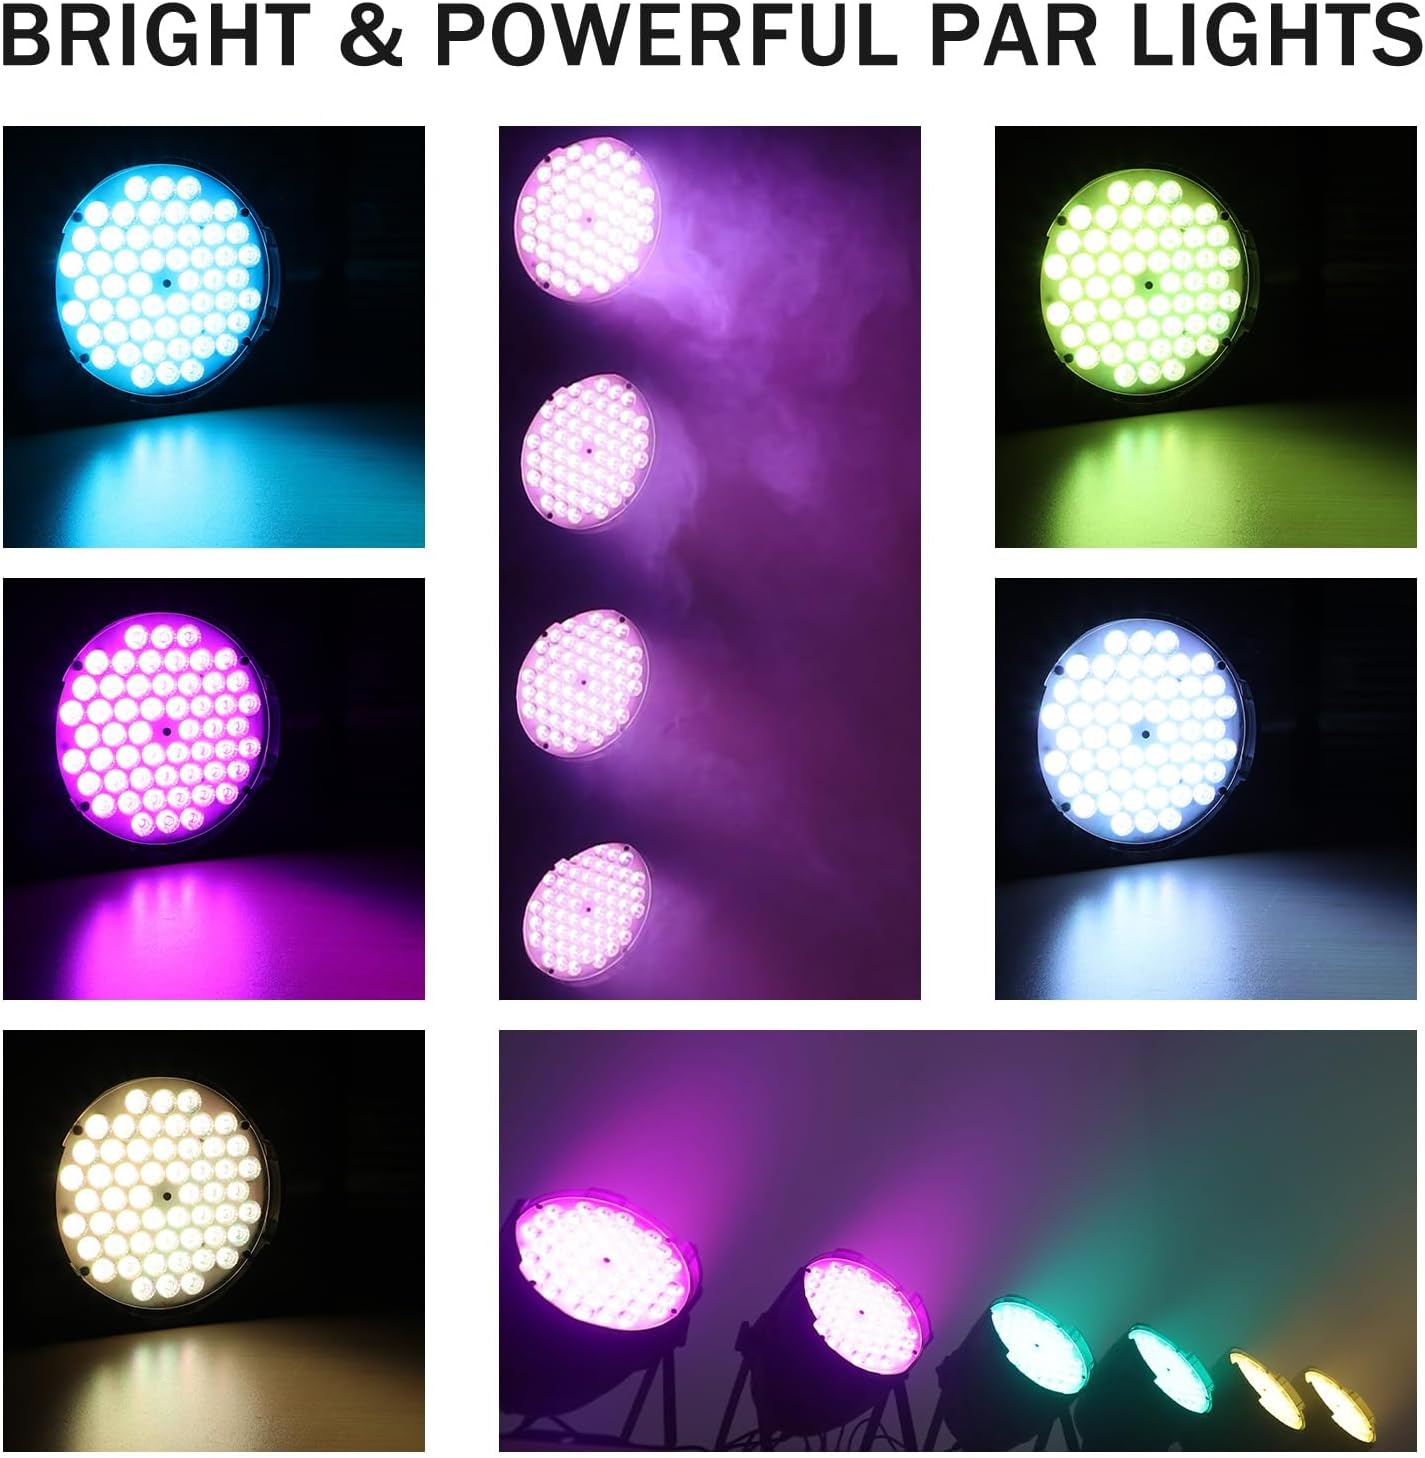
Image 4.1: Examples of bright and powerful light effects.
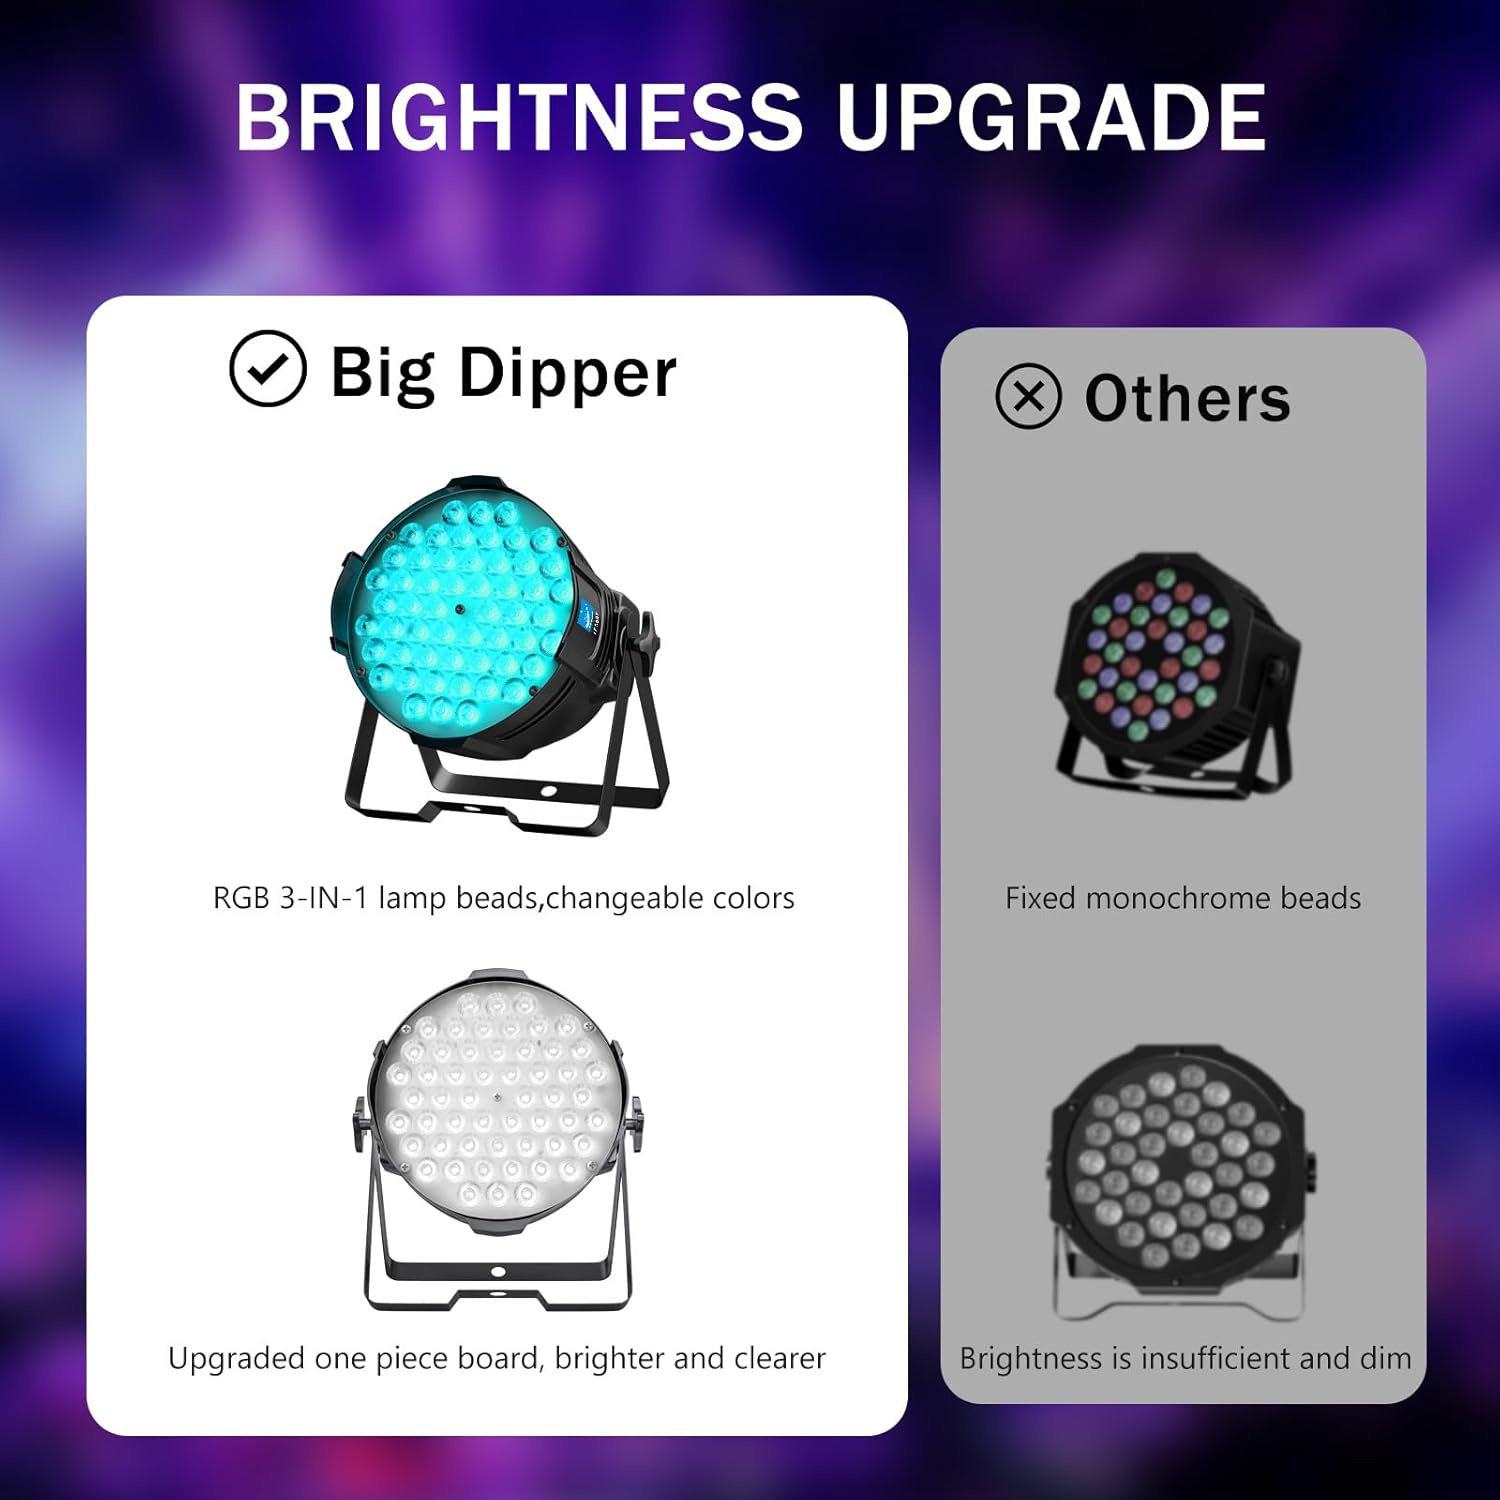
Image 4.2: Brightness upgrade comparison.
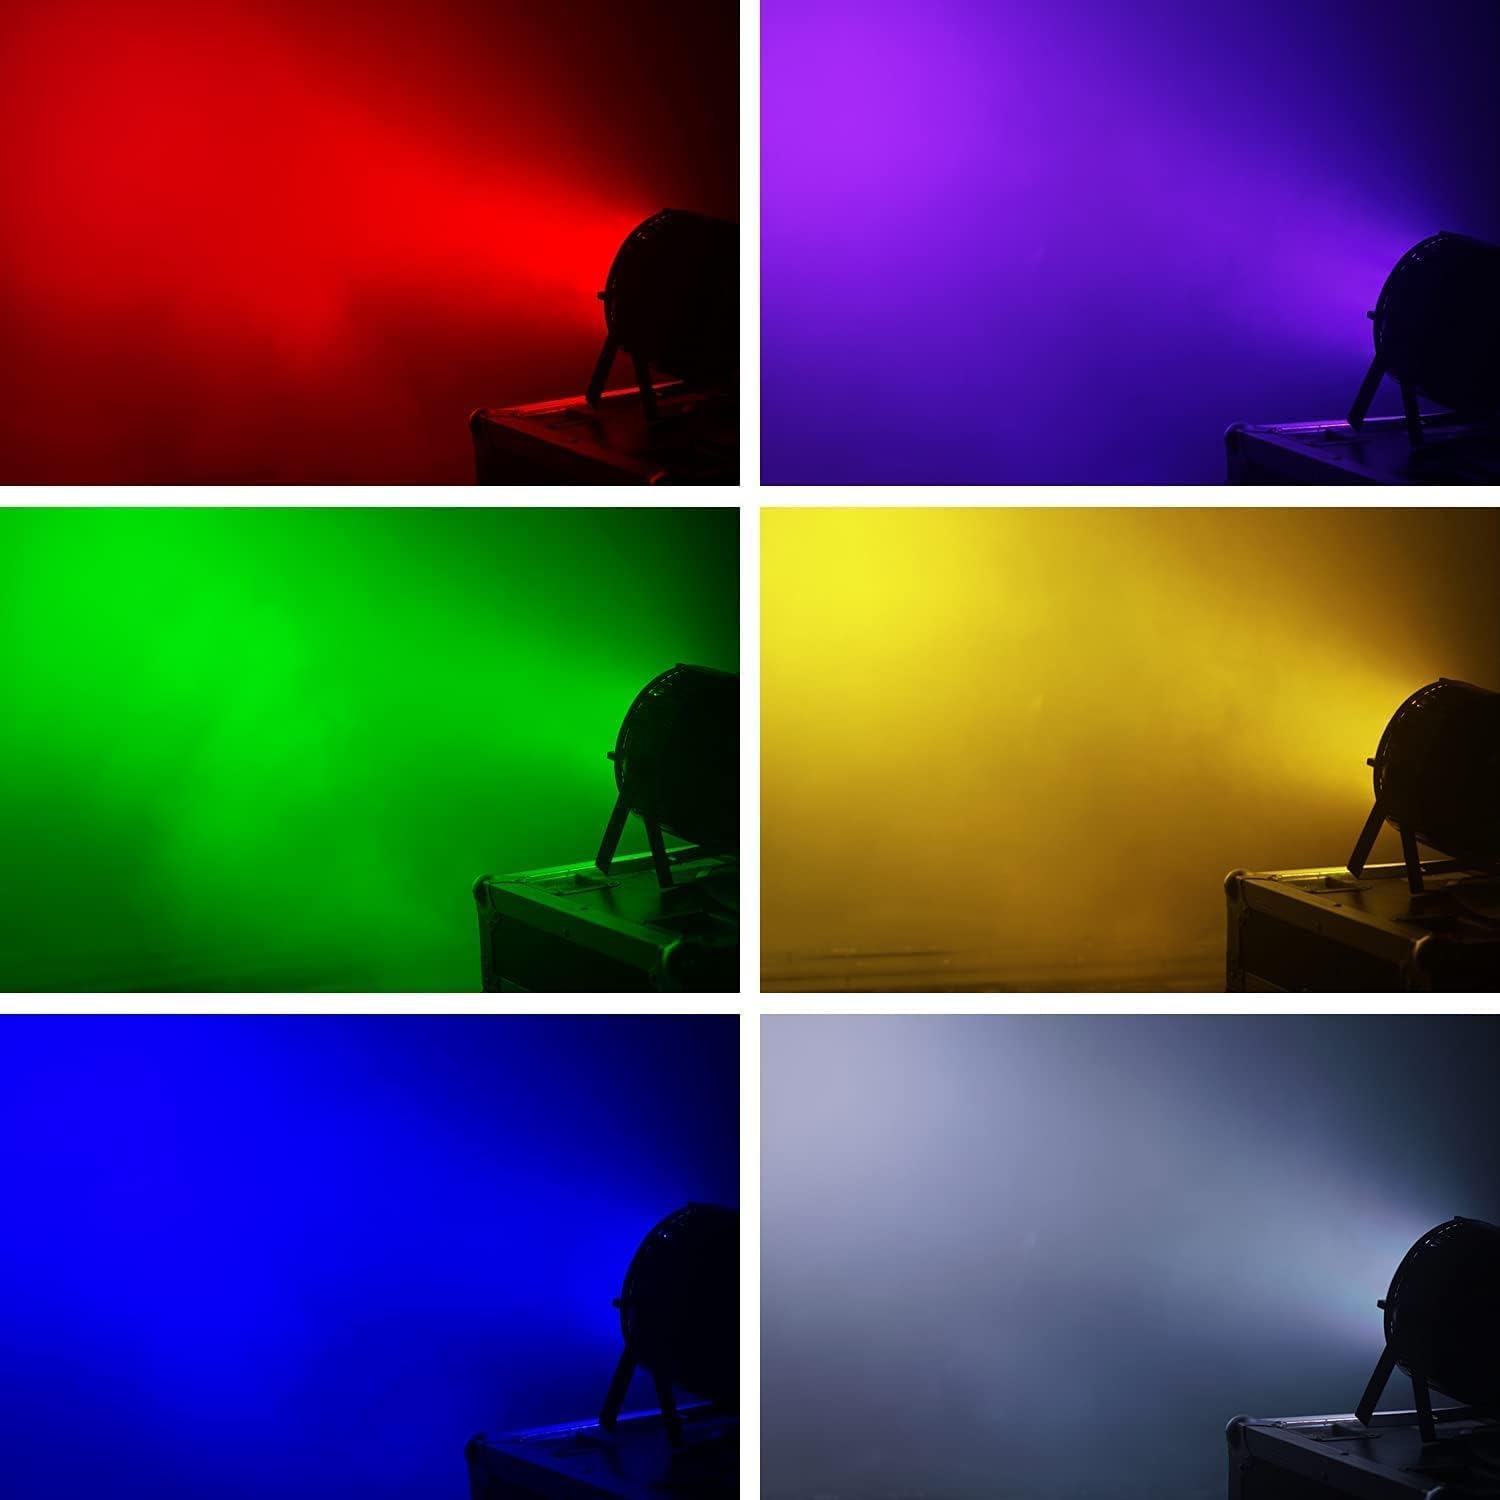
Image 4.3: Examples of various single color outputs.
5. Specifications
| Attribute | Detail |
|---|---|
| Model Number | LPC007 |
| Light Source Type | LED (54x3W RGB 3-in-1) |
| Material | Aluminum |
| Finish Type | Aluminum |
| Color | Black |
| Shape | Round |
| Power Source | Corded Electric |
| Voltage | 240 Volts |
| Brightness | 5000 Lumen |
| Maximum Compatible Light Source Wattage | 162 Watts |
| Light Source Wattage | 3 Watts (per LED) |
| Mounting Type | Wall Mount, Truss Mount |
| Bulb Features | Dimmable |
| Color Temperature | 5600 Kelvin |
| Color Rendering Index (CRI) | 80.00 |
| Number of Light Sources | 54 |
| Product Dimensions (L x W x H) | 9.5" x 9.5" x 11.65" |
| Item Weight | 19.58 pounds (for 4-pack) |
| Average Life | 50,000 Hours |
| UPC | 749355375738 |
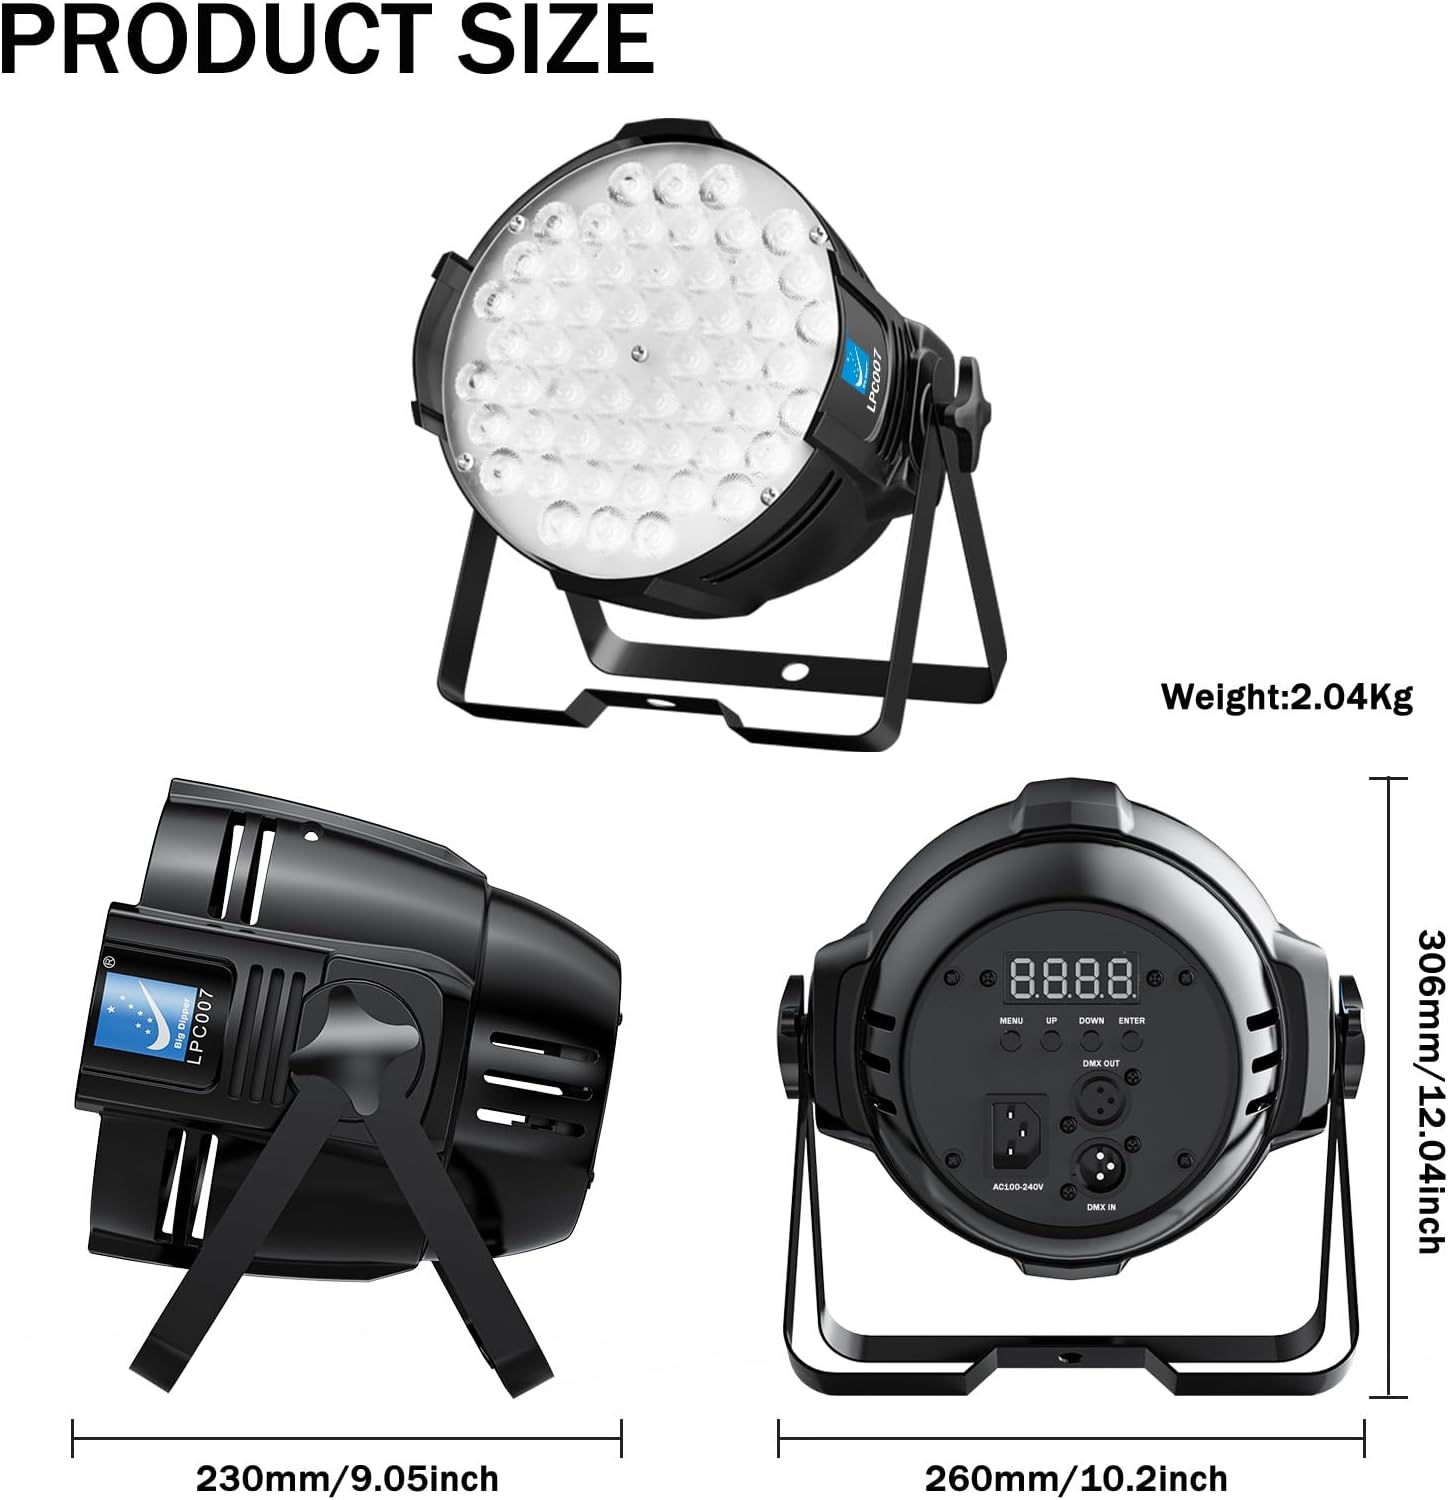
Image 5.1: Product dimensions and control panel layout.

Image 5.2: Key components of the LED Par Light.
6. Setup and Installation
The Big Dipper LED Par Lights are designed for easy installation. They can be mounted on a truss, wall, or simply placed on the floor.
6.1 Mounting with Brackets
- Attach the provided brackets to the sides of the light using the included screws.
- Secure the light to a truss or wall using appropriate clamps or fasteners (not included). Ensure the mounting surface can support the weight of the light.
- Adjust the angle of the light using the adjustable brackets to achieve the desired illumination direction.
6.2 Power Connection
Connect the power cable to the light's power input and then to a suitable power outlet. The light will automatically enter auto-run mode upon power-up.
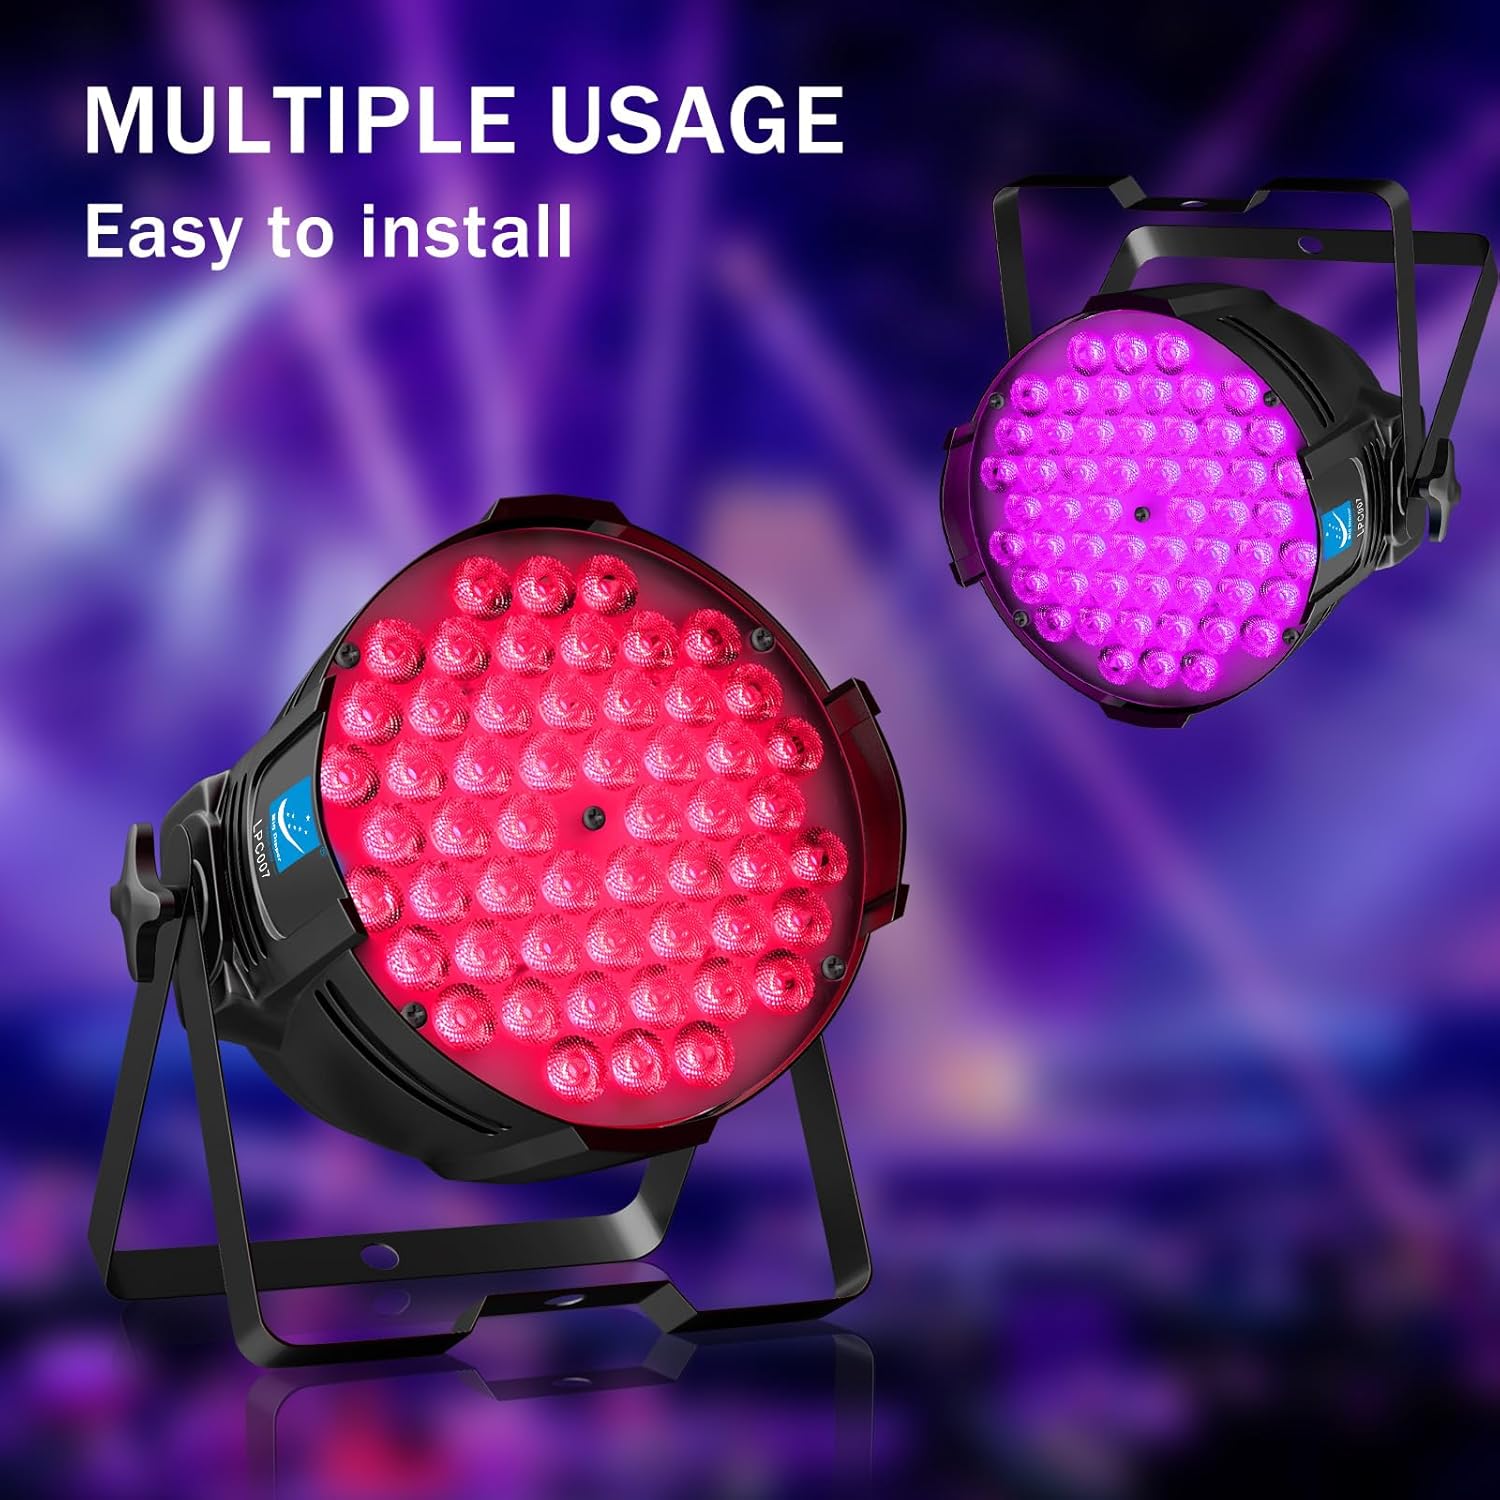
Image 6.1: Lights set up for multiple usage scenarios.

Image 6.2: Adjustable bracket feature.
7. Operating Modes
The Big Dipper LED Par Lights offer several operating modes, selectable via the digital display and control buttons on the back of the unit.
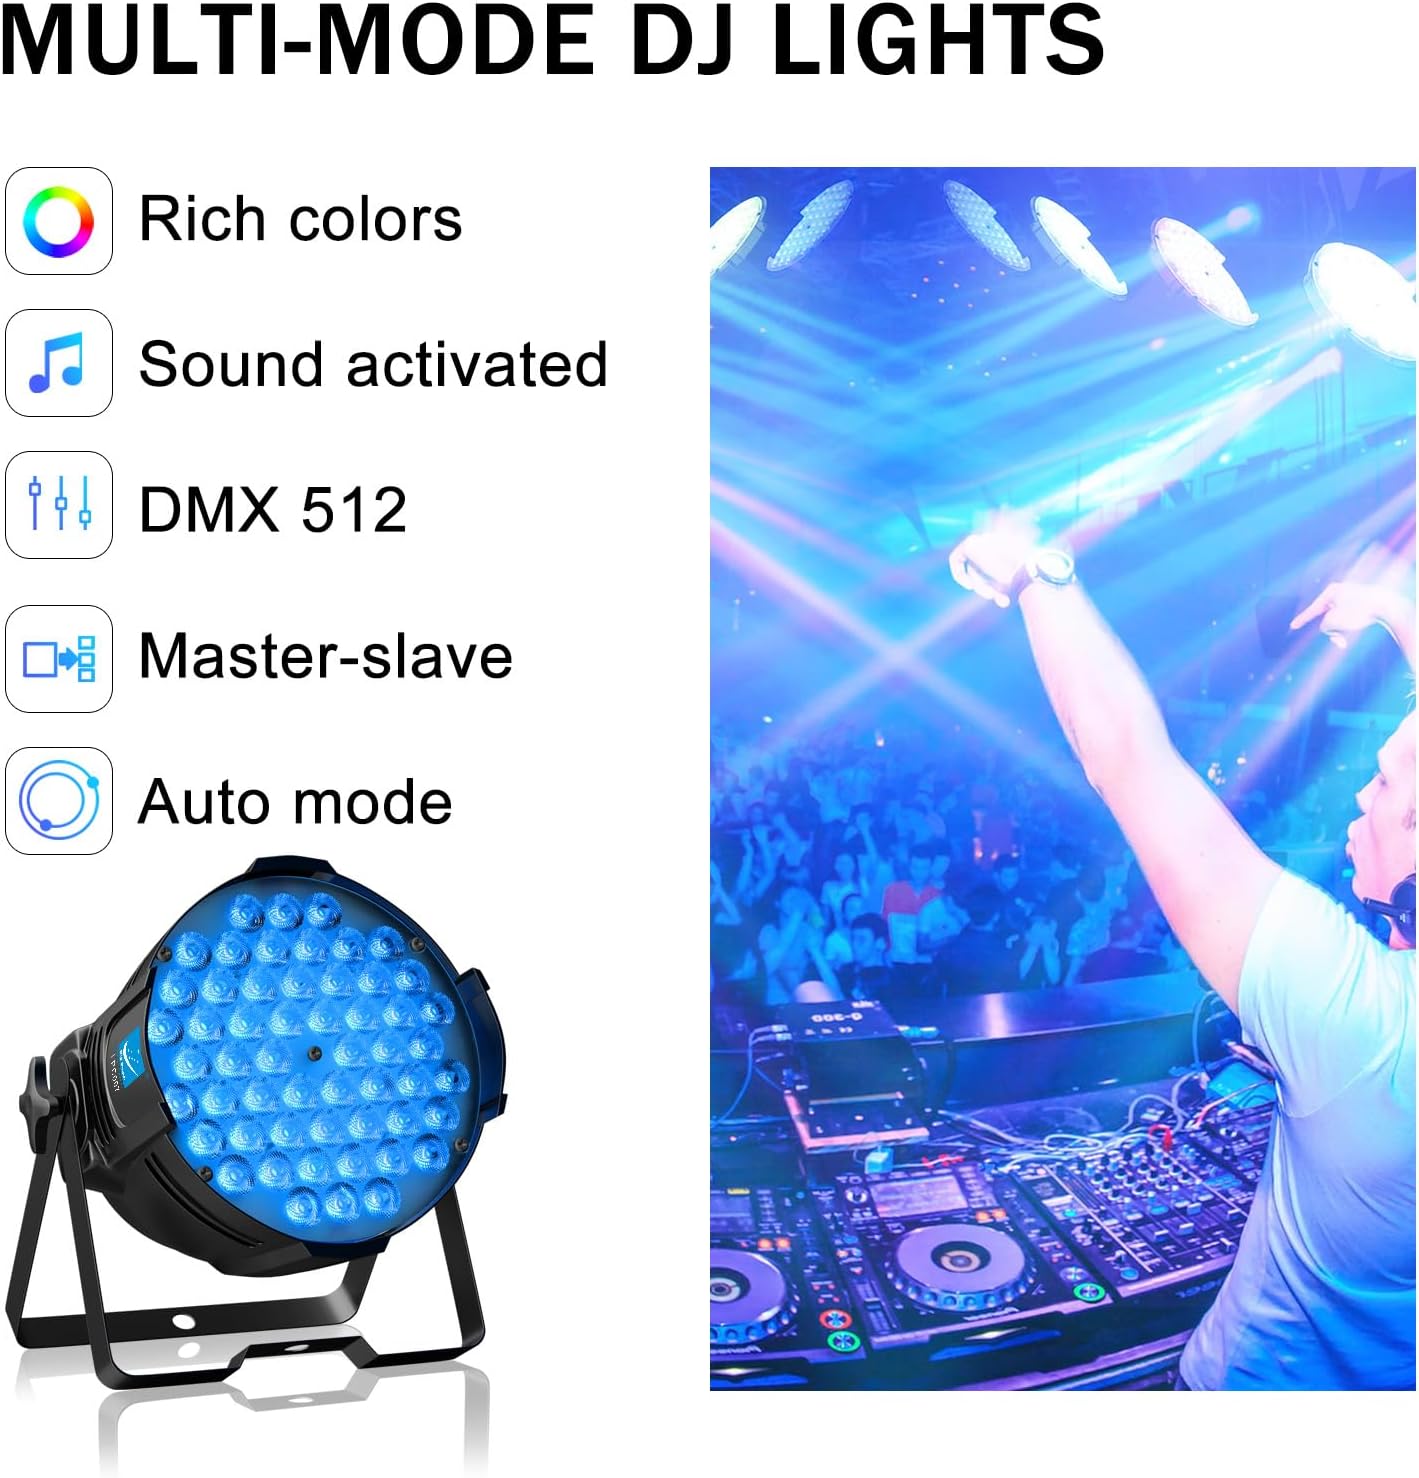
Image 7.1: Overview of multi-mode DJ light features.
7.1 Auto Mode
In Auto mode, the light cycles through pre-programmed color changes, fades, and jumps automatically. This mode is ideal for quick setup and general ambient lighting.
7.2 Sound-Activated Mode
The built-in microphone detects sound and music, causing the light effects to synchronize with the rhythm. Adjust sensitivity if needed via the control panel.

Image 7.2: Sound Activated feature.
7.3 Master-Slave Mode
Connect multiple lights using DMX cables. Set one light as the "Master" and others as "Slave" units. The slave units will then mimic the master's operations, ensuring synchronized lighting effects across all connected fixtures.
7.4 Static Color Mode & Dimming
Select specific static colors (Red, Green, Blue, or mixed colors) and adjust their intensity from 0% to 100% using the dimming function.

Image 7.3: Dimmable 0-100% feature.
8. DMX Control (DMX-512)
For advanced control, the lights can be operated via a DMX-512 controller. Connect the DMX output of your controller to the DMX IN port of the first light, and then daisy-chain to subsequent lights using the DMX OUT and DMX IN ports.
8.1 DMX Channel Modes
The light supports two DMX channel modes:
- 3-Channel Mode: Basic control over Red, Green, and Blue intensity.
- 7-Channel Mode: Provides more granular control, including master dimming, strobe, and various pre-programmed effects in addition to RGB intensity. Refer to the specific DMX channel chart (usually provided in a separate detailed DMX manual or online) for full functionality.

Image 8.1: DMX 512 Control feature.
9. Maintenance
Regular maintenance ensures optimal performance and longevity of your lights.
- Cleaning: Disconnect power before cleaning. Use a soft, dry cloth to wipe the exterior. For stubborn dirt, a slightly damp cloth can be used, followed by drying. Do not use abrasive cleaners or solvents.
- Ventilation: Periodically check that the cooling vents are clear of dust and debris to ensure proper airflow.
- Inspection: Regularly inspect power cables and DMX cables for any signs of damage. Replace damaged cables immediately.
10. Troubleshooting
| Problem | Possible Cause | Solution |
|---|---|---|
| Light does not turn on. | No power supply; faulty cable. | Check power connection and outlet. Test with a different cable if available. |
| Light is not responding to DMX controller. | Incorrect DMX address; faulty DMX cable; incorrect DMX mode. | Verify DMX address matches controller setting. Check DMX cable connections. Ensure light is in DMX mode. |
| Sound-activated mode not working. | Microphone sensitivity too low; no sound detected. | Increase microphone sensitivity via control panel. Ensure sufficient sound is present. |
| Light overheats and shuts off. | Blocked ventilation; prolonged use in high ambient temperature. | Ensure vents are clear. Allow light to cool down. Operate in a well-ventilated area. |
11. Warranty and Support
Big Dipper offers a worry-free after-sales service. The stage light is durable and has an outstanding heat dissipation capability, with a service life of up to 50,000 hours.
If you encounter any problems or require assistance, please contact the Big Dipper customer service team. They are available 24/7 to provide support.
For more information and support, visit the official Big Dipper store: Big Dipper Store on Amazon.
12. Usage Scenarios
These versatile LED Par Lights are perfect for a wide range of events and venues, including:
- Concerts and Live Performances
- Parties and Celebrations
- Churches and Religious Events
- Theaters and Stage Productions
- Dance Halls and Clubs
- Bars and Lounges
- Weddings and Special Events
- Halloween and Christmas Decorations

Image 12.1: Diverse applications of the LED Par Lights.
Ask a question about this manual
Ask about setup, troubleshooting, compatibility, parts, safety, or missing instructions. Manuals+ will review the question and use this page’s manual context to help answer it.