1. Introduction
The GROOVYPETS T221 Remote Dog Training Collar is designed to assist dog owners in training their pets effectively and humanely. This system provides a range of corrective modes including tone, vibration, and static stimulation, along with an automatic anti-bark feature. It is suitable for small, medium, and large dogs and supports training for up to three dogs simultaneously with a range of up to 650 yards.
This manual provides detailed instructions on how to set up, operate, and maintain your GROOVYPETS T221 training collar system to ensure safe and effective use.
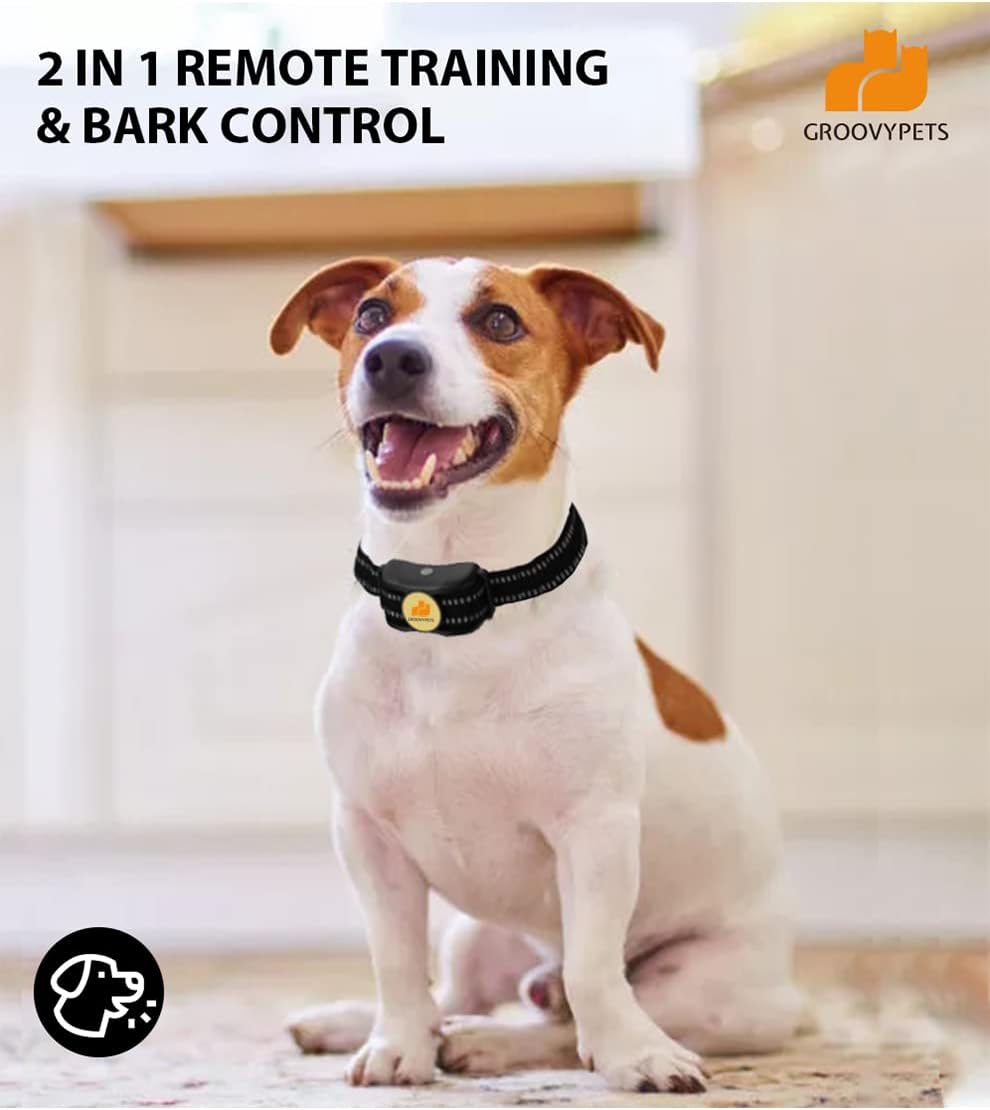
Image: A dog wearing the GROOVYPETS training collar, illustrating its dual function for remote training and bark control.
2. Product Overview and Components
The GROOVYPETS T221 system includes a remote transmitter and one or more receiver collars, depending on your kit (e.g., 2-Dog Kit). Each component is designed for durability and ease of use.
2.1 Remote Transmitter
- LCD Display: Shows channel, battery level, and stimulation levels.
- Vibration Button: Activates vibration mode.
- Tone Button: Activates tone mode.
- Shock Button: Activates static stimulation mode.
- Channel Switch Button: Allows selection of different dog channels (1, 2, or 3).
- Antenna: Ensures a reliable signal up to 650 yards.
- Belt-Clip: For convenient carrying.
2.2 Receiver Collar
- Waterproof Design: Fully submersible for use in various conditions.
- Contact Points: Deliver static stimulation. Includes silicon rubber caps for comfort and dampening.
- Power Button: To turn the receiver on/off.
- Adjustable Strap: For proper fit on your dog's neck.

Image: Detailed diagram illustrating the various components and their functions on both the remote transmitter and the receiver collar.
3. Setup
3.1 Charging the Devices
Both the remote transmitter and the receiver collar are equipped with rechargeable lithium-ion batteries. It is recommended to fully charge both devices before first use.
- Connect the charging cable to the charging ports on both the remote and the receiver.
- Plug the USB end of the cable into a standard USB power adapter (not included) or a computer USB port.
- The indicator lights on both devices will show charging status (refer to device for specific light behavior).
- Charging time may vary, but typically takes a few hours for a full charge.

Image: Illustration of the charging ports on the remote and receiver, emphasizing the long battery life and easy charging capabilities.
3.2 Fitting the Receiver Collar
Proper fit of the receiver collar is crucial for effective and humane static stimulation. The contact points must have direct contact with your dog's skin.
- Ensure the receiver collar is turned off.
- Center the receiver under your dog's neck, with the contact points touching the skin.
- Adjust the strap so it is snug, but not too tight. You should be able to fit one finger comfortably between the strap and your dog's neck.
- Trim any excess strap length if necessary.
Important: Do not leave the collar on your dog for more than 12 hours per day to prevent pressure necrosis (bed sores).
4. Operating Instructions
4.1 Turning On/Off
- Receiver Collar: Press and hold the power button on the receiver until the indicator light illuminates. To turn off, press and hold the power button until the light turns off. The receiver remains ON unless manually turned off.
- Remote Transmitter: The remote hibernates when not in use. Press any button to wake it up instantly.
4.2 Selecting a Dog Channel
The remote supports training for up to three dogs. Use the "Channel Switch Button" (1/3 button) on the remote to cycle through channels 1, 2, and 3. The selected channel will be displayed on the LCD screen.

Image: Visual representation of the remote's 3-channel capability, allowing individual control over multiple dogs, along with the range of vibration, tone, and static levels.
4.3 Training Modes
The GROOVYPETS T221 offers three primary training modes:
- Tone Mode: Delivers an audible beep. This is often used as a warning or positive reinforcement.
- Vibration Mode: Provides a non-harmful vibration. There are 8 adjustable levels of vibration intensity.
- Static Stimulation Mode: Delivers a humane static pulse. There are 16 adjustable levels of static intensity. Always start at the lowest level and increase gradually to find the appropriate level for your dog.
To activate a mode, simply press the corresponding button on the remote transmitter.
4.4 Automatic Anti-Bark Mode
The collar can be switched into an automatic anti-bark mode to help control excessive barking. This mode progressively increases stimulation levels from 1 to 6 if barking continues.
- To Turn On Anti-Bark Mode: Ensure the receiver is in dog trainer mode. Press the sound (tone) and vibration buttons of the transmitter simultaneously for 3 seconds. After successful activation, a beep sound will be emitted, and the green light on the receiver will flash.
- To Turn Off Anti-Bark Mode: Press the sound (tone) and vibration buttons of the transmitter simultaneously for 3 seconds. The receiver will emit two beeps, and the green light will flash twice after successful shutdown.
Tips: When anti-barking mode is active, the remote training functions (tone, vibration, static) can still be used normally. The receiver will respond to both remote commands and automatic bark detection.

Image: A visual guide detailing the six progressive steps of the automatic anti-barking mode, starting with beep and escalating to beep+vibration+static.

Image: Step-by-step instructions with corresponding visuals on how to toggle the anti-barking mode on and off using the remote transmitter.
4.5 Foolproof Safety-Lock Feature
The system is designed with a safety-lock feature to prevent overcorrection. If a vibration or static stimulation button is pressed and held for more than 10 seconds, the stimulation will automatically stop. This provides peace of mind during training or if the collar is left on the dog.
5. Maintenance
5.1 Cleaning
- Regularly clean the receiver collar and contact points with a damp cloth.
- Ensure the contact points are free of dirt, debris, or hair, which can interfere with proper stimulation.
- Clean the remote transmitter with a dry or slightly damp cloth.
5.2 Battery Care
- Charge the devices fully before long periods of inactivity.
- Avoid completely draining the batteries frequently, as this can reduce their lifespan.
- Store the devices in a cool, dry place when not in use.
6. Troubleshooting
| Problem | Possible Cause | Solution |
|---|---|---|
| Collar not responding to remote. | Low battery on remote or receiver; devices not paired; out of range. | Charge both devices. Ensure receiver is on. Re-pair devices if necessary (refer to pairing instructions if provided in a separate guide). Move closer to the dog. |
| Static stimulation not working. | Collar too loose; contact points dirty or not touching skin; stimulation level too low. | Adjust collar for snug fit. Clean contact points. Increase stimulation level gradually. |
| Anti-bark mode not activating. | Incorrect button combination pressed; receiver not in trainer mode. | Ensure receiver is on. Press tone and vibration buttons simultaneously for 3 seconds. |
| Short battery life. | Frequent use; aging battery; incomplete charging. | Ensure full charge cycles. Reduce frequency of high-level stimulations. Battery replacement may be needed over time. |
7. Specifications
- Model: T221
- Remote Range: Up to 650 yards
- Training Modes: Tone, 8 Levels of Vibration, 16 Levels of Static Stimulation
- Anti-Bark Mode: Automatic, progressive levels (1-6)
- Multi-Dog Support: Up to 3 dogs (with additional receiver collars)
- Receiver Water Resistance: Fully Waterproof / Submersible
- Transmitter Battery Capacity: 250 mAh
- Receiver Battery Capacity: 500 mAh
- Materials: Metal, Nylon, Rubber
- Item Weight: 15.5 ounces (total package)
8. Safety Information
- This device is intended for dog training purposes only. Do not use on aggressive dogs.
- Ensure proper collar fit to prevent skin irritation. Regularly check your dog's neck for signs of redness or sores.
- Do not leave the collar on your dog for more than 12 hours per day.
- Always start training with the lowest stimulation level and gradually increase as needed.
- Supervise your dog during initial training sessions.
- Keep out of reach of children.
- Do not attempt to disassemble or repair the device yourself. Contact customer support for assistance.
9. Warranty and Support
GROOVYPETS stands behind the quality of its products. For any questions, concerns, or technical support regarding your T221 Remote Dog Training Collar, please contact GROOVYPETS customer service. Refer to your product packaging or the retailer's website for specific warranty details and contact information.
For more information about GROOVYPETS products and training tips, visit the official GROOVYPETS brand page or website.

Image: The official GROOVYPETS brand logo.


