
1. Important Safety Instructions
Read and understand all safety warnings and instructions before operating this wet/dry vacuum. Failure to follow the warnings and instructions may result in electric shock, fire, and/or serious injury.
- Always wear safety glasses and hearing protection when operating the vacuum.
- Do not vacuum toxic, carcinogenic, combustible, or other hazardous materials such as asbestos, arsenic, barium, beryllium, lead, pesticides, or other health-endangering materials.
- Do not vacuum hot ashes, coals, or other hot materials.
- Do not vacuum flammable or combustible liquids such as gasoline, or use in areas where they may be present.
- Always unplug the vacuum from the power outlet before performing any maintenance or cleaning.
- Keep children and unauthorized persons away from the operating area.
- Ensure the power cord is not damaged and avoid kinking or stretching it.
2. Product Overview and Components
The DEWALT DXV09P-QTA is a 9-gallon wet/dry shop vacuum designed for efficient cleaning in various environments. It features STEALTHSONIC technology for quieter operation.

Figure 2.1: Labeled components of the DEWALT DXV09P-QTA wet/dry vacuum.
Included Components:
- DEWALT Wet/Dry Vac (1 unit)
- 1-7/8" x 7' Hose (1 unit)
- Extension Wands (2 units)
- Floor Nozzle (1 unit)
- Round Brush (1 unit)
- Accessory Bag (1 unit)
- Disposable Dust Bag (1 unit)
- Utility Nozzle (1 unit)
- Washable Cartridge Filter (1 unit)
- Crevice Nozzle (1 unit)
- Additional Disposable Dust Bags (3 units)
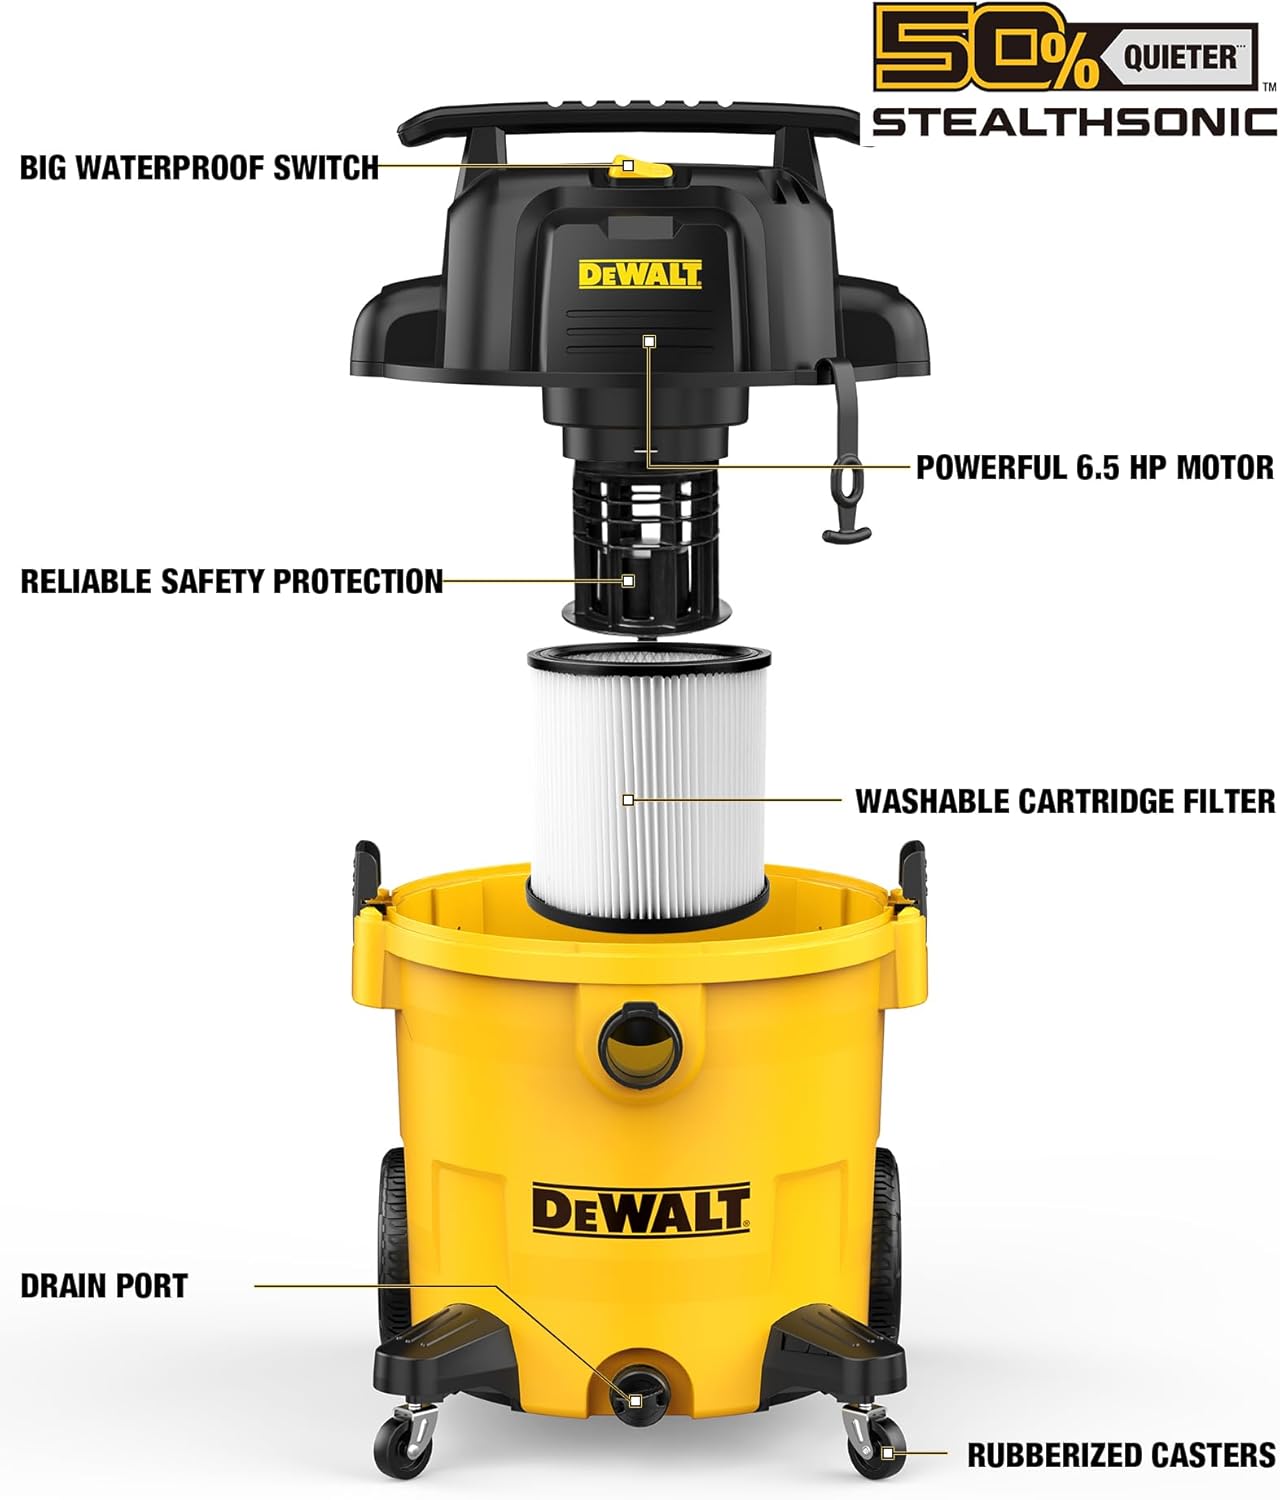
Figure 2.2: Internal components including the motor, filter, and tank.
3. Setup and Assembly
Follow these steps to assemble your DEWALT wet/dry vacuum before first use.
- Unpacking: Carefully remove all components from the packaging. Verify that all listed components are present.
- Caster Assembly: Insert the four heavy-duty swiveling casters into the designated slots on the base of the vacuum tank. Ensure they are securely seated.
- Filter Installation (Dry Vacuuming): For dry vacuuming, ensure the washable cartridge filter is securely installed over the filter cage. If using a disposable dust bag, install it inside the tank before placing the motor head.
- Motor Head Placement: Place the motor head onto the collection tank, aligning the latches. Secure the motor head by engaging the latches on both sides of the tank.
- Hose Connection: Connect the 1-7/8" x 7' hose to the quick connect locking vacuum port on the front of the tank. Twist to lock it in place.
- Accessory Attachment: Attach the desired extension wands and nozzles (floor nozzle, utility nozzle, crevice nozzle, round brush) to the end of the hose for specific cleaning tasks. The accessory bag can be attached to the side of the vacuum for convenient storage.
4. Operating Instructions
This section details how to operate your DEWALT wet/dry vacuum for both wet and dry applications.
4.1 Dry Vacuuming
- Ensure the washable cartridge filter is clean and properly installed. For fine dust, consider using a disposable dust bag in conjunction with the cartridge filter for improved filtration and easier disposal.
- Connect the hose and desired attachment.
- Plug the power cord into a suitable electrical outlet.
- Press the large on/off switch to turn on the vacuum.
- Begin vacuuming dry debris. The STEALTHSONIC technology ensures a significantly quieter operation compared to standard shop vacuums.
- When finished, press the on/off switch to turn off the vacuum and unplug it.

Figure 4.1: The STEALTHSONIC Quiet Technology reduces operational noise.
4.2 Wet Vacuuming
- Remove the disposable dust bag (if installed) and the cartridge filter. The filter can be damaged by wet materials.
- Connect the hose and desired attachment.
- Plug the power cord into a suitable electrical outlet.
- Press the large on/off switch to turn on the vacuum.
- Begin vacuuming liquids. The vacuum will automatically shut off when the liquid reaches a predetermined level in the tank.
- When finished, press the on/off switch to turn off the vacuum and unplug it.
- Empty the liquid from the tank using the drain port located at the bottom of the tank.

Figure 4.2: The vacuum is designed for both wet and dry applications.
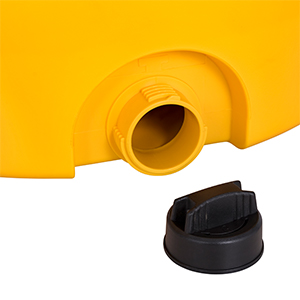
Figure 4.3: Drain port for easy liquid disposal.
5. Maintenance
Regular maintenance ensures optimal performance and extends the life of your vacuum.
5.1 Emptying the Tank
- Dry Debris: Unlatch the motor head and carefully lift it off. Dispose of the contents of the tank or the disposable dust bag.
- Liquids: For liquids, open the drain port at the bottom of the tank to empty the contents. Alternatively, unlatch the motor head and carefully pour out the liquid.
5.2 Filter Care
- Washable Cartridge Filter: After dry use, remove the filter and gently tap it to dislodge dust. For thorough cleaning, rinse the filter under running water. Allow it to air dry completely before reinstallation or storage. Do not use hot water or detergents.
- Disposable Dust Bags: Replace disposable dust bags when full or when suction power decreases significantly.

Figure 5.1: Various nozzles are included for diverse cleaning needs.
5.3 General Cleaning and Storage
- Wipe down the exterior of the vacuum with a damp cloth. Do not use harsh chemicals.
- Ensure the tank is clean and dry before storage to prevent mold or odors.
- Store the vacuum and its accessories in a dry, protected area. The hose strap and accessory bag aid in organized storage.
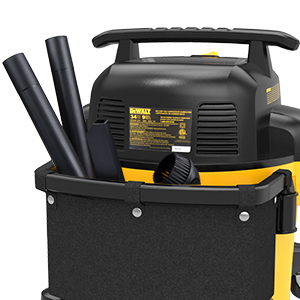
Figure 5.2: Convenient accessory bag for organized storage.
6. Troubleshooting
If you encounter issues with your vacuum, refer to the following common problems and solutions.
| Problem | Possible Cause | Solution |
|---|---|---|
| Vacuum does not turn on | No power to outlet; Damaged power cord; Faulty switch | Check power outlet and circuit breaker; Inspect power cord for damage; Contact customer support if switch is faulty. |
| Low suction power | Clogged hose/nozzle; Full tank/dust bag; Clogged/dirty filter; Air leak | Clear obstructions from hose/nozzle; Empty tank/replace dust bag; Clean or replace filter; Check all connections for tightness. |
| Motor overheats/shuts off | Clogged filter; Full tank; Prolonged heavy use | Clean or replace filter; Empty tank; Allow vacuum to cool down before resuming use. |
| Water coming from exhaust (wet vacuuming) | Tank is full; Float mechanism stuck | Empty the tank; Check float mechanism for obstructions and ensure it moves freely. |
If the problem persists after attempting these solutions, please contact DEWALT customer support.
7. Specifications
Detailed technical specifications for the DEWALT DXV09P-QTA Wet/Dry Shop Vacuum.
- Brand: DEWALT
- Model Name: DXV09P-QTA
- Capacity: 9 Gallons
- Motor Horsepower: 5 HP
- Wattage: 300 watts
- Amperage: 8 Amps
- Maximum Suction: 90 CFM (Cubic Feet per Minute)
- Hose Length: 7 Feet (1-7/8" diameter)
- Noise Level: 68 dB (A)
- Filter Type: Washable Cartridge
- Special Features: STEALTHSONIC Ultra Quiet Technology, Wet/Dry Functionality, Wheels, Drain Port
- Product Dimensions: 16"L x 20"W x 16"H
- Item Weight: 15 pounds
- UPC: 810018927943
- Manufacturer: Dewalt

Figure 7.1: DEWALT DXV09P-QTA Wet/Dry Shop Vacuum.
8. Warranty and Support
For warranty information, please refer to the warranty card included with your product or visit the official DEWALT website. DEWALT products are known for their durability and are typically backed by a limited warranty.
Customer Support:
If you have questions, require technical assistance, or need to order replacement parts, please contact DEWALT customer support through their official website or the contact information provided in your product packaging.
Online Resources: For additional support, product registration, and frequently asked questions, visit the official DEWALT website: www.dewalt.com


