
1. Introduction
This manual provides essential information for the safe and effective use of the Mitutoyo 7305A Dial Thickness Gage. This precision instrument is designed for accurate measurement of material thickness, offering a 0-20mm range with 0.01mm graduation. Please read this manual thoroughly before operating the device and retain it for future reference.
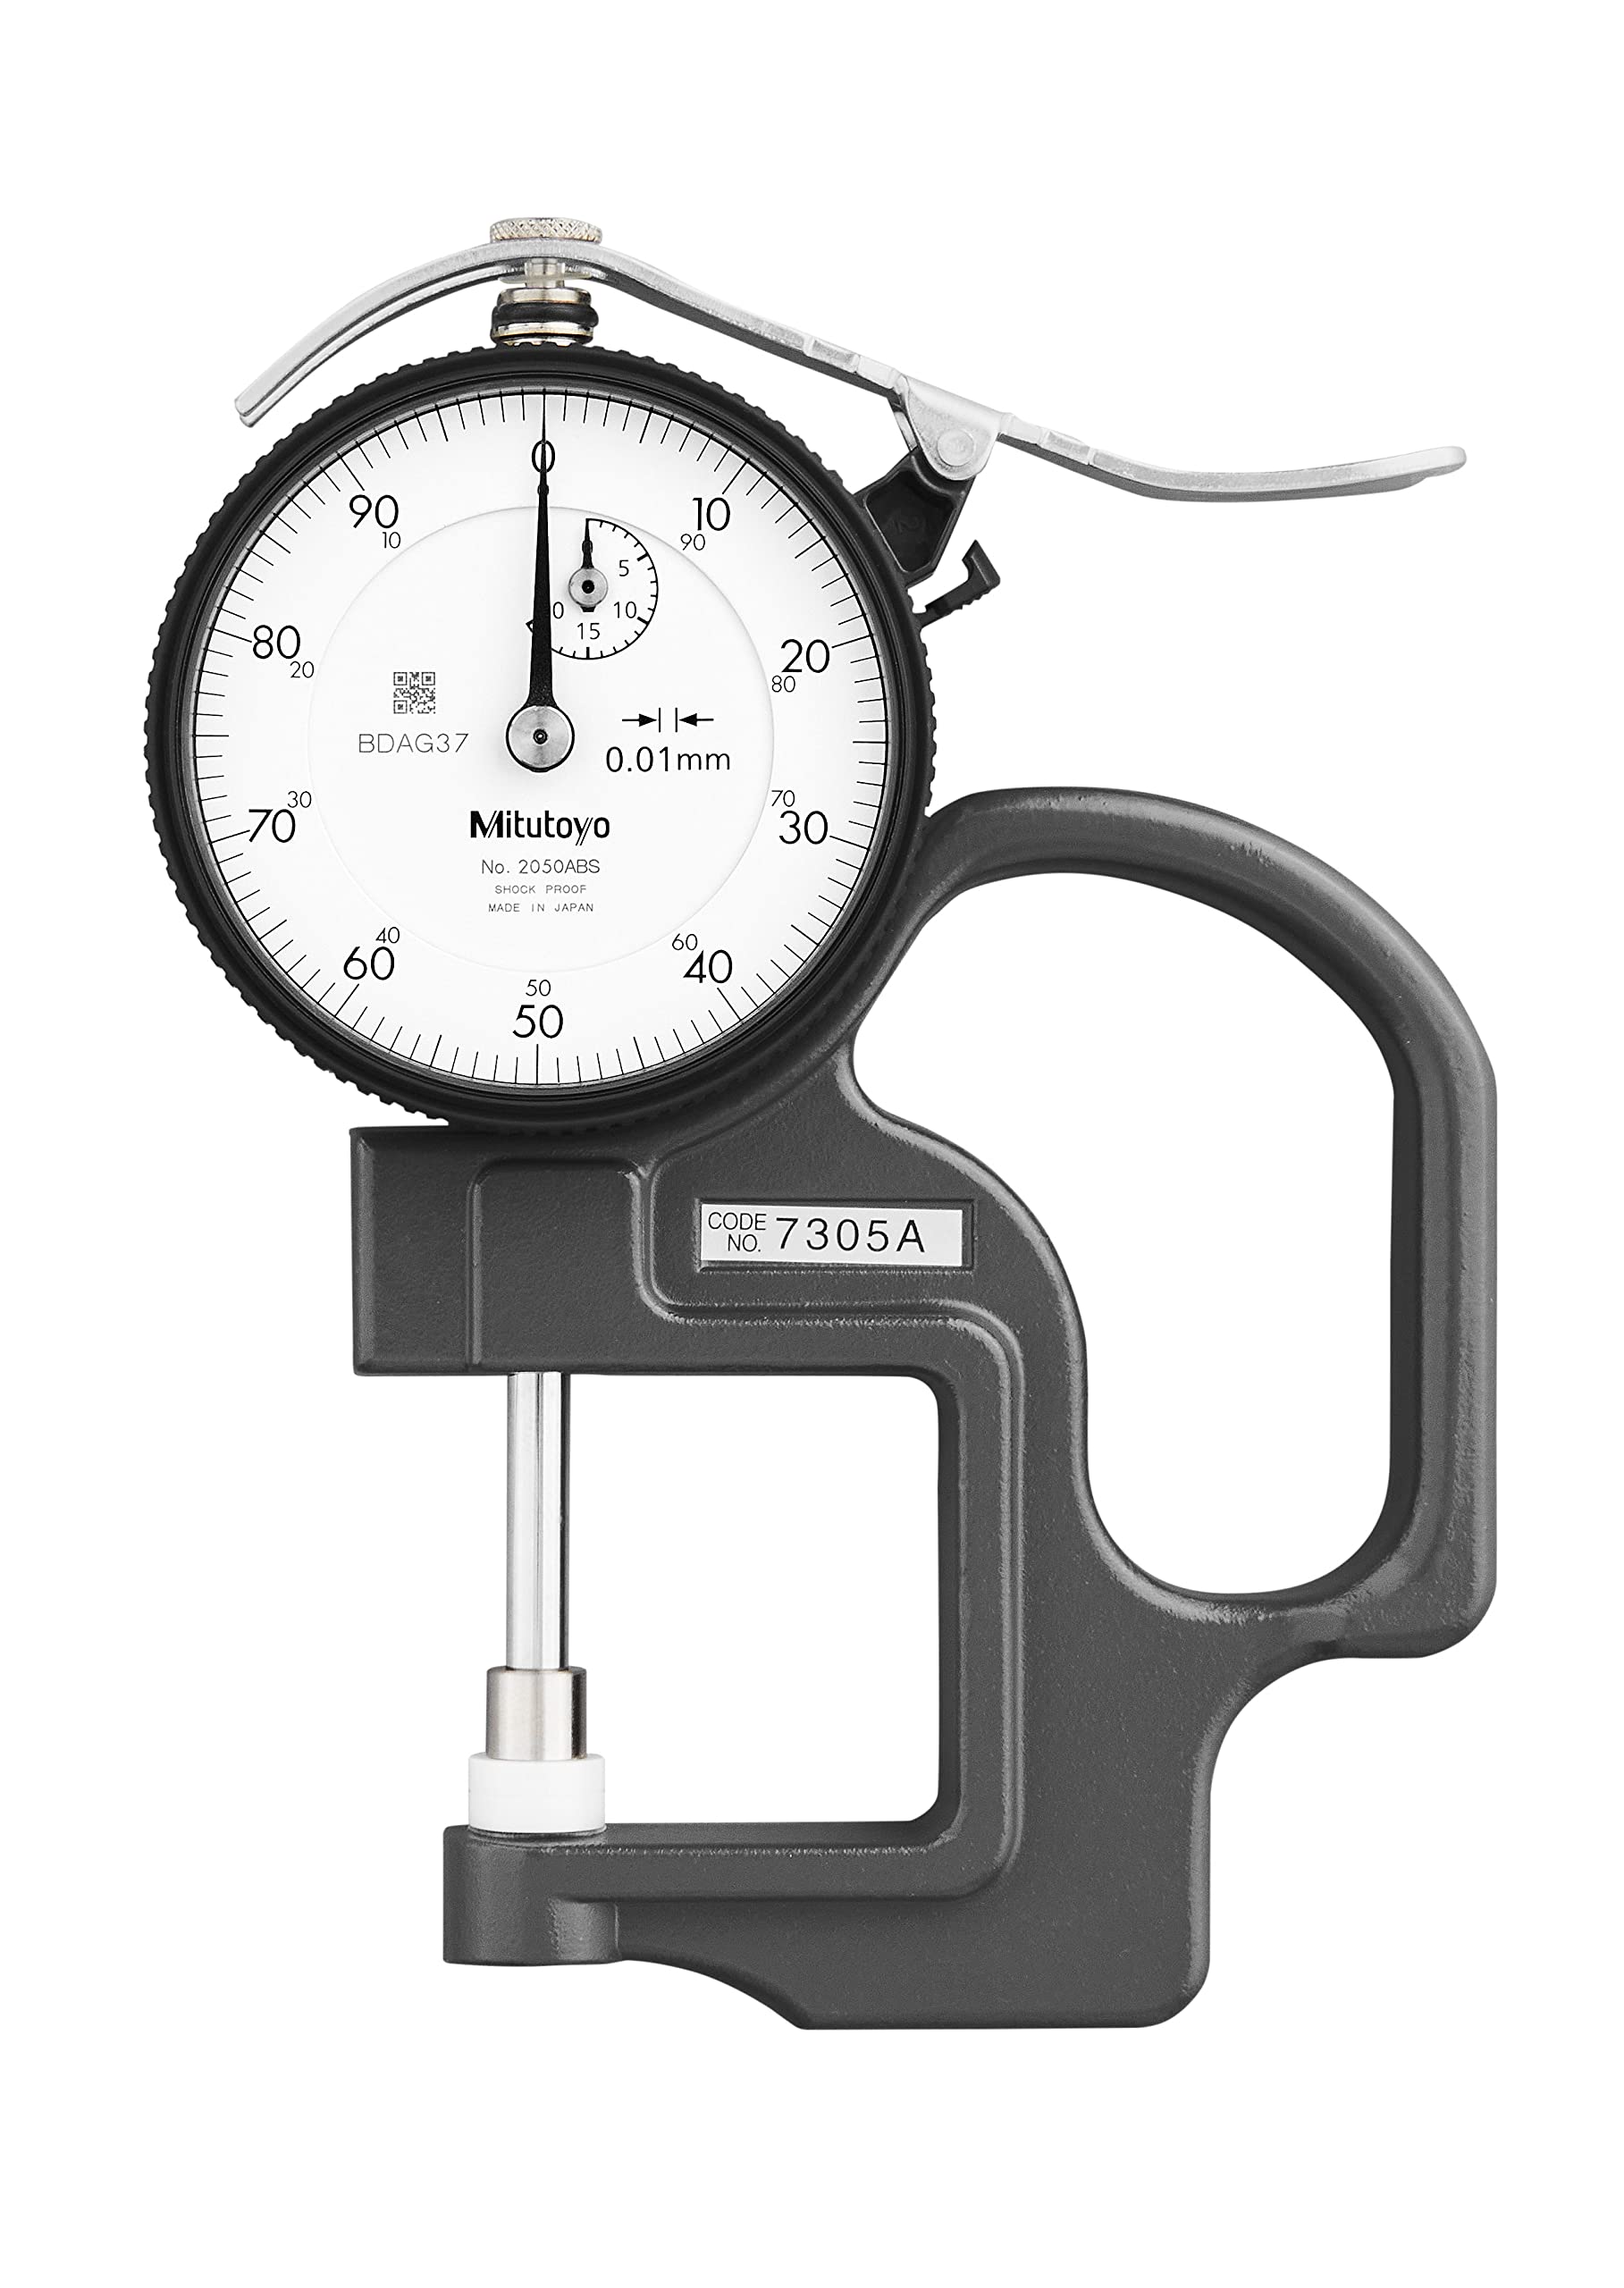
Figure 1: The Mitutoyo 7305A Dial Thickness Gage. This image shows the device with its clear white dial, the upper contact point, and the lower ceramic anvil, designed for precise thickness measurements.
2. Safety Information
To ensure safe operation and prolong the life of your Mitutoyo 7305A Dial Thickness Gage, observe the following safety precautions:
- Handle the gage with care. Avoid dropping or subjecting it to strong impacts, as this can damage the precision mechanism.
- Do not attempt to disassemble or modify the gage. Repairs should only be performed by authorized service personnel.
- Keep the gage clean and free from dust, dirt, and corrosive substances.
- Store the gage in its protective case when not in use, in a dry environment away from direct sunlight and extreme temperatures.
- Avoid applying excessive force to the contact points or the measuring spindle.
3. Package Contents
Upon opening the package, verify that all items are present and undamaged:
- Mitutoyo 7305A Dial Thickness Gage
- Instruction Manual (this document)
- Protective Case (may vary by region/package)
4. Setup
The Mitutoyo 7305A Dial Thickness Gage is designed for immediate use with minimal setup. Follow these steps:
- Unpacking: Carefully remove the gage from its protective packaging.
- Inspection: Visually inspect the gage for any signs of damage that may have occurred during shipping. Ensure the dial moves freely and the contact points are clean.
- Zero Setting:
- Gently open the contact points by pressing the lifting lever.
- Release the lever slowly, allowing the contact points to close completely without any material between them.
- Rotate the outer bezel of the dial until the '0' mark aligns precisely with the needle. This sets the zero reference for your measurements.
5. Operating Instructions
Follow these steps for accurate thickness measurements:
- Prepare the Sample: Ensure the material to be measured is clean, flat, and free from any debris that could affect accuracy.
- Open Contact Points: Gently press the lifting lever to raise the upper contact point, creating an opening between the anvil and the contact point.
- Insert Sample: Carefully slide the material to be measured between the anvil and the contact point. Ensure the sample is positioned flat and stable.
- Release Lever: Slowly release the lifting lever, allowing the upper contact point to gently rest on the material. Avoid dropping the contact point onto the sample.
- Read Measurement: Read the thickness value directly from the dial indicator. The large hand indicates millimeters, and the smaller markings represent hundredths of a millimeter (0.01mm).
- Repeat (if necessary): For critical measurements, take several readings at different points on the sample to account for material variations.
- Remove Sample: Press the lifting lever again to raise the contact point and carefully remove the measured material.
Note: The ceramic anvil and contact point offer enhanced corrosion resistance, making the gage suitable for various materials.
6. Maintenance
Proper maintenance ensures the longevity and accuracy of your thickness gage:
- Cleaning: After each use, wipe the contact points and the body of the gage with a clean, soft, lint-free cloth. For stubborn dirt, a cloth lightly dampened with isopropyl alcohol can be used, ensuring no liquid enters the internal mechanism.
- Storage: Always store the gage in its original protective case when not in use. Keep it in a dry place, away from direct sunlight, dust, vibrations, and extreme temperatures.
- Calibration: Regular calibration by a qualified technician is recommended to maintain measurement accuracy, especially in professional or critical applications.
- Avoid Lubrication: Do not apply oil or lubricants to the internal mechanisms or contact points unless specifically instructed by Mitutoyo.
7. Troubleshooting
If you encounter issues with your Mitutoyo 7305A Dial Thickness Gage, refer to the following common problems and solutions:
| Problem | Possible Cause | Solution |
|---|---|---|
| Needle does not return to zero. | Dust or debris between contact points; improper zero setting. | Clean contact points thoroughly. Re-perform zero setting procedure (Section 4). |
| Inconsistent readings. | Sample not flat; debris on sample or contact points; gage not held steady. | Ensure sample is clean and flat. Clean gage contact points. Hold gage firmly and steadily during measurement. |
| Dial movement is stiff or jerky. | Internal mechanism dirty or damaged. | Do not attempt to lubricate or disassemble. Contact Mitutoyo customer support for service. |
If the problem persists after attempting these solutions, please contact Mitutoyo customer support.
8. Specifications
Key specifications for the Mitutoyo 7305A Dial Thickness Gage:
| Parameter | Value |
|---|---|
| Model Number | 7305A |
| Measuring Range | 0 - 20 mm |
| Accuracy | ±20 µm |
| Graduation | 0.01 mm |
| Measuring Force | 2.0 N or less |
| Anvil and Contact Point Material | Ceramic (for corrosion resistance) |
| Crystal Features | Glare-free with scratch-resistant coating |
| Dial Face | White (for easier, precise readings) |
| Item Weight | Approximately 1 pound (0.45 kg) |
| Package Dimensions | Approximately 5.5 x 5.5 x 1.5 inches |
9. Warranty and Support
Mitutoyo products are manufactured to high standards and are backed by a manufacturer's warranty. For specific warranty terms and conditions, please refer to the documentation included with your purchase or visit the official Mitutoyo website.
For technical support, service, or inquiries regarding your Mitutoyo 7305A Dial Thickness Gage, please contact Mitutoyo customer service or visit their official store page:
Visit the Mitutoyo Store on Amazon
When contacting support, please have your model number (7305A) and purchase details available.