
1. Important Safety Instructions
Read all instructions before using the appliance. To reduce the risk of fire, electric shock, or injury to persons, observe basic precautions, including the following:
- Do not wash articles that have been previously cleaned in, washed in, soaked in, or spotted with gasoline, dry-cleaning solvents, or other flammable or explosive substances as they emit vapors that could ignite or explode.
- Do not add gasoline, dry-cleaning solvents, or other flammable or explosive substances to the wash water. These substances give off vapors that could ignite or explode.
- Do not allow children to play on or in the appliance. Close supervision of children is necessary when the appliance is used near children.
- Do not reach into the appliance if the tub or agitator is moving.
- Do not install or store this appliance where it will be exposed to the weather.
- Do not tamper with controls.
- Do not repair or replace any part of the appliance or attempt any servicing unless specifically recommended in this manual or in published user-repair instructions that you understand and have the skills to carry out.
- Always disconnect the appliance from the power supply before attempting any service.
2. Product Overview
The Maytag 8 kg Top Load Washer is designed for efficient and thorough cleaning of your laundry. Familiarize yourself with its components before operation.
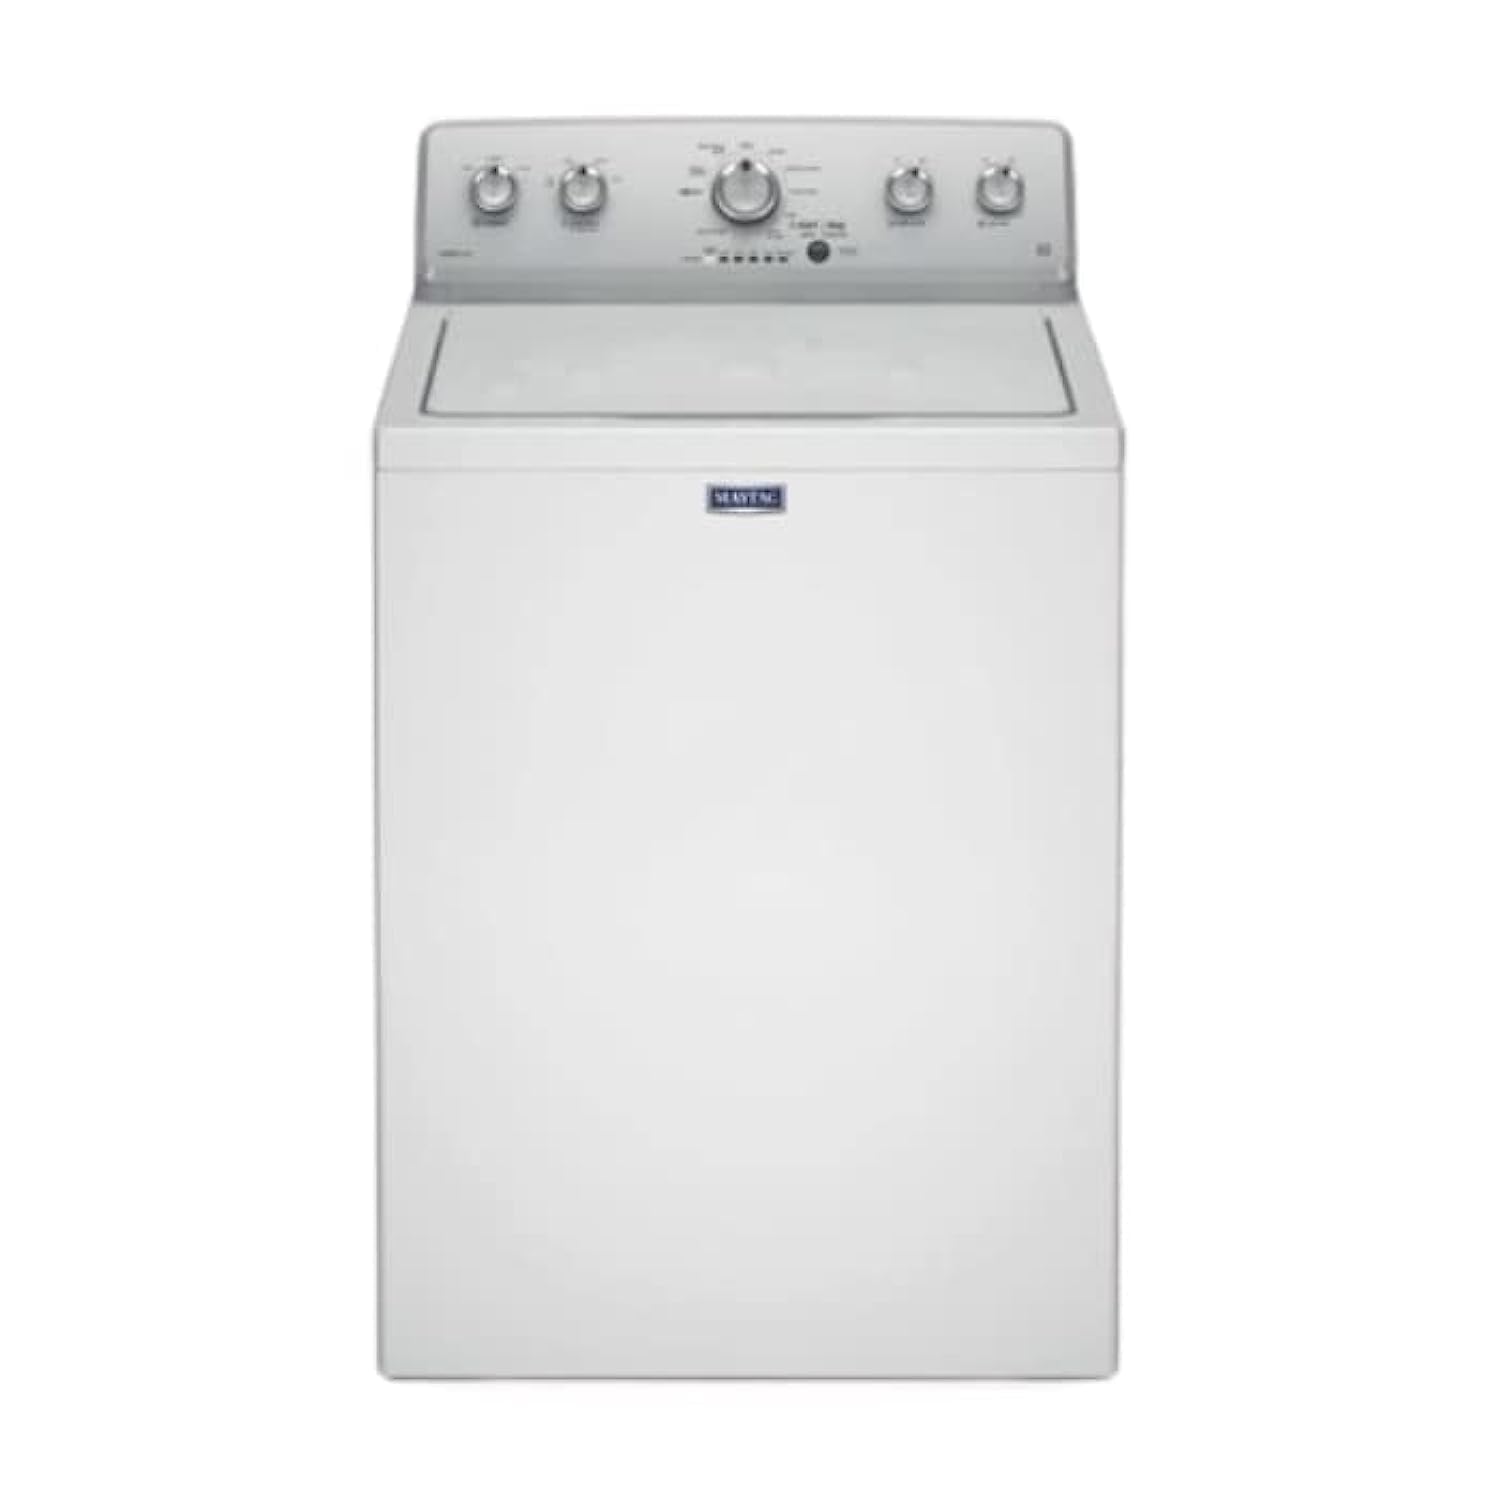
Figure 1: Front view of the Maytag 8 kg Top Load Washer. This image shows the control panel, lid, and main body of the washing machine.
3. Setup and Installation
3.1 Unpacking
Carefully remove all packaging materials, including the base packaging and any shipping bolts or foam inserts. Ensure no parts are left inside the washer tub.
3.2 Location Requirements
Install the washer on a firm, level floor. Ensure there is adequate space for water connections, drainage, and electrical access. Avoid installing in areas where temperatures may drop below freezing.
3.3 Connecting Water Hoses
- Connect the hot water inlet hose to the hot water faucet and the 'H' inlet on the washer.
- Connect the cold water inlet hose to the cold water faucet and the 'C' inlet on the washer.
- Tighten all connections securely by hand, then an additional two-thirds turn with pliers. Do not overtighten.
- Turn on the water supply and check for leaks.
3.4 Drain Hose Installation
Securely attach the drain hose to the drain outlet at the back of the washer. Place the other end of the drain hose into a standpipe or laundry tub. Ensure the drain hose is properly secured to prevent it from dislodging during the wash cycle.
3.5 Electrical Connection
Plug the washer's power cord into a grounded 3-prong outlet. Do not remove the grounding prong. Do not use an extension cord. Ensure the electrical supply meets the specifications listed in this manual.
3.6 Leveling the Washer
Use a level to check if the washer is balanced. Adjust the leveling feet at the bottom of the washer by turning them clockwise to raise or counter-clockwise to lower. Ensure all four feet are firmly on the floor to prevent vibration.
4. Operating Instructions
4.1 Loading Laundry
Load dry, unsoiled items loosely into the washer tub. Do not overload the washer; leave enough space for items to move freely for effective cleaning. Mix large and small items for balanced loads.
4.2 Adding Detergent and Additives
Add the recommended amount of high-efficiency (HE) detergent to the dispenser. For other additives like fabric softener or bleach, follow the instructions on the product packaging and use the designated dispenser compartments.
4.3 Selecting a Wash Cycle
Turn the cycle selector knob or press the cycle buttons on the control panel to choose the appropriate wash cycle for your laundry type (e.g., Normal, Delicates, Heavy Duty).
4.4 Adjusting Settings
Customize your wash by selecting options such as water temperature (Hot, Warm, Cold), spin speed (High, Medium, Low), and soil level (Light, Normal, Heavy) using the corresponding buttons or knobs on the control panel.
4.5 Starting the Washer
Close the washer lid. Press the 'Start/Pause' button to begin the wash cycle. The lid will lock, and the washer will start filling with water.
4.6 Cycle Completion
Once the wash cycle is complete, the washer will signal with an audible alert (if enabled) and the lid will unlock. Remove your laundry promptly to prevent wrinkles and odors.
5. Maintenance and Care
5.1 Cleaning the Dispenser
Periodically remove and clean the detergent and additive dispensers to prevent buildup. Rinse with warm water and a soft brush, then reinsert.
5.2 Cleaning the Washer Interior
Run a 'Clean Washer' cycle (if available) or a regular cycle with hot water and a washer cleaner (e.g., affresh® Washer Cleaner) once a month to remove detergent residue and odor-causing bacteria.
5.3 Cleaning the Exterior
Wipe the exterior surfaces of the washer with a soft, damp cloth. Do not use abrasive cleaners or solvents.
5.4 Water Inlet Hoses
Inspect the water inlet hoses for cracks, bulges, or leaks every few months. Replace hoses every five years, even if they appear to be in good condition, to prevent potential water damage.
5.5 Winterizing (for non-heated locations)
If the washer is stored in an area subject to freezing temperatures, follow these steps to prevent damage: Disconnect water supply hoses, drain all water from hoses and washer, and run a short drain/spin cycle to remove residual water. Consult the full manual for detailed winterization instructions.
6. Troubleshooting Guide
Before calling for service, review this section for potential solutions to common issues.
| Problem | Possible Cause | Solution |
|---|---|---|
| Washer does not start | Power cord unplugged; Lid not closed; Circuit breaker tripped. | Ensure power cord is securely plugged in; Close lid completely; Reset circuit breaker. |
| Washer does not fill | Water supply turned off; Inlet hoses kinked; Water inlet screens clogged. | Turn on water supply; Straighten hoses; Clean inlet screens. |
| Washer does not drain/spin | Drain hose kinked or clogged; Lid open during spin cycle; Unbalanced load. | Straighten drain hose; Close lid; Redistribute laundry evenly. |
| Excessive vibration | Washer not level; Shipping materials not removed; Unbalanced load. | Level the washer; Ensure all shipping materials are removed; Redistribute laundry. |
| Water leaks | Hose connections loose; Drain hose not properly secured; Excessive suds. | Tighten hose connections; Secure drain hose; Use less detergent. |
7. Specifications
| Feature | Detail |
|---|---|
| Brand | Maytag |
| Model Number | 4KMVWC430JW (Item Model Number: 624810) |
| Product Type | Top Load Washer |
| Capacity | 8 kg |
| Dimensions (D x W x H) | 68.6 cm x 71.1 cm x 116.8 cm |
| Weight | 61.2 kg |
| Material | ABS |
| User Interface | Buttons |
| Included Components | Washer unit |
| First Available Date | December 21, 2022 |
8. Warranty Information
This Maytag appliance comes with a limited warranty. For specific details regarding warranty coverage, duration, and terms, please refer to the warranty card included with your product or visit the official Maytag website. Keep your purchase receipt as proof of purchase for warranty claims.
9. Customer Support
If you require further assistance, have questions not covered in this manual, or need to schedule service, please contact Maytag Customer Service. Contact information can typically be found on the Maytag website or on the warranty documentation provided with your appliance.


