Product Overview
The ASUS TUF Gaming VG32UQA1A is a high-performance 31.5-inch 4K (3840 x 2160) gaming monitor designed for immersive gameplay. It features an overclockable 160Hz refresh rate and a rapid 1ms (MPRT) response time, ensuring smooth and responsive visuals. This monitor incorporates advanced technologies such as Display Stream Compression (DSC), ASUS Extreme Low Motion Blur Sync (ELMB Sync), and AMD FreeSync™ Premium to deliver a tear-free and ghosting-free gaming experience on both PCs and consoles.

Figure 1: Front view of the ASUS TUF Gaming VG32UQA1A monitor, showcasing its sleek design and the TUF Gaming logo.
What's in the Box
Upon unboxing your ASUS TUF Gaming VG32UQA1A monitor, you should find the following components:
- VG32UQA1A Gaming monitor
- Power cord
- Power adapter
- Warranty card
- Quick Start Guide (QSG)

Figure 2: Illustration of the items included in the product packaging, such as the monitor, cables, and documentation.
Setup Guide
1. Assembling the Stand
Carefully attach the monitor stand to the back of the monitor. Ensure all screws are securely fastened to prevent instability. The stand is designed for easy assembly, typically requiring a screwdriver for a few screws.

Figure 3: Rear view of the monitor, highlighting the VESA mount compatibility and the area where the stand connects. This image also shows the various input ports.
2. Connecting to Power
Connect the power adapter to the monitor's power input port, then plug the power cord into a wall outlet. Use only the provided power adapter and cord.
3. Connecting to Your Device
The VG32UQA1A monitor offers extensive connectivity options. Use the appropriate cable (HDMI 2.1 or DisplayPort) to connect your PC or console to the monitor. For optimal gaming performance, especially with 4K 120Hz on PlayStation 5 and Xbox Series X, utilize the HDMI 2.1 ports.
- HDMI 2.1: Supports native 4K 120 Hz gaming without chroma subsampling (4:4:4) on PlayStation 5 and Xbox Series X.
- DisplayPort: Ideal for PC gaming, supporting the monitor's full 160Hz refresh rate at 4K resolution.
Figure 4: Detailed view of the monitor's input/output ports, including multiple HDMI 2.1 ports and a DisplayPort, along with audio jacks.
Operating Instructions
Power On/Off
Press the power button located on the monitor's bezel to turn the monitor on or off. The power indicator light will illuminate when the monitor is active.
On-Screen Display (OSD) Menu Navigation
The monitor features an intuitive OSD menu for adjusting settings. Use the joystick or buttons located on the rear/bottom of the monitor to navigate the menu. Common settings include:
- GameVisual: Select various display modes optimized for different game genres (e.g., Racing, RTS/RPG, FPS).
- GamePlus: Access in-game enhancements like crosshair overlays, timers, and FPS counters.
- Color Settings: Adjust brightness, contrast, color temperature, and saturation.
- Input Select: Manually switch between connected input sources (HDMI 1, HDMI 2, DisplayPort).

Figure 5: An example of the monitor's On-Screen Display (OSD) menu, showing GameVisual settings for optimizing display modes.
Adaptive Sync and ELMB Sync
The monitor supports AMD FreeSync™ Premium and ASUS Extreme Low Motion Blur Sync (ELMB Sync) for a fluid gaming experience. These technologies work together to eliminate screen tearing and ghosting, especially during fast-paced action.

Figure 6: Visual demonstration of Adaptive-Sync technology, showing the difference in visual smoothness with the feature enabled and disabled.
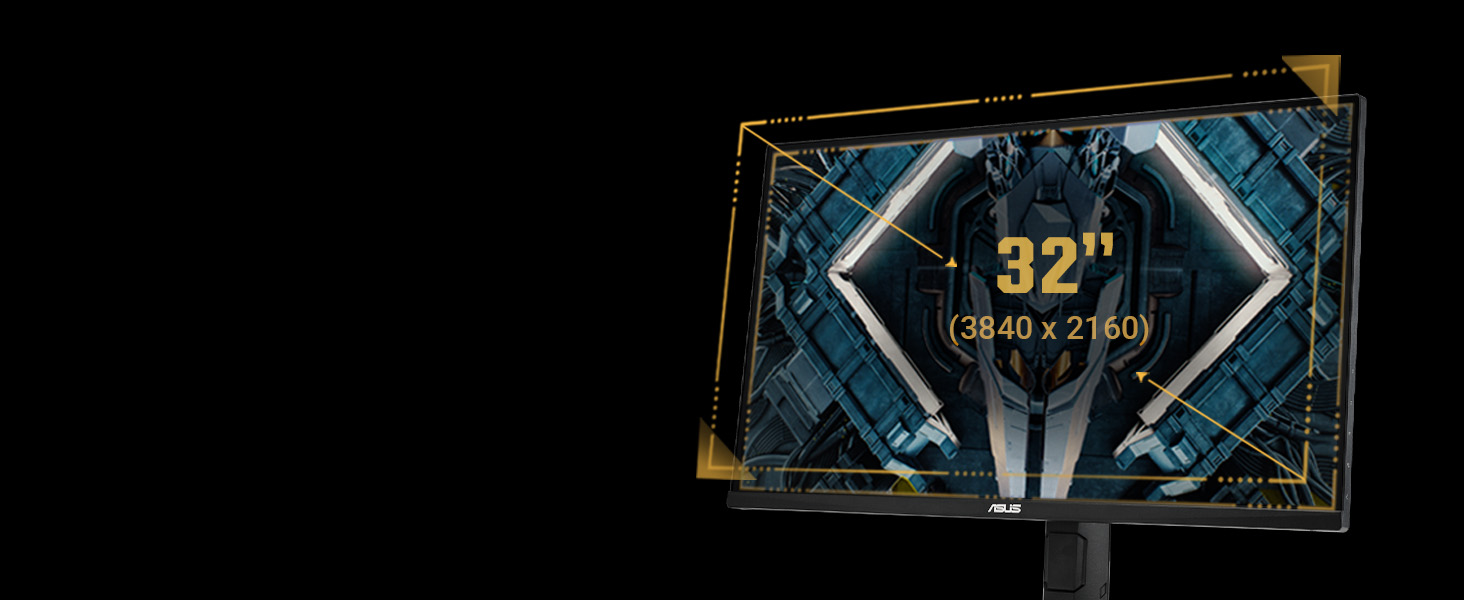
Figure 7: Visual comparison illustrating the effect of ELMB Sync, demonstrating how it reduces motion blur and ghosting for clearer images.
Maintenance
Cleaning the Monitor
To clean the monitor screen, gently wipe it with a soft, lint-free cloth. For stubborn marks, lightly dampen the cloth with water or a non-abrasive screen cleaner. Avoid using alcohol-based cleaners or harsh chemicals, as these can damage the screen surface.
General Care
- Keep the monitor away from direct sunlight and heat sources.
- Ensure adequate ventilation around the monitor to prevent overheating.
- Avoid placing heavy objects on the monitor or its cables.
- Unplug the monitor from the power outlet during lightning storms or when unused for extended periods.
Eye Care Features
The ASUS TUF Gaming VG32UQA1A monitor includes eye care technologies to reduce eye strain during prolonged use:
- Flicker-Free Technology: Reduces screen flicker to minimize eye fatigue.
- Low Blue Light Filter: Protects your eyes from harmful blue light emissions. This feature can be adjusted through the OSD menu.
Video 1: This video demonstrates the ASUS Eye Care features, including the Blue Light Filter and Flicker-Free technology, designed to reduce eye strain during extended monitor use.

Figure 8: A visual comparison showing the benefits of Flicker-Free technology, which helps reduce eye strain by eliminating screen flicker.

Figure 9: A visual comparison demonstrating the effect of the Low Blue Light filter, which helps protect eyes from harmful blue light emissions.
Troubleshooting
| Problem | Possible Cause | Solution |
|---|---|---|
| No Power | Power cord not connected; Power adapter faulty. | Ensure power cord is securely connected to monitor and outlet. Test with another outlet. |
| No Signal | Input cable loose or incorrect; Incorrect input source selected. | Check HDMI/DisplayPort cable connections. Use OSD menu to select correct input source. |
| Screen Tearing/Ghosting | Adaptive Sync/ELMB Sync not enabled or configured. | Enable FreeSync Premium and ELMB Sync in the OSD menu and graphics card settings. |
| Blurry Image | Resolution or refresh rate not set correctly. | Adjust display resolution to 3840x2160 and refresh rate to 160Hz (or 120Hz for consoles) in your device's display settings. |
| No Audio from Speakers | Volume too low; Audio output not set to monitor. | Increase monitor volume via OSD. Ensure your device's audio output is set to the monitor. |
Specifications
| Feature | Detail |
|---|---|
| Screen Size | 31.5 Inches (31.5" viewable) |
| Resolution | 4K UHD (3840 x 2160) |
| Refresh Rate | 160Hz (Overclockable) |
| Response Time | 1ms (MPRT) |
| Panel Type | VA (Vertical Alignment) |
| HDR Support | DisplayHDR 400, HDR-10 |
| Color Gamut | 120% sRGB |
| Adaptive Sync | AMD FreeSync™ Premium |
| Low Motion Blur | ASUS Extreme Low Motion Blur Sync (ELMB Sync) |
| Connectivity | HDMI 2.1 (x2), DisplayPort (x1), USB Hub, Earphone Jack |
| Built-in Speakers | Yes |
| Dimensions (WxHxD) | 28.19 x 19.53 x 8.43 inches (with stand) |
| Weight | 16.53 pounds (with stand) |
Warranty and Support
Warranty Information
The ASUS TUF Gaming VG32UQA1A monitor typically comes with a manufacturer's warranty. Please refer to the included "Warranty card" in your product box for specific terms, conditions, and duration of the warranty in your region. Keep your proof of purchase for warranty claims.
Customer Support
For technical assistance, troubleshooting beyond this manual, or warranty service, please contact ASUS customer support. You can find contact information on the ASUS official website or in the Quick Start Guide.
ASUS Official Website: www.asus.com
For additional resources and FAQs, visit the ASUS support page for your specific model.