1. Setup Guide
The FLSUN V400 3D Printer is designed for quick and easy setup, arriving largely pre-assembled from the factory. Follow these steps to get your printer ready for its first print.
1.1 Unboxing and Initial Placement
Carefully remove all components from the packaging. Place the printer on a stable, level surface with adequate space around it for operation and maintenance. Ensure the power switch is in the OFF position before connecting to a power source.

Figure 1: The FLSUN V400 3D Printer, showcasing its delta design and large build volume.
1.2 Power Connection and Klipper Firmware
Connect the power cable to the printer and then to a wall outlet. The FLSUN V400 comes with Klipper firmware pre-installed on its dedicated pad, eliminating the need for complex firmware setup. The 7-inch wide-angle IPS display provides an intuitive interface for control.

Figure 2: The Speeder Pad with its pre-installed Klipper firmware, offering comprehensive control and monitoring.
1.3 PEI Bed Preparation and Filament Loading
Ensure the steel spring PEI sheet bed is securely placed on the print platform. For optimal adhesion, clean the PEI surface with 70% isopropyl alcohol before each print. Load your chosen filament into the direct drive extruder. The V400's direct drive system is designed for reliable feeding of various filament types.
1.4 Automatic Leveling System
The FLSUN V400 features an upgraded automatic leveling system with 25-point precise calibration. Initiate the auto-leveling process through the Speeder Pad interface. This ensures a perfectly level print surface for consistent first layers.
1.5 Setup Overview Video
Video 1: An official overview of the FLSUN V400 3D Printer, demonstrating its features and ease of use.
2. Operating Instructions
The FLSUN V400 is engineered for high-speed, high-quality 3D printing. This section covers the basic operation and capabilities of your printer.
2.1 Starting a Print
After completing the setup and auto-leveling, select your desired print file from the Speeder Pad. The Klipper firmware allows for seamless operation and monitoring. The V400's advanced dual-axis linear guide ensures precise and stable movement during printing, contributing to superior print accuracy.

Figure 3: The FLSUN V400 integrated into a workspace, ready for creative projects.
2.2 High-Speed Printing Capabilities
The FLSUN V400 is capable of reaching impressive printing speeds of up to 600mm/s with an acceleration of 25000+ mm/s². This significantly reduces print times compared to conventional 3D printers.
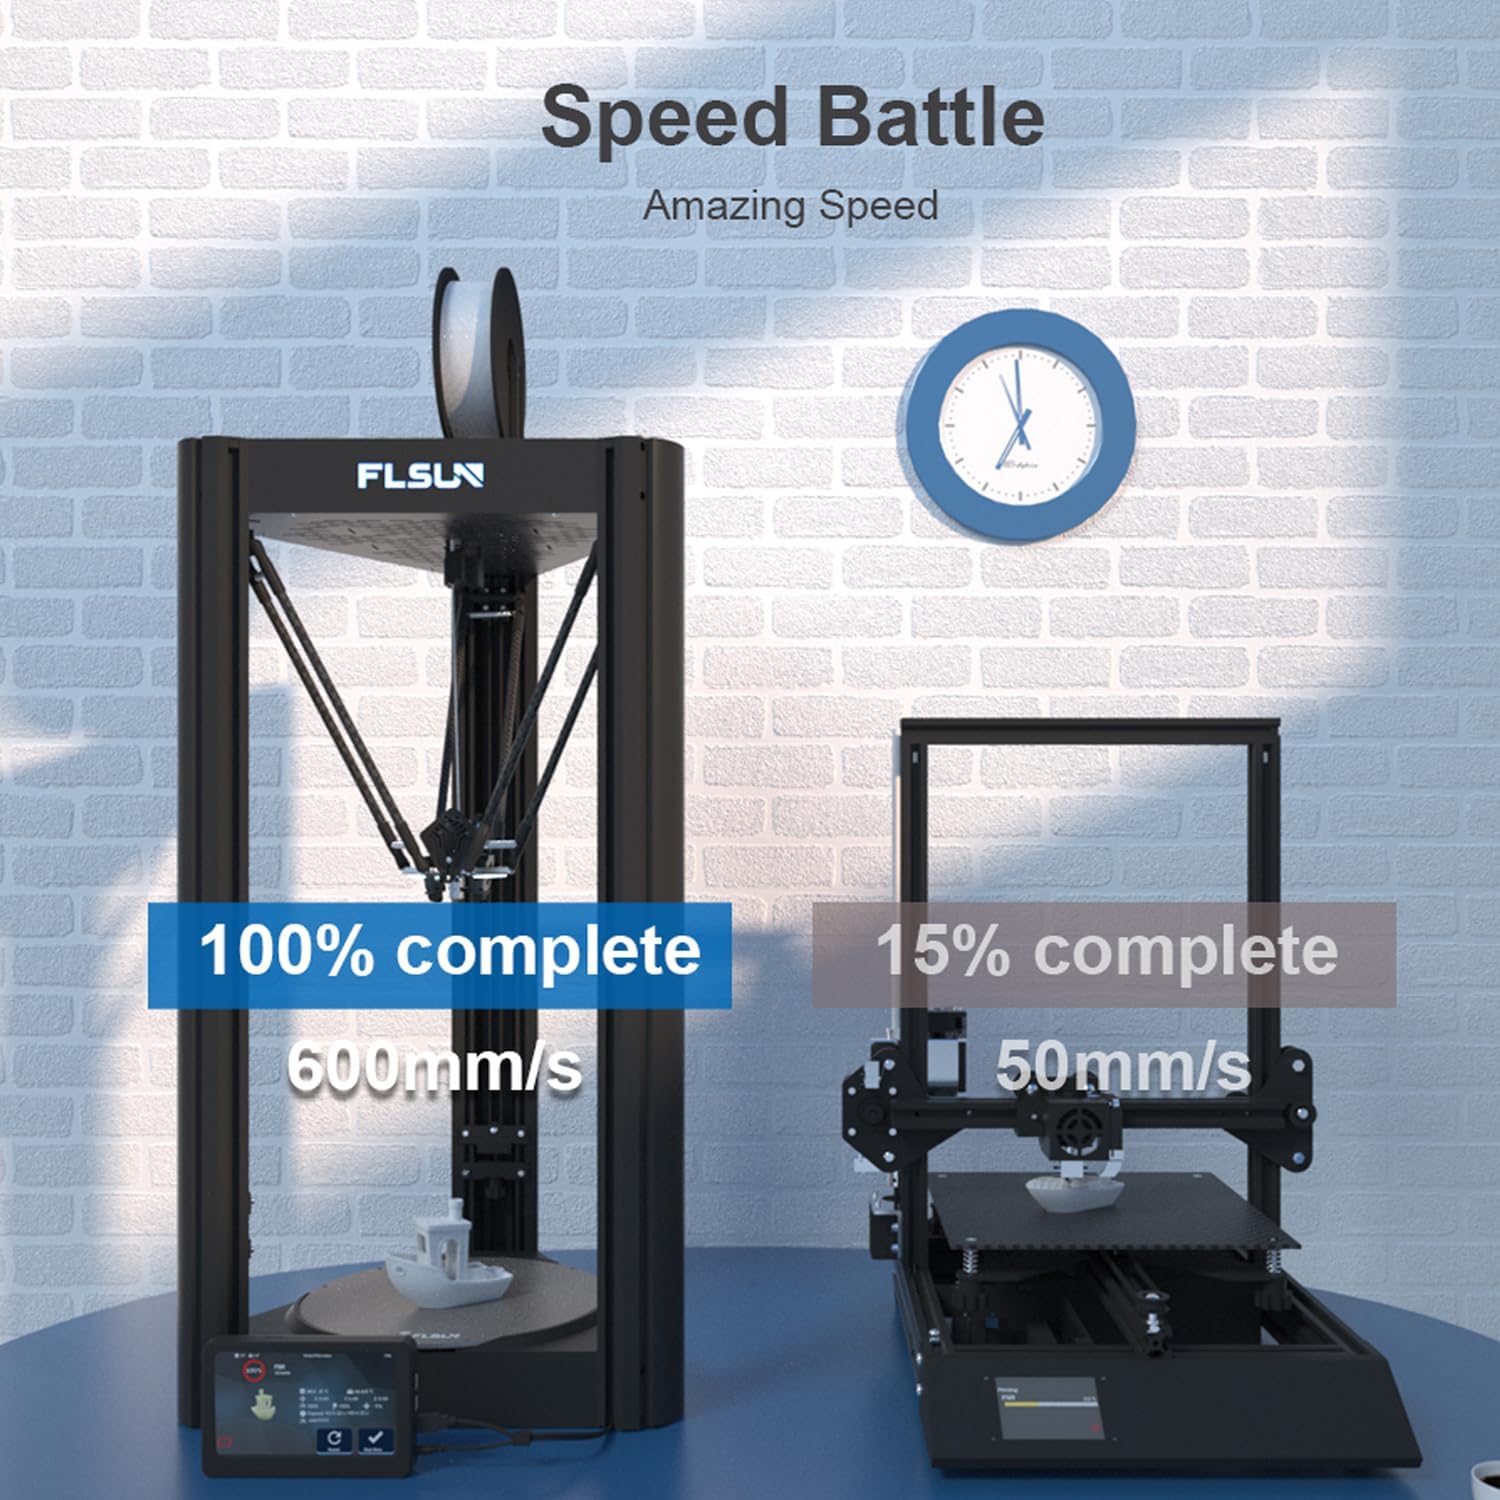
Figure 4: A visual comparison highlighting the FLSUN V400's superior printing speed.
2.3 Filament Compatibility and Nozzle Temperature
The bi-metal 300℃ high-temp nozzle and direct drive extruder allow the V400 to print with a wide range of filaments, including PLA, PLA+, WOOD, TPU, ABS, PETG, PC, and NYLON. For NYLON filament, ensure it is properly dried before use to prevent printing issues.
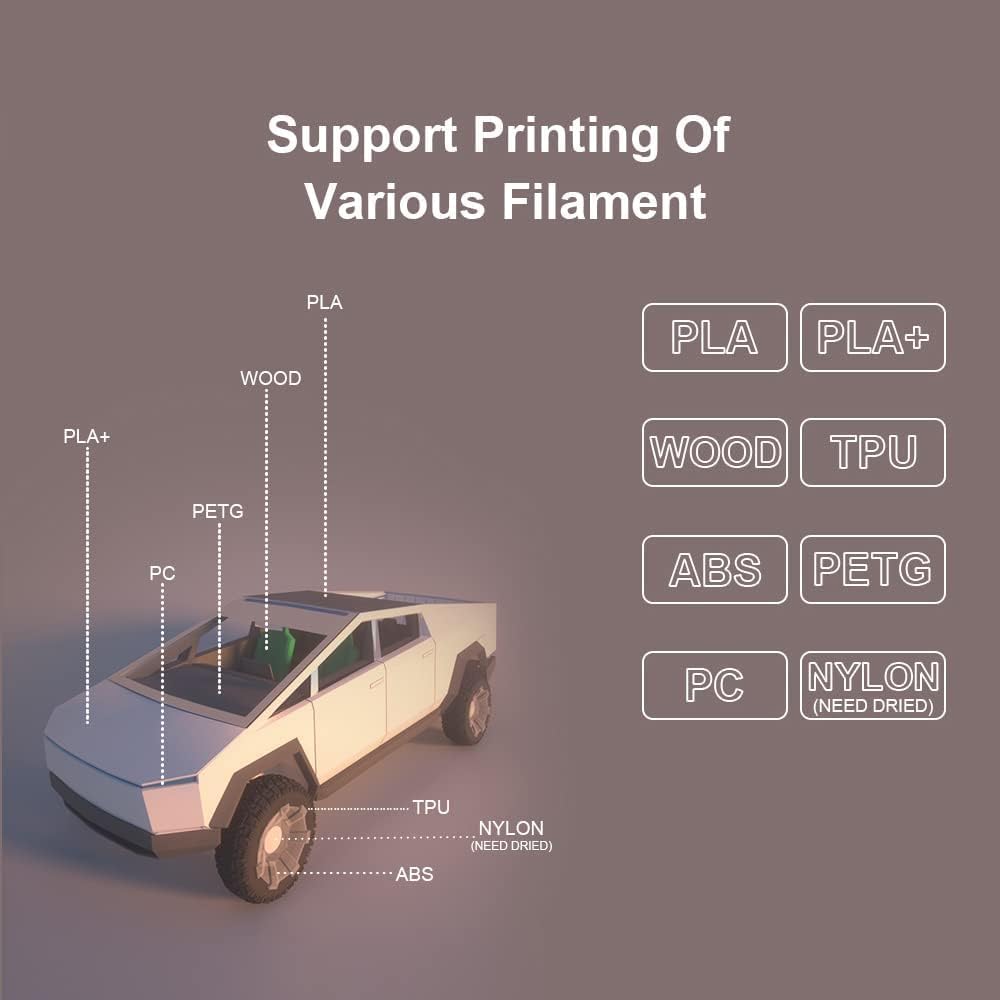
Figure 5: The FLSUN V400 supports a diverse range of filament materials for various applications.
2.4 Direct Drive Extruder
The FLSUN V400 is equipped with an all-metal direct drive extruder capable of 70N force and weighing just 135g. This lightweight and powerful extruder supports high-speed printing requirements and provides excellent control over filament feeding.

Figure 6: The FLSUN V400's direct drive extruder, designed for precision and high performance.
2.5 Large Printing Volume
The FLSUN V400 offers a generous printing volume of Φ300mm (Diameter) x 410mm (Height), providing ample space for larger models and batch printing.

Figure 7: The impressive printing size of the FLSUN V400, ideal for larger projects.
3. Maintenance
Regular maintenance ensures the longevity and optimal performance of your FLSUN V400 3D Printer.
3.1 Print Bed Cleaning
After each print, allow the PEI sheet bed to cool down. Once cool, models can be easily removed by flexing the steel spring sheet. Clean the surface with 70% isopropyl alcohol to remove any residue and ensure strong adhesion for subsequent prints.
3.2 Nozzle and Extruder Care
Periodically inspect the bi-metal 300℃ high-temp nozzle for any clogs or wear. If necessary, perform a cold pull or use a nozzle cleaning needle to clear obstructions. Ensure the direct drive extruder gears are free from filament debris.
3.3 Linear Guide Lubrication
The dual-axis linear guide system benefits from occasional lubrication to maintain smooth operation and minimize noise. Refer to the detailed maintenance guide for recommended lubricants and application frequency.
3.4 Filament Storage
Store filaments, especially hygroscopic materials like NYLON, in a dry environment. Using a filament dryer for such materials before printing is highly recommended to achieve the best print quality and prevent issues like stringing or poor layer adhesion.
4. Troubleshooting
This section addresses common issues you might encounter during the operation of your FLSUN V400 3D Printer.
4.1 Poor First Layer Adhesion
- Clean the Print Bed: Ensure the PEI sheet is thoroughly cleaned with isopropyl alcohol before each print.
- Re-run Auto-Leveling: If issues persist, perform the 25-point automatic leveling calibration again to ensure proper bed height.
- Adjust Z-Offset: Fine-tune the Z-offset during the first layer of a print to achieve optimal squish.
4.2 Clogging or Under-extrusion
- Check Nozzle: Inspect the nozzle for blockages. A cold pull or cleaning needle can often resolve this.
- Filament Quality/Drying: Ensure your filament is dry, especially for hygroscopic materials. Wet filament can cause steam and bubbles, leading to poor extrusion.
- Extruder Gears: Verify that the direct drive extruder gears are not clogged with filament dust and are gripping the filament properly.
4.3 Print Quality Issues (Layer Shifting, Poor Surface Finish)
- Check Belts/Rods: Ensure the carbon fiber rods and linear guides are clean and moving freely.
- Print Speed: While the V400 is fast, ensure your print speed is appropriate for the filament and model complexity.
- Cooling: Verify that the fast cooling fan is operating effectively, especially for PLA.
5. Specifications
| Feature | Detail |
|---|---|
| Model | V400 |
| Brand | FLSUN |
| Printing Speed (Max) | 600mm/s |
| Acceleration (Max) | 25000+ mm/s² |
| Printing Size (Diameter x Height) | Φ300mm x 410mm (Φ11.8" x 16") |
| Extruder Type | All-metal Direct Drive |
| Nozzle Temperature (Max) | 300℃ |
| Firmware | Pre-installed Klipper |
| Display | 7-inch wide-angle IPS |
| Leveling System | 25-point Automatic Leveling |
| Print Bed | Steel Spring PEI Sheet |
| Item Weight | 40 pounds |
| Product Dimensions | 98.8 x 48.8 x 20.8 inches |
6. Warranty and Support
FLSUN is committed to providing excellent customer service for your 3D printer. For any issues or inquiries regarding your FLSUN V400, please do not hesitate to reach out to our dedicated customer support team.
We strive to provide prompt assistance within 24 hours to ensure your printing experience is smooth and enjoyable.
For the most up-to-date warranty information and support resources, please visit the official FLSUN website or contact our support channels directly.


