
1. Product Overview
The KEPEAK LED Flashlight is a high-lumen, zoomable tactical flashlight designed for various outdoor activities and emergency situations. It features an upgraded L2 LED chip, providing up to 1000 lumens of brightness with a lighting distance of 656 feet. Constructed from durable aluminum alloy, it is IPX5 water-resistant and includes a non-slip handle for comfortable use.
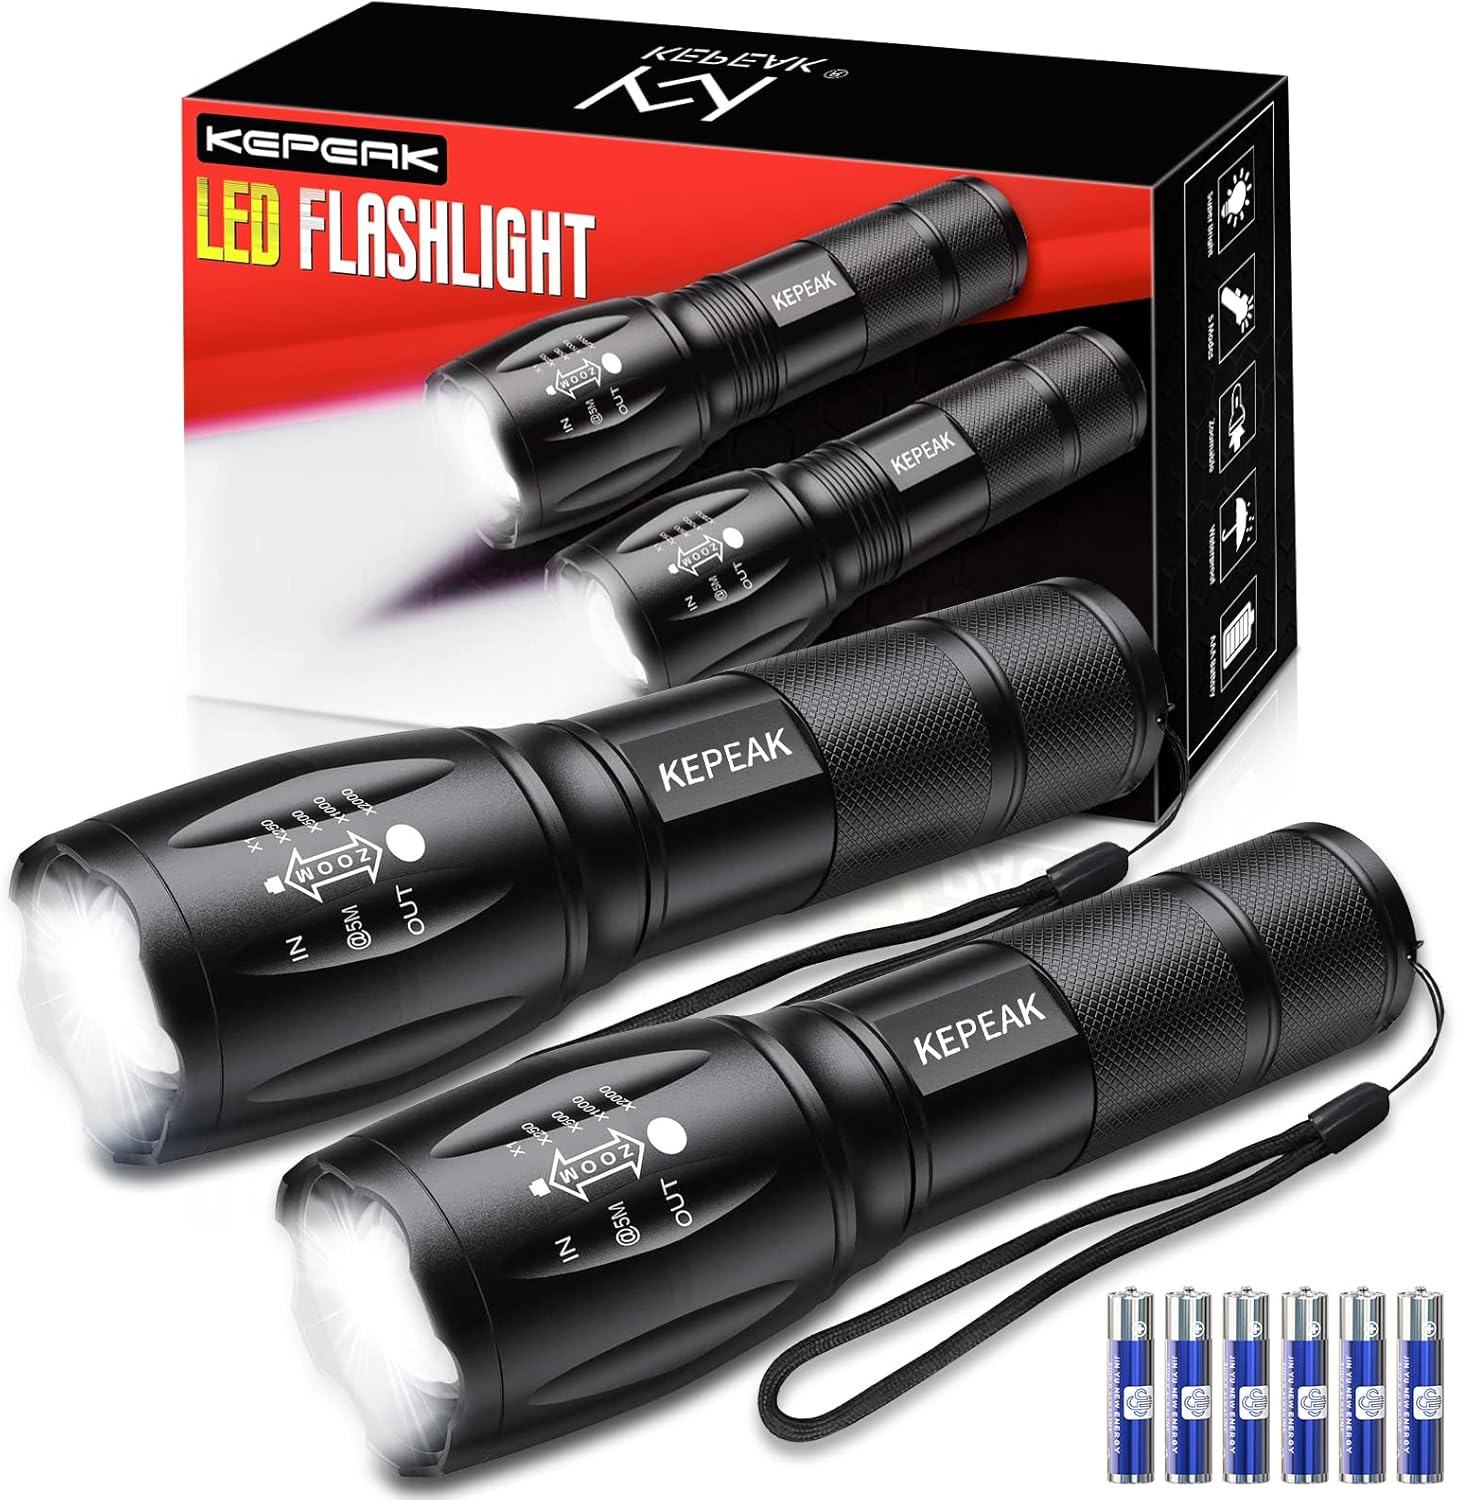
Figure 1: KEPEAK LED Flashlight (2-pack) with included accessories.
2. What's in the Box
Each KEPEAK LED Flashlight package includes the following components:
- 2 x Small handheld flashlights
- 2 x Battery Tubes (for 18650 rechargeable batteries, not included)
- 6 x AAA Batteries
- 2 x AAA Battery Holders
- 2 x Lanyards
- 1 x Packing box

Figure 2: All items included in the KEPEAK LED Flashlight 2-pack.
3. Setup: Battery Installation
The KEPEAK LED Flashlight can be powered by either 3 AAA batteries (included) or one 18650 rechargeable battery (not included). Follow these steps for battery installation:
- Unscrew the tail cap of the flashlight.
- For AAA Batteries: Insert 3 AAA batteries into the provided AAA battery holder, ensuring correct polarity (+/-). Place the loaded battery holder into the flashlight body.
- For 18650 Rechargeable Battery (not included): Place the 18650 battery into the clear plastic battery tube (if using, to prevent rattling and ensure snug fit). Insert the battery (with or without tube) into the flashlight body, ensuring correct polarity (+/-).
- Screw the tail cap back on securely.

Figure 3: Step-by-step guide for installing AAA or 18650 batteries.
4. Operating Instructions
4.1 Power On/Off and Mode Selection
The flashlight features a tail button for operation. Lightly tap the button to cycle through the 5 lighting modes. A deep push of the button will turn the flashlight on or off.
- High: Maximum brightness (1000 lumens) for extensive illumination.
- Medium: Moderate brightness for general use.
- Low: Dimmer light for extended battery life or close-up tasks.
- Strobe: Flashing light for signaling or disorienting.
- SOS: Morse code signal for emergencies.
To turn off the flashlight without cycling through all modes, press and hold the tail button for a slightly longer duration. This action will also save the current mode for the next power-on.

Figure 4: Visual representation of the 5 lighting modes and power options.

Figure 5: Operating the flashlight with the tail switch for mode changes.
4.2 Zoom Functionality
The flashlight features a zoomable head that allows you to adjust the beam from a wide floodlight to a focused spotlight. Simply pull the head outwards for a narrow, long-distance beam, or push it inwards for a wider, flood-like illumination.

Figure 6: Demonstrating the telescopic focusing zoomable design.

Figure 7: The zoomable design allows for both wide and focused light beams.
5. Maintenance
To ensure the longevity and optimal performance of your KEPEAK LED Flashlight, follow these maintenance guidelines:
- Cleaning: Wipe the flashlight body with a soft, damp cloth. Do not use abrasive cleaners or solvents.
- Battery Care: Remove batteries if the flashlight will not be used for an extended period to prevent leakage and damage.
- Water Resistance: The flashlight is IPX5 water-resistant, meaning it can withstand splashes and light rain. Do not submerge the flashlight in water. Ensure all caps are tightly screwed on before exposure to moisture.
- Storage: Store the flashlight in a cool, dry place away from direct sunlight and extreme temperatures.

Figure 8: The flashlight's durable and water-resistant construction.
6. Troubleshooting
If you encounter issues with your KEPEAK LED Flashlight, try the following troubleshooting steps:
| Problem | Possible Cause | Solution |
|---|---|---|
| Flashlight does not turn on. | Low or dead batteries; incorrect battery polarity; loose tail cap. | Replace batteries; ensure correct +/- orientation; tighten tail cap. |
| Light is dim or flickers. | Low batteries; dirty battery contacts. | Replace batteries; clean battery contacts with a clean eraser or cotton swab. |
| Cannot change modes. | Tail switch malfunction. | Ensure the tail cap is fully tightened. If the issue persists, contact customer support. |
| Zoom mechanism is stiff. | Dirt or debris in the mechanism. | Gently clean the exterior of the zoom mechanism. Avoid forcing it. |
7. Specifications
| Feature | Detail |
|---|---|
| Brand | KEPEAK |
| Model Number | L2flashlight2 |
| Light Source Type | LED (Upgraded L2 LED chip) |
| Brightness | 1000 Lumens (Max) |
| Light Path Distance | 656 Feet (approx. 200 meters) |
| Operating Modes | High, Medium, Low, Strobe, SOS |
| Power Source | Battery Powered (3x AAA or 1x 18650) |
| Material | Aluminum Alloy |
| Water Resistance | IPX5 |
| Special Features | Zoomable, Non-slip handle, Lightweight, Pocket-sized, Tactical Tail Switch |
| Product Dimensions | 5.4"D x 3.3"W x 1.8"H (approx. 13.7cm x 8.4cm x 4.6cm) |
| Item Weight | 7 ounces (approx. 0.2 kg) |

Figure 9: Internal components and construction of the flashlight.
8. Warranty and Support
KEPEAK is committed to providing high-quality products and excellent customer service. If you have any questions, concerns, or require assistance with your KEPEAK LED Flashlight, please refer to the contact information provided in your product packaging or visit the official KEPEAK store on Amazon for support.
For common questions, you may also refer to the FAQ section on the product's Amazon page.

Figure 10: Contact customer support for assistance.