
1. Introduction
This manual provides comprehensive instructions for the installation, operation, and maintenance of your Xigmatek Phantom RGB ATX Mid-Tower Case. Please read this manual thoroughly before beginning the installation process to ensure proper setup and to maximize the lifespan of your product. This case is designed to house standard ATX, Micro-ATX, and Mini-ITX motherboards and features tempered glass panels for aesthetic appeal and RGB fans for customizable lighting.
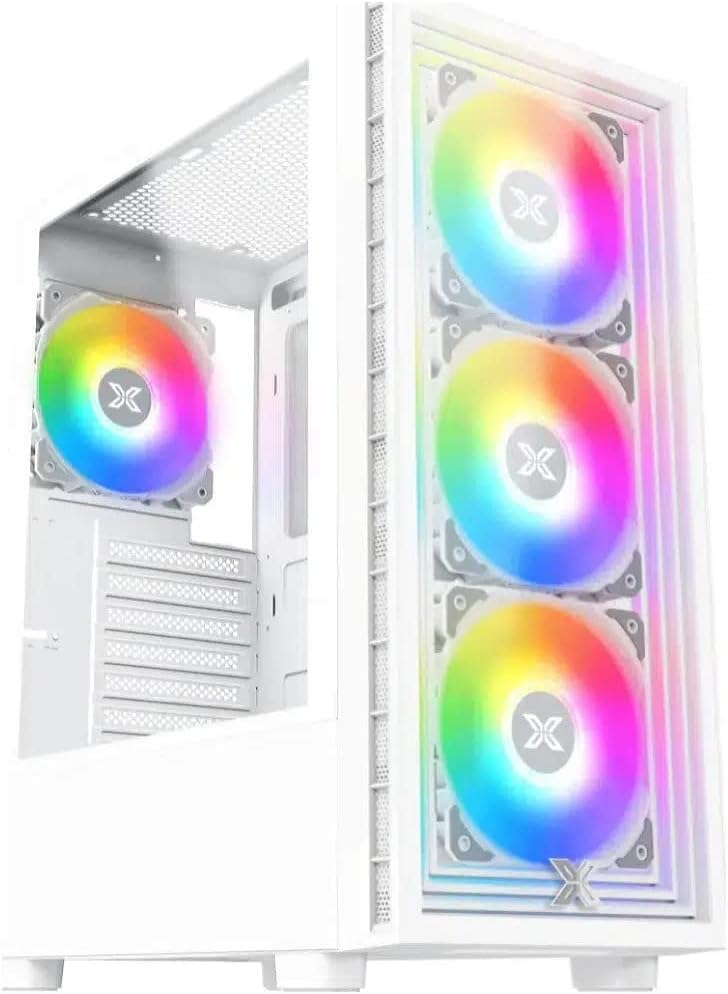
Figure 1.1: Front three-quarter view of the Xigmatek Phantom RGB ATX Mid-Tower Case in white, featuring three vibrant RGB fans visible through the tempered glass front panel.
2. Package Contents
Please verify that all components listed below are present in your package. If any items are missing or damaged, please contact your retailer or Xigmatek customer support.
- Xigmatek Phantom RGB ATX Mid-Tower Case (White)
- Accessory Box (containing screws, standoffs, cable ties, etc.)
- User Manual (this document)
- Pre-installed RGB Fans (quantity may vary by model variant)
3. Features
The Xigmatek Phantom RGB ATX Mid-Tower Case offers a range of features designed for optimal performance and aesthetics:
- Mid-Tower Design: Compatible with ATX, Micro-ATX, and Mini-ITX motherboards.
- Tempered Glass Panels: Front and side tempered glass panels for clear viewing of internal components and RGB lighting.
- Integrated RGB Lighting: Pre-installed RGB fans provide dynamic lighting effects.
- Optimized Airflow: Designed for efficient cooling with multiple fan mounting options.
- Front I/O Ports: Conveniently located ports for easy access. Includes 2 x USB 2.0 ports.
- Cable Management: Ample space and routing options for clean cable organization.
- Storage Support: Multiple bays for 2.5" SSDs and 3.5" HDDs.
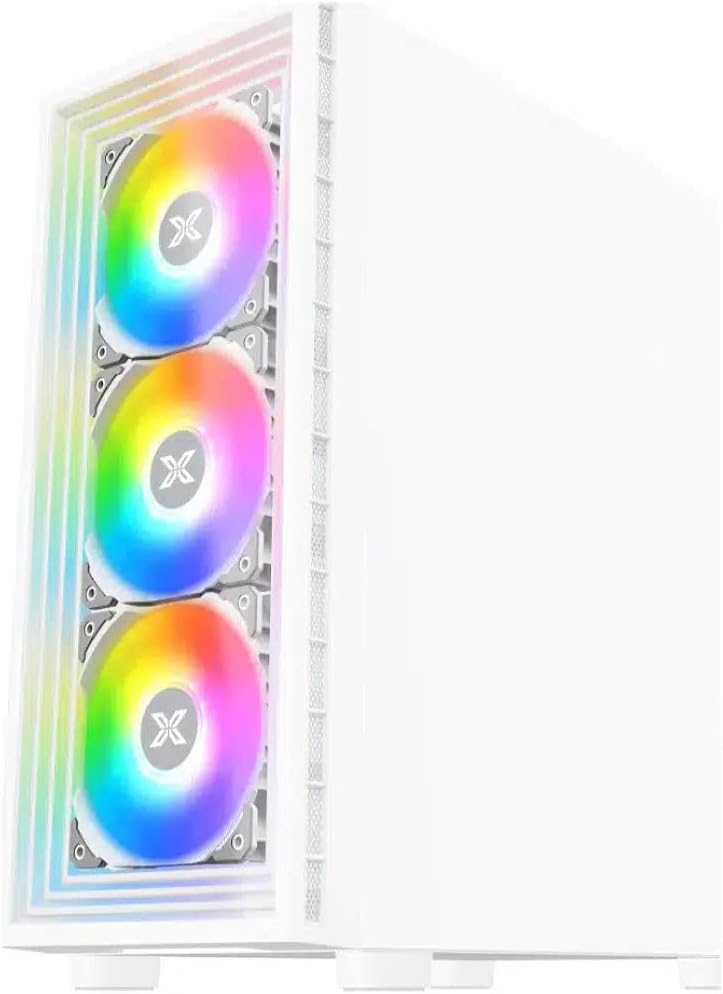
Figure 3.1: Front view of the Xigmatek Phantom RGB ATX Mid-Tower Case, showcasing the full tempered glass front panel and the three illuminated RGB fans.
4. Setup and Installation
Follow these steps carefully for proper assembly of your PC components within the case.
4.1. Preparing the Case
- Unpack the Case: Carefully remove the case from its packaging. Retain the packaging for future transport or storage.
- Remove Side Panels: Unscrew the thumbscrews on the rear of the case and slide off the tempered glass side panel and the solid steel side panel.
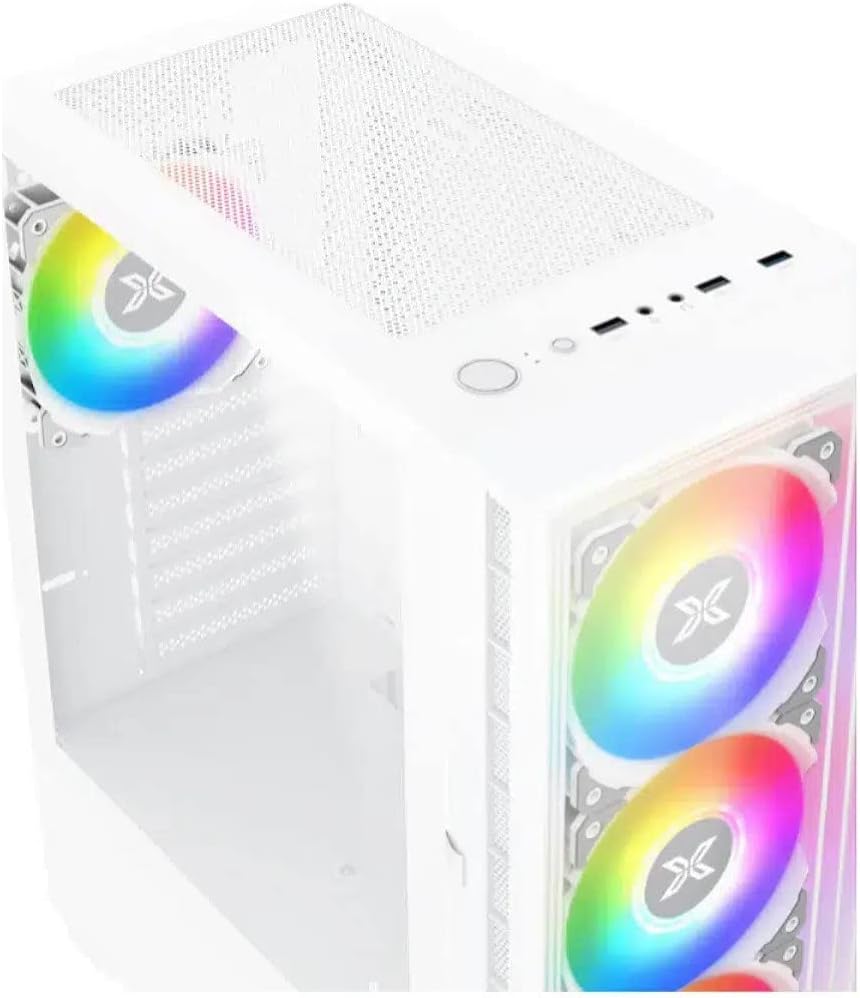
Figure 4.1: Top three-quarter view of the Xigmatek Phantom RGB ATX Mid-Tower Case, illustrating the top magnetic dust filter and the front I/O panel with power button and USB ports.
4.2. Motherboard Installation
- Install Standoffs: Ensure the correct standoffs are installed for your motherboard form factor (ATX, Micro-ATX, Mini-ITX). Most cases come with pre-installed standoffs for ATX.
- Install I/O Shield: Snap your motherboard's I/O shield into the rear opening of the case.
- Position Motherboard: Carefully align your motherboard with the standoffs and the I/O shield.
- Secure Motherboard: Use the provided screws to secure the motherboard to the standoffs. Do not overtighten.

Figure 4.2: Interior view of the Xigmatek Phantom RGB ATX Mid-Tower Case, highlighting the motherboard tray, cable routing cutouts, and the power supply shroud.
4.3. Power Supply Unit (PSU) Installation
- Position PSU: Slide your PSU into the dedicated compartment at the bottom rear of the case.
- Secure PSU: Align the PSU with the screw holes at the rear of the case and secure it with the provided screws.
4.4. Storage Drive Installation (HDDs/SSDs)
Refer to your case's specific drive bay design for exact installation methods. Typically, 3.5" HDDs are installed in drive cages, and 2.5" SSDs are mounted on dedicated brackets or the motherboard tray.
4.5. Graphics Card and Expansion Card Installation
- Remove PCIe Slot Covers: Remove the necessary PCIe slot covers from the rear of the case.
- Install Card: Insert your graphics card or other expansion cards into the appropriate PCIe slots on your motherboard and secure them with screws.
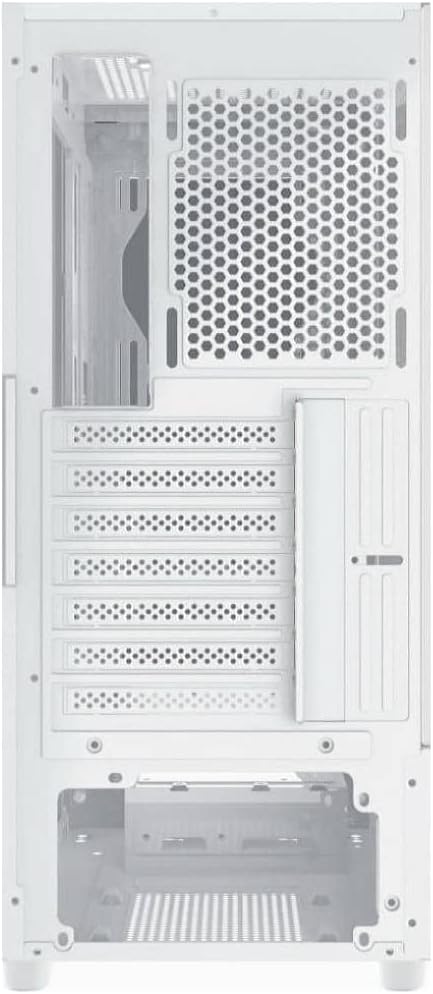
Figure 4.3: Rear view of the Xigmatek Phantom RGB ATX Mid-Tower Case, displaying the vertical and horizontal PCIe slots, rear fan mount, and the power supply opening at the bottom.
4.6. Cable Management
Route all cables (power, data, front panel) through the designated cutouts and tie-down points behind the motherboard tray. This improves airflow and aesthetics.
4.7. Connecting Front Panel Cables
Connect the front panel cables (Power SW, Reset SW, HDD LED, Power LED, USB 2.0, USB 3.0, Audio) to the corresponding headers on your motherboard. Refer to your motherboard manual for exact pin layouts.
5. Operating Instructions
Once all components are installed and cables are connected, you can power on your system.
- Power On: Press the power button located on the top front I/O panel of the case.
- RGB Control: The pre-installed RGB fans are typically controlled via a dedicated button on the case (if present) or through your motherboard's RGB software. Refer to your motherboard's manual for software control.
6. Maintenance
Regular maintenance helps ensure optimal performance and longevity of your PC components.
- Dust Filters: Periodically remove and clean the dust filters (top, front, bottom) to maintain good airflow. These can usually be rinsed with water and air-dried.
- Interior Cleaning: Use compressed air to blow dust out of internal components (fans, heatsinks) every few months. Ensure the system is powered off and unplugged before cleaning.
- Exterior Cleaning: Wipe the exterior surfaces, especially the tempered glass panels, with a soft, lint-free cloth. Use a glass cleaner for the tempered glass if necessary, applying it to the cloth first, not directly to the panel.
7. Troubleshooting
If you encounter issues, refer to the following common troubleshooting steps:
- System Does Not Power On:
- Check if the PSU is switched on at the back.
- Ensure all power cables (24-pin ATX, 8-pin CPU, GPU power) are securely connected.
- Verify that the front panel power switch cable is correctly connected to the motherboard.
- Fans Not Spinning / RGB Not Lighting Up:
- Check fan power connections to the motherboard or fan controller.
- Ensure RGB cables are properly connected to the RGB header on the motherboard or controller.
- Verify that RGB software (if applicable) is installed and configured correctly.
- No Display Output:
- Ensure your monitor is connected to the graphics card (not the motherboard's integrated graphics ports, unless you are using integrated graphics).
- Reseat the graphics card in its PCIe slot.
- Check monitor power and input source.
For more complex issues, consult your component manuals or seek professional assistance.
8. Specifications
| Feature | Detail |
|---|---|
| Brand | Xigmatek |
| Model Number | EN49806 |
| Series | EN49806 |
| Color | White |
| Case Type | Mid-Tower |
| Motherboard Support | ATX, Micro-ATX, Mini-ITX |
| Front I/O Ports | 2 x USB 2.0 |
| Side Panel | Tempered Glass |
| Front Panel | Tempered Glass |
9. Warranty and Support
For warranty information, please refer to the warranty card included with your product or visit the official Xigmatek website. Warranty terms and conditions may vary by region and retailer.
For technical support or further assistance, please contact Xigmatek customer service through their official website or the contact information provided by your retailer.
Please retain your proof of purchase for warranty claims.