1. Introduction
This manual provides detailed instructions for the installation, operation, and maintenance of your Parrot Uncle 48-inch Low Profile Ceiling Fan with Light and Remote, Model F6230BRONZE. Please read these instructions thoroughly before beginning installation and retain this manual for future reference. Proper installation and use are essential for safe and efficient operation.
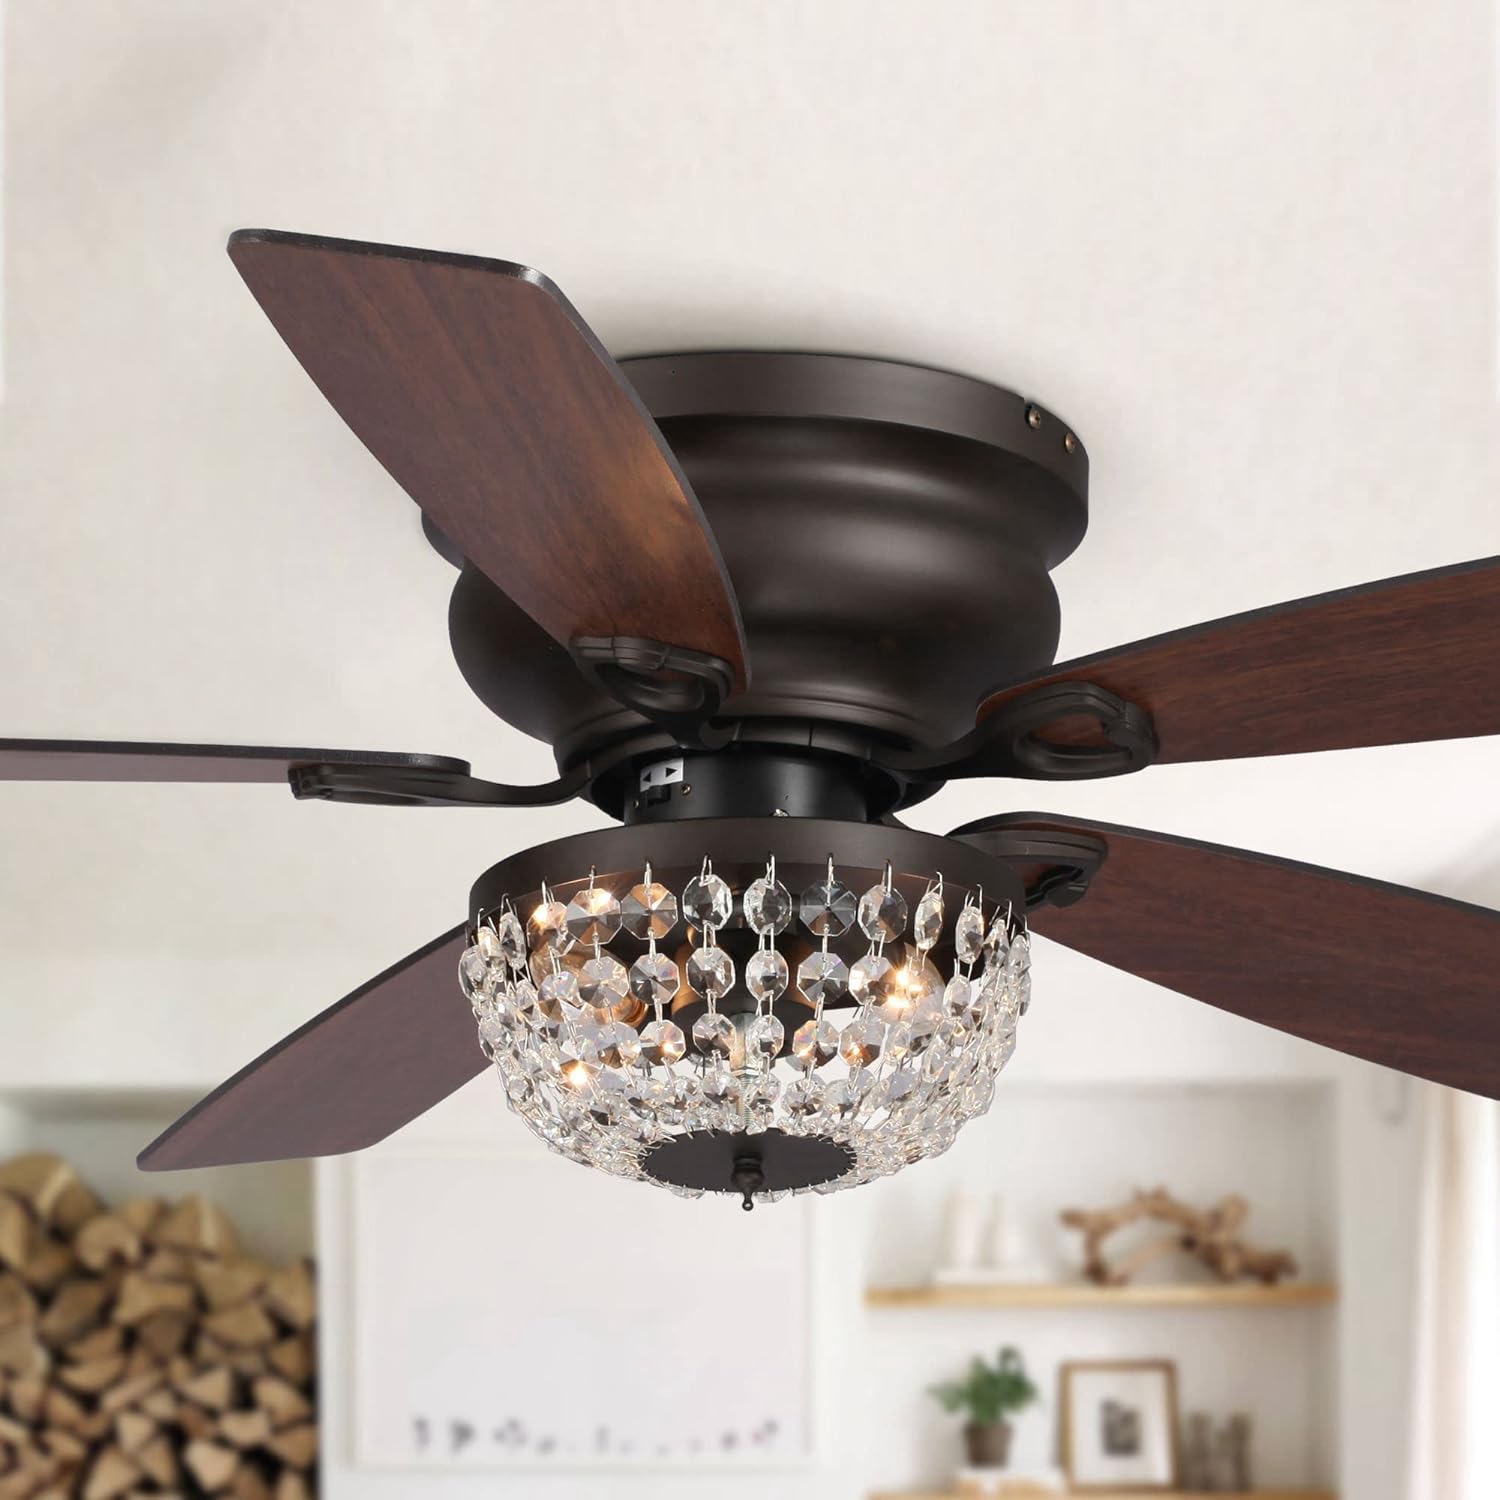
Image 1.1: The Parrot Uncle 48-inch Low Profile Ceiling Fan with Light, featuring a bronze finish and crystal light fixture.
2. Safety Information
WARNING: To reduce the risk of fire, electric shock, or personal injury, always follow these safety guidelines:
- Read all instructions carefully before installing the fan.
- Ensure the installation site is structurally sound and capable of supporting the fan's weight (approximately 16.75 lbs).
- All wiring must be in accordance with national and local electrical codes. If you are unfamiliar with wiring, consult a qualified electrician.
- Disconnect power at the main circuit breaker before installation or servicing to prevent electric shock.
- Do not operate the fan with damaged parts. Inspect the fan for any damage before installation.
- Keep hands, clothing, and other objects clear of the fan blades when the fan is operating.
- This fan is designed for indoor use only. Do not install in damp or wet locations.
- Use only E12 base bulbs, maximum 25 watts each (bulbs not included).
3. Package Contents
Verify that all components listed below are included in your package before beginning installation:
- Ceiling Fan Assembly
- Light Kit (with crystal embellishment)
- Remote Control
- 5 Plywood Blades
- Mounting Hardware
- Instruction Manual
4. Specifications
| Brand | Parrot Uncle |
| Model Name | Low Profile Ceiling Fan with Light |
| Item Model Number | F6230BRONZE |
| Color | Bronze |
| Material | Engineered Wood, Glass, Iron |
| Product Dimensions | 48"L x 48"W x 12.8"H |
| Item Weight | 16.75 pounds |
| Installation Type | Flush Mount |
| Number of Blades | 5 |
| Motor Type | Reversible Motor |
| Average Fan Airflow | 2177 CFM |
| Light Source Type | Crystal (requires 2 x E12 base bulbs, max 25W each, not included) |
| Control Method | Remote Control |
| Special Features | Remote Controlled, Reversible Motor, Timer (2/4/8 hours) |
| Indoor/Outdoor Usage | Indoor |
| Recommended Room Size | Up to 18 ft. x 18 ft. |

Image 4.1: Detailed dimensions of the 48-inch fan and information on the plywood blade finish.

Image 4.2: Specifications for light type, motor, and recommended room size for optimal performance.
5. Setup & Installation
Important: Before starting, ensure the power is turned off at the circuit breaker. It is recommended to have two people for installation.
5.1 Pre-Installation
- Unpack all components and verify against the package contents list.
- Inspect for any shipping damage. Do not proceed with installation if any parts are damaged.
- Ensure the electrical box is securely mounted and rated for ceiling fan support.
5.2 Mounting the Fan
This fan is designed for flush mount installation. Follow the specific instructions provided in the included installation guide for securing the mounting bracket to the electrical box and then attaching the fan housing.

Image 5.1: Visual representation of the flush mount installation method.
5.3 Wiring
Connect the fan's electrical wires to the household wiring according to the color-coded diagram in your separate installation guide. Ensure all connections are secure and properly insulated with wire nuts.
5.4 Attaching Blades and Light Kit
- Attach the five plywood blades to the fan motor housing using the provided screws. Ensure they are tightened securely.
- Install the light kit, connecting the light kit wires to the fan's light wires.
- Carefully attach the crystal embellishment to the light kit.
- Insert two E12 base bulbs (not included) into the light sockets.
6. Operation
Your Parrot Uncle ceiling fan is operated via the included remote control.
6.1 Remote Control Functions

Image 6.1: The remote control for the ceiling fan, featuring buttons for fan speed, light control, and timer settings.
- Power Button: Turns the fan and light on/off.
- Fan Speed Buttons (1, 2, 3): Adjusts the fan speed (Low, Medium, High).
- Light On/Off Button: Controls the light fixture independently.
- Timer Buttons (2H, 4H, 8H): Sets the fan to automatically shut off after 2, 4, or 8 hours.
6.2 Reversible Motor Function
The fan features a reversible motor for year-round comfort. A switch on the fan housing (or sometimes on the remote, refer to your specific remote instructions) controls the direction:
- Summer Mode (Counter-clockwise): Creates a downward airflow, producing a cooling effect.
- Winter Mode (Clockwise): Creates an upward airflow, circulating warm air trapped near the ceiling.

Image 6.2: Explanation of reversible motor function, showing airflow patterns for cooling in summer and air circulation in winter.
7. Maintenance
Regular maintenance ensures optimal performance and extends the life of your ceiling fan.
- Cleaning: Dust the fan blades and housing periodically with a soft, damp cloth. Do not use abrasive cleaners or solvents.
- Light Bulb Replacement: Ensure power is off before replacing bulbs. Use only E12 base bulbs, maximum 25 watts.
- Tighten Fasteners: Periodically check all screws and fasteners on the fan and mounting hardware to ensure they are secure.
8. Troubleshooting
If you experience issues with your fan, refer to the following common problems and solutions:
| Problem | Possible Cause | Solution |
|---|---|---|
| Fan does not start | No power to the fan; loose wire connections; remote control battery dead. | Check circuit breaker; ensure all wire connections are secure; replace remote control battery. |
| Light does not work | Bulbs faulty or loose; light kit wiring issue. | Replace bulbs; ensure bulbs are screwed in tightly; check light kit wiring. |
| Fan wobbles | Loose blades or mounting hardware; unbalanced blades. | Ensure all blade screws and mounting screws are tight; use a balancing kit (not included) if necessary. |
| Noisy operation | Loose screws; motor hum; blades hitting an obstruction. | Check and tighten all screws; ensure no obstructions are near blades. If motor hum persists, contact customer service. |
9. Warranty & Support
Parrot Uncle provides the following support for your product:
- 30-Day Return and Replacement Service: For any issues within 30 days of purchase.
- One-Year Free Replacement Parts Service: Covers replacement parts for one year from the date of purchase.
- Lifetime Professional Customer Service: Assistance available for the lifetime of the product.
For customer service or warranty claims, please contact Parrot Uncle directly. Refer to the contact information provided with your purchase documentation or visit the official Parrot Uncle website.
You can also visit the Parrot Uncle Store on Amazon for more information.


