
Codnida Q30S
Codnida 2K Security Camera Outdoor User Manual
Model: Q30S
Introduction
Thank you for choosing the Codnida 2K Security Camera. This outdoor Wi-Fi camera offers a 360° view, 2K resolution, and advanced features like PTZ control, night vision, automatic motion tracking, and two-way audio. This manual provides detailed instructions for setup, operation, and maintenance to ensure optimal performance and security for your home or property.

Figure 1: Codnida 2K Security Camera and Mobile App Interface
Package Contents
Please check the package carefully to ensure all items are present and in good condition.
- 1 x Codnida Q30S Surveillance Camera
- 1 x Mounting Plate
- 1 x 3-meter Power Adapter
- 1 x Reset Pin
- 1 x Quick Guide
- 1 x Screw Pack (for mounting)

Figure 2: Included Accessories
Setup
1. App Download and Account Registration
The Codnida 2K Security Camera operates with the CloudEdge app. Before installation, download the app and register an account.
- Scan the QR code below or search for "CloudEdge" in your mobile app store (App Store for iOS, Google Play for Android).
- Download and install the CloudEdge app.
- Open the app and follow the on-screen instructions to register a new account or log in if you already have one.

Figure 3: CloudEdge App Download Information. You can download the app from Apple App Store or Google Play Store.
2. Powering On the Camera
Connect the provided 3-meter power adapter to the camera and plug it into a power outlet. The camera will power on and initiate its startup sequence.
3. Adding the Camera to the App
- Open the CloudEdge app and tap the "+" icon to add a new device.
- Select your camera model from the list (e.g., "Smart Camera" or "PTZ Camera").
- Follow the in-app instructions to connect the camera to your 2.4GHz Wi-Fi network. Ensure your phone is connected to the same 2.4GHz Wi-Fi network during setup.
- The app will guide you through scanning a QR code displayed on your phone with the camera lens.
- Once connected, you can name your camera and begin live viewing.
4. MicroSD Card Installation (Optional)
The camera supports local storage via a MicroSD card (16GB-128GB, not included). For continuous 24/7 recording or event-triggered recording, insert a formatted MicroSD card.
- Locate the MicroSD card slot on the camera (refer to the quick guide for exact location).
- Gently insert the MicroSD card into the slot until it clicks into place.
- In the CloudEdge app, navigate to the camera settings and format the MicroSD card. This ensures compatibility and proper functioning.
5. Mounting the Camera
The camera can be mounted on a wall or ceiling. Choose a location that provides optimal viewing angles and a stable Wi-Fi signal.
- Use the included mounting plate as a template to mark drill holes on the desired surface.
- Drill holes and insert the wall anchors if mounting on masonry or drywall.
- Secure the mounting plate using the provided screws.
- Attach the camera to the mounting plate, ensuring it is securely fastened.
Operating Instructions
1. Live View and PTZ Control
Access the live feed from your camera anytime, anywhere via the CloudEdge app. The camera supports Pan-Tilt-Zoom (PTZ) functionality.
- Pan (Horizontal Rotation): Swipe left or right on the live view screen in the app to rotate the camera horizontally up to 355°.
- Tilt (Vertical Rotation): Swipe up or down on the live view screen to tilt the camera vertically up to 90°.
- Digital Zoom: Pinch in or out on the live view screen to digitally zoom. Note that this camera does not have optical zoom, and digital zoom may reduce image clarity.

Figure 4: PTZ Control via CloudEdge App
2. Night Vision
The camera features Ultra 2K Night Vision with a distance of up to 10 meters, providing clear images even in low-light conditions. It supports both infrared (black and white) and color night vision modes, enhanced by built-in spotlights.
- Automatic Mode: The camera automatically switches between day and night vision based on ambient light.
- Color Night Vision: When motion is detected or manually activated, the camera's spotlights can illuminate the area, providing full-color video at night.
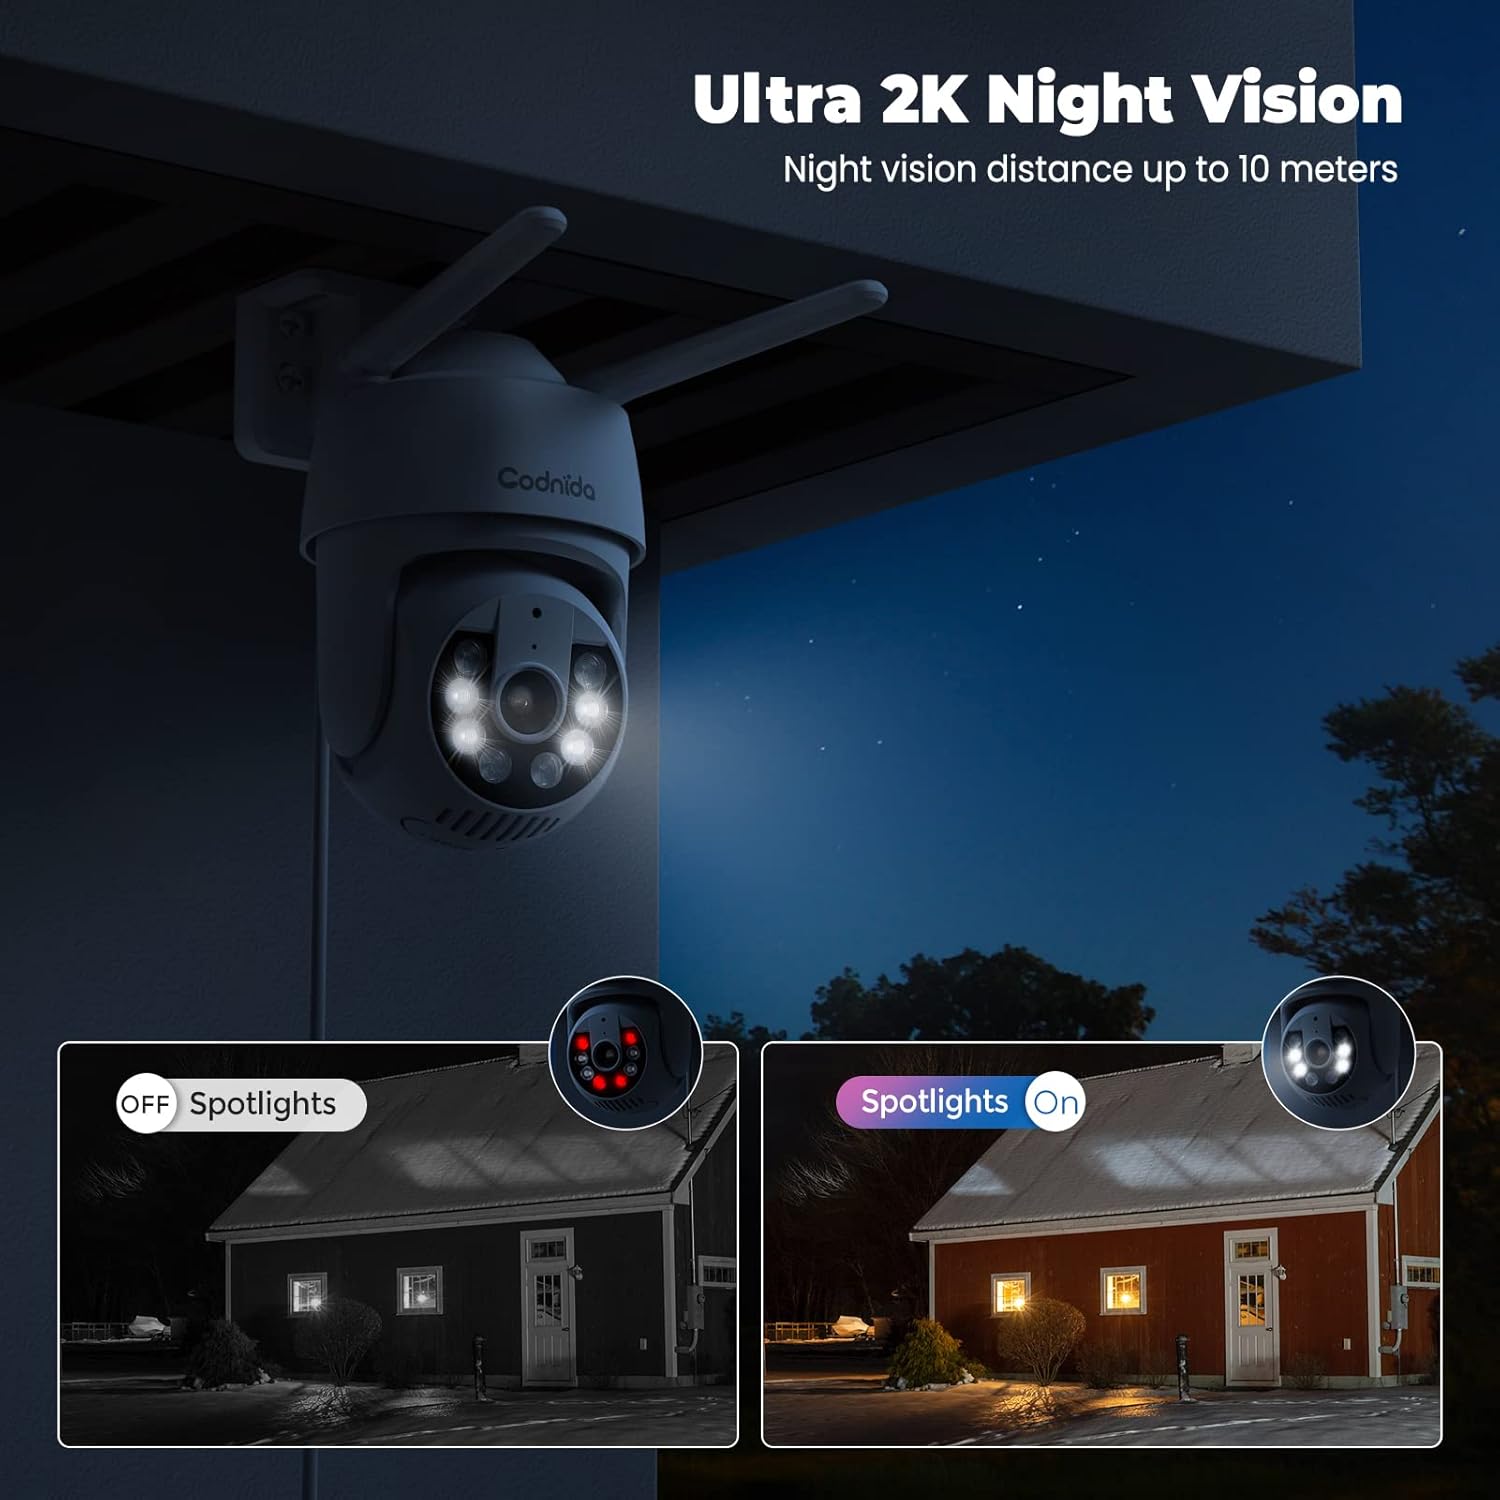
Figure 5: Ultra 2K Night Vision Capability
3. Motion Detection and Automatic Tracking
The camera utilizes PIR human-AI motion detection to accurately identify human movement and reduce false alarms. When motion is detected, the camera can perform several actions:
- Real-time Notifications: Receive instant alerts on your phone.
- Automatic Tracking: The camera lens will automatically follow the detected person until they move out of frame.
- Sound and Light Alarm: Activate a built-in siren and motion-activated spotlights to deter intruders.
- Recording: Automatically record video clips of the event.
You can adjust the motion detection sensitivity and set specific alarm zones and schedules within the CloudEdge app settings.
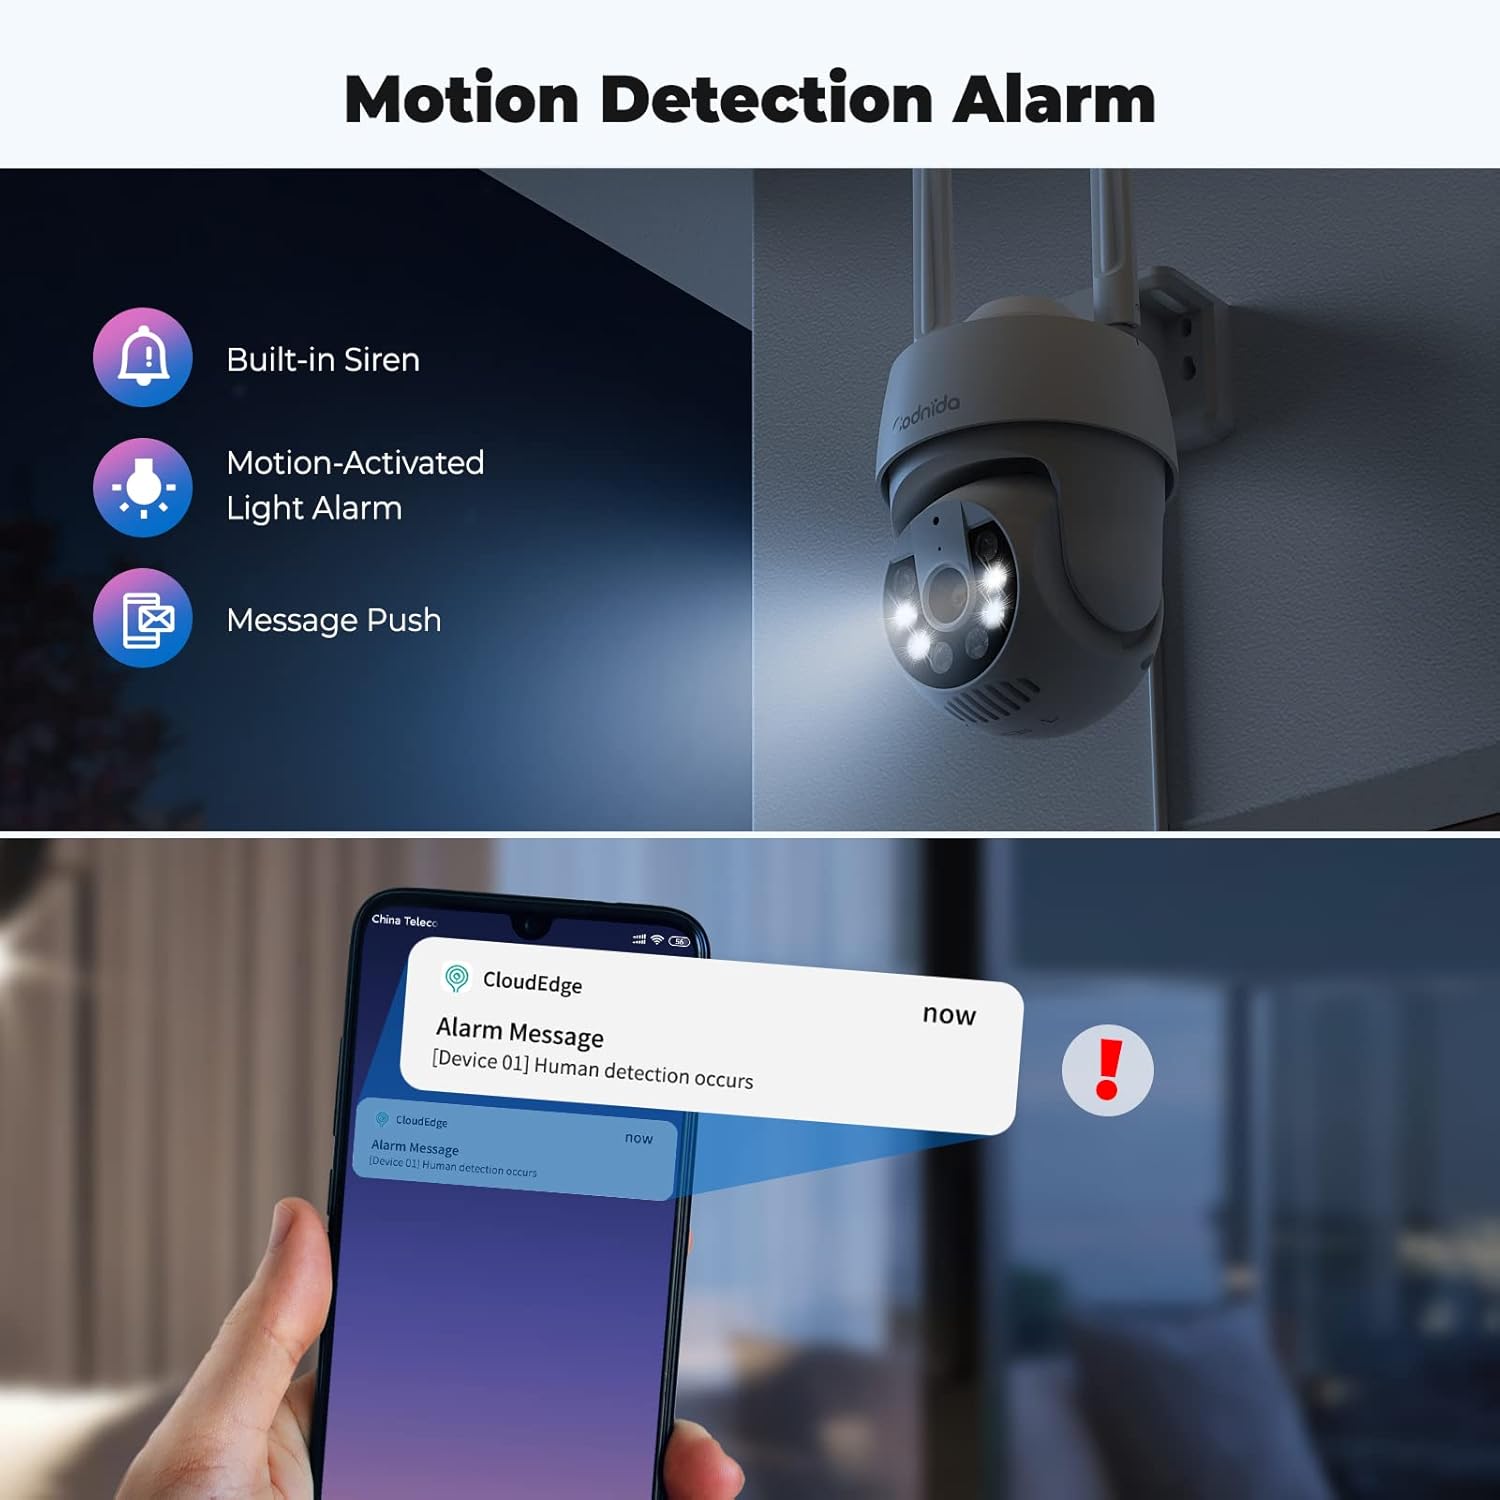
Figure 6: Motion Detection Alarm Features

Figure 7: AI Automatic Tracking in Action
4. Two-Way Audio
The camera is equipped with a built-in microphone and speaker, enabling two-way communication through the CloudEdge app. This allows you to speak to visitors or deter unwanted guests remotely.

Figure 8: Two-Way Audio Communication
5. Recording and Storage
The camera supports 24/7 continuous recording and event-triggered recording. You have two storage options:
- MicroSD Card Storage: Supports up to 128GB MicroSD cards (not included). Recordings are stored locally on the card.
- Cloud Storage: An optional cloud storage service is available, often with a free trial period (e.g., 7 days). This provides off-site backup of your recordings.
You can easily playback recorded footage at any time through the CloudEdge app.

Figure 9: Recording Playback and Storage Options
6. Multi-User Access
You can share access to your camera's live feed and recordings with family members or trusted friends. This can typically be done by inviting them through the CloudEdge app, often by scanning a QR code.
Maintenance
- Cleaning: Regularly wipe the camera lens and body with a soft, damp cloth to remove dust and dirt. Avoid using harsh chemicals or abrasive materials.
- Firmware Updates: Check the CloudEdge app periodically for firmware updates. Keeping your camera's firmware up-to-date ensures optimal performance, security, and access to new features.
- Weather Protection: While the camera is IP66 weatherproof, ensure its mounting location provides some protection from extreme weather conditions if possible, to prolong its lifespan.
- Power Connection: Ensure the power adapter and cable are securely connected and free from damage.
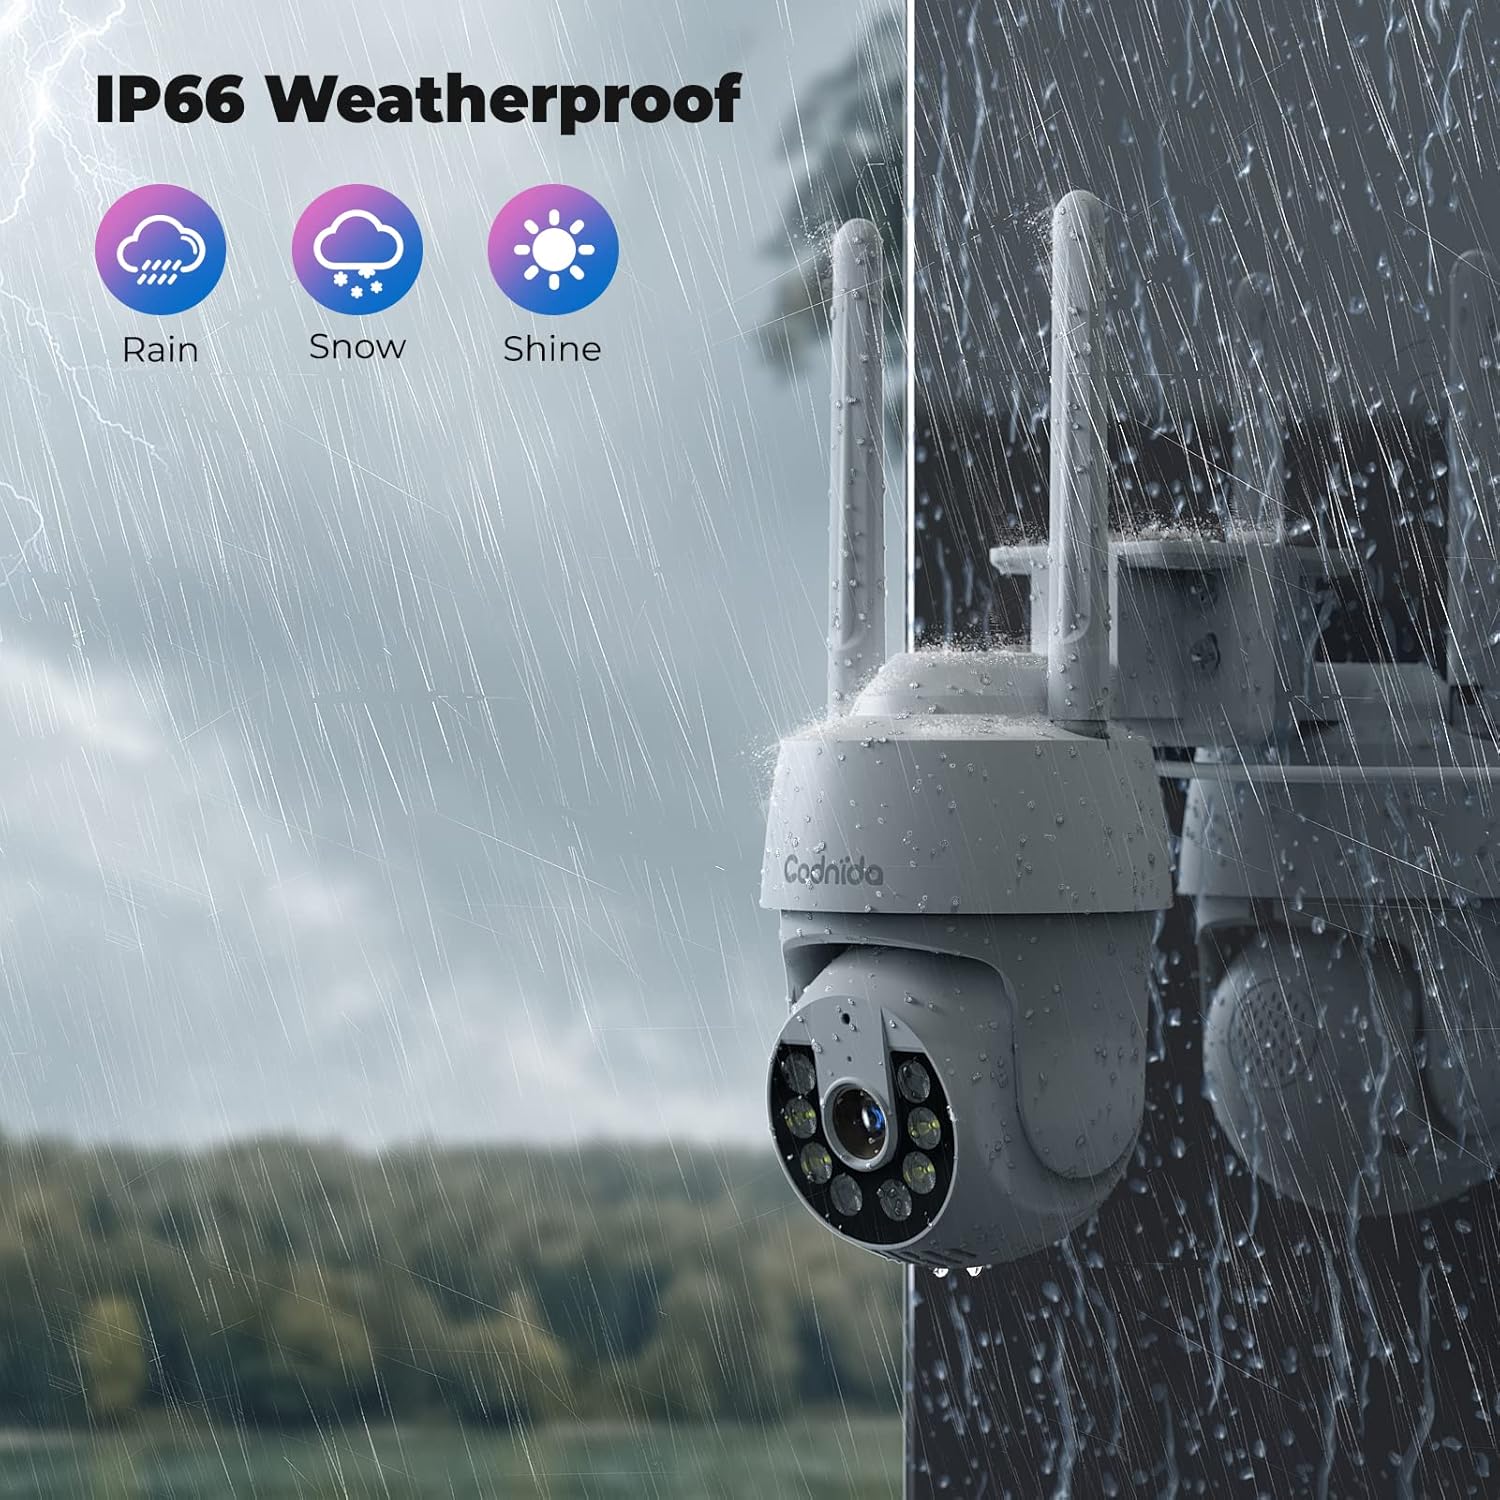
Figure 10: IP66 Weatherproof Design
Troubleshooting
| Problem | Possible Cause | Solution |
|---|---|---|
| Camera offline in app. | No power; Wi-Fi signal weak or disconnected; Router issues. | Check power connection. Ensure camera is within Wi-Fi range. Restart router. Re-add camera to app if necessary. |
| Cannot connect to Wi-Fi. | Incorrect Wi-Fi password; Not 2.4GHz Wi-Fi; Too far from router. | Verify Wi-Fi password. Ensure you are connecting to a 2.4GHz network (5GHz is not supported). Move camera closer to router or use a Wi-Fi extender. |
| Motion detection not working or too many false alarms. | Sensitivity settings; Incorrect detection zone; Environmental factors (e.g., swaying trees). | Adjust motion detection sensitivity in app. Configure detection zones to exclude irrelevant areas. Ensure camera lens is clean. |
| No recording to MicroSD card. | Card not inserted correctly; Card not formatted; Card full or corrupted. | Reinsert MicroSD card. Format card via app. Replace card if corrupted. Check recording settings in app. |
| Two-way audio unclear or not working. | Microphone/speaker blocked; Network latency; App permissions. | Ensure nothing is obstructing the microphone or speaker. Check network stability. Grant microphone permissions to the CloudEdge app on your phone. |
Specifications
| Feature | Detail |
|---|---|
| Model Name | Q30S |
| Brand | Codnida |
| Resolution | 2K (Video Capture), 3MP (Effective Still/Webcam Image) |
| Field of View | 360 Degrees (PTZ) |
| Connectivity | Wi-Fi (2.4GHz only) |
| Power Source | Corded Electric (5 Volts, 3 Watts) |
| Storage Options | MicroSD Card (up to 128GB, not included), Cloud Storage (optional) |
| Night Vision | Ultra 2K Night Vision (up to 10 meters), Color Night Vision with Spotlights |
| Motion Detection | PIR Human-AI Detection, Automatic Tracking, Sound and Light Alarm |
| Audio | Two-Way Audio (Built-in microphone and speaker) |
| Weatherproof Rating | IP66 |
| Dimensions (L x W x H) | 6.5 x 3.46 x 6.3 inches |
| Weight | 1.39 pounds |
| Compatible App | CloudEdge |
| Usage Environment | Indoor/Outdoor |
Warranty and Support
For warranty information, please refer to the specific terms provided at the time of purchase or contact Codnida customer support. Keep your purchase receipt as proof of purchase.
Customer Support:
If you encounter any issues or have questions regarding your Codnida 2K Security Camera, please contact our support team:
- Email: support@codnidatech.com
- Website: www.codnidatech.com
Please provide your product model (Q30S) and a detailed description of the issue when contacting support for faster assistance.
Ask a question about this manual
Ask about setup, troubleshooting, compatibility, parts, safety, or missing instructions. Manuals+ will review the question and use this page’s manual context to help answer it.