Introduction
This manual provides instructions for the proper installation, operation, and maintenance of your Tema4x4 50mm Front and Rear Lift Kit. This kit is specifically designed for the Nissan X-Trail T31, model years 2007-2013. Please read these instructions thoroughly before beginning installation to ensure safety and correct procedure.
Safety Information
Always prioritize safety when working on your vehicle. Failure to follow safety guidelines can result in serious injury or damage to the vehicle.
- Professional installation by a qualified technician is highly recommended for this product.
- Always use appropriate personal protective equipment (PPE), including safety glasses, gloves, and sturdy footwear.
- Ensure the vehicle is securely supported on jack stands on a level surface before working underneath. Never rely solely on a hydraulic jack.
- Follow all torque specifications provided by the vehicle manufacturer for fasteners. Over-tightening or under-tightening can lead to component failure.
- After installation, a professional wheel alignment is mandatory to ensure proper vehicle handling and tire wear.
- Inspect all suspension components for proper function and clearance after installation.
Package Contents
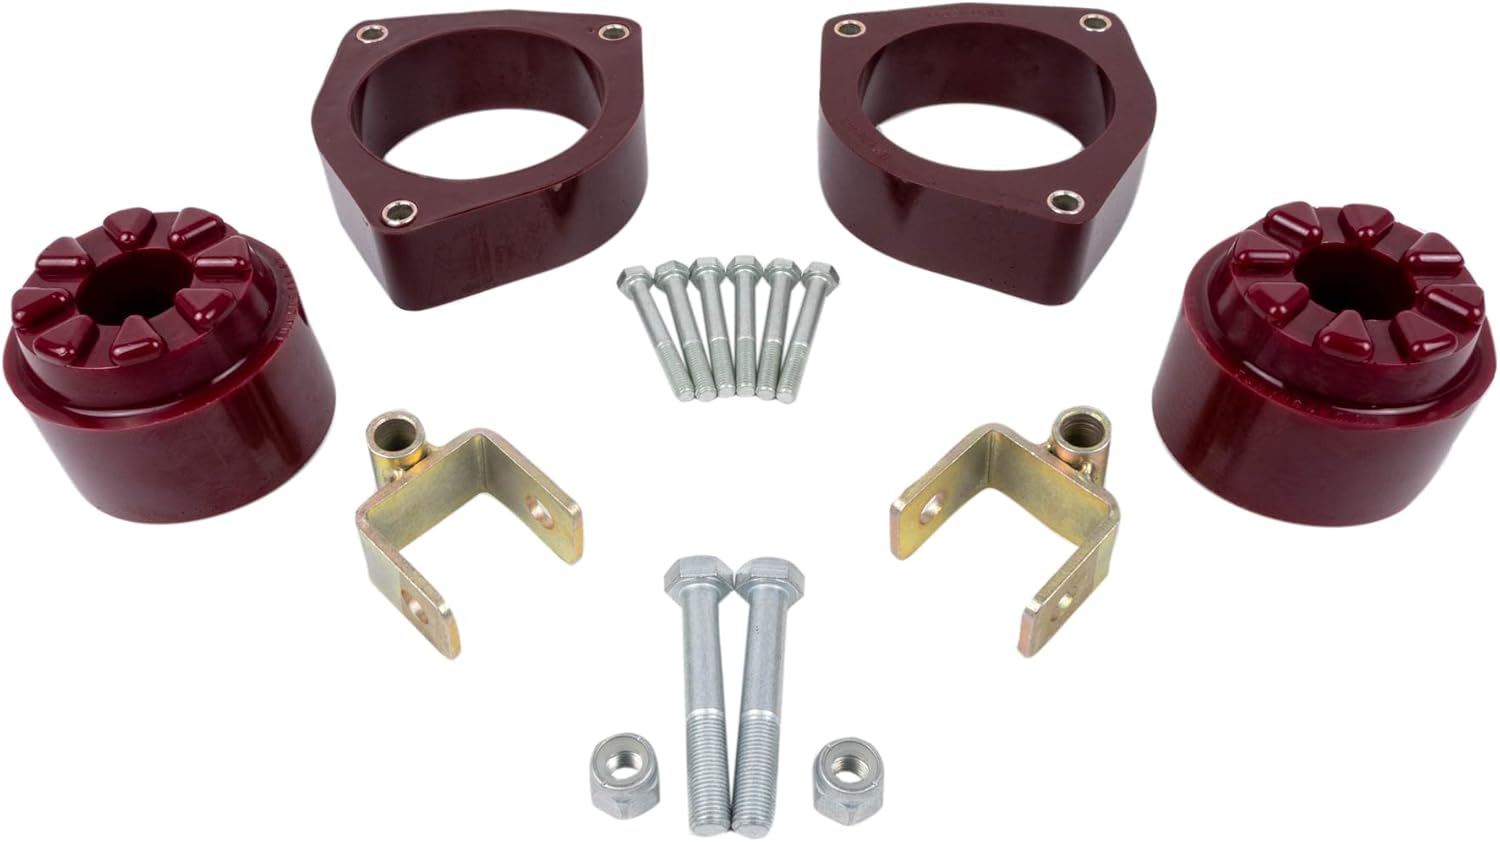
Verify that all components listed below are present and undamaged before beginning the installation process.
- 2x Front Strut Spacers
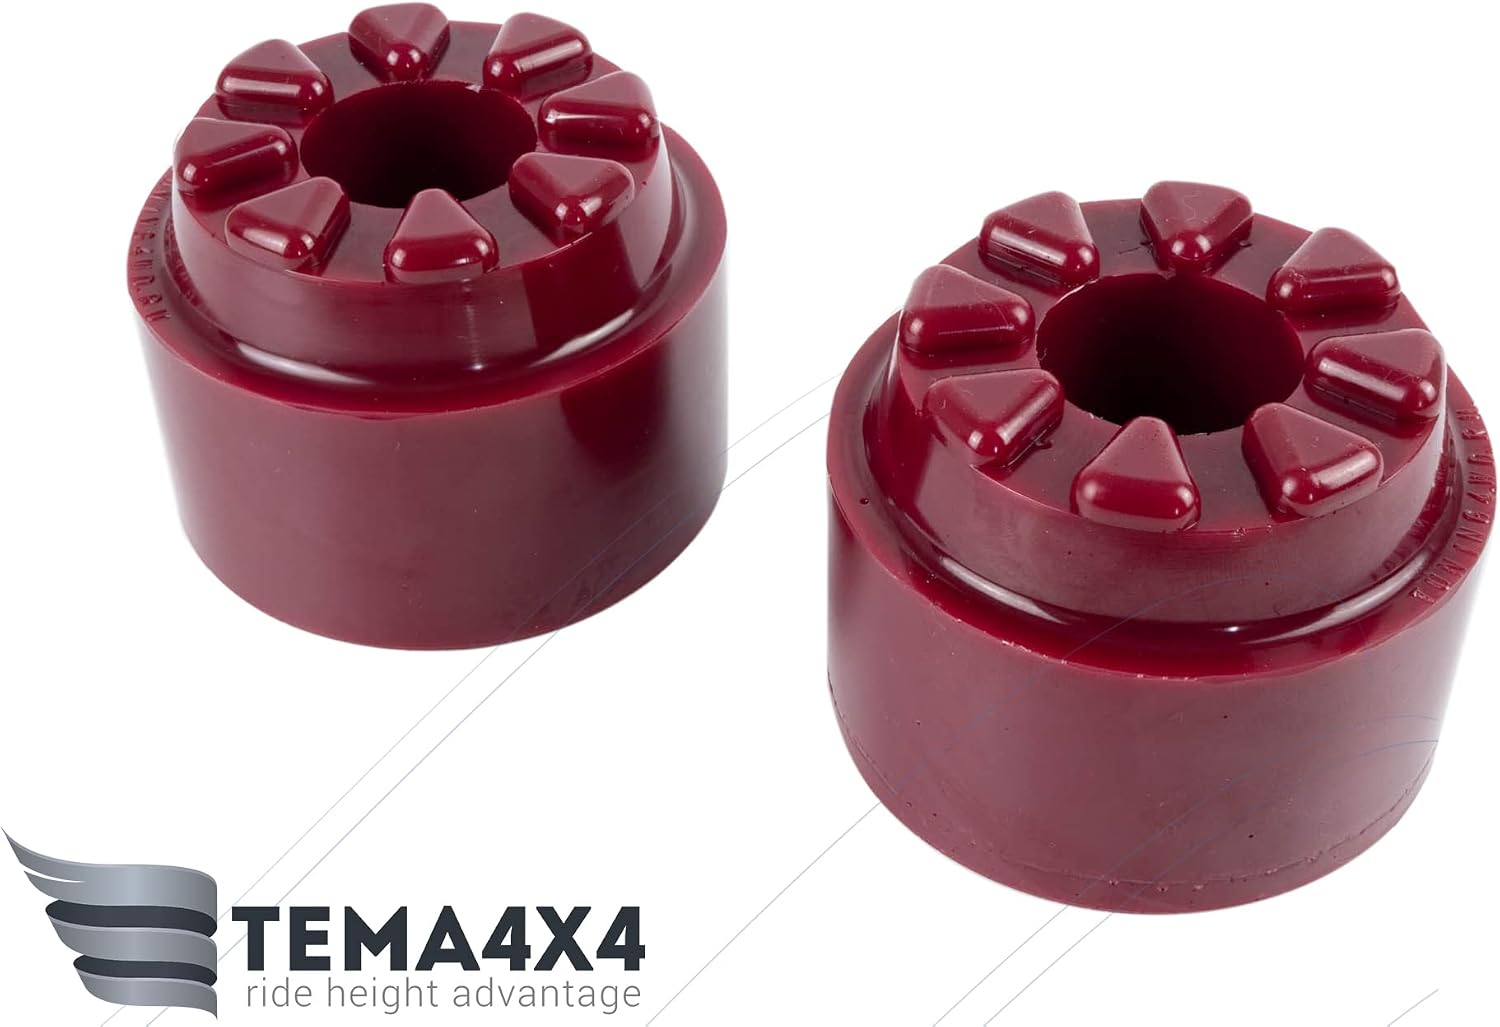
- 2x Rear Coil Spacers
- 2x Rear Shock Extenders
- Fitting Kit (includes necessary bolts, nuts, and washers)


Installation Instructions
This section provides general installation guidelines. For detailed vehicle-specific procedures, always consult your Nissan X-Trail T31 service manual.
Front Strut Spacer Installation
- Safely lift the front of the vehicle and support it securely with jack stands. Remove the front wheels.
- Disconnect any components necessary to allow removal of the front strut assembly, such as brake lines, ABS sensor wires, and sway bar links.
- Remove the top strut mounting nuts and the lower strut bolts. Carefully remove the entire strut assembly from the vehicle.
- Install the front strut spacer on top of the strut assembly, ensuring proper alignment of the bolt holes. Secure it using the provided hardware from the fitting kit.
- Reinstall the modified strut assembly into the vehicle. Secure the lower strut bolts first, then the top nuts with the spacer.
- Reconnect all previously disconnected components.
- Repeat the process for the other front side of the vehicle.
Rear Coil Spacer and Shock Extender Installation
- Safely lift the rear of the vehicle and support it securely with jack stands. Remove the rear wheels.
- Support the rear axle with a floor jack. Disconnect the lower shock mounts and any other components that restrict axle droop, such as sway bar links.
- Carefully lower the axle to allow the coil springs to be removed.
- Place the rear coil spacer on top of the coil spring seat on the chassis or at the bottom of the coil spring, ensuring it is properly seated.
- Install the rear shock extender to the lower shock mount point, then reattach the shock. This extends the effective length of the shock to accommodate the increased ride height.
- Reinstall the coil springs with the spacers. Carefully raise the axle to align and secure all components.
- Reconnect any previously disconnected components.
- Repeat the process for the other rear side of the vehicle.
Post-Installation Checks
- Lower the vehicle to the ground.
- Torque all fasteners to the vehicle manufacturer's specifications.
- Bounce the vehicle several times to settle the new suspension components.
- Check for any clearance issues between tires, brake lines, and other vehicle components, especially during full steering lock and suspension travel.
- Perform a professional wheel alignment immediately after installation. This is critical for safe driving and preventing premature tire wear.
- Drive the vehicle slowly and carefully for the first few miles, checking for any unusual noises or changes in handling. Re-check all fasteners after 50-100 miles of driving.
Operating Considerations
Installing a lift kit alters the vehicle's center of gravity and suspension geometry. Be aware of the following:
- Expect a change in vehicle handling characteristics, including a potentially higher roll center.
- Braking distances may be slightly affected.
- Always drive cautiously, especially after initial installation, to familiarize yourself with the vehicle's new dynamics.
- Regular inspections of suspension components are recommended to ensure continued safe operation.
Maintenance
Proper maintenance ensures the longevity and performance of your lift kit and vehicle.
- Periodically inspect all lift kit components (spacers, extenders, hardware) for signs of wear, damage, or corrosion.
- Re-check the torque on all fasteners associated with the lift kit and suspension components every 6-12 months, or after severe off-road use.
- Ensure proper tire pressure is maintained according to your vehicle's specifications, especially if larger tires have been installed.
- Re-check wheel alignment annually or if uneven tire wear or steering issues are observed.
Troubleshooting
If you encounter any issues after installation, consider the following common problems and solutions:
- Uneven Ride Height: Double-check that all spacers are correctly installed and fully seated. Ensure no components are binding or installed incorrectly.
- Unusual Noises (Clunking/Squeaking): Inspect all fasteners for proper torque. Check for contact between suspension components and other vehicle parts. Lubricate bushings if necessary.
- Poor Handling/Steering Issues: A professional wheel alignment is crucial after lift kit installation. Verify all steering and suspension components are in good condition and properly connected.
- Vibrations: Ensure wheels are balanced. For significant lifts, driveshaft angles can sometimes be affected, though less common with a 50mm lift on this vehicle.
If issues persist after attempting these solutions, consult a qualified automotive technician.
Specifications
| Feature | Detail |
|---|---|
| Brand | Tema4x4 |
| Model Number | NIS-XTRAIL-T31-PU-2/50 |
| Lift Height | 50mm (Front and Rear) |
| Compatible Vehicle | Nissan X-Trail (2nd Gen; T31) |
| Compatible Years | 2007 - 2013 |
| Material | Metal |
| UPC | 017247013182 |
Warranty and Support
Warranty Information
For detailed warranty terms and conditions, please refer to the official Tema4x4 website or contact your original point of purchase. Keep your proof of purchase for any warranty claims.
Customer Support
If you have any questions regarding the installation, function, or maintenance of your Tema4x4 lift kit, please contact Tema4x4 customer support. You can find more information and contact details by visiting the Tema4x4 store on Amazon:


