
Introduction
This instruction manual provides comprehensive guidance for the installation, operation, and maintenance of your Ibergrif M41102-L Wall-Mounted Ceramic Hand Wash Basin. Please read this manual thoroughly before installation and use to ensure proper function and longevity of the product. Keep this manual for future reference.

Figure 1: Ibergrif M41102-L Wall-Mounted Ceramic Hand Wash Basin.
Safety Information
- Always ensure water supply is turned off before beginning installation or maintenance.
- Wear appropriate personal protective equipment (PPE) such as gloves and eye protection during installation.
- Handle ceramic products with care to prevent chipping or breakage.
- Ensure the mounting surface is structurally sound and capable of supporting the weight of the basin when filled with water.
- If you are unsure about any installation steps, consult a qualified professional.
Package Contents
Verify that all components are present and undamaged before proceeding with installation.
- 1 x Ibergrif M41102-L Ceramic Hand Wash Basin
- Mounting hardware (plastic solenoids, metal screws, plastic gaskets, metal nuts)
- Instruction Manual (this document)

Figure 2: Ibergrif M41102-L ceramic basin and wall mounting hardware.
Installation Instructions
Note: These fixings are suitable for solid walls only. Plasterboard or stud walls may require specialist fixings (not supplied). Care should be taken when drilling walls and floors to avoid any sunken wires or pipes.
- Prepare the Wall: Drill two holes in the required position on the wall using a 14mm masonry drill bit, to a depth of 75mm. Ensure the spacing matches the mounting holes on the basin.
- Insert Wall Plugs: Push a wall plug into each drilled hole until flush with the wall surface.
- Install Fixing Bolts: Screw a fixing bolt into each wall plug using an 8mm spanner until the spanner contacts the wall. Do not overtighten.
- Position the Basin: Place the basin in position against the wall, locating the fixing bolts through the holes in the rear of the basin. Push a plastic washer, followed by a metal washer, onto each fixing bolt.
- Secure the Basin: Screw a metal nut onto each fixing bolt to secure the basin. Caution: Do not over-tighten, as this may damage the ceramic.
- Connect Plumbing: Connect the water supply lines and drain assembly (not included) according to local plumbing codes. Ensure all connections are watertight.

Figure 3: Step-by-step wall mounting installation guide.

Figure 4: Product dimensions for installation planning.
Operation
The Ibergrif M41102-L basin is designed for standard hand washing use. Once installed and connected to a water supply and drain, operate the faucet (not included) to control water flow and temperature. The basin features a standard 1 3/4" drain opening for efficient water drainage.
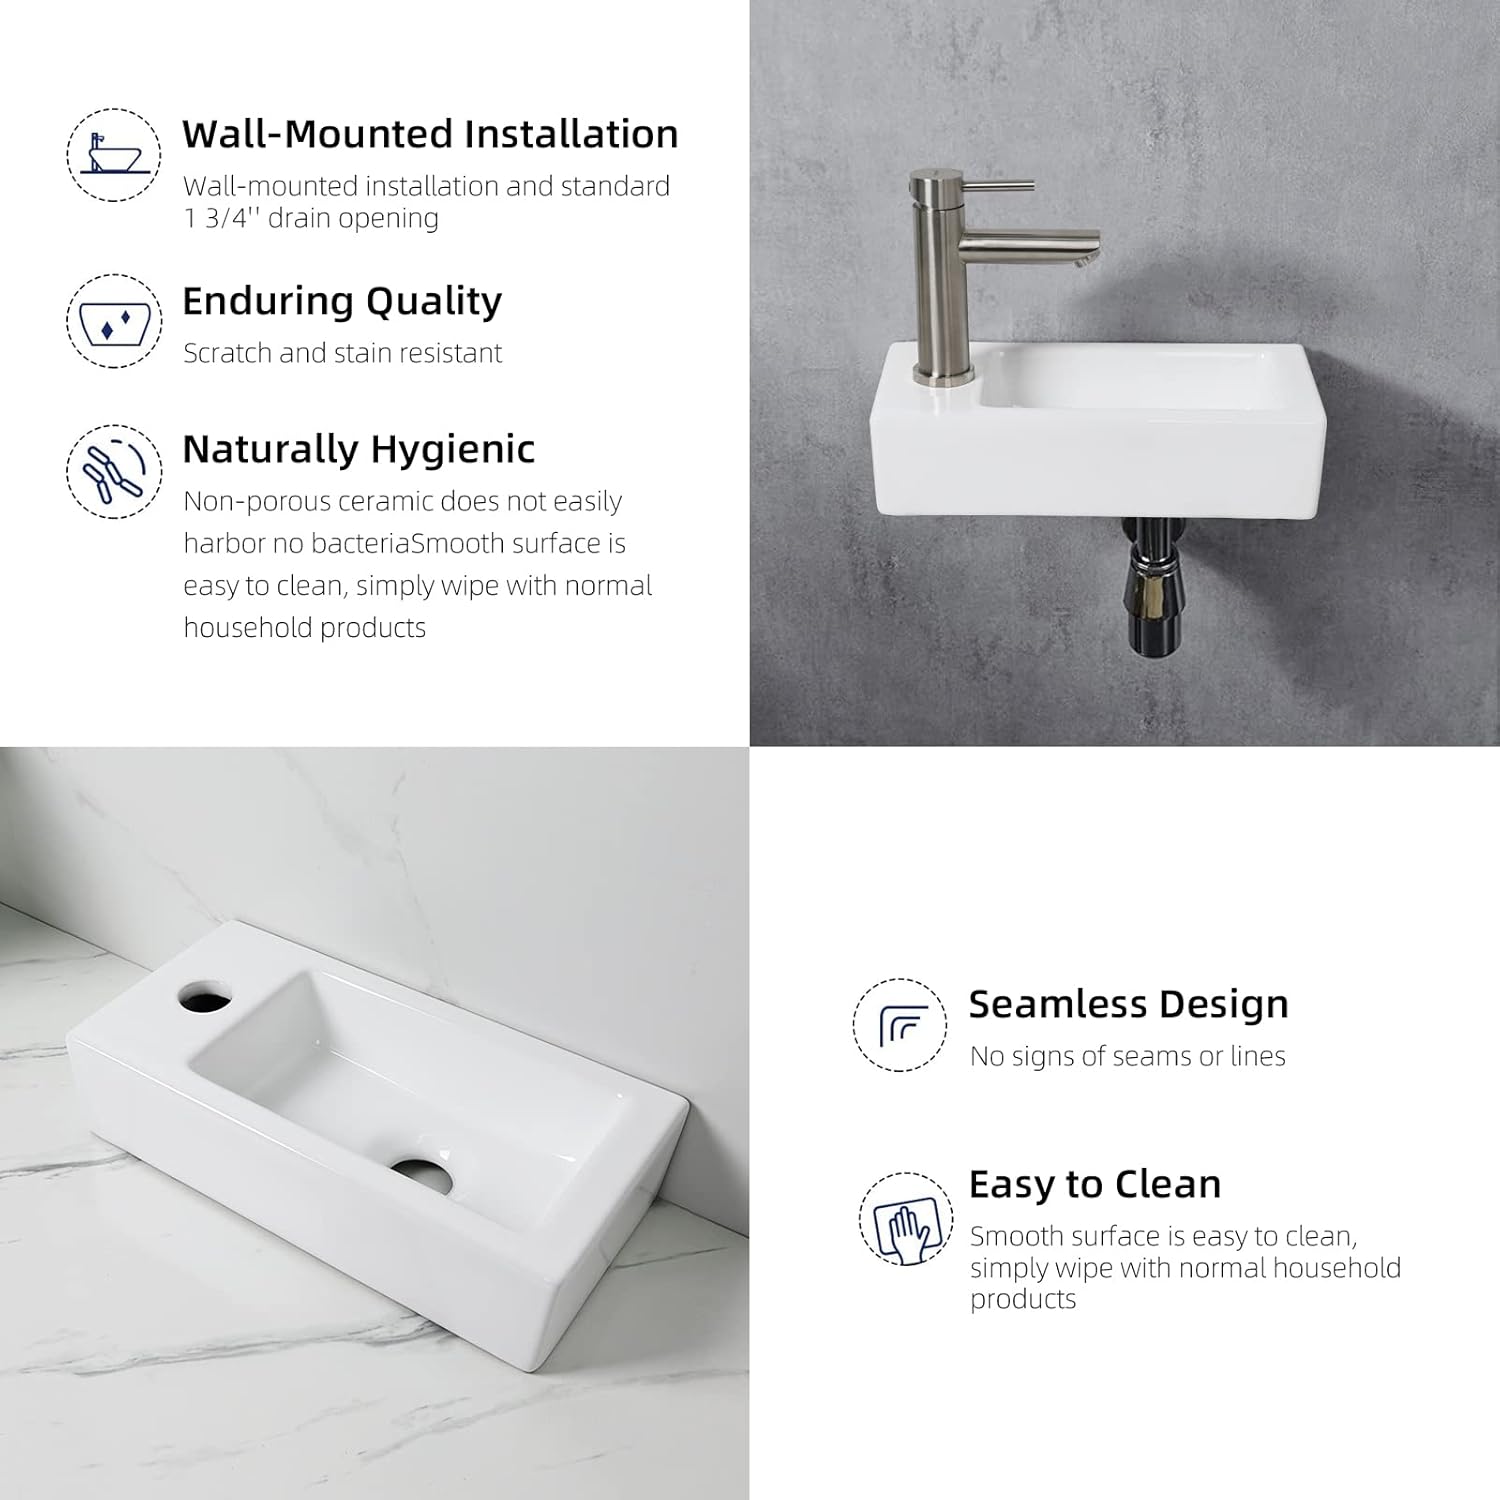
Figure 5: Installed view of the Ibergrif M41102-L basin.
Care and Maintenance
To maintain the appearance and hygiene of your ceramic basin, follow these cleaning guidelines:
- Regular Cleaning: Clean the basin regularly with a soft cloth or sponge and mild, non-abrasive household cleaners.
- Avoid Harsh Chemicals: Do not use abrasive cleaners, scouring pads, or strong chemicals (e.g., strong acids, bleach) as these can damage the ceramic surface.
- Rinse Thoroughly: After cleaning, rinse the basin thoroughly with clean water and wipe dry to prevent water spots.
- Stain Removal: For stubborn stains, use a ceramic-safe stain remover and follow the product instructions carefully.

Figure 6: Key features of the basin, including easy cleaning and hygienic surface.
Troubleshooting
| Problem | Possible Cause | Solution |
|---|---|---|
| Water Leakage | Loose plumbing connections; damaged seals. | Check and tighten all plumbing connections. Inspect and replace any worn or damaged seals. |
| Slow Drainage | Drain blockage; improper drain assembly. | Clear any debris from the drain. Ensure the drain assembly is correctly installed and compatible with the basin. |
| Basin feels unstable after installation | Fixing bolts not sufficiently tightened; unsuitable wall type. | Carefully re-tighten the metal nuts on the fixing bolts (do not overtighten). Ensure the wall type is solid and appropriate for wall-mounted installation. Consult a professional if necessary. |
Product Specifications
| Feature | Detail |
|---|---|
| Model Number | M41102-L |
| Brand | Ibergrif |
| Material | Ceramic |
| Color | White |
| Style | Left-hand (faucet hole on left) |
| Dimensions (L x W x H) | 37.6 cm x 18.8 cm x 9.3 cm (approx. 14.8 in x 7.4 in x 3.7 in) |
| Weight | 4.9 kg (approx. 10.8 lbs) |
| Installation Method | Wall-Mounted |
| Number of Faucet Holes | 1 |
| Drain Type | Pop-Up (drain assembly not included) |
Warranty and Support
For warranty information and customer support, please refer to the official Ibergrif website or contact your retailer. Keep your proof of purchase for any warranty claims.
Manufacturer: Ibergrif Griferias,S.L