1. Introduction
Thank you for purchasing the LG UltraGear 24GN60R-B 24-inch FHD IPS 144Hz Gaming Monitor. This manual provides essential information for the safe and efficient use of your monitor. Please read it thoroughly before operating the product and retain it for future reference.
The LG UltraGear 24GN60R-B is designed to enhance your gaming experience with its 23.8-inch Full HD (1920 x 1080) IPS display, offering a 1ms response time and a 144Hz refresh rate. It supports HDR10 with sRGB 99% (Typ.) for vibrant colors and features AMD FreeSync Premium technology to minimize screen tearing and stuttering.
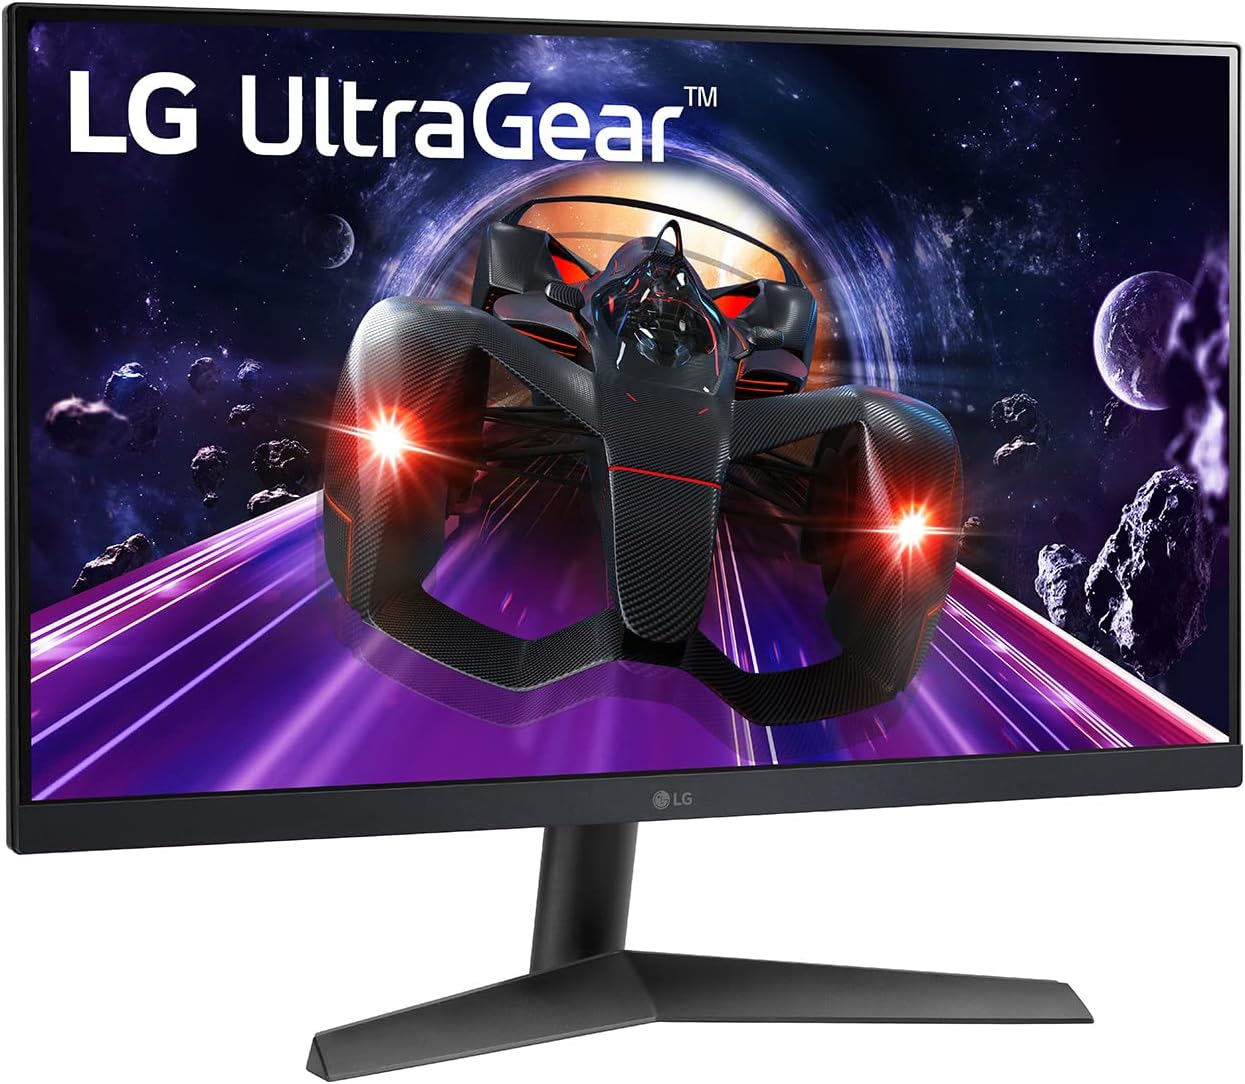
Figure 1: Front view of the LG UltraGear 24GN60R-B monitor.
2. Safety Information
Please observe the following safety precautions to prevent damage to your monitor or injury to yourself.
- Power: Use only the power cord and adapter supplied with the monitor. Do not overload power outlets.
- Ventilation: Ensure adequate ventilation around the monitor. Do not block ventilation openings.
- Liquid: Keep the monitor away from liquids. Do not spill any liquid into the monitor.
- Cleaning: Unplug the monitor before cleaning. Use a soft, dry cloth. Do not use liquid or aerosol cleaners.
- Location: Place the monitor on a stable, level surface. Avoid direct sunlight, heat sources, and excessive dust.
- Servicing: Do not attempt to service the monitor yourself. Refer all servicing to qualified service personnel.
3. Package Contents
Verify that all items are present in your product box. If any items are missing, contact your retailer.
- LG UltraGear 24GN60R-B Monitor
- Stand Base
- Stand Neck
- Power Adapter
- Power Cord
- HDMI Cable
- DisplayPort Cable
- User Manual (this document)
4. Setup
4.1 Assembling the Stand
- Place the monitor face down on a soft, clean surface to prevent scratches.
- Attach the stand neck to the monitor's rear. Ensure it clicks securely into place.
- Attach the stand base to the bottom of the stand neck. Tighten the screw on the underside of the base to secure it.

Figure 2: Rear view of the monitor with stand assembly.
4.2 Connecting Cables
Before connecting any cables, ensure the monitor and your computer are powered off.
- Power Connection: Connect the power adapter to the monitor's DC-IN port, then plug the power cord into the adapter and a wall outlet.
- Video Connection: Connect one end of the HDMI or DisplayPort cable to the corresponding port on your computer's graphics card and the other end to the HDMI or DP-IN port on the monitor. For optimal performance, use the DisplayPort connection to achieve 144Hz refresh rate.
- Audio Connection (Optional): If you wish to use external speakers or headphones, connect them to the HP/Audio Out port on the monitor.

Figure 3: Monitor port panel for connections.
4.3 Adjusting the Monitor
The monitor's stand allows for tilt adjustment. Gently hold the top and bottom edges of the monitor and tilt it to your desired viewing angle. The tilt range is typically -5° to 15°.
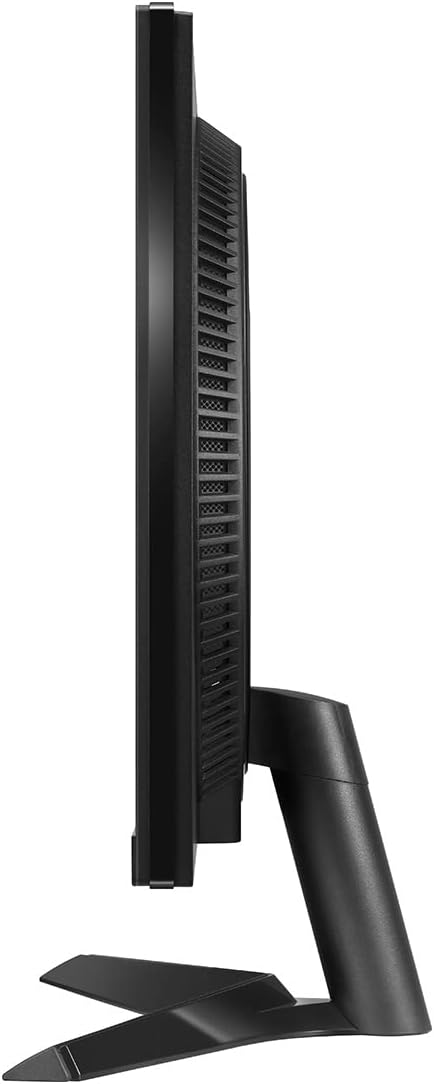
Figure 4: Side view of the monitor, showing tilt capability.
5. Operating the Monitor
5.1 Power On/Off
Press the joystick button located at the bottom center of the monitor to turn it on. Press and hold the joystick button for a few seconds to turn it off.
5.2 Basic Controls (Joystick Button)
The joystick button serves multiple functions:
- Press: Power On/Off, Access OSD Menu.
- Up/Down: Navigate menu options, adjust volume (when OSD is not active).
- Left/Right: Navigate menu options, change input source (when OSD is not active).
5.3 Key Features
- 144Hz Refresh Rate: Provides smoother motion and reduced input lag for gaming. Ensure your graphics card and connection cable (DisplayPort recommended) support this refresh rate.
- 1ms IPS Response Time: Minimizes motion blur and ghosting for fast-paced action.
- HDR10 Support: Delivers dynamic contrast and high-fidelity color for a more immersive visual experience.
- AMD FreeSync Premium: Synchronizes the monitor's refresh rate with your AMD graphics card's frame rate to eliminate screen tearing and stuttering. Enable this feature in your graphics card settings.
6. On-Screen Display (OSD) Menu
The OSD menu allows you to adjust various monitor settings. To access the OSD menu, press the joystick button when the monitor is on.
6.1 Navigating the OSD
- Move the joystick Up/Down/Left/Right to navigate through menu options.
- Press the joystick in to select an option or confirm a setting.
- Move the joystick Left to go back to the previous menu or exit the OSD.
6.2 Common OSD Settings
- Game Mode: Select various gaming presets (e.g., Gamer 1, FPS, RTS) or customize your own.
- Picture: Adjust Brightness, Contrast, Sharpness, Gamma, Color Temperature, and Black Stabilizer.
- Input: Manually select the input source (HDMI1, HDMI2, DisplayPort).
- General: Configure Language, OSD Lock, Power LED, and perform a Factory Reset.
7. Maintenance
7.1 Cleaning the Monitor
- Always unplug the monitor from the power outlet before cleaning.
- Use a soft, lint-free cloth to gently wipe the screen. For stubborn marks, lightly dampen the cloth with water or a specialized screen cleaner (ensure it's alcohol-free and ammonia-free).
- Wipe the exterior casing with a soft, dry cloth. Avoid abrasive materials or strong chemical cleaners.
7.2 Storage
If storing the monitor for an extended period, disconnect all cables, pack it in its original packaging (if available), and store it in a cool, dry place away from direct sunlight and extreme temperatures.
8. Troubleshooting
If you encounter issues with your monitor, refer to the following troubleshooting guide.
| Problem | Possible Cause | Solution |
|---|---|---|
| No power / Power LED off | Power cord not connected; Power outlet faulty; Monitor off. | Check power cord connections; Try a different outlet; Press the joystick button to turn on the monitor. |
| No signal / Screen blank | Video cable not connected; Incorrect input source selected; Computer in sleep mode. | Ensure video cable (HDMI/DP) is securely connected; Select correct input source via OSD; Wake up computer. |
| Image flickering / Distorted | Cable issue; Graphics card driver outdated; Refresh rate mismatch. | Try a different video cable; Update graphics card drivers; Ensure refresh rate is set correctly in OS display settings. |
| Dead pixels or stuck pixels | Manufacturing defect; Normal panel characteristic. | Refer to LG's pixel policy for warranty coverage. Small numbers of dead/stuck pixels may be considered normal. |
| No sound from headphones/speakers | Audio cable not connected; Volume too low; Incorrect audio output selected on PC. | Check audio cable connection; Adjust monitor/PC volume; Select monitor as audio output device in PC settings. |
If the problem persists after trying these solutions, please contact LG customer support.
9. Specifications
| Feature | Specification |
|---|---|
| Model Name | 24GN60R-B |
| Screen Size | 24 Inches (23.8-inch viewable) |
| Panel Type | IPS |
| Resolution | 1920 x 1080 (FHD) |
| Aspect Ratio | 16:9 |
| Refresh Rate | 144Hz |
| Response Time | 1ms (GtG) |
| Brightness (Typical) | 300 cd/m² |
| HDR Support | HDR10 |
| Color Gamut | sRGB 99% (Typ.) |
| Adaptive Sync | AMD FreeSync Premium |
| Connectivity | 2 x HDMI, 1 x DisplayPort, 1 x Headphone Out |
| Dimensions (with stand) | 21.29 x 12.75 x 1.69 inches (W x H x D) - Note: Product dimensions from source are 1.69 x 21.29 x 12.75 inches, assuming depth x width x height. Reordered for clarity. |
| Weight (with stand) | 8.67 pounds |
10. Warranty and Support
10.1 Warranty Information
Your LG UltraGear 24GN60R-B monitor comes with a limited warranty. Please refer to the warranty card included in your product packaging or visit the official LG website for detailed terms and conditions, including warranty duration and coverage specifics.
10.2 Customer Support
For technical assistance, troubleshooting beyond this manual, or warranty claims, please contact LG Customer Support. You can find contact information and support resources on the official LG website:
When contacting support, please have your monitor's model number (24GN60R-B) and serial number ready.