
PowRyte P2G85TRB1
PowRyte Electric Pressure Washer Instruction Manual
Model: P2G85TRB1
1. Important Safety Information
Please read and understand all safety warnings and instructions before operating the pressure washer. Failure to follow the warnings and instructions may result in electric shock, fire, and/or serious injury.
- Always wear appropriate personal protective equipment, including safety glasses and hearing protection.
- Do not direct the water stream at people, pets, or electrical devices.
- Ensure the power cord and plug are in good condition and connected to a grounded outlet.
- Never operate the pressure washer without a water supply connected and turned on.
- Keep children and bystanders away from the operating area.
- Disconnect the power supply before performing any maintenance or cleaning.
2. Product Overview and Components
The PowRyte Electric Pressure Washer is designed for efficient cleaning of various surfaces. Familiarize yourself with its main components:

Figure 2.1: Main components of the PowRyte Electric Pressure Washer, including the unit, spray gun, hose, foam cannon, and quick-connect nozzles.
- Main Unit: Contains the motor and pump.
- High-Pressure Hose: Connects the unit to the spray gun.
- Spray Gun: Controls water flow and pressure.
- Hose Reel: For convenient storage of the high-pressure hose.
- Foam Cannon: For applying detergent or soap.
- Quick-Connect Nozzles: Interchangeable tips for different spray patterns.

Figure 2.2: Overview of included and compatible accessories. The foam cannon is included, while others like the surface cleaner and extension wand are not.
3. Setup and Assembly
Follow these steps for initial setup:
- Unpack: Remove all components from the packaging.
- Assemble Handle: Attach the handle to the main unit if it's not pre-assembled. Secure with provided fasteners.
- Connect High-Pressure Hose: Connect one end of the high-pressure hose to the pressure washer's outlet and the other end to the spray gun. Ensure connections are tight.
- Connect Water Supply: Attach a standard garden hose (3/4 inch) to the water inlet on the pressure washer. Ensure the garden hose is free of kinks and has a steady water supply. The unit can also suck water from a container if no tap is available.
- Connect Power: Plug the power cord into a grounded electrical outlet.
4. Operating Instructions
Before starting, ensure all connections are secure and the water supply is turned on. Never run the pump dry.
4.1 Starting the Pressure Washer
- Turn on the water supply completely.
- Squeeze the trigger on the spray gun to purge air from the system until a steady stream of water emerges.
- Turn the pressure washer's power switch to the "ON" position.
- The motor will start when the trigger is squeezed and stop when released.
4.2 Nozzle Selection and Usage
The pressure washer comes with 4 quick-connect nozzles, each designed for specific cleaning tasks:

Figure 4.1: Quick-Connect Nozzles and their applications.
- 0° (Red) Nozzle: Delivers a concentrated, high-pressure stream for stubborn substances, cracks, and caked stains. Use with extreme caution on hard, non-delicate surfaces only.
- 15° (Yellow) Nozzle: Provides a powerful, narrow spray for concrete, brick, and other hard surfaces. Ideal for removing paint, grease, and heavy dirt.
- 25° (Green) Nozzle: Offers a medium-pressure, wider spray suitable for wood decks, vinyl siding, and general cleaning.
- 40° (White) Nozzle: Produces a wide, low-pressure fan spray for delicate surfaces like windows, vehicles, and light rinsing.
To change nozzles, pull back the collar on the spray gun's wand, insert the desired nozzle, and release the collar to lock it in place. Always ensure the nozzle is securely seated before operating.
4.3 Using the Foam Cannon
The included brass foam cannon allows for direct application of cleaning solutions without passing through the pump, extending pump life. This is ideal for car washing or applying detergents to large surfaces.

Figure 4.2: Applying foam with the included foam cannon.
- Fill the foam cannon bottle with your desired pressure washer detergent or soap solution.
- Attach the foam cannon to the spray gun in place of a nozzle.
- Adjust the foam cannon's settings for desired foam thickness and spray pattern.
- Apply foam to the surface, then switch back to a rinsing nozzle to wash off.
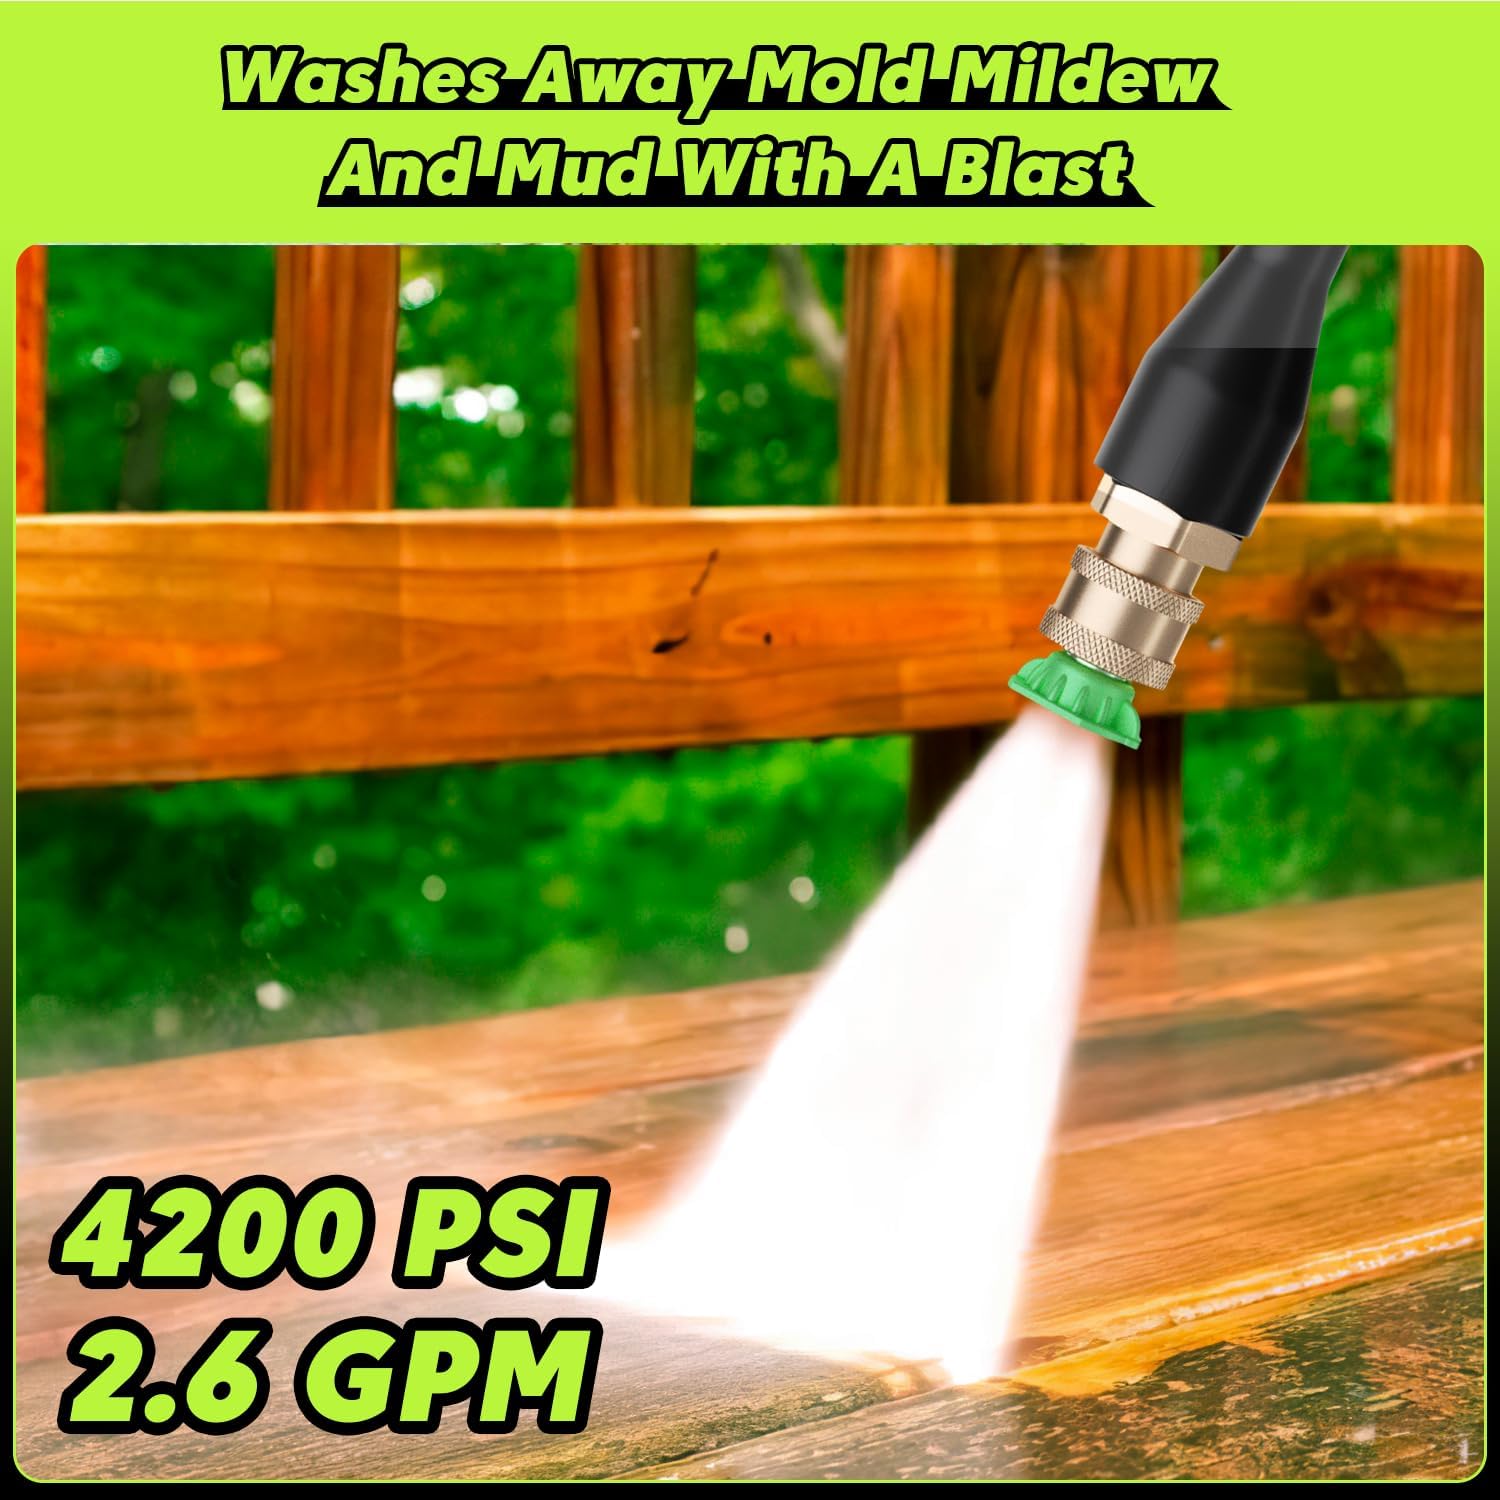
Figure 4.3: Demonstrating the cleaning power on a wooden surface.

Figure 4.4: Before and after cleaning results on a paved surface.
5. Maintenance and Storage
Proper maintenance ensures longevity and optimal performance of your pressure washer.
- After Each Use:
- Turn off the power switch and water supply.
- Squeeze the spray gun trigger to release any remaining pressure.
- Disconnect the garden hose and high-pressure hose.
- Drain all water from the pump, hoses, and spray gun to prevent freezing damage.
- Clean any debris from the nozzles and water inlet filter.
- Storage:
- Store the pressure washer in a dry, frost-free environment.
- Wrap the power cord and high-pressure hose neatly around the designated storage areas or hose reel.
- Store nozzles and foam cannon in a secure place to prevent loss.
- Winterization: If storing in freezing temperatures, use a pump protector or RV antifreeze to prevent internal damage.
6. Troubleshooting
Refer to this section for common issues and their solutions.
| Problem | Possible Cause | Solution |
|---|---|---|
| Motor does not start | No power supply; tripped circuit breaker; loose connection. | Check power cord and outlet; reset circuit breaker; ensure all connections are secure. |
| Low pressure | Insufficient water supply; clogged nozzle; air in pump; worn pump seals. | Ensure full water flow; clean or replace nozzle; purge air by squeezing trigger; contact support if seals are suspected. |
| Pulsating pressure | Air in pump; restricted water flow; clogged inlet filter. | Purge air; check garden hose for kinks; clean inlet filter. |
| Water leaks | Loose connections; damaged O-rings or seals. | Tighten all connections; inspect and replace damaged O-rings/seals. |
If the problem persists after attempting these solutions, please contact customer support.
7. Specifications
| Feature | Detail |
|---|---|
| Brand | PowRyte |
| Model Number | P2G85TRB1 |
| Maximum Pressure | 4200 PSI |
| Maximum Flow Rate | 2.6 GPM |
| Power Source | AC Electric |
| Hose Length | 26 Feet |
| Item Weight | 22.5 Pounds |
| Product Dimensions | 10.83"L x 13.46"W x 23.23"H |
| Certification | CSA |
8. Warranty and Customer Support
The PowRyte Electric Pressure Washer comes with a 3-year warranty on the N-COR pump, ensuring durability and reliability.
For technical assistance, warranty claims, or replacement parts, please contact PowRyte customer support. Refer to the product packaging or the official PowRyte website for the most current contact information.
Customer Support Availability: 7 Days a week.
When contacting support, please have your model number (P2G85TRB1) and purchase date available.
Related documentsP2G85TRB1


Ask a question about this manual
Ask about setup, troubleshooting, compatibility, parts, safety, or missing instructions. Manuals+ will review the question and use this page’s manual context to help answer it.