1. Introduction
Thank you for choosing the Strex Digital Infrared Thermometer, Model SP95. This device is designed for safe, non-contact temperature measurement of various surfaces. It offers a wide measurement range, high accuracy, and quick response time, making it suitable for both professional and household use. Please read this manual thoroughly before operating the device to ensure proper use and to prevent damage.
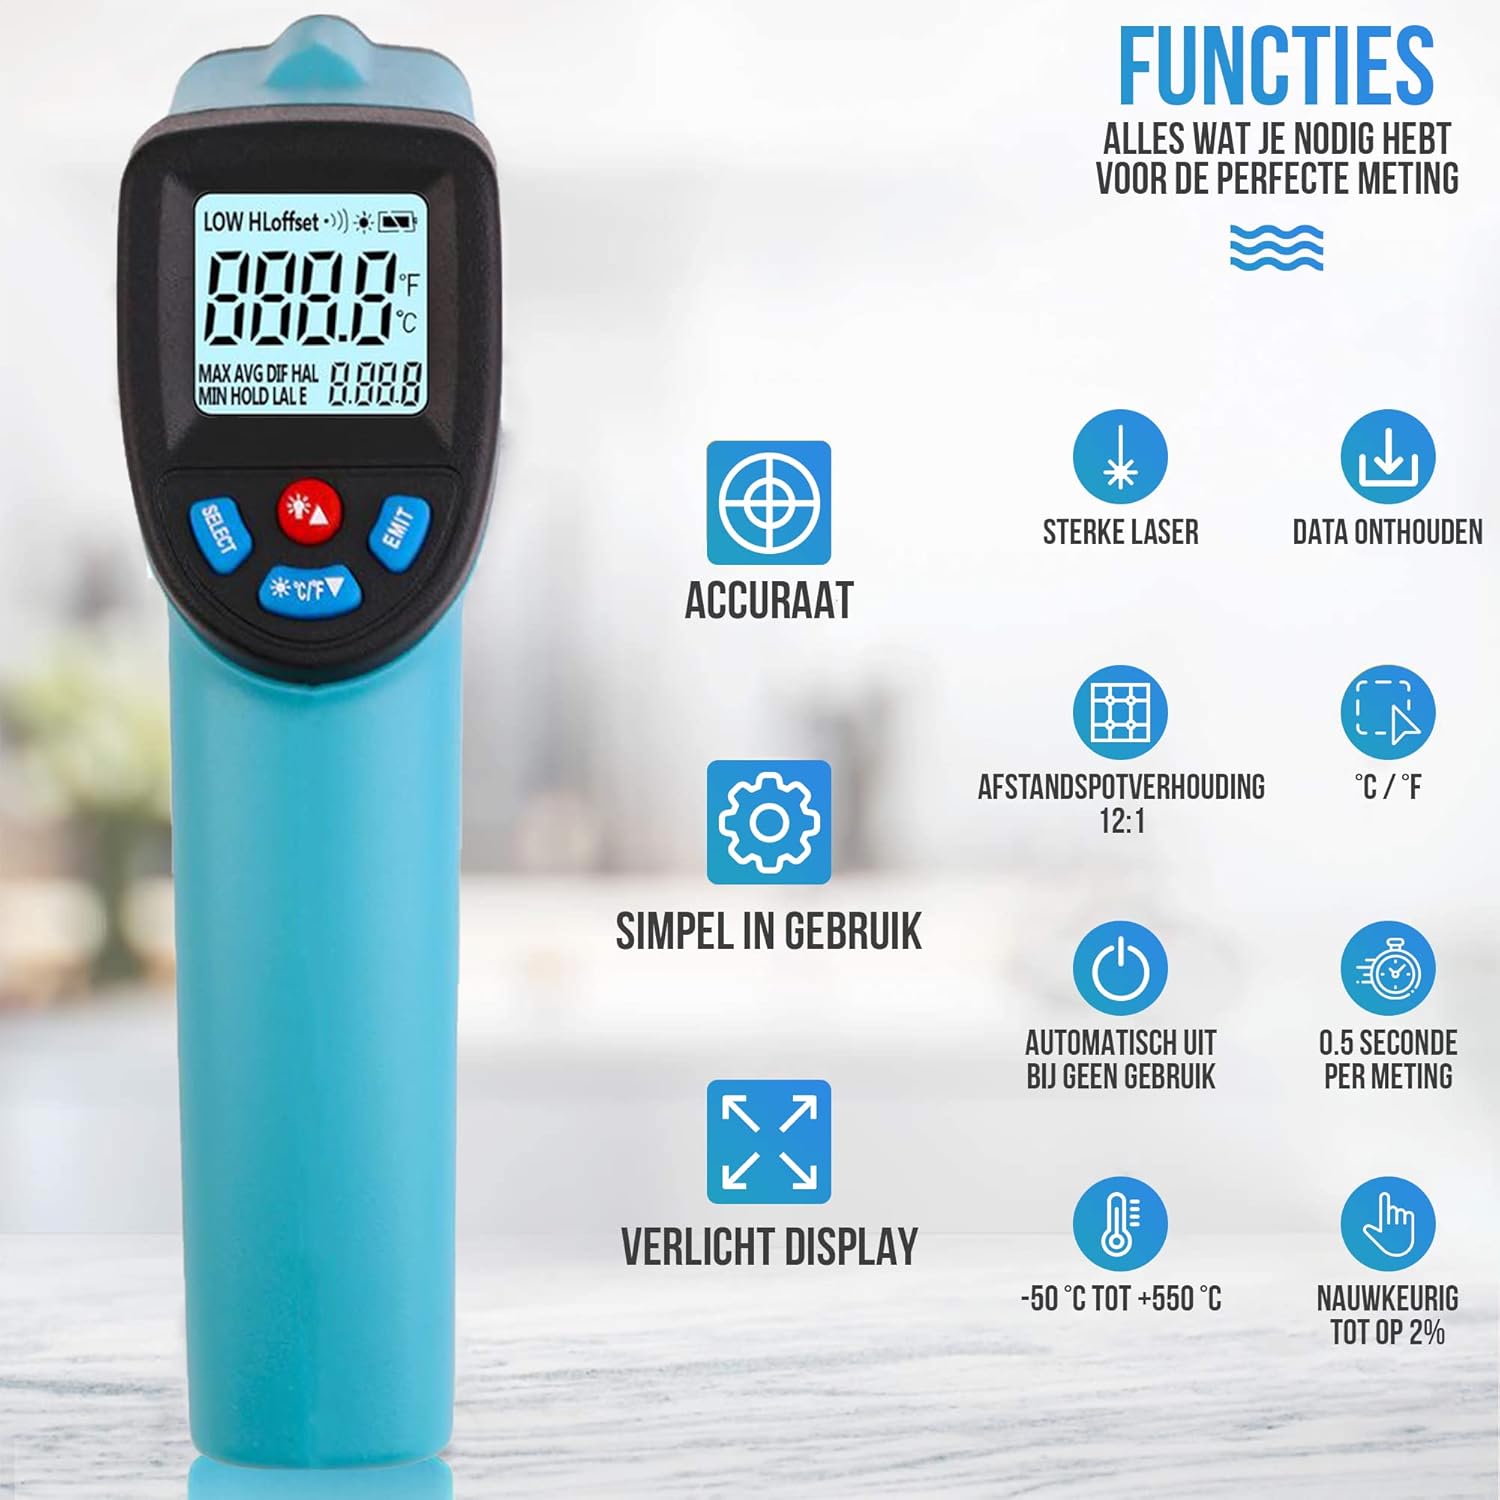
Image 1: The Strex Digital Infrared Thermometer, highlighting its ergonomic design and clear LCD display.
2. Safety Information
WARNING: This device uses a laser. Do not look directly into the laser beam or point it at people or animals. Direct exposure to the laser beam can cause eye damage.
- Do not use the thermometer for measuring human body temperature. It is designed for surface temperature measurement only.
- Keep the device away from children.
- Do not use the device in explosive gas, vapor, or dusty environments.
- Avoid exposing the device to extreme temperatures, humidity, or direct sunlight.
- If the device is damaged, do not attempt to repair it yourself. Contact qualified service personnel.
3. Product Overview
Familiarize yourself with the components of your Strex Infrared Thermometer:

Image 2: Labeled components of the Strex Infrared Thermometer.
- LCD Display: Shows temperature readings, unit, battery status, and other indicators.
- Adjustment Buttons: Used for navigation and setting parameters (e.g., emissivity, unit).
- Infrared Sensor: Detects infrared radiation from the target surface.
- Laser Indicator: Emits a laser dot to pinpoint the measurement area.
- Measurement Trigger: Press to initiate a temperature reading.
- Battery Compartment: Houses the AAA batteries.
4. Setup
4.1 Battery Installation
The Strex Infrared Thermometer requires 2x AAA batteries (not included) for operation.

Image 3: Illustration of battery compartment and AAA battery insertion.
- Locate the battery compartment on the handle of the thermometer (refer to Image 2, item 6).
- Open the battery compartment cover.
- Insert two AAA batteries, ensuring correct polarity (+ and -).
- Close the battery compartment cover securely.
The device will power on automatically once batteries are correctly installed or when the measurement trigger is pressed.
5. Operating Instructions
5.1 Taking a Measurement
- Point the thermometer at the target surface. Ensure the laser dot (if enabled) indicates the desired measurement area.
- Press and hold the Measurement Trigger (Image 2, item 5). The display will show the current temperature reading.
- Release the trigger to hold the reading on the display. The device will automatically power off after a period of inactivity to conserve battery.
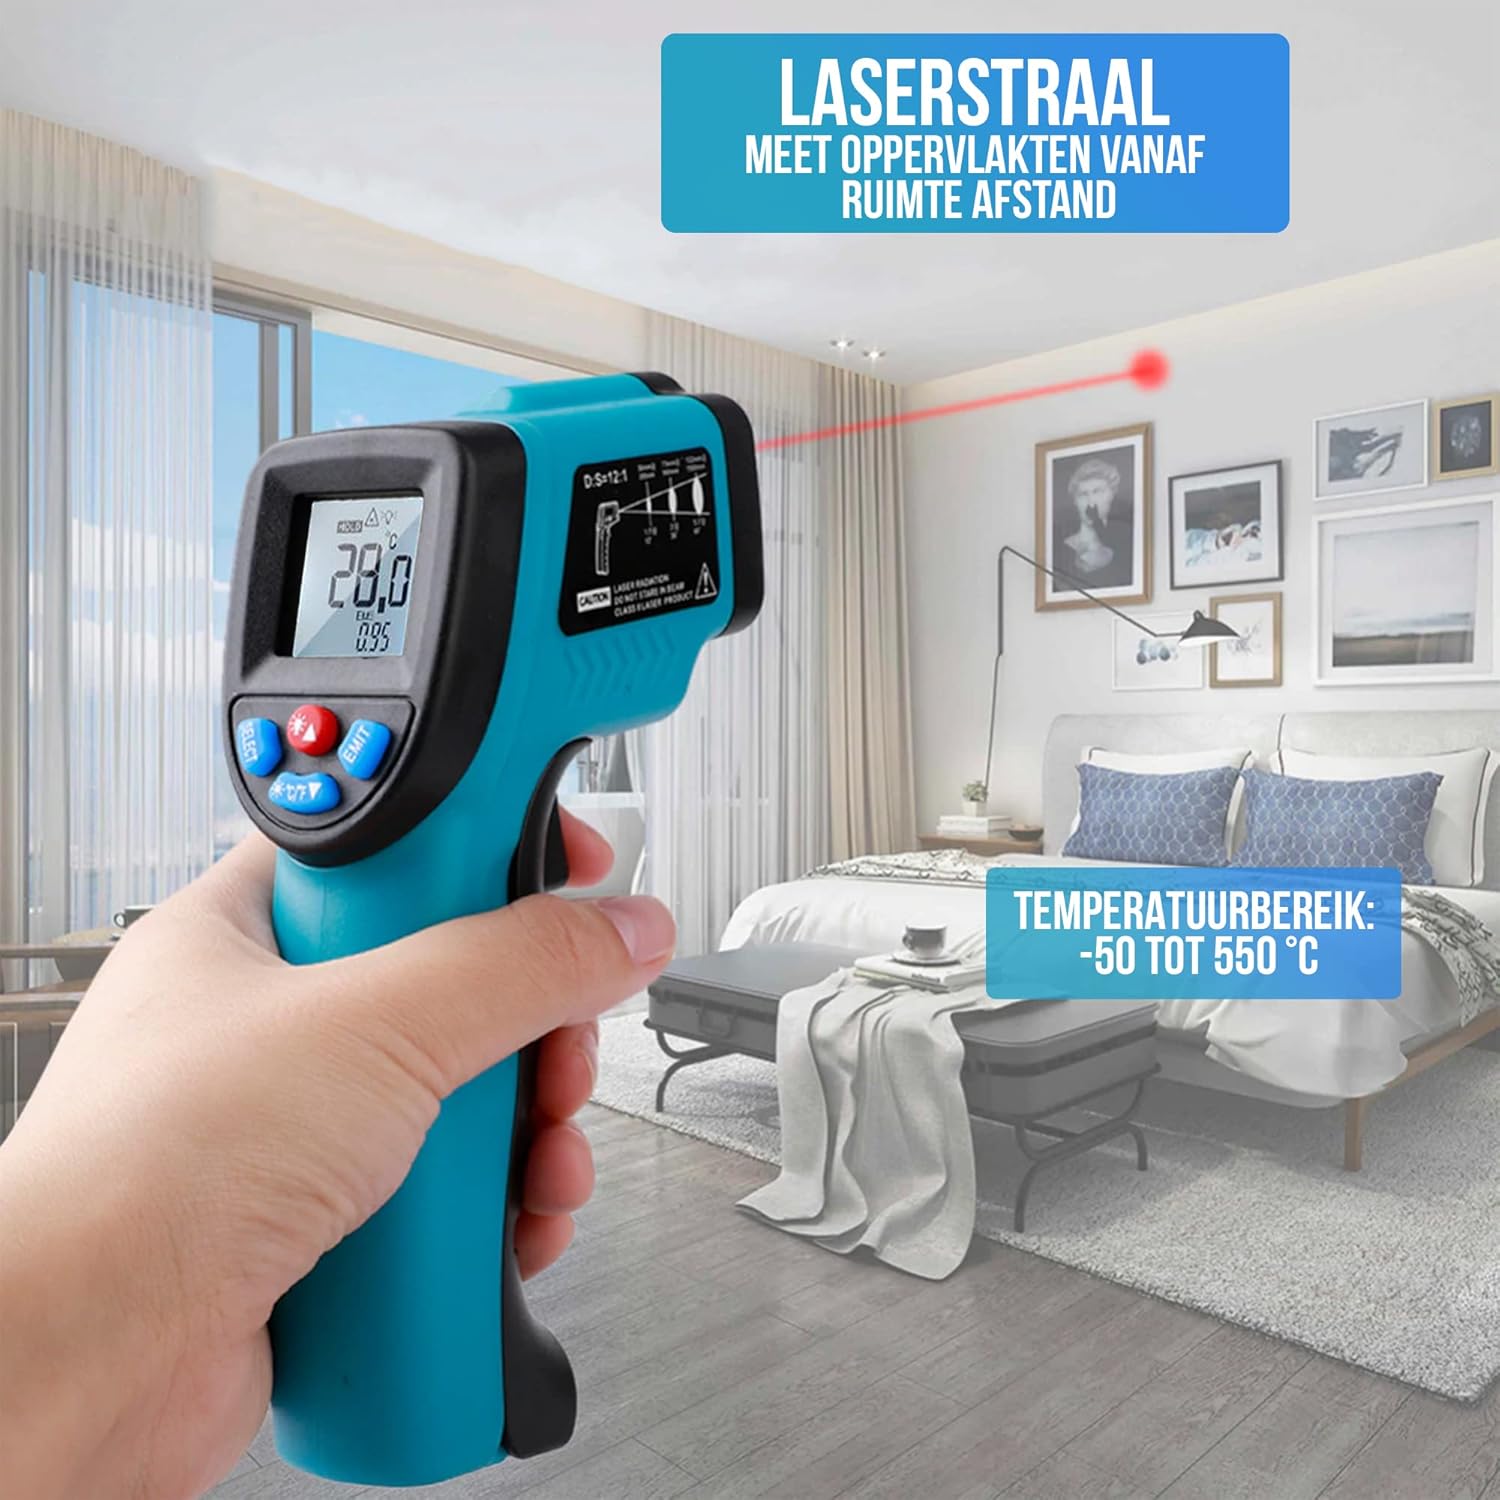
Image 4: Demonstrating the non-contact measurement capability with the laser beam.
5.2 Distance-to-Spot Ratio (D:S)
The thermometer has a D:S ratio of 12:1. This means that at a distance of 12 units from the target, the measurement spot diameter will be 1 unit. For accurate readings, ensure the target area is larger than the spot size.
5.3 Changing Temperature Units (°C/°F)
Press the °C/°F button (part of Adjustment Buttons, Image 2, item 2) to switch between Celsius and Fahrenheit temperature units.
5.4 Adjusting Emissivity
Emissivity is a measure of an object's ability to emit infrared energy. Different materials have different emissivity values. For accurate measurements, adjust the emissivity setting to match the target material. The Strex thermometer features adjustable emissivity (0.10 to 0.95).

Image 5: Example of emissivity adjustment for different surfaces like oil (0.95) and ice (0.89).
Consult a standard emissivity table for common materials if precise measurements are required. Use the adjustment buttons to change the emissivity value on the display.
6. Maintenance
6.1 Cleaning the Device
- Use a soft, damp cloth to clean the casing. Do not use abrasive cleaners or solvents.
- For the lens, use a soft cloth or cotton swab with a small amount of isopropyl alcohol. Clean gently to avoid scratching.
- Ensure the device is completely dry before storage or next use.
6.2 Battery Replacement
When the low battery indicator appears on the display, replace the batteries as described in Section 4.1. Remove batteries if the device will not be used for an extended period.
7. Troubleshooting
| Problem | Possible Cause | Solution |
|---|---|---|
| Device does not power on. | Dead or incorrectly installed batteries. | Check battery polarity or replace with new AAA batteries. |
| Inaccurate readings. | Incorrect emissivity setting; lens is dirty; target too small or too far. | Adjust emissivity; clean the lens; ensure target is within D:S ratio. |
| Laser not visible. | Laser function disabled or malfunction. | Check if laser is enabled via settings (if applicable); if not, contact support. |
8. Specifications
| Feature | Specification |
|---|---|
| Model Number | SP95 |
| Measurement Range | -50°C to +550°C (-58°F to +1022°F) |
| Accuracy | +/-1.5% or +/-1.5°C (whichever is greater) |
| Distance-to-Spot Ratio (D:S) | 12:1 |
| Response Time | 0.5 seconds |
| Spectral Response | 8-14 µm |
| Emissivity | Adjustable (0.10 - 0.95) |
| Display | Digital LCD with backlight |
| Power Source | 2 x AAA batteries (not included) |
| Dimensions (L x W x H) | 15.3 x 10.1 x 4.3 cm (6.02 x 3.98 x 1.69 inches) |
| Weight (with batteries) | Approx. 162 grams (5.7 oz) |
9. Warranty and Support
For warranty information or technical support, please refer to the documentation provided with your purchase or contact your retailer. Strex aims to provide reliable products and customer satisfaction.
For further assistance, please visit the official Strex website or contact their customer service department.


