
Beldray BEL01469LDL
Beldray BEL01469LDL 2-in-1 Cordless Pro Multi-Surface Vacuum User Manual
Model: BEL01469LDL
Important Safety Instructions
Please read these instructions carefully before using the appliance and retain them for future reference.
- This appliance is intended for domestic use only.
- Keep the appliance out of reach of children.
- Do not immerse the appliance in water or any other liquid.
- Do not use the appliance to pick up flammable or combustible materials, hot ashes, or sharp objects.
- Ensure the charging adapter is compatible with your power supply.
- Unplug the charger from the mains before cleaning or performing maintenance.
- Do not operate the vacuum cleaner with a damaged cord or plug.
- Regularly check the filters and clean them as instructed to maintain optimal performance.
- Only use accessories and spare parts recommended by the manufacturer.
Product Overview
Familiarize yourself with the components of your Beldray 2-in-1 Cordless Pro Multi-Surface Vacuum.

Figure 1: The Beldray 2-in-1 Cordless Pro Multi-Surface Vacuum in its complete stick configuration, ready for floor cleaning.

Figure 2: Front view of the vacuum cleaner, highlighting the main body, extension tube, and floor head.

Figure 3: Side profile of the vacuum, showing the ergonomic handle, dustbin, and motor unit.

Figure 4: Close-up side view illustrating the transparent dust collection bin and its attachment to the main unit.

Figure 5: Detailed view of the motorized floor brush, featuring integrated LED lights for illuminating dark areas during cleaning.
Included Components:
- Main Vacuum Unit (Handheld)
- Extension Tube
- Motorised Floor Brush with LED Lights
- 2-in-1 Crevice and Brush Tool
- Charging Adapter
Assembly and Setup
- Unpacking: Carefully remove all components from the packaging. Ensure all parts listed in the "Included Components" section are present.
- Assembling the Stick Vacuum:
- Insert the extension tube into the main vacuum unit until it clicks securely into place.
- Attach the motorised floor brush to the other end of the extension tube, ensuring it also clicks securely.
- Assembling the Handheld Vacuum: For handheld use, the extension tube and motorised floor brush are not required. Attach the 2-in-1 crevice and brush tool directly to the main vacuum unit.
Charging the Battery
Before first use, fully charge the vacuum cleaner for approximately 5 hours.
- Locate the charging port on the main vacuum unit.
- Connect the charging adapter to the charging port.
- Plug the charging adapter into a suitable mains power outlet.
- The LED indicator lights on the vacuum unit will illuminate to show charging status. Once fully charged, the lights may change or turn off depending on the model.
- A full charge provides up to 40 minutes of operating time.
Note: Do not operate the vacuum while it is charging.
Operating Instructions
1. Power On/Off and Speed Selection
- Press the power button located on the handle to turn the vacuum on. It will start in the default speed setting.
- Press the speed selection button (if separate) or press the power button again to cycle through the 2 available speed settings (e.g., standard and high power).
- Press the power button once more to turn the vacuum off.
2. Using as a Stick Vacuum
For cleaning floors and larger areas, use the vacuum in its stick configuration with the motorised floor brush.
- Ensure the extension tube and motorised floor brush are securely attached.
- Turn on the vacuum and select the desired speed.
- The LED lights on the floor brush will illuminate automatically to assist in cleaning dimly lit areas.
- Guide the vacuum across the floor surface. The motorised brush is effective on various floor types.
3. Using as a Handheld Vacuum
For cleaning upholstery, stairs, car interiors, or hard-to-reach spots, convert the vacuum to handheld mode.
- Detach the extension tube and motorised floor brush from the main vacuum unit.
- Attach the 2-in-1 crevice and brush tool directly to the main vacuum unit.
- Turn on the vacuum and select the desired speed.
- Use the crevice tool for narrow gaps and edges, or slide the brush attachment over the crevice tool for dusting and cleaning delicate surfaces.
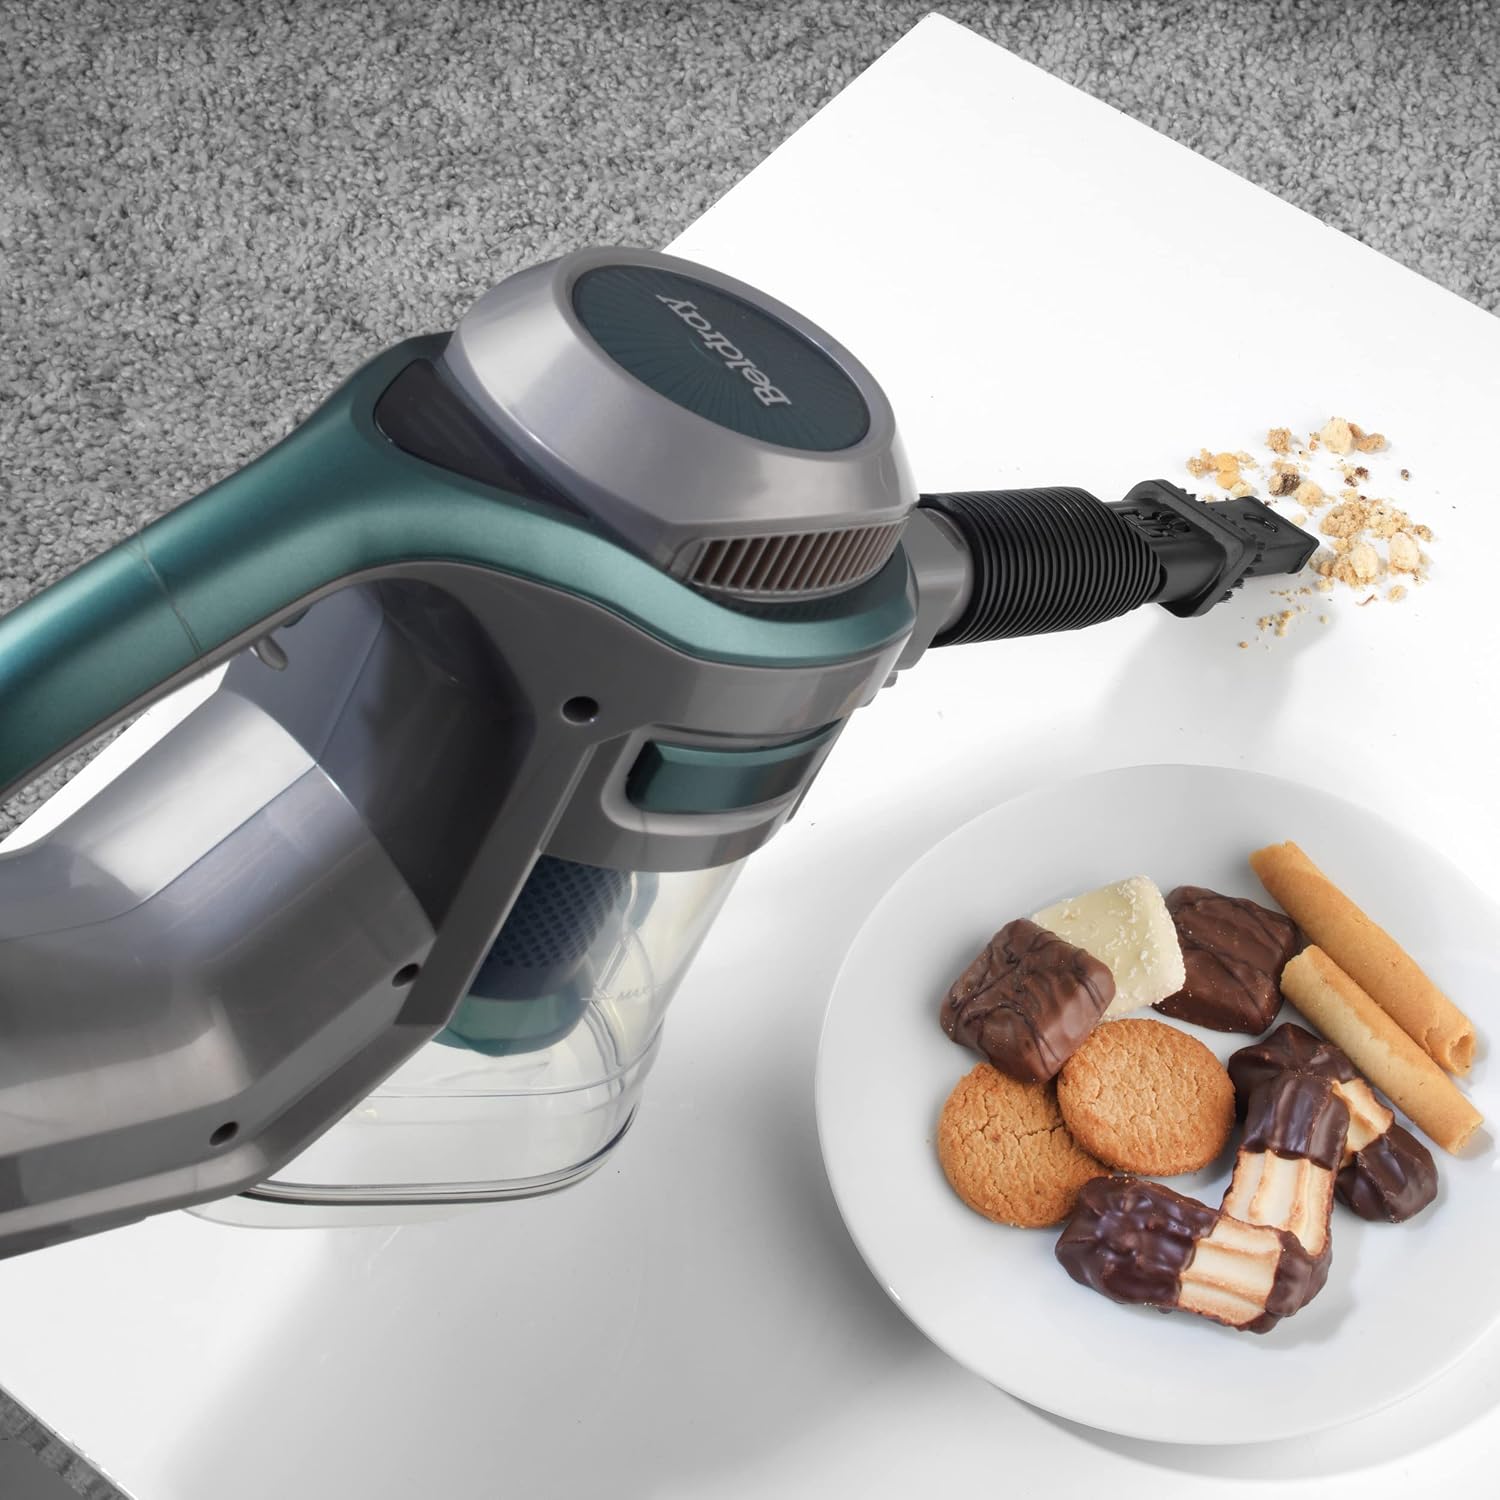
Figure 6: The handheld vacuum unit with the crevice tool effectively cleaning up debris from a flat surface.
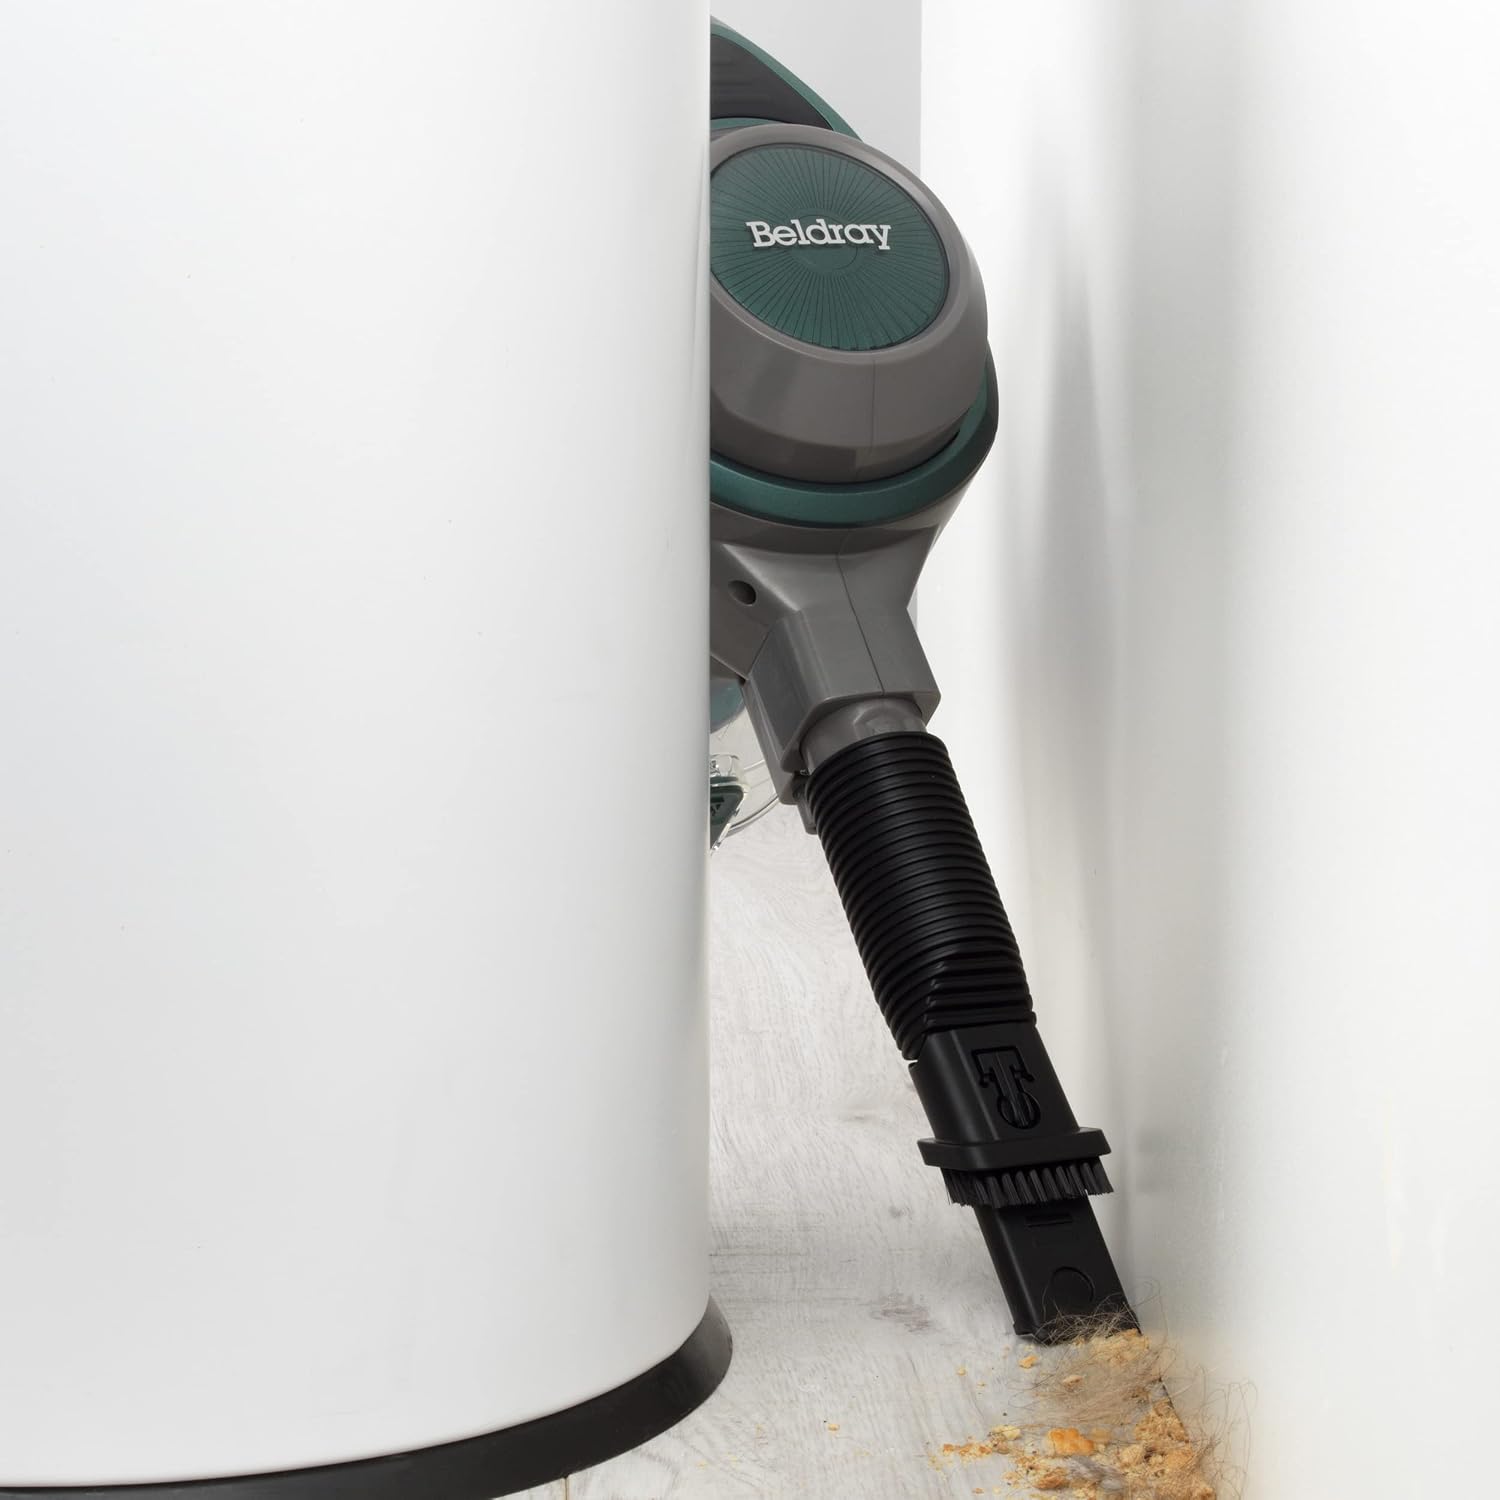
Figure 7: Demonstrating the handheld vacuum with the crevice tool reaching into a narrow space between furniture and a wall.

Figure 8: The handheld unit, extended with the brush tool, being used to clean dust from window blinds.
Maintenance
Regular maintenance ensures optimal performance and extends the life of your vacuum cleaner.
1. Emptying the Dust Container
Empty the dust container regularly, especially when it reaches the 'MAX' fill line.
- Ensure the vacuum is turned off and disconnected from the charger.
- Press the dustbin release button to detach the dust container from the main unit.
- Position the dust container over a waste bin.
- Open the bottom flap of the dust container to release collected debris.
- Close the flap and reattach the dust container to the main unit, ensuring it clicks securely.

Figure 9: Illustrates the process of detaching and emptying the transparent dust container from the handheld vacuum unit.
2. Cleaning the Filters
The vacuum uses a cloth filter. Clean the filter regularly to maintain suction power.
- With the dust container detached, carefully remove the filter assembly.
- Tap the filter gently over a waste bin to remove loose dust.
- If necessary, rinse the filter under cold running water. Ensure it is completely dry before reinserting.
- Reassemble the filter and dust container, then reattach to the main unit.
Caution: Do not use detergents or hot water to clean the filter. Ensure the filter is completely dry before re-use to prevent damage to the motor.
3. Cleaning the Motorised Floor Brush
Periodically check the brush bar for tangled hair or debris.
- Turn off the vacuum and detach the floor brush from the extension tube.
- Locate the release mechanism for the brush bar (refer to product diagrams if available).
- Remove the brush bar and carefully cut away any tangled hair or fibers using scissors.
- Clean any debris from the brush bar housing.
- Reinsert the brush bar and secure it in place.
Troubleshooting
Refer to this section for common issues and their solutions.
| Problem | Possible Cause | Solution |
|---|---|---|
| Vacuum does not turn on. | Battery is depleted. | Charge the battery for 5 hours. |
| Charger not properly connected. | Ensure charger is securely plugged into the vacuum and power outlet. | |
| Reduced suction power. | Dust container is full. | Empty the dust container. |
| Filter is clogged. | Clean or replace the filter. Ensure it is dry before re-use. | |
| Obstruction in nozzle, tube, or brush bar. | Turn off and unplug the vacuum. Remove any blockages. | |
| Brush bar not rotating. | Hair or debris tangled in brush bar. | Clean the brush bar as per maintenance instructions. |
| Floor brush not properly attached. | Ensure the floor brush is securely clicked into place. |
Specifications
| Feature | Detail |
|---|---|
| Model Number | BEL01469LDL |
| Voltage | 22.2 V |
| Power / Wattage | 100 W |
| Battery Charge Time | Approx. 5 hours |
| Operating Time | Up to 40 minutes |
| Dust Container Capacity | 1.2 Liters |
| Number of Speeds | 2 |
| Noise Level | 80 dB |
| Product Dimensions | 21 x 25 x 115 cm |
| Item Weight | 3.38 kg |
| Filter Type | Cloth |
| Special Features | Cordless, Lightweight, LED Lights, 2-in-1 Functionality |
Warranty and Support
For warranty information, technical support, or to purchase replacement parts, please refer to the official Beldray website or contact their customer service department.
Please retain your proof of purchase for warranty claims.
Related documentsBEL01469LDL


Ask a question about this manual
Ask about setup, troubleshooting, compatibility, parts, safety, or missing instructions. Manuals+ will review the question and use this page’s manual context to help answer it.