
1. Important Safety Information
Please read this manual carefully before assembly and use. Keep this manual for future reference.
- Weight Capacity: Do not exceed the maximum load capacity of 5 kg (11 lbs) per stand. Overloading can cause instability and potential injury.
- Stable Surface: Always place the speaker stands on a flat, stable, and level surface to prevent tipping.
- Assembly: Ensure all components are securely fastened according to the instructions. Loose parts can lead to instability.
- Children and Pets: Keep children and pets away from the stands during assembly and ensure they cannot climb on or play with the assembled stands.
- Cable Management: Properly route all cables to prevent tripping hazards.
2. Package Contents
Verify that all components are present and undamaged before beginning assembly. If any parts are missing or damaged, please contact customer support.
- 2 x Speaker Stands (Base, Pole, Speaker Plate)
- Assembly Hardware Kit (screws, washers, nuts)
- Adjustable Feet (Carpet Spikes, Rubber Pads)
- Instruction Manual
3. Product Features
- Height Adjustment: Tool-free height adjustment from 82.6 cm (32.5 inches) to 107.8 cm (42.5 inches).
- Weight Capacity: Supports satellite speakers up to 5 kg (11 lbs) each.
- Speaker Compatibility: Designed for speakers with a mounting hole height up to 31 cm (12.2 inches) and various mounting hole patterns.
- Cable Management: Integrated cable management hole (22mm W x 42mm H) within the pole to conceal speaker wires.
- Adjustable Feet: Includes interchangeable carpet spikes and rubber pads for stability on various floor types.
4. Setup and Assembly
Follow these steps to assemble your speaker stands and attach your speakers.
4.1 Assemble the Stand Base and Pole
- Attach the main pole to the base using the provided screws and tools. Ensure it is securely tightened.
- Insert the adjustable feet (carpet spikes or rubber pads) into the base. Choose the appropriate feet for your floor type.

Figure 1: Adjustable Feet for Anti-Wobble. Choose between nails for carpet or rubber feet for wood, cement, or tile floors to ensure maximum stability.
4.2 Attach Your Speakers
The stands offer three installation options to maximize compatibility with various speaker designs.

Figure 2: Speaker Compatibility. The stands are designed to fit most speakers, with an adjustable L-shaped adapter for speakers between 4.1 cm and 31 cm in height.

Figure 3: Three Installation Options. The stands provide versatile mounting solutions for speakers with different hole patterns or no mounting holes.
- Option 1 (Single Rear Hole): If your speaker has a single mounting hole on the back, align it with the stand's adapter and secure it with the appropriate screw.
- Option 2 (Two Rear Holes): For speakers with two mounting holes, use the L-shaped adapter to secure the speaker.
- Option 3 (No Holes/Bottom Mount): If your speaker has no mounting holes or mounts from the bottom, place it on the speaker plate and secure it using the provided screws from the bottom.
4.3 Cable Management
Route your speaker cables through the integrated cable management hole in the stand's pole for a clean and organized setup.

Figure 4: Large Hole for Easy Cable Management. The stand features a spacious opening (22mm W x 42mm H) to easily route and conceal speaker cables.
5. Operation
5.1 Adjusting Stand Height
The speaker stands feature tool-free height adjustment.
- Loosen the height adjustment knob or lever on the pole.
- Carefully slide the upper pole section to your desired height (between 82.6 cm and 107.8 cm).
- Tighten the knob or lever securely to lock the height in place.

Figure 5: Tool-Free Height Adjustment. The stand can be easily adjusted from 82.6 cm to 107.8 cm to achieve optimal listening height.
5.2 Optimal Speaker Positioning
Position your speakers at an optimal height for the best audio experience. Generally, tweeters should be at ear level when seated.
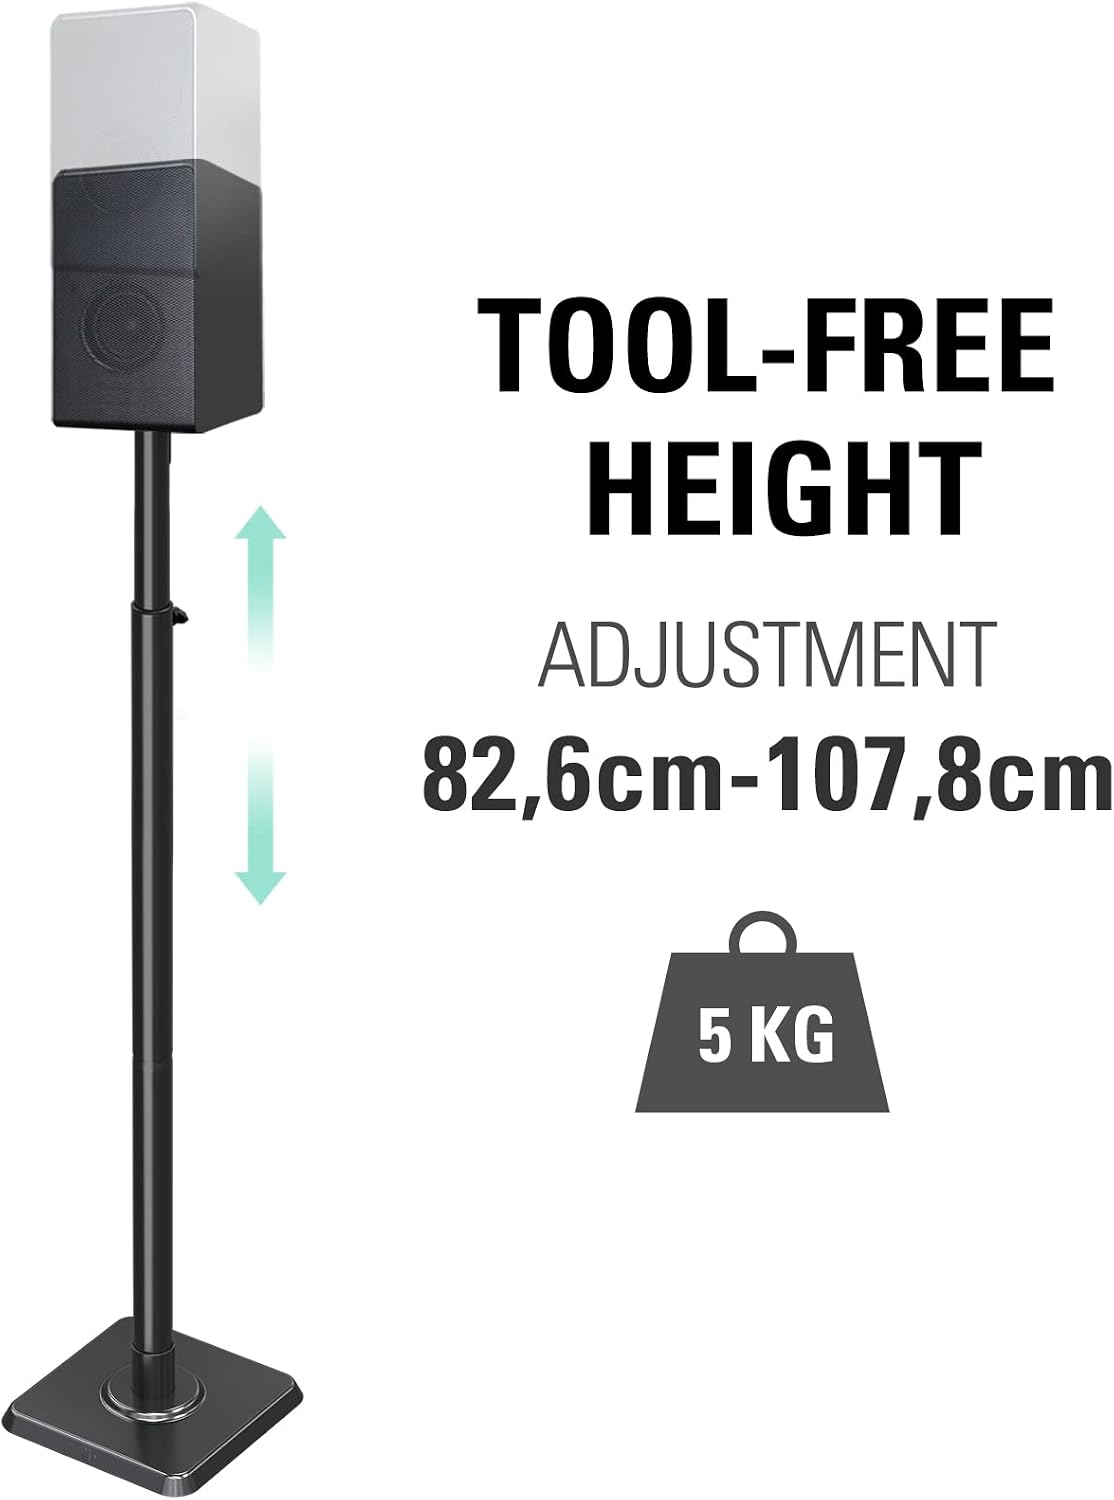
Figure 6: Optimal Speaker Positioning. Adjust the stand height to ensure your speakers are at the ideal listening level for an enhanced audio experience.
6. Maintenance
Regular maintenance helps ensure the longevity and performance of your speaker stands.
- Cleaning: Wipe the stands with a soft, dry cloth to remove dust. For stubborn marks, use a slightly damp cloth and mild detergent, then dry thoroughly. Avoid abrasive cleaners.
- Check Connections: Periodically check all screws and fasteners to ensure they remain tight. Retighten if necessary.
- Inspect for Damage: Regularly inspect the stands for any signs of wear, damage, or corrosion. If damage is found, discontinue use and contact support.
7. Troubleshooting
If you encounter any issues with your speaker stands, refer to the following common solutions.
- Stand is Wobbling:
- Ensure the stand is placed on a flat, level surface.
- Verify that all assembly screws are securely tightened.
- Adjust the feet (carpet spikes or rubber pads) to compensate for uneven floors.
- Speaker Does Not Fit:
- Check your speaker's weight against the 5 kg (11 lbs) maximum capacity.
- Review the three installation options (Section 4.2) to ensure you are using the correct method for your speaker's mounting holes or lack thereof.
- Confirm your speaker's dimensions are within the compatible range (e.g., mounting hole height up to 31 cm).
- Cables are Visible/Untidy:
- Ensure all cables are routed through the designated cable management hole in the stand pole (Section 4.3).
- Use cable ties or clips if necessary to secure excess cable length.
8. Specifications
| Feature | Specification |
|---|---|
| Brand | Mounting Dream |
| Model | B0BN3Z88T7 |
| Color | Black |
| Item Weight (per stand) | Approx. 2.88 kg (5.76 kg for 2 stands) |
| Finish Type | Polished |
| Load Capacity (per stand) | 5 kg (11 lbs) |
| Number of Items | 2 |
| Maximum Height | 107.8 cm (42.5 inches) |
| Minimum Height | 82.6 cm (32.5 inches) |
| Cable Management Hole | 22mm (W) x 42mm (H) |
| Speaker Mounting Hole Height | Up to 31 cm (12.2 inches) |
| Fit Type | Universal Fit |
9. Warranty and Support
Mounting Dream provides a 2-year warranty for these speaker stands, covering defects in materials and workmanship under normal use.
For technical support, warranty claims, or any questions regarding your product, please contact Mounting Dream customer service through the retailer where you purchased the product or visit the official Mounting Dream website for contact information.
Manufacturer: Shenzhen Xinadda Ir-Pi Products Co.,Ltd