Introduction
This manual provides essential information for the proper setup, operation, and maintenance of your Pro-Ject X2 B Balanced Turntable. Designed for high-fidelity audio reproduction, the X2 B features a balanced output, a carbon fiber tonearm, and a pre-mounted Ortofon Quintet Red MC cartridge. Please read these instructions carefully before using your turntable to ensure optimal performance and longevity.
Safety Instructions
- Always disconnect the turntable from the power supply before cleaning or maintenance.
- Keep the turntable away from direct sunlight, heat sources, and moisture.
- Place the turntable on a stable, level surface to prevent vibrations and ensure proper operation.
- Do not attempt to disassemble or repair the unit yourself. Refer all servicing to qualified personnel.
- Avoid touching the stylus with your fingers to prevent damage.
Package Contents
Verify that all items are present in the package:
- Pro-Ject X2 B Turntable Unit
- Aluminum Platter
- Drive Belt
- Counterweight
- Ortofon Quintet Red MC Cartridge (pre-mounted)
- Dust Cover with Hinges
- Power Supply
- RCA Audio Cables
- Mini-XLR to XLR Cable (for balanced output)
- Felt Mat
- User Manual
Setup
1. Unpacking and Placement
Carefully remove all components from the packaging. Place the turntable on a flat, stable surface away from speakers to minimize vibrations. Ensure adequate space for the dust cover to open fully.
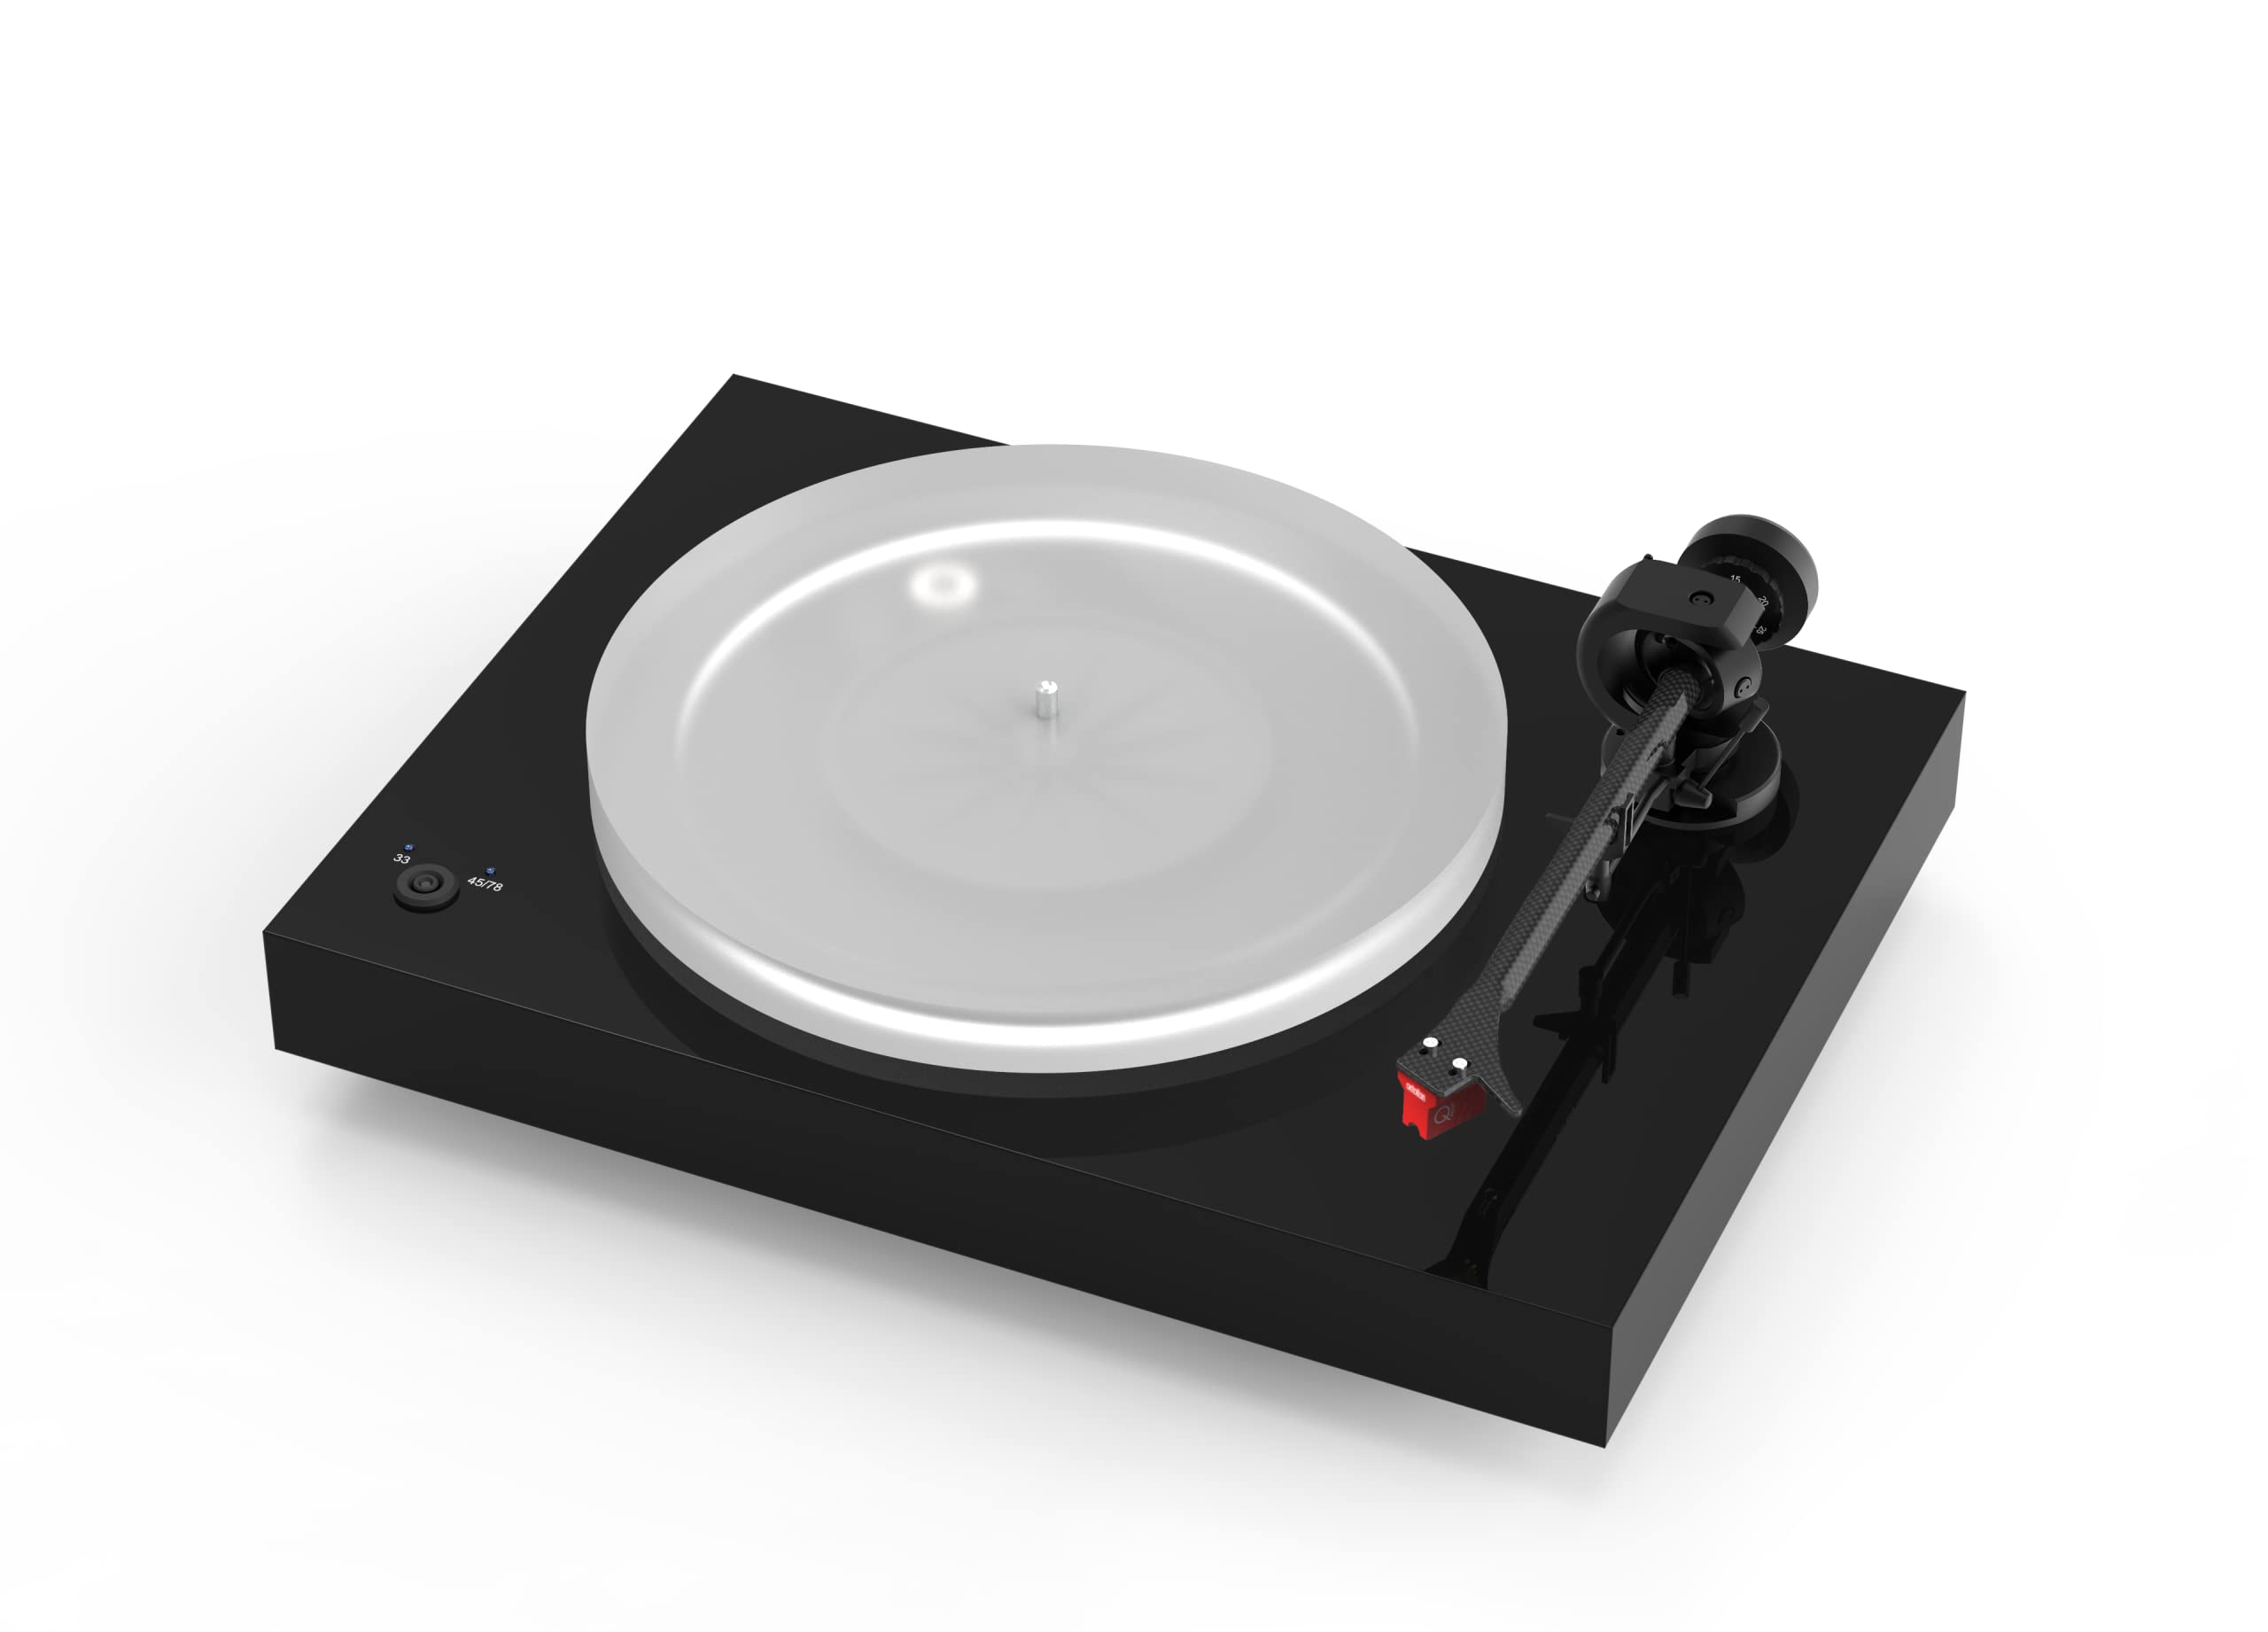
Image: The Pro-Ject X2 B Turntable in Gloss Black, showcasing its sleek design and components.
2. Platter and Drive Belt Installation
Gently place the heavy aluminum platter onto the spindle. Locate the drive belt and carefully stretch it around the motor pulley and the inner rim of the platter. Rotate the platter a few times manually to ensure the belt is seated correctly.

Image: A detailed view of the turntable's drive belt connecting the motor pulley to the platter, ensuring smooth rotation.
3. Tonearm and Cartridge
The Pro-Ject X2 B features a carbon fiber tonearm with an Ortofon Quintet Red MC cartridge pre-mounted. This cartridge is factory-aligned for convenience. The tonearm also offers adjustable VTA (Vertical Tracking Angle) and azimuth for fine-tuning, allowing for future cartridge upgrades and optimal performance.

Image: A close-up of the robust carbon fiber tonearm, highlighting its construction and precision engineering.

Image: The pre-mounted Ortofon Quintet Red MC cartridge, ready for high-quality audio playback.
4. Counterweight Adjustment
Carefully slide the counterweight onto the rear of the tonearm. Adjust it according to the cartridge's recommended tracking force (refer to Ortofon Quintet Red specifications or the quick start guide for precise values). This ensures proper stylus pressure on your records.
5. Dust Cover Installation
Attach the hinges to the dust cover and then secure the dust cover to the turntable chassis. The dust cover protects your turntable from dust and debris when not in use.
6. Audio Connections
The X2 B offers versatile connectivity with both RCA and mini-XLR outputs. Choose the appropriate connection for your audio system.
- RCA Connection: Connect the supplied RCA cables from the turntable's RCA outputs to an available phono input on your amplifier or receiver. If your amplifier does not have a phono input, you will need an external phono preamplifier.
- Balanced Mini-XLR Connection: For optimal sound quality and reduced noise, use the supplied mini-XLR to XLR cable to connect the turntable's mini-XLR output to a balanced XLR input on a compatible phono preamplifier or amplifier.
- Grounding: Connect the grounding wire from the turntable to the ground terminal on your amplifier or phono preamplifier to minimize hum.

Image: The rear panel of the turntable, displaying the RCA and mini-XLR audio output options for flexible connectivity.
Operating Instructions
1. Power On/Off and Speed Selection
Connect the power supply to the turntable and a wall outlet. The X2 B features electronic speed control. Use the selector button on the plinth to switch between 33, 45, and 78 RPM speeds. The selected speed will be indicated by an LED.

Image: The speed selector button on the turntable's plinth, allowing easy switching between 33, 45, and 78 RPM.
2. Playing a Record
- Place a record on the platter.
- Select the correct playback speed (33, 45, or 78 RPM) using the speed selector.
- Gently lift the tonearm using the cueing lever.
- Position the tonearm over the desired track on the record.
- Slowly lower the cueing lever to allow the stylus to descend onto the record groove.
- At the end of the record, lift the tonearm using the cueing lever and return it to the tonearm rest.
Maintenance
- Cleaning: Use a soft, lint-free cloth to clean the turntable chassis and dust cover. For the platter, use a specialized record cleaning brush.
- Stylus Care: Regularly clean the stylus using a soft brush designed for stylus cleaning, brushing from back to front. Replace the stylus when worn to maintain sound quality and prevent record damage.
- Belt Replacement: The drive belt may need replacement after extended use. Refer to the manufacturer's guidelines for replacement intervals.
Troubleshooting
If you encounter issues, consult the following common solutions:
- No Sound: Check all cable connections (RCA/XLR, grounding, power). Ensure the correct input is selected on your amplifier. Verify the stylus is properly seated.
- Distorted Sound: Check tracking force and anti-skating settings. Ensure the stylus is clean and not worn. Verify the record is clean and free of debris.
- Speed Issues: Ensure the drive belt is correctly installed and not stretched or damaged. Verify the correct speed (33/45/78 RPM) is selected.
- Humming Noise: Ensure the grounding wire is securely connected. Check for interference from other electronic devices.
Specifications
| Feature | Detail |
|---|---|
| Product Dimensions | 18.11 x 13.39 x 5.91 inches |
| Item Weight | 22 pounds (10 Kilograms) |
| Brand | Pro-Ject |
| Model Name | X2 B |
| Color | Gloss Black |
| Material | Acrylic, Aluminum, Carbon, Engineered Wood, Stainless Steel |
| Maximum Rotational Speed | 78 RPM |
| Special Features | Azimuth Adjustment, Electronic Speed Control, TPE-damped Counterweight, True Balanced Connection, VTA Adjustment |
| Power Consumption | 5 Watts |
Official Product Videos
Watch these official videos for additional guidance on setting up and understanding your Pro-Ject turntable.
Pro-Ject Debut Evo 2 Introduction
Video: An introductory overview of the Pro-Ject Debut Evo 2 turntable, showcasing its design and key features. While not the exact X2 B model, it provides relevant insights into Pro-Ject's turntable philosophy and general operation.
Warranty and Support
Your Pro-Ject X2 B Balanced Turntable is covered by a manufacturer's warranty. Please refer to the warranty card included in your package for specific terms and conditions. For technical support, service, or further inquiries, please visit the official Pro-Ject Audio Systems website or contact your authorized dealer.


