1. Introduction
This manual provides comprehensive instructions for the assembly, operation, and maintenance of your VOUNOT Greenhouse (Model: 6841231867927, 143x143x195 cm). Designed to protect and foster the growth of your plants, this mini greenhouse features a robust structure, a protective cover, and convenient access points. Please read these instructions carefully before assembly and use to ensure proper function and longevity of the product.
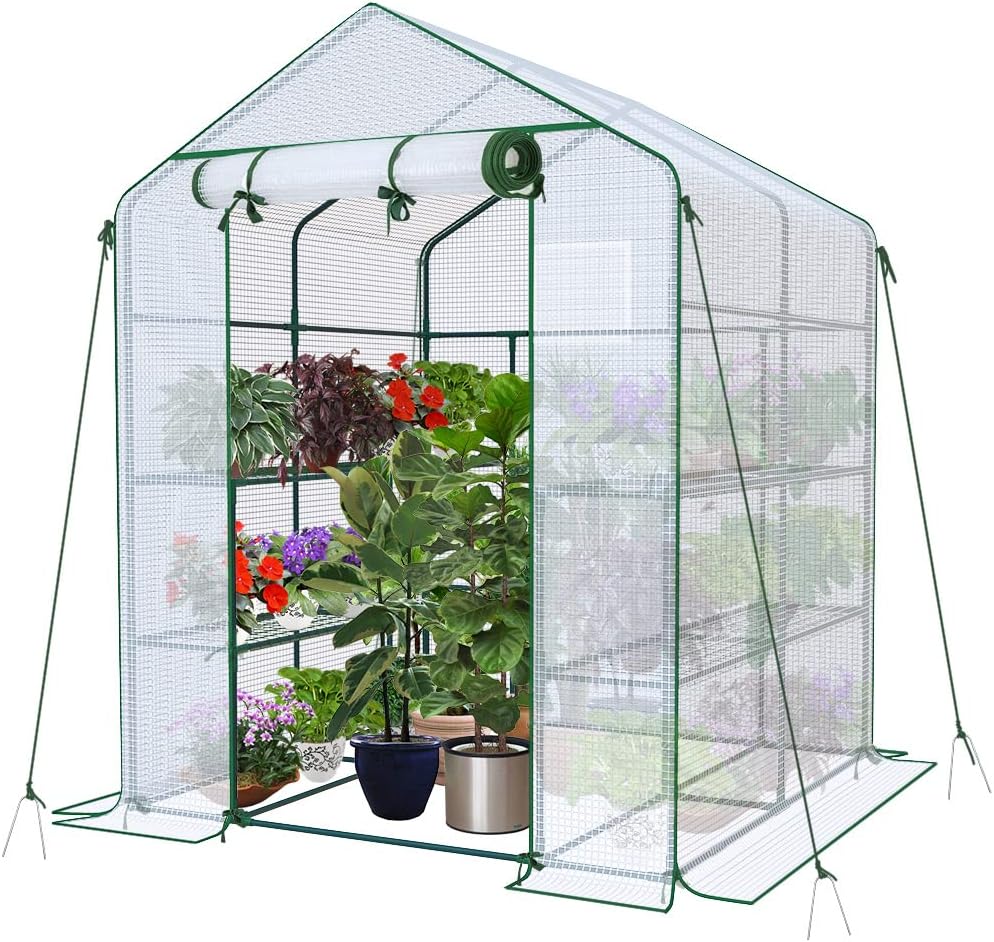
Image 1.1: Fully assembled VOUNOT Greenhouse, showcasing its design and capacity for plants.
2. Safety Information
- Handle all parts with care during unpacking and assembly to avoid injury.
- Be aware of sharp edges on metal components. Wear protective gloves if necessary.
- Ensure the greenhouse is installed on a level and stable surface.
- Properly secure the greenhouse to the ground using the provided fixing materials to prevent it from being overturned by wind.
- Do not overload the shelves. Each shelf has a maximum load capacity of 10 kg.
- Keep children and pets away from the assembly area.
3. Package Contents
Before beginning assembly, verify that all components are present and undamaged. Refer to the diagram below for identification of parts.

Image 3.1: Diagram showing all components included in the package, with dimensions and quantities.
- Steel Alloy Frame Components (various lengths and connectors)
- 1 x High-Density Polyethylene (HDPE) Cover (135 g/m²)
- 8 x Metal Grid Shelves
- 4 x Ropes for securing
- 4 x Ground Nails/Stakes
- 32 x Cable Ties
4. Setup and Assembly Instructions
Assembly of the VOUNOT Greenhouse is designed to be quick and tool-free, utilizing a plug-in system. It is recommended to assemble the greenhouse with at least two people.
4.1 Frame Assembly
- Identify all frame components and connectors.
- Begin by assembling the base frame, connecting the horizontal and vertical pipes using the plastic connectors. Ensure all connections are firm.
- Continue building the vertical structure and roof frame, following the diagram provided in Image 3.1.
- Once the main frame is complete, install the 8 metal grid shelves by placing them onto the designated support bars. Secure them with the provided cable ties if necessary for added stability.

Image 4.1: Detail of a metal shelf and a frame connection, illustrating the plug-in system.
4.2 Cover Installation
- Carefully drape the HDPE cover over the assembled frame, ensuring it is centered and aligned.
- Pull the cover down over the frame, making sure the roll-up door is positioned correctly at the front.
- The extended edges of the cover should be buried in the ground or weighed down with sandbags or heavy objects to reinforce stability and prevent wind from lifting the greenhouse.
4.3 Securing the Greenhouse
For optimal stability, especially in windy conditions, it is crucial to properly secure the greenhouse.
- Use the provided ropes and ground nails to anchor the greenhouse to the soil. Attach the ropes to the designated loops on the cover and secure them with the ground nails.
- As mentioned, burying the extended edges of the cover or placing heavy objects on them will significantly improve stability.
Image 4.2: Illustration of securing methods, including ground stakes and weighing down the cover edges.
5. Operating Instructions
5.1 Environmental Control
The greenhouse cover is made from 135 g/m² high-density polyethylene, offering 100% waterproofing and excellent UV protection. This material allows sufficient sunlight penetration while shielding plants from cold, mild wind, light rain, and birds, promoting optimal growth.

Image 5.1: Visual representation of the greenhouse cover's waterproof and UV protection features.
5.2 Ventilation and Access
The greenhouse features a roll-up door with a zipper and a rear observation window with a mosquito net. These elements allow for regulation of external airflow, maintaining warmth for plants, and providing better air circulation.
- Roll-Up Door: Unzip the door and roll it up, securing it with the ties at the top for easy access and increased ventilation.
- Observation Window: The rear window can be opened to allow for cross-ventilation and to observe plants without fully opening the main door. The mosquito net prevents pests from entering.

Image 5.2: The roll-up door and rear observation window, highlighting ventilation features.
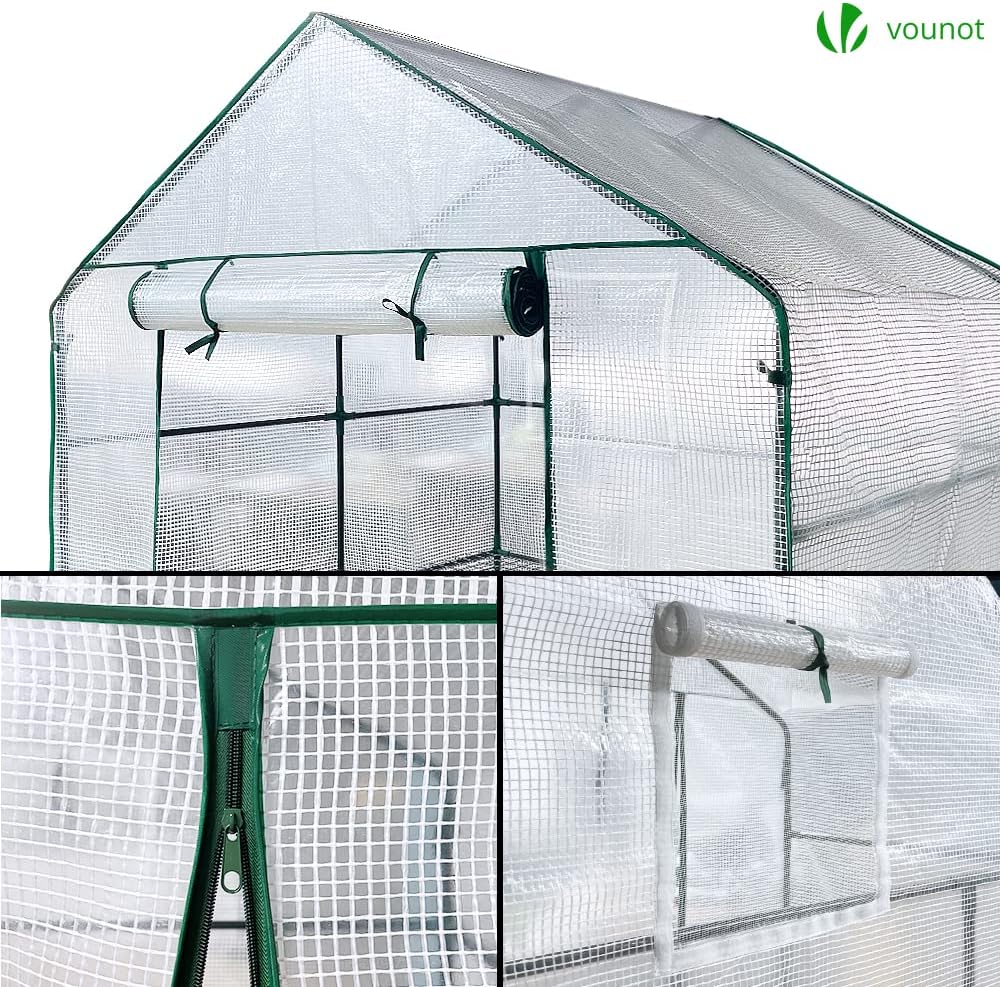
Image 5.3: Detail of the roll-up door's zipper and the ties used to secure it when open.
6. Maintenance
- Cleaning: Periodically clean the greenhouse cover with a soft cloth and mild soapy water to remove dirt and debris, ensuring maximum light penetration. Avoid abrasive cleaners.
- Inspection: Regularly inspect the frame for any signs of damage or loose connections. Tighten any loose parts. Check the cover for tears or holes and repair them promptly to maintain protection.
- Stability Check: After strong winds or heavy rain, check the ground nails and ropes to ensure the greenhouse remains securely anchored. Re-bury or add weight to the cover edges if necessary.
- Seasonal Storage: If disassembling for seasonal storage, clean all components thoroughly and store them in a dry, protected area to prolong their lifespan.
7. Troubleshooting
- Greenhouse Instability: If the greenhouse feels unstable, ensure all frame connections are secure. Verify that the extended edges of the cover are properly buried or weighted down, and that the ropes and ground nails are firmly in place. Consider adding additional weights (e.g., sandbags) to the base.
- Poor Air Circulation/High Humidity: Utilize the roll-up door and the rear observation window to increase ventilation. Adjust opening times based on external temperature and humidity levels to prevent excessive condensation and promote healthy plant growth.
- Water Accumulation on Cover: Ensure the cover is tautly stretched over the frame to prevent water from pooling, which can cause sagging or damage.
8. Specifications
| Feature | Specification |
|---|---|
| Brand | VOUNOT |
| Model Number | 6841231867927 |
| Dimensions (L x W x H) | 143 x 143 x 195 cm |
| Weight | 10 kg |
| Frame Material | Steel Alloy |
| Cover Material | High-Density Polyethylene (HDPE), 135 g/m² |
| UV Protection | Yes |
| Waterproof | Yes |
| Number of Shelves | 8 |
| Shelf Load Capacity | Up to 10 kg per shelf |
| Door Type | Roll-up with zipper |
| Ventilation | Rear observation window with mosquito net |
| Assembly | Tool-free plug-in system |
9. Warranty and Support
For warranty information, product support, or to inquire about replacement parts, please contact VOUNOT customer service through the retailer where the product was purchased. Please retain your proof of purchase for any warranty claims.


