
Introduction
This manual provides detailed instructions for the setup, operation, and maintenance of your Mebus Radio-Controlled Alarm Clock, Model 25809. This device offers precise timekeeping through radio control, an alarm with snooze function, an indoor thermometer, and a calendar display.
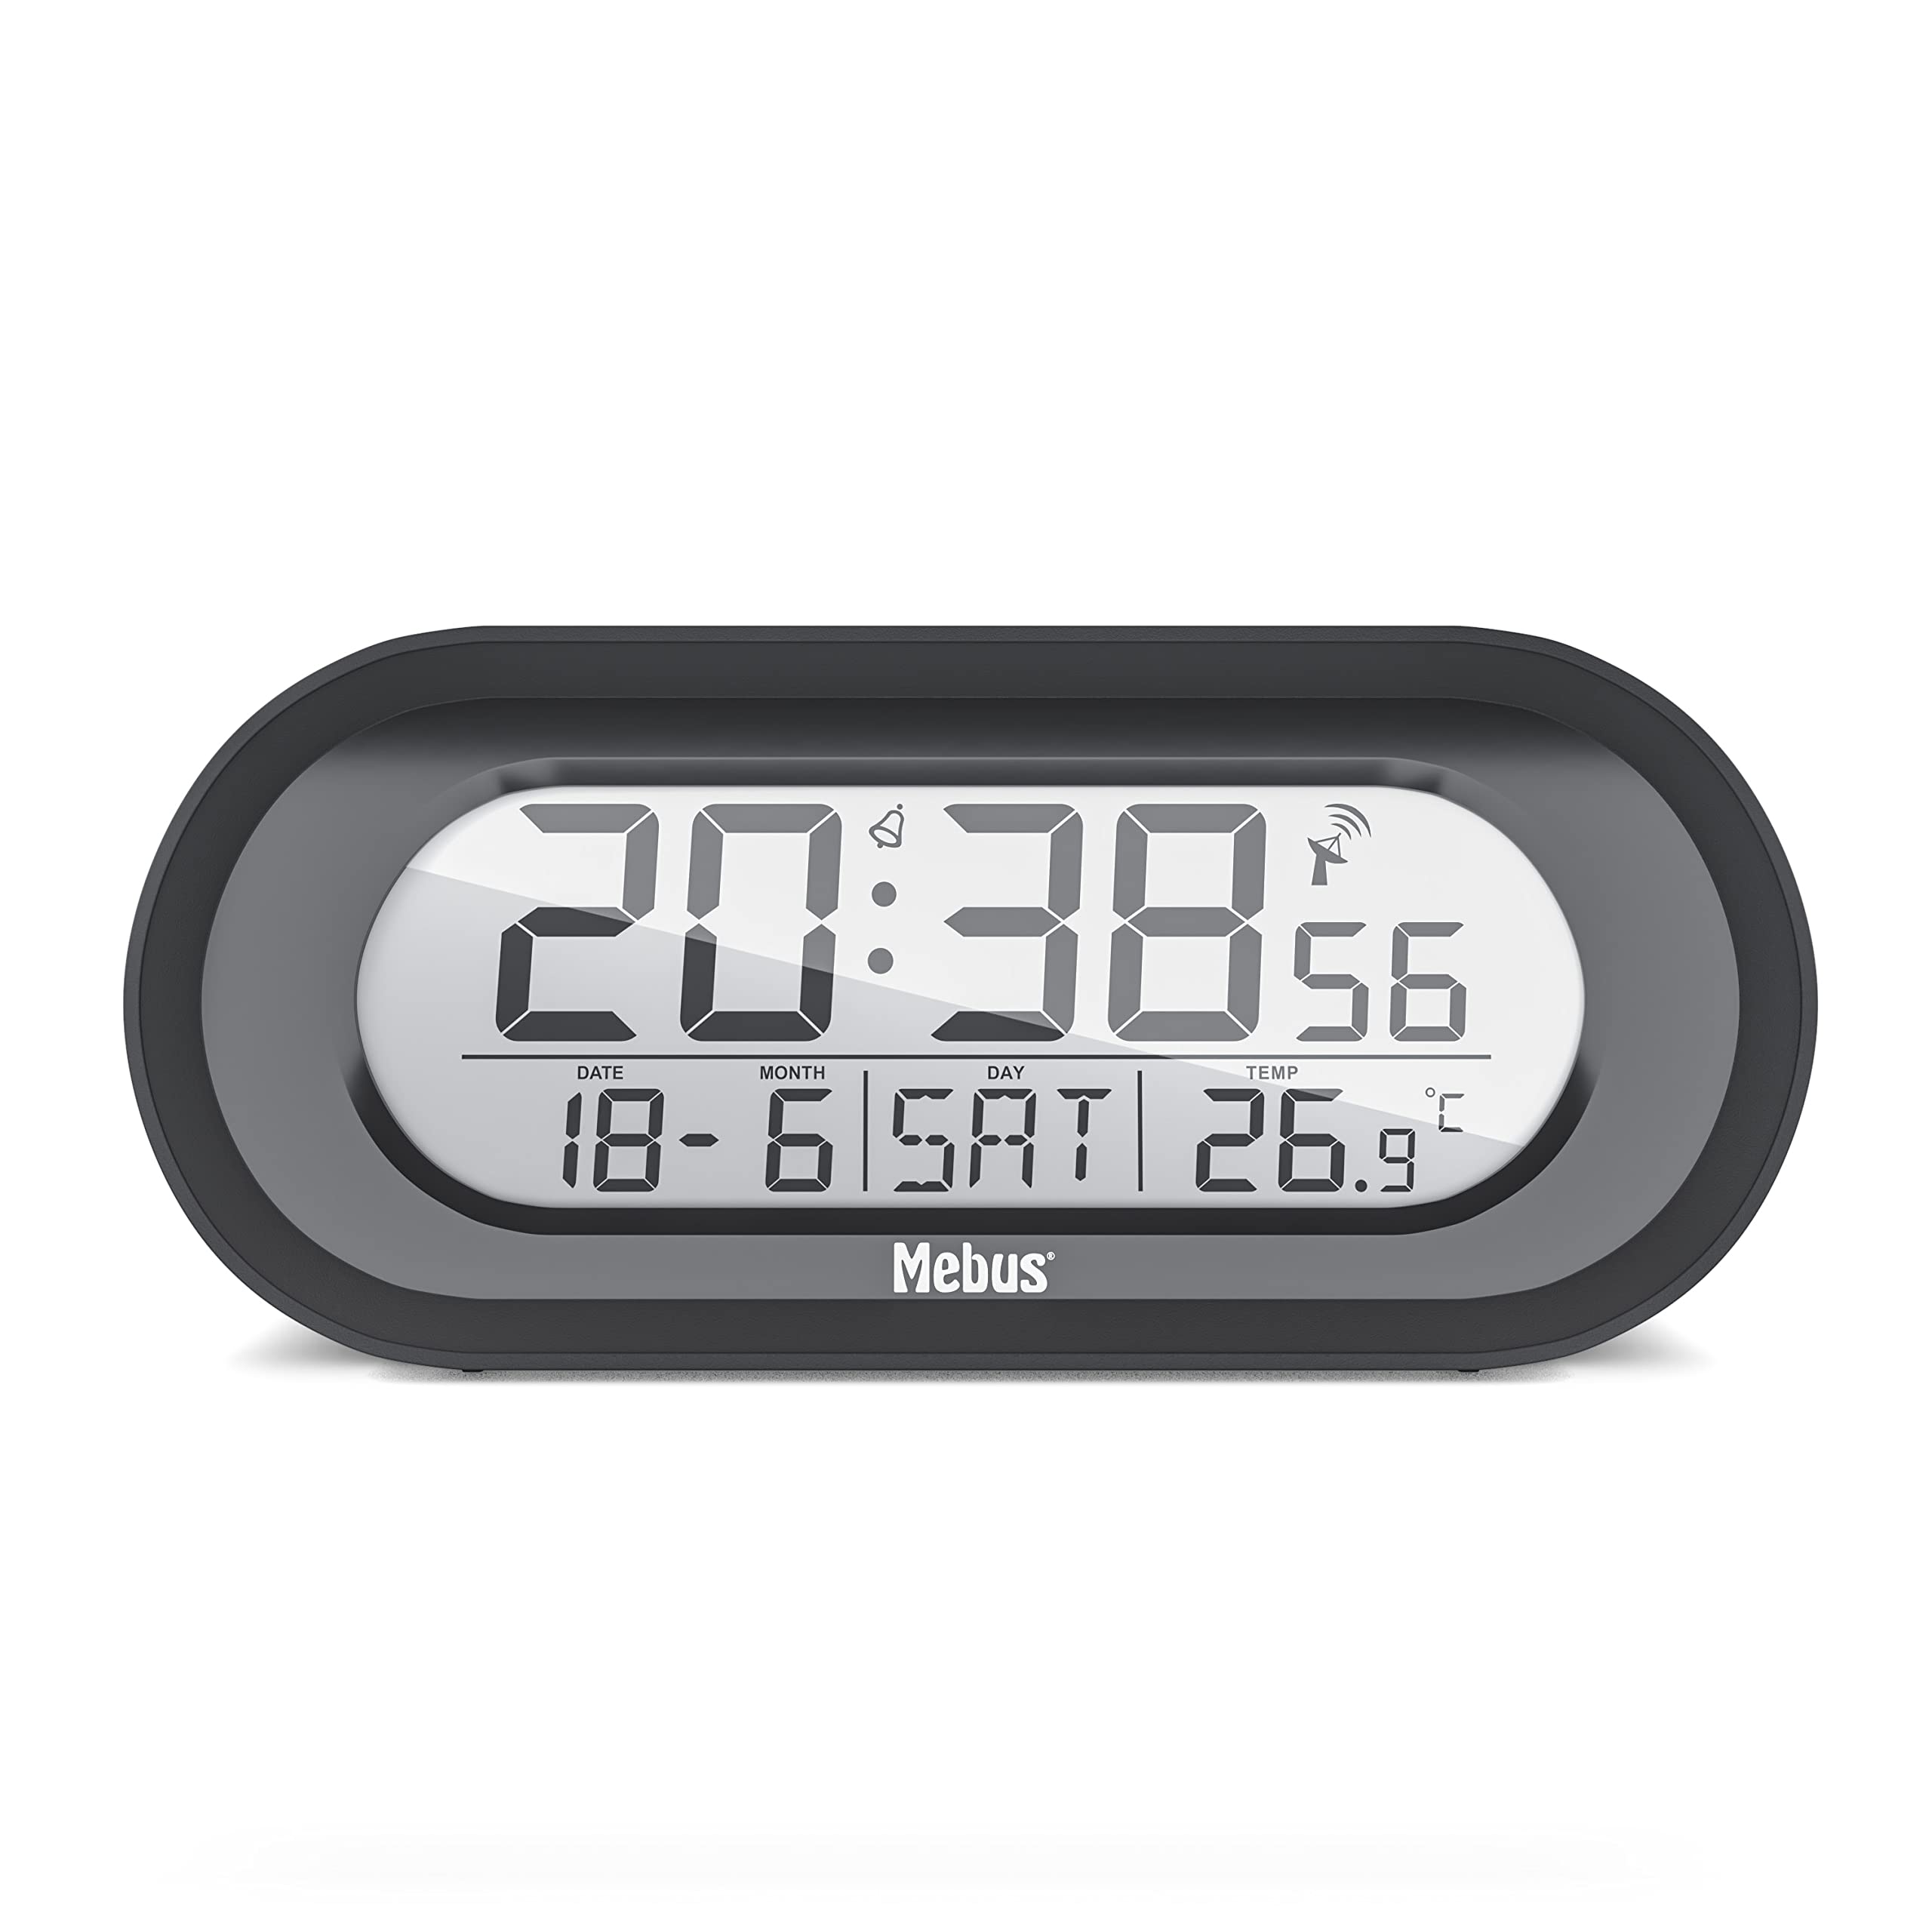
Front view of the Mebus Radio-Controlled Alarm Clock, displaying time, date, and temperature.
Package Contents
Please check that all items are present:
- Mebus Radio-Controlled Alarm Clock (Model 25809)
- Instruction Manual (this document)
Note: 2x AAA batteries are required and are not included in the package.
Setup
1. Battery Installation
- Locate the battery compartment on the back of the alarm clock.
- Open the battery compartment cover.
- Insert two (2) AAA batteries, ensuring correct polarity (+/-).
- Close the battery compartment cover securely.

Rear view of the alarm clock, highlighting the battery compartment and control buttons.
2. Initial Time Synchronization (DCF 77)
Upon battery insertion, the clock will automatically attempt to synchronize with the DCF 77 radio signal. This process may take several minutes. Ensure the clock is placed away from electronic interference for optimal reception.
- The radio signal icon will flash during synchronization.
- Once synchronized, the icon will appear solid, and the correct time, including summer/winter time adjustments, will be displayed.
If the signal is not received, the time can be set manually (see "Manual Time Setting").
Operating Instructions
Display Overview

Detailed view of the digital display, showing time, date, day of week, and indoor temperature.
The display shows the current time, date, day of the week, and indoor temperature. A radio signal icon indicates successful synchronization.
Buttons and Functions

Top view of the alarm clock, illustrating the location of the control buttons for setting and alarm functions.
- SET Button: Enters setting mode for time, date, and other parameters.
- ALARM Button: Activates/deactivates the alarm and enters alarm setting mode.
- UP/DOWN Buttons: Adjust values during setting.
- SNOOZE/LIGHT Button (Top): Activates snooze during an alarm; illuminates the display for approximately 5 seconds.
Manual Time Setting
If radio reception is unavailable or you wish to set the time manually:
- Press and hold the SET button until the time display flashes.
- Use the UP/DOWN buttons to adjust the hour.
- Press SET again to confirm the hour and move to minutes.
- Repeat for minutes, year, month, day, and 12/24 hour format.
- Press SET to exit setting mode.
Time Zone Selection
The clock allows for individual time zone selection:
- In normal time display mode, press the SET button briefly.
- Use the UP/DOWN buttons to adjust the time zone offset (e.g., +1, -2 hours).
- Press SET again to confirm.
Setting the Alarm
- Press and hold the ALARM button until the alarm time flashes.
- Use the UP/DOWN buttons to set the desired alarm hour.
- Press ALARM again to confirm the hour and move to minutes.
- Use the UP/DOWN buttons to set the desired alarm minutes.
- Press ALARM to confirm and exit alarm setting mode.
Activating/Deactivating the Alarm
Briefly press the ALARM button to toggle the alarm on or off. An alarm icon will appear on the display when the alarm is active.
Snooze Function
When the alarm sounds, press the large SNOOZE/LIGHT button on top of the clock. The alarm will pause for a few minutes and then sound again. This can be repeated.
Display Illumination
Press the large SNOOZE/LIGHT button on top of the clock to illuminate the display. The backlight will remain active for approximately 5 seconds, providing clear visibility in low light conditions without being overly bright.

The alarm clock display illuminated in a dark environment, showing clear readability.
Calendar and Day of Week Display
The integrated calendar displays the current date and day of the week. The day of the week can be displayed in 7 different languages. To change the language:
- In normal time display mode, press the SET button repeatedly until the day of the week language setting flashes.
- Use the UP/DOWN buttons to cycle through the available languages.
- Press SET to confirm your selection.
Indoor Thermometer
The clock continuously measures and displays the indoor temperature. You can switch between Celsius (°C) and Fahrenheit (°F) display:
- In normal time display mode, press the DOWN button briefly.
- The temperature unit will switch between °C and °F.
Maintenance
- Cleaning: Wipe the clock with a soft, dry cloth. Do not use abrasive cleaners or solvents.
- Battery Replacement: Replace batteries when the display dims or functions become unreliable. Always replace both AAA batteries simultaneously.
- Storage: If storing the clock for an extended period, remove the batteries to prevent leakage.
Troubleshooting
| Problem | Possible Cause | Solution |
|---|---|---|
| Display is blank or dim. | Batteries are low or incorrectly inserted. | Replace batteries with new AAA batteries, ensuring correct polarity. |
| Clock does not synchronize with radio signal. | Poor signal reception due to location or interference. | Move the clock to a different location, away from electronic devices or metal objects. Try manual time setting. |
| Alarm does not sound. | Alarm is not activated or volume is too low (if adjustable). | Ensure the alarm icon is displayed. |
| Incorrect temperature reading. | Clock exposed to direct sunlight or heat source. | Relocate the clock to an area with stable ambient temperature. |
Specifications
| Brand | Mebus |
| Model Number | 25809 |
| Color | Black |
| Dimensions (L x W x H) | 14.9 x 3.81 x 6.4 cm |
| Weight | 125 grams |
| Material | Plastic |
| Power Source | Battery powered (2x AAA, not included) |
| Display Type | Digital |
| Special Features | Temperature display, Alarm, Illuminated display, Snooze function, Radio-controlled (DCF 77), Calendar (7 languages), Time zone selection |
| Indoor/Outdoor Use | Indoor |
Warranty and Support
Information regarding warranty and spare parts availability is not provided in the product details. For support or warranty inquiries, please contact your retailer or the manufacturer directly.