Product Overview
This manual provides detailed instructions for the SRJTEK LCD Display Touch Screen Digitizer Replacement Assembly, specifically designed for Oukitel WP19 and Oukitel WP17 mobile phones. This high-quality replacement part is intended to restore full display and touch functionality to your device.
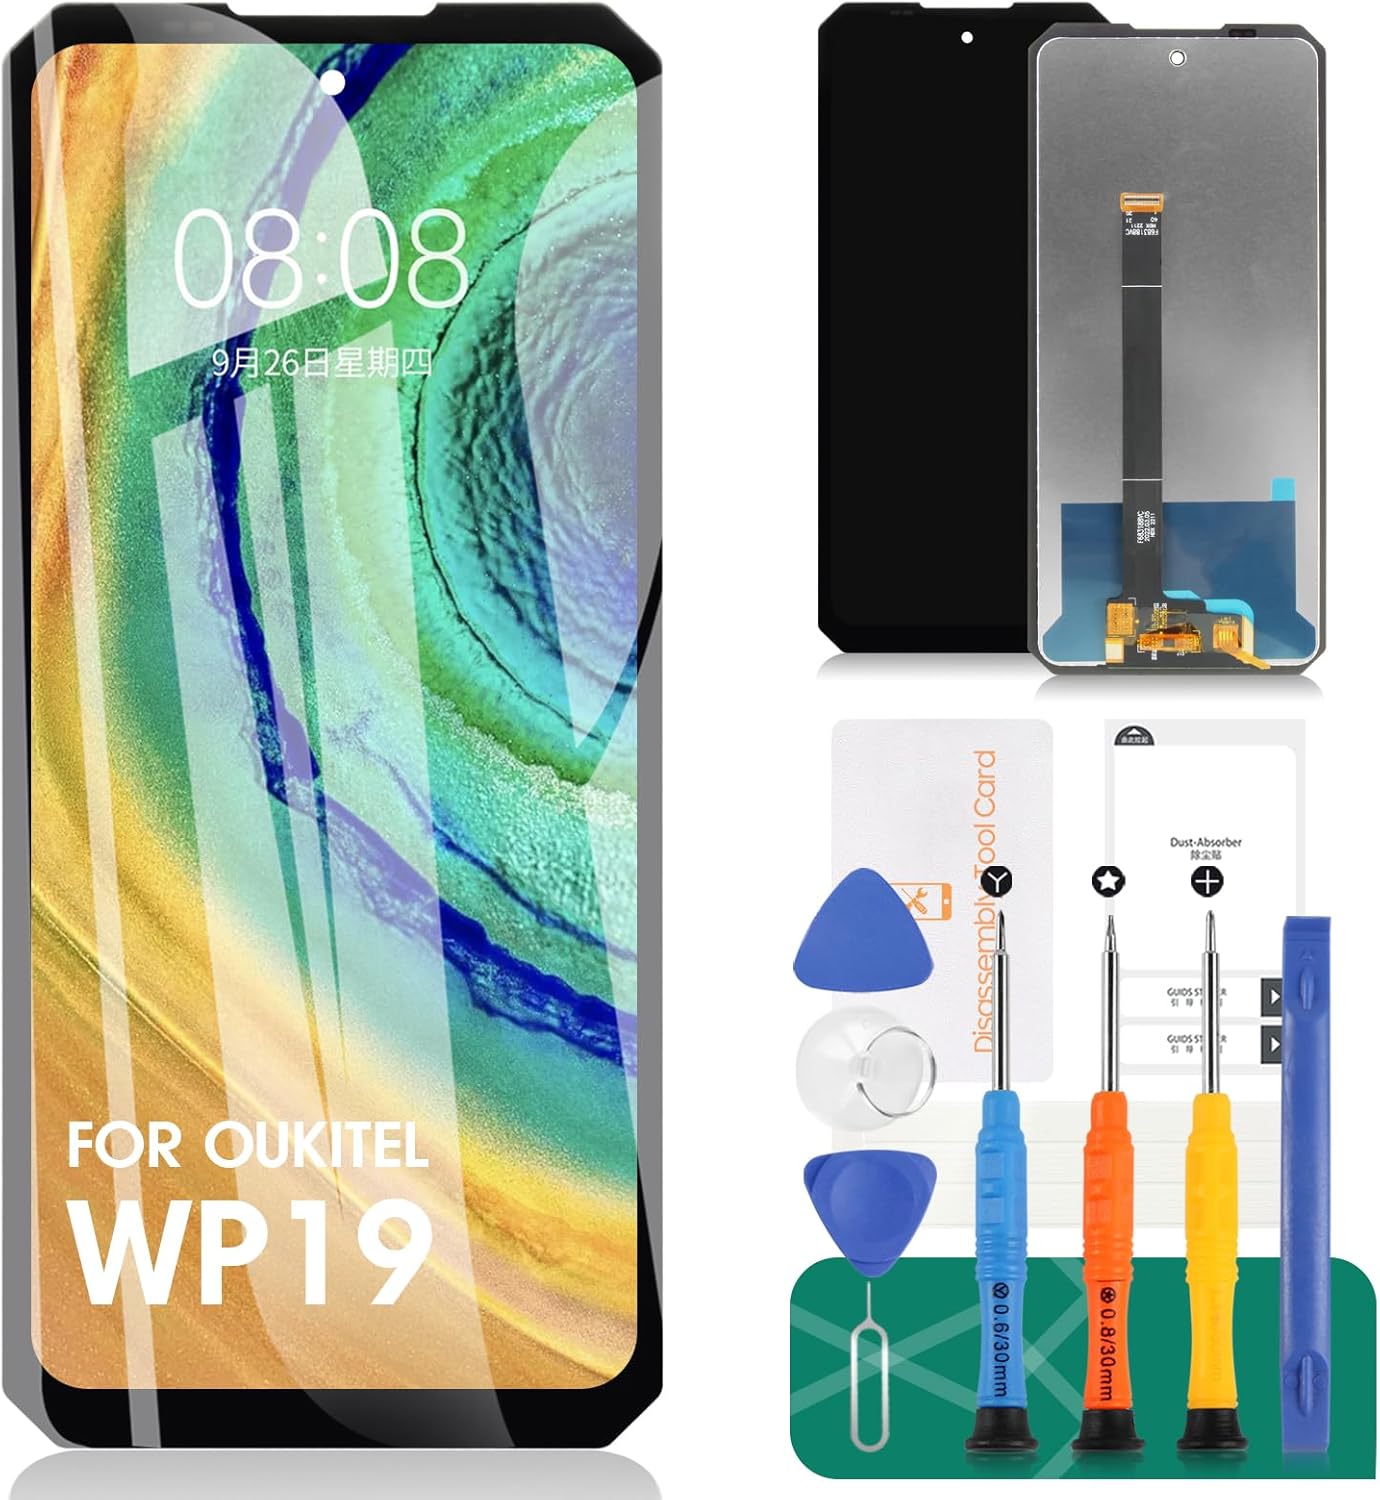
Image: The SRJTEK screen replacement kit, including the new LCD display and various repair tools such as screwdrivers, prying tools, and suction cup.
Installation Guide
Replacing a phone screen requires careful attention and proper tools. It is recommended to seek professional assistance if you are not confident in performing the repair yourself. Always power off your device completely before starting the installation.
Required Tools (Included in Kit):
- Screwdrivers (various sizes)
- Prying tools (plastic spudgers)
- Suction cup
- SIM ejector tool
- Dust absorber sticker
- Double-sided adhesive tape
- Tempered film

Image: A detailed view of the various tools provided in the kit, including precision screwdrivers, plastic prying tools, and a suction cup, essential for safe disassembly and reassembly.
Step-by-Step Installation:
- Power Off Device: Ensure your Oukitel WP19/WP17 is completely powered off before beginning.
- Remove SIM Tray: Use the SIM ejector tool to remove the SIM card tray.
- Heat the Edges: Gently heat the edges of the screen with a heat gun or hairdryer to soften the adhesive. Be careful not to overheat.
- Pry Open: Use the suction cup to lift the screen slightly, then insert a plastic prying tool into the gap. Carefully work your way around the edges to separate the screen from the phone body.
- Disconnect Flex Cables: Once the screen is partially lifted, locate and carefully disconnect the flex cables connecting the screen to the motherboard. Use a plastic spudger to avoid damage.
- Remove Old Screen: Once all cables are disconnected, remove the old, damaged screen.
- Clean Frame: Thoroughly clean any old adhesive residue from the phone's frame. This is crucial for a secure fit of the new screen.
- Connect New Screen: Carefully connect the flex cables of the new SRJTEK screen to the corresponding connectors on the motherboard. Ensure they are securely seated.
- Test Functionality: Before fully sealing the new screen, temporarily power on the phone to test the display and touch functionality. Check for dead pixels, touch responsiveness, and display clarity.
- Apply Adhesive: Apply the new double-sided adhesive tape around the frame of the phone.
- Secure New Screen: Carefully align the new screen and press it firmly into place, ensuring it sits flush with the phone's frame.
- Reassemble: Reinsert the SIM tray.
- Apply Tempered Film: Clean the new screen and apply the provided tempered film for additional protection.
Note: Professional installation is highly recommended to avoid damage to your device. SRJTEK is not responsible for any damage caused by improper installation.
Operating the New Screen
The SRJTEK replacement screen is designed to provide an experience comparable to the original display, featuring high sensitivity and clear visuals.
Touch Sensitivity:
The screen incorporates high sensitivity touch functionality, ensuring smooth and responsive interactions. It supports multi-touch gestures and provides precise input for all applications.

Image: A hand demonstrating the smooth and responsive touch functionality of the new screen, highlighting its high sensitivity.
Display Quality:
Experience vibrant colors and sharp details with the high-definition display. The screen is designed to offer good viewing angles and adjustable brightness for optimal visual comfort in various lighting conditions.

Image: A visual comparison illustrating the superior display effect of the SRJTEK screen, showing clear visibility from various angles (45-degree side view and 90-degree positive view) compared to screens with poor viewing angles.

Image: A side-by-side comparison demonstrating the visual quality of "Ours" (SRJTEK) screen versus "Others," highlighting the clarity and vibrancy of the SRJTEK display.
Maintenance and Care
To ensure the longevity and optimal performance of your new screen, follow these maintenance guidelines:
- Screen Protector: Always use a high-quality screen protector (like the included tempered film) to prevent scratches and minor impacts.
- Cleaning: Clean the screen regularly with a soft, lint-free microfiber cloth. For stubborn smudges, slightly dampen the cloth with water or a screen-specific cleaning solution. Avoid harsh chemicals, abrasive materials, or excessive moisture.
- Avoid Pressure: Do not apply excessive pressure to the screen, as this can damage the LCD or digitizer.
- Temperature Extremes: Avoid exposing your device to extreme temperatures, both hot and cold, as this can affect screen performance and lifespan.
- Water Exposure: While some Oukitel phones are rugged, the screen replacement itself may not restore original water resistance. Avoid submerging your device or exposing it to excessive moisture after replacement.

Image: An illustration highlighting the upgraded features of the screen, including smooth feel, 3D arc edge, scratchproof 9H hardness, HD effect, and waterproof properties (note: waterproof refers to the screen's material, not necessarily restoring phone's original water resistance).
Troubleshooting
If you encounter issues after installing the new screen, refer to the following common problems and solutions:
| Problem | Possible Cause | Solution |
|---|---|---|
| Screen not turning on / Black screen | Flex cables not properly connected; Battery issue; Damaged screen during installation. |
|
| Touch not responding or erratic | Digitizer flex cable loose; Software glitch; Screen defect. |
|
| Display issues (lines, discoloration, dead pixels) | LCD flex cable loose; Screen defect; Pressure damage. |
|
| Screen not fitting flush | Old adhesive residue; Incorrect alignment; Bent frame. |
|
If these steps do not resolve the issue, please contact SRJTEK customer support for further assistance.
Specifications
| Feature | Detail |
|---|---|
| Compatibility | Oukitel WP19, Oukitel WP17 |
| Screen Size | 6.78 inches (diagonal) |
| Type | LCD Display Touch Screen Digitizer Assembly |
| Hardness | 9H (Scratchproof) |
| Touch Technology | High sensitivity, smooth response |
| Visual Experience | Higher resolution, adjustable brightness, added polarizers |
| Included Components | LCD screen, flex cables, camera ring, screw, ARC frame |
| Package Dimensions | 7.52 x 4.06 x 1.34 inches |
| Item Weight | 5.8 ounces |

Image: An internal view of the screen assembly, detailing the flex cable, connector, camera ring, screw, and ARC frame, all contributing to the screen's functionality and structural integrity.
Warranty and Support
SRJTEK offers a return policy for this product. Please refer to your purchase documentation for specific warranty terms and conditions. For technical support or assistance with installation, please contact SRJTEK customer service through the retailer where the product was purchased.
Contact Information:
- Visit the SRJTEK Store on Amazon for more information and support options.


