
1. Important Compatibility Note
This remote control is a direct replacement for specific Mitsubishi AC air conditioner models. It is not a universal remote control. Please verify your air conditioner model or existing remote control model number against the list provided in the product description before use to ensure compatibility.
2. Setup and Battery Installation
The remote control requires two AAA batteries for operation. No programming is typically required; simply insert the batteries, and the remote should be ready to use with compatible AC units.
- Open the Battery Compartment: Locate the battery compartment cover on the back of the remote control. Slide the cover downwards or press the latch and lift to open.
- Insert Batteries: Insert two new AAA batteries, ensuring the positive (+) and negative (-) terminals align correctly with the markings inside the compartment.
- Close the Cover: Slide the battery compartment cover back into place until it clicks securely.
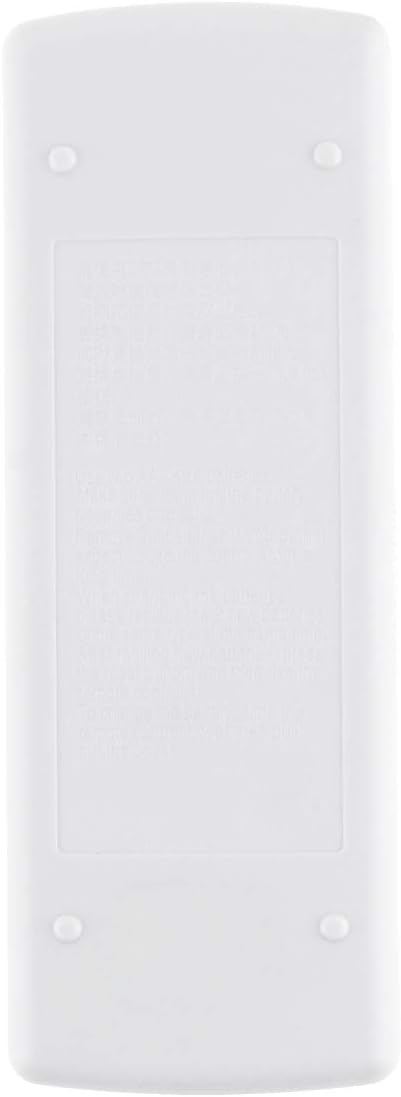
Image: Back view of the remote control, illustrating the location of the battery compartment. The compartment is a rectangular area on the lower half of the remote's back.
3. Operating Instructions
Familiarize yourself with the buttons and display on your remote control to effectively manage your air conditioner's functions.

Image: Front view of the remote control, showing the digital display at the top and primary control buttons below it. The display shows temperature, fan speed, and clock. Buttons include ON/OFF and temperature adjustment arrows.
3.1 Basic Functions
- ON/OFF Button: The large orange circular button labeled "ON/OFF" powers the air conditioner on or off.
- Temperature Adjustment: Use the white triangular arrow buttons (up and down) to increase or decrease the desired temperature.
3.2 Advanced Functions (Under Sliding Cover)
Slide down the front cover of the remote to access additional control buttons.

Image: Front view of the remote control with its lower sliding cover retracted, exposing a panel of secondary function buttons. These include MODE, FAN, VANE, STOP, and START buttons.
- MODE Button: Press the "MODE" button to cycle through operating modes such as Cool, Dry, Fan, and Heat (if supported by your AC unit). The current mode icon will appear on the display.
- FAN Button: Adjust the fan speed by pressing the "FAN" button. Options typically include Auto, Low, Medium, and High.
- VANE Button: Control the air swing direction or fixed vane position using the "VANE" button.
- STOP/START Buttons: These buttons are typically used for setting timer functions. Refer to your AC unit's manual for specific timer programming instructions.
3.3 Fahrenheit and Celsius Display
The remote control supports displaying temperature in both Fahrenheit (°F) and Celsius (°C).

Image: A close-up of the remote control's display, clearly showing temperature readings in both Fahrenheit (84°F) and Celsius (24°C), with an arrow indicating conversion between the two units.
To switch between Fahrenheit and Celsius, there is usually a dedicated button or a combination of buttons (e.g., pressing the temperature up and down arrows simultaneously, or a small recessed button) that allows toggling the display unit. Consult your AC unit's original remote manual or experiment with button combinations if a dedicated button is not apparent.
4. Maintenance
- Cleaning: Wipe the remote control with a soft, dry cloth. Do not use liquid cleaners or abrasive materials.
- Battery Replacement: Replace batteries when the remote's range decreases or the display becomes dim. Always replace both batteries at the same time with new AAA batteries.
- Storage: If the remote will not be used for an extended period, remove the batteries to prevent leakage and damage.
5. Troubleshooting
- Remote Not Responding:
- Check if the batteries are inserted correctly and are not depleted. Replace if necessary.
- Ensure there are no obstructions between the remote control and the air conditioner's receiver.
- Confirm you are within the effective operating range of the air conditioner.
- Display Issues:
- If the display is dim or blank, replace the batteries.
- If segments of the display are missing, try removing and reinserting the batteries.
- Air Conditioner Not Responding:
- Ensure the air conditioner unit itself is powered on and receiving electricity.
- Verify that the remote control model is compatible with your specific AC unit.
6. Specifications
| Model Number | A2-2022110702 |
| Item Weight | 1.06 ounces |
| Package Dimensions | 0.39 x 0.2 x 0.08 inches |
| Battery Type | AAA (2 required) |
| Connectivity Technology | Infrared |
| Compatible Devices | Air Conditioner |
7. Warranty Information
This product comes with a 1-year warranty from the date of purchase. Please retain your proof of purchase for warranty claims. The warranty covers manufacturing defects but does not cover damage caused by misuse, accidents, or unauthorized modifications.
8. Support
If you encounter any issues that cannot be resolved using the troubleshooting guide, or if you have questions regarding the remote control's operation or compatibility, please contact the seller or manufacturer for assistance. Provide your product model number (A2-2022110702) and a detailed description of the problem when seeking support.