
1. Product Overview
This instruction manual provides guidance for the installation and use of the A-MIND LCD Touch Digitizer Screen Full Assembly for Nokia 6.2 smartphones. This replacement part is designed to address issues such as broken screens, liquid crystal ruptures, dead pixels, touch inactivity, and display problems.

Image 1: Front and back view of the A-MIND Nokia 6.2 screen replacement with key specifications highlighted.
2. Compatibility
This screen replacement is compatible with the following Nokia 6.2 models:
- Nokia 6.2 TA-1200
- Nokia 6.2 TA-1198
- Nokia 6.2 TA-1201
- Nokia 6.2 TA-1187
It is designed for the 6.3-inch display variant. Please verify your phone's model number before proceeding with installation.
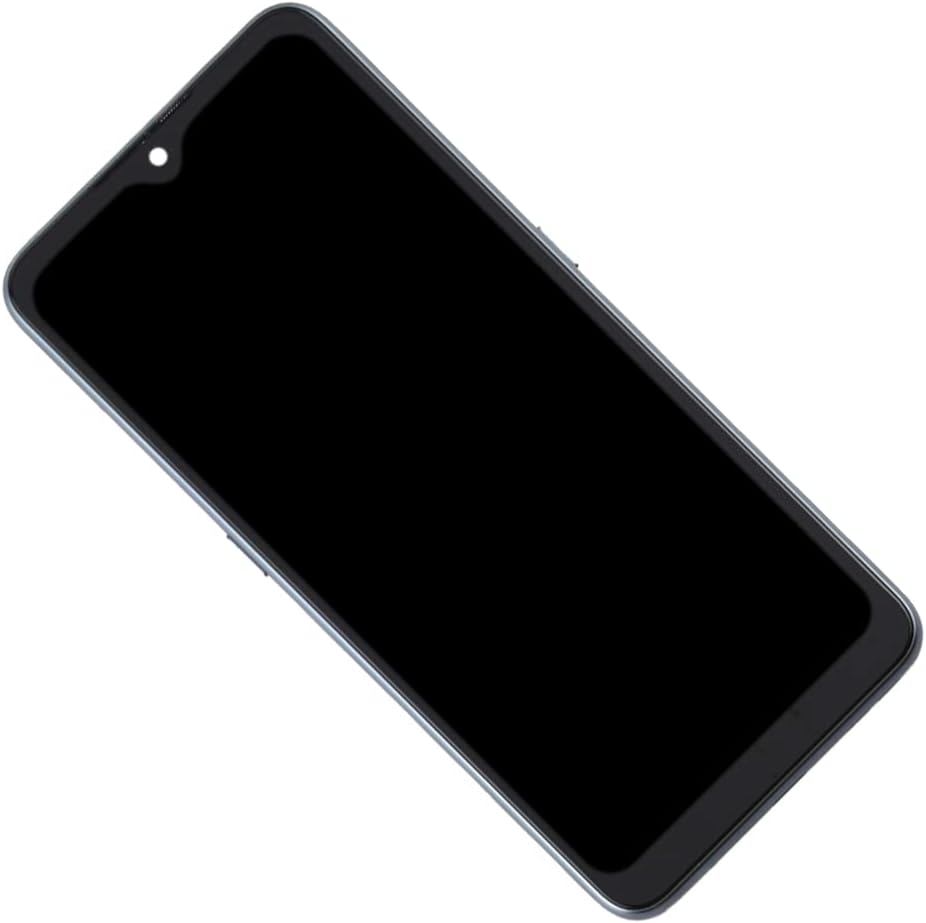
Image 2: Front view of the replacement screen assembly.
3. Package Contents
The package includes the following items:
- 1 x LCD Touch Digitizer Screen Full Assembly (with frame)
- 1 x Set of Repair Tools
Note: The included tool kit is a complimentary gift and may not be suitable for opening all phone models. Professional tools may be required.

Image 3: Included repair tool kit.
4. Important Reminders and Warnings
- Professional Installation Recommended: Installation of this screen replacement requires specific techniques and equipment. For optimal results and to prevent damage, professional installation is strongly recommended.
- Verify Malfunction Cause: Before purchasing or installing, confirm that your phone's issue is indeed caused by the LCD or touch panel, not other components.
- Fragile Component: The LCD is a fragile component. Handle with extreme care during installation. Accidental breakage can result in glass fragments that may cause injury. Wear protective measures.
- No Installation Manual Included: This product does not come with a printed installation manual. Refer to online video tutorials (e.g., on YouTube) for detailed installation steps.
- Damage During Installation: We are not responsible for any damage caused to the product or your device during the installation process. Parts damaged during installation will not be accepted for return.
5. Pre-Installation Testing
It is crucial to test the screen assembly before fully installing it into your device. This "simulation test" helps identify any defects before permanent installation.
- Do Not Remove Protectors: During testing, do not remove any protective films or labels from the screen.
- Static Electricity Precautions: Static electricity can damage electronic components. Ground yourself using an ESD (Electrostatic Discharge) wrist strap.
- Disconnect Battery: Ensure the phone's battery cable connector is disconnected before beginning.
- Connect New Screen: Carefully disassemble your phone. Disconnect the old LCD display or touch screen flex cable from the motherboard. Connect the new screen's flex cable to the motherboard.
- Power On and Test: Reconnect the battery cable (if disconnected for testing purposes), then plug in the charging cable and attempt to power on the phone. Check if the screen functions normally (display, touch response).
- Report Abnormalities: If any abnormalities are observed during this test, do not proceed with full installation. Contact customer service immediately with video or photo evidence.

Image 4: Back view of the screen assembly, showing connection points.
6. Installation Guidance
As mentioned, detailed installation tutorials are not provided with this product. It is highly recommended to seek professional assistance or refer to comprehensive video guides available online.
- Search for "Nokia 6.2 screen replacement" on video platforms like YouTube for step-by-step visual instructions.
- Ensure you have all necessary tools, including those provided and any additional specialized tools required for your specific phone model.
- Proceed with caution and patience. Rushing the installation can lead to damage.

Image 5: Detailed view of the screen and frame assembly.
7. Troubleshooting
If you encounter issues after installation or during pre-installation testing:
- No Display/Touch: Recheck all flex cable connections to ensure they are securely seated. Ensure the battery is properly connected and charged.
- Abnormal Display (lines, spots): This may indicate a faulty screen or damage during installation. Perform the pre-installation test again carefully.
- Tools Not Working: The provided tools are general. If they do not fit your device, acquire appropriate specialized tools.
- Contact Support: For any persistent issues or if the screen does not function correctly after testing, contact A-MIND customer service with details and supporting media (photos/videos).
8. Specifications
| Feature | Detail |
|---|---|
| Product Type | LCD Touch Digitizer Screen Full Assembly with Frame |
| Compatibility | Nokia 6.2 (TA-1200, TA-1198, TA-1201, TA-1187) |
| Display Size | 6.3 inches |
| Display Type | IPS LCD |
| Resolution | 1080x2280 pixels |
| Pixel Density | 400 ppi |
| Color | Sliver (with frame) |
9. Warranty and Support
A-MIND offers the following support for this product:
- 3-Month Free Replacement/Refund: Coverage for non-human product damage or faults.
- Reporting Issues: If the product is broken, damaged, or missing items upon receipt, do not install it. Email customer service immediately with attached photos.
- Installation Damage: Damages or malfunctions caused by incorrect installation are not covered under warranty.
- Customer Service: For further assistance, please email our service team.