1. Introduction
This manual provides detailed instructions for the setup, operation, and maintenance of your KENRONE KR-PL49 Fingerprint Padlock. Please read this guide thoroughly before using the product to ensure optimal performance and longevity.
What's in the Box
- 1 x KENRONE KR-PL49 Fingerprint Padlock
- 1 x Micro USB Charging Cable
- 1 x Instruction Manual
- 1 x Emergency Key

Unboxing Video
2. Product Overview and Features
The KENRONE KR-PL49 is a smart fingerprint padlock designed for convenience and security. It features a biometric sensor for quick unlocking and an emergency key for backup access.

Key Features:
- Quick Fingerprint Unlocking: Unlock in 0.5 seconds.
- High Capacity: Stores up to 2 administrator fingerprints and 48 user fingerprints.
- Durable Construction: Zinc alloy body with iron nickel plating for cut resistance and rust prevention.
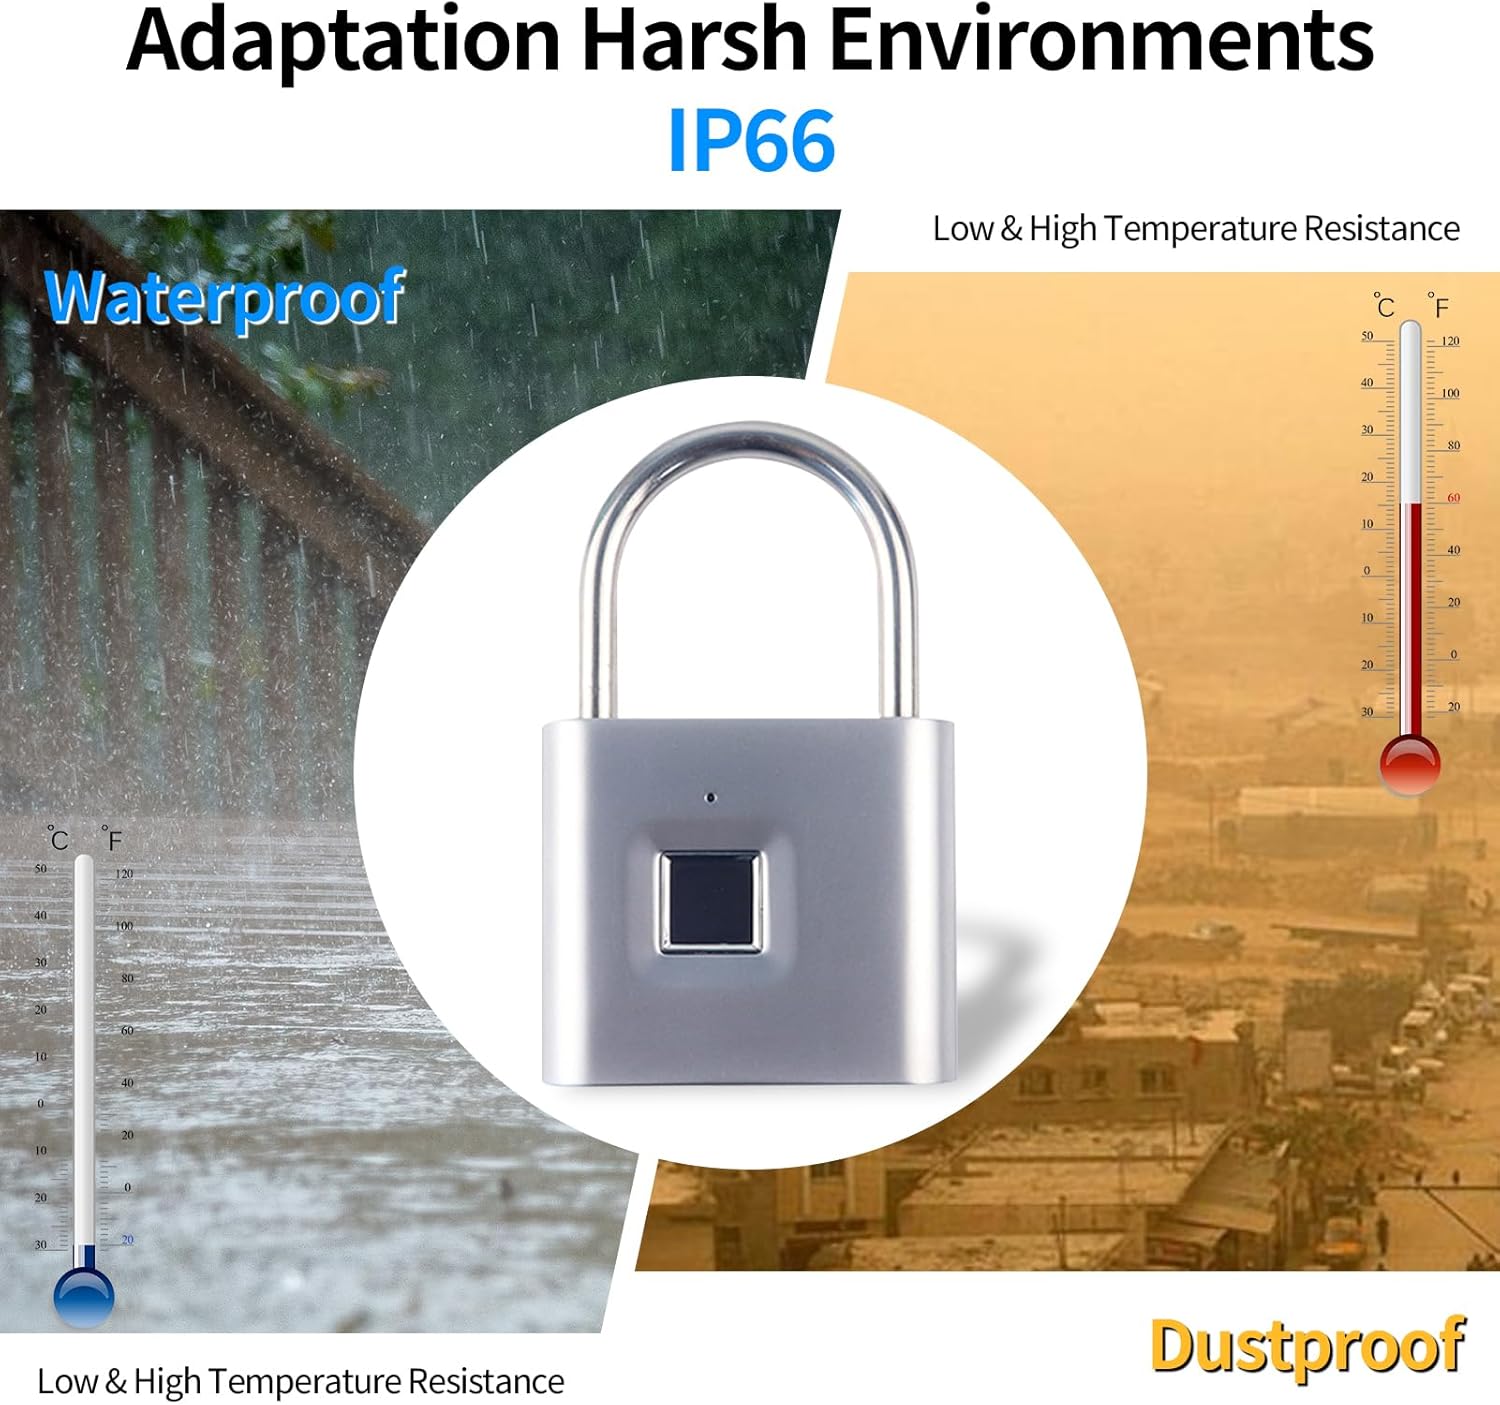
- Weather Resistant: IP66 waterproof and dustproof rating for outdoor use.
- Long Battery Life: Up to 12 months standby time on a single charge.
- Emergency Access: Includes an electronic emergency key for backup unlocking.

3. Setup
3.1 Initial Charging
Before first use, fully charge the padlock. Connect the micro USB charging cable to the padlock's charging port (located under a protective rubber cover) and to a 5V USB power source (e.g., phone charger, power bank). The red LED will light up during charging and turn off when fully charged. A full charge typically takes 1-2 hours.

3.2 Registering Administrator Fingerprints
The first two fingerprints registered will be designated as administrator fingerprints. These administrators can add or delete other user fingerprints.
- Unlock the padlock by pressing any finger on the sensor (out of the box, any finger will unlock it).
- While the padlock is unlocked, press and hold your chosen finger on the fingerprint sensor until the blue LED light starts flashing. Do not remove your finger.
- Once the blue light is flashing, start tapping your finger on the sensor multiple times (approximately 6 times), slightly changing the position of your finger each time.
- Continue tapping until the green light turns on, indicating successful registration of the first administrator fingerprint.
- Repeat steps 2-4 for the second administrator fingerprint.
4. Operating Instructions
4.1 Unlocking the Padlock
To unlock the padlock, simply place a registered finger on the fingerprint sensor. The blue LED will briefly flash, and the shackle will pop open.
4.2 Adding User Fingerprints (after Admin setup)
Once administrator fingerprints are set, you can add up to 48 additional user fingerprints.
- Unlock the padlock using an administrator fingerprint.
- While the padlock is unlocked, press and hold an administrator finger on the sensor until the blue LED flashes.
- Immediately, have the new user place their finger on the sensor and tap it multiple times (approximately 6 times), slightly changing the position each time.
- Continue tapping until the green light turns on, indicating successful registration of the new user fingerprint.
4.3 Deleting User Fingerprints
To delete specific user fingerprints, you must use an administrator fingerprint.
- Unlock the padlock using an administrator fingerprint.
- While the padlock is unlocked, press and hold an administrator finger on the sensor for approximately 10 seconds until the red LED starts flashing.
- Immediately, place the user fingerprint you wish to delete on the sensor and tap it until the green LED flashes. This confirms the deletion.
5. Emergency Key Usage
The KENRONE KR-PL49 includes an electronic emergency key for situations where fingerprint unlocking is not possible, such as a completely drained battery or a damaged fingerprint sensor.

How to Use the Emergency Key:
- Locate the micro USB charging port on the padlock (under the rubber cover).
- Insert the emergency key into the micro USB port.
- The padlock will activate. You can then use any registered fingerprint to unlock it. If the battery is completely dead, the emergency key provides temporary power to allow unlocking.
Note: The emergency key is primarily for temporary power and resetting. It does not contain a battery itself; it draws power from the padlock or provides external power to the padlock.
6. Maintenance
6.1 Charging
The padlock is equipped with a 300mAh lithium battery. When the battery voltage is ≤3.5V, the red light will flash 3 times after unlocking to remind you to charge the device. A full charge provides approximately 10,000 unlocking operations and up to 12 months of standby time.
6.2 Cleaning
Regularly wipe the fingerprint sensor with a clean, dry cloth to ensure optimal performance. Avoid using abrasive materials or harsh chemicals.
7. Troubleshooting
7.1 Fingerprint Not Recognized
- Ensure your finger is clean and dry.
- Place your finger firmly and completely on the sensor.
- Try different angles or positions of your registered finger.
- If multiple attempts fail, try using another registered fingerprint.
7.2 Padlock Not Responding
- The battery may be completely drained. Use the emergency key to provide temporary power and unlock the padlock, then charge it immediately.
- If the padlock is unresponsive even with the emergency key, contact customer support.
8. Specifications
| Feature | Detail |
|---|---|
| Brand | KENRONE |
| Model Name | KR-PL49 |
| Lock Type | Biometric |
| Material | Zinc Alloy |
| Item Dimensions (L x W x H) | 3.14 x 1.96 x 0.55 inches |
| Item Weight | 6.3 ounces (0.18 Kilograms) |
| Special Feature | IP66 Waterproof, Emergency Key |
| Battery Type | 1 Lithium Polymer (included) |
| Battery Capacity | 300mAh |
| Standby Time | Up to 12 months |
| Unlocks per Charge | Approx. 10,000 |
| Fingerprint Capacity | 2 Admin, 48 User |
9. Warranty and Support
For any unanswered questions or technical assistance regarding your KENRONE KR-PL49 Fingerprint Padlock, please contact KENRONE customer service. Refer to your purchase documentation for specific warranty details and contact information.