Introduction
This manual provides detailed instructions for the setup, operation, and maintenance of your Mebus 25800 Radio-Controlled Alarm Clock. Please read this manual thoroughly before using the device to ensure proper function and longevity.
The Mebus 25800 is a compact, radio-controlled alarm clock featuring a clear digital display, two independent alarm times, a snooze function, indoor temperature display, and display lighting. Its radio-controlled time synchronization (DCF77) ensures accurate timekeeping.
Setup
1. Battery Installation
The Mebus 25800 requires 2x AAA batteries (not included). To install:
- Open the battery compartment cover located on the back of the clock.
- Insert two AAA batteries, ensuring correct polarity (+ and -).
- Close the battery compartment cover securely.
Upon battery insertion, the clock will automatically begin searching for the DCF77 radio signal.
2. Initial Time Synchronization (Radio Control - DCF77)
The clock is designed to automatically receive the DCF77 radio signal for precise time synchronization. This process typically takes a few minutes after battery installation. Ensure the clock is placed away from electronic devices that may cause interference.
 Image: The clock automatically synchronizes with the DCF77 radio signal, ensuring accurate time, including automatic adjustment for summer and winter time.
3. Time Zone Selection
If you are outside the Central European Time (CET) zone, you can adjust the time zone offset. Refer to the 'Operating' section for detailed instructions on setting the time zone.
Operating
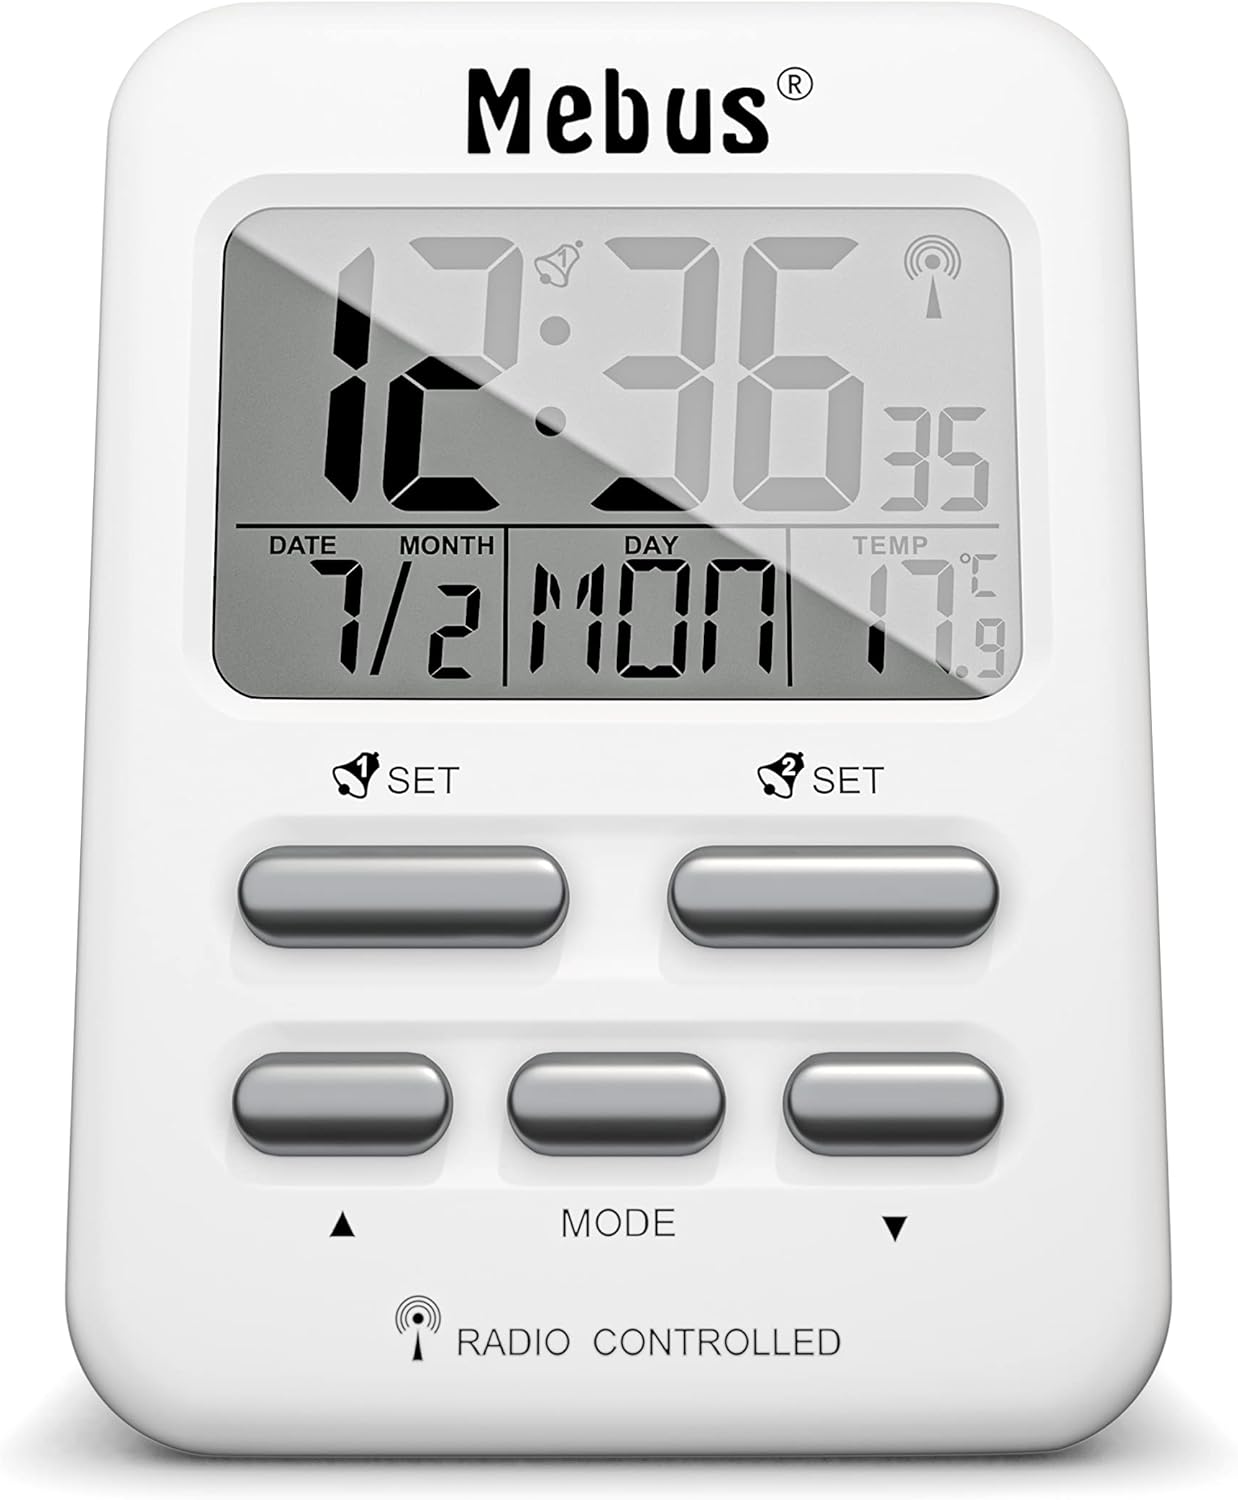 Image: Front view of the Mebus 25800 clock, highlighting the display and control buttons.
1. Setting Time Manually
In areas where the DCF77 signal cannot be received, the time can be set manually:
- Press and hold the 'MODE' button until the time display flashes.
- Use the '▲' (Up) and '▼' (Down) buttons to adjust the hours.
- Press 'MODE' again to switch to minutes, then adjust with '▲' and '▼'.
- Continue pressing 'MODE' to cycle through other settings like 12/24 hour format, year, month, date, and language for day of the week.
- Press 'MODE' one last time or wait a few seconds for the settings to save.
2. Setting Alarms
The clock features two independent alarm times (Alarm 1 and Alarm 2).
 Image: The clock offers two separate adjustable alarm times with a snooze function.
- Press the 'SET' button associated with Alarm 1 (left side) or Alarm 2 (right side) to view the current alarm time.
- Press and hold the respective 'SET' button until the alarm time flashes.
- Use the '▲' and '▼' buttons to adjust the alarm hour.
- Press 'SET' again to adjust the alarm minutes.
- Press 'SET' one last time or wait for the setting to save.
- To activate/deactivate an alarm, press the 'SET' button briefly. An alarm icon will appear/disappear on the display.
3. Snooze Function (Repeat Alarm)
When an alarm sounds, press the 'SNOOZE/LIGHT' button (top button) to temporarily silence the alarm. The alarm will sound again after approximately 5 minutes.
4. Temperature Display
The clock displays the indoor temperature. You can switch between Celsius (°C) and Fahrenheit (°F) by pressing the '▲' button during normal time display mode.
5. Display Lighting
Press the 'SNOOZE/LIGHT' button (top button) to activate the display backlight. The light will illuminate for approximately 5 seconds, providing clear readability in low-light conditions without glare.
 Image: The display features a gentle blue backlight, activated by pressing the top button, for easy reading at night.
6. Date and Day Display
The integrated calendar displays the current date (month/day) and the day of the week (abbreviated). You can select from 7 languages for the day of the week display during manual time setting.
 Image: Additional practical functions include indoor temperature display, repeat alarm, date/calendar, summer time indicator, low battery indicator, and blue display lighting.
Maintenance
1. Cleaning
To clean the clock, use a soft, dry cloth. Do not use abrasive cleaners or solvents, as these may damage the casing or display.
2. Battery Replacement
When the low battery indicator appears on the display, replace the batteries promptly to ensure continued operation and accurate timekeeping. Follow the battery installation steps outlined in the 'Setup' section.
Troubleshooting
- Clock not receiving radio signal:
Ensure the clock is placed away from potential interference sources (e.g., TVs, computers, metal objects). Try moving the clock to a different location, preferably near a window. Manual time setting is an alternative if the signal remains weak. - Display is dim or blank:
Check the batteries. Replace them if they are low or depleted. - Alarm not sounding:
Verify that the alarm is activated (alarm icon visible on display). Check battery level. - Incorrect temperature reading:
Ensure the clock is not placed in direct sunlight or near heat sources/vents, which can affect the internal temperature sensor.
Specifications
 Image: The Mebus 25800 measures 7x9.7 cm, weighs 105g, and requires 2x AAA batteries.
| Feature | Detail |
|---|---|
| Model Number | 25800 |
| Dimensions (W x H x D) | 6.9 x 9.7 x 3.81 cm |
| Item Weight | 105 Grams |
| Power Source | 2x AAA Batteries (not included) |
| Display Type | Digital |
| Special Features | Radio-Controlled (DCF77), Two Alarms, Snooze, Temperature Display (°C/°F), Illuminated Display, Date, Day of Week |
| Material | Plastic |
| Color | White |
Warranty and Support
For warranty information or technical support, please refer to the documentation provided with your purchase or contact Mebus customer service directly. Keep your proof of purchase for any warranty claims.


