1. Introduction
The IsoAcoustics V120 is a versatile ceiling and wall isolation mount designed for speakers and studio monitors. It provides superior acoustic isolation, reducing vibrations and improving sound clarity. The V120 offers 360-degree rotation and 90-degree tilt capabilities, allowing for precise speaker positioning.
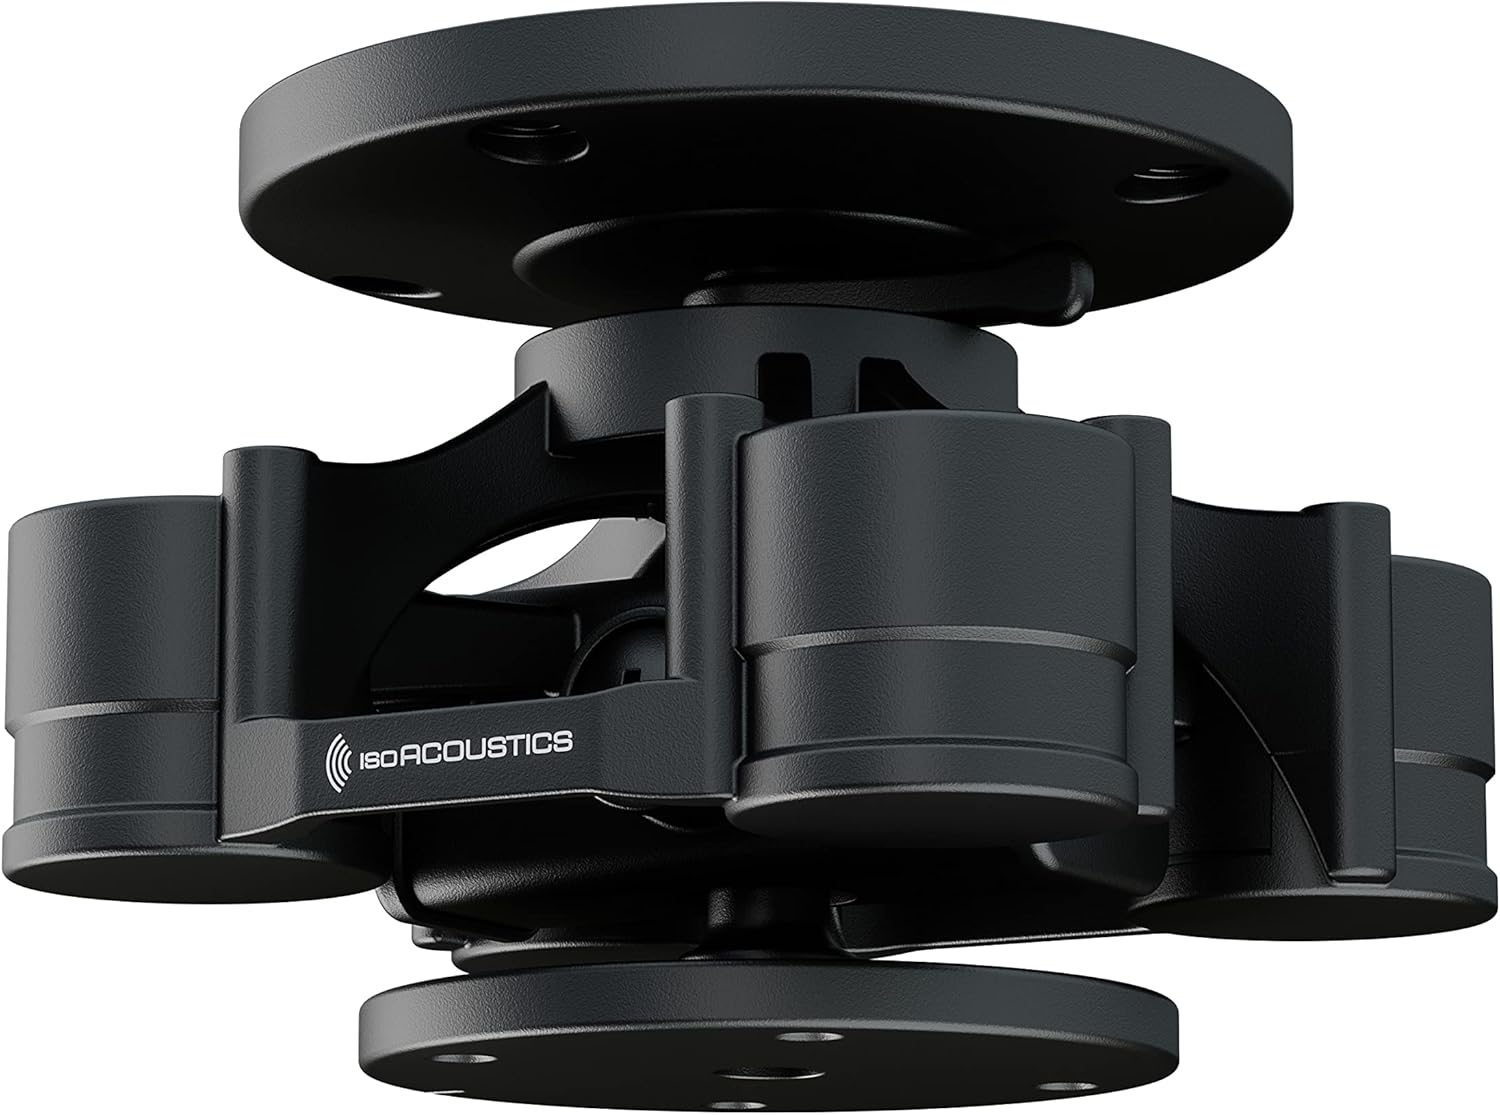
Figure 1: IsoAcoustics V120 Ceiling and Wall Isolation Mount.
2. Safety Information
Please read all safety instructions before installation and use. Failure to follow these instructions may result in injury or damage to the product or property.
- Ensure the mounting surface (ceiling or wall) can safely support the combined weight of the V120 mount and the speaker. The maximum weight capacity for the V120 is 40 lbs (18.1 kg).
- Use appropriate fasteners for your specific mounting surface. Consult a professional installer if unsure.
- Do not overtighten screws, as this may damage the mount or the mounting surface.
- Keep small parts away from children.
- Regularly inspect the mount and speaker for any signs of wear or loosening.
3. Package Contents
Verify that all components are present before beginning installation:
- 1 x V120 Mount with Ceiling Plate
- 1 x Allen Key
- 1 x Instructions (this manual)
4. Product Features
- Compact Dimensions: 4.6” (117mm) Wide x 4.6” (117mm) Depth x 3.5” (90mm) Height. Weighs 1.7lbs (0.77kg).
- High Weight Capacity: Supports speakers up to 40 lbs (18.1 kg).
- Full Rotation and Tilt: Offers 360-degree rotation and 90-degree tilt for precise speaker aiming. This allows for optimal focusing of tweeters to ear level and flexible orientation.
- Versatile Mounting Options: Easily integrates with IsoAcoustics mounts or adapts to third-party mounts and assemblies, including truss and unistrut channels. Brackets and adapters are sold separately.
- Patented IsoAcoustics Isolation: Features award-winning isolation technology, tested at the National Research Council of Canada (NRC). This design effectively manages speaker energy, reduces vibrations through the supporting structure, and minimizes internal reflections, resulting in an improved stereo image and natural spatial sound.
5. Specifications
| Attribute | Value |
|---|---|
| Product Dimensions | 4.6 x 4.6 x 3.5 inches (117 x 117 x 90 mm) |
| Item Weight | 1.7 lbs (0.77 kg) |
| Weight Capacity | Max 40 lbs (18.1 kg) |
| Model Number | V120 Mount |
| Special Features | Rotatable, Tilt Head |
| Material | Aluminum |
| Mounting Type | Wall Mount, Ceiling Mount |
| Compatible Devices | Monitors (Speakers) |

Figure 2: Detailed dimensions of the V120 Mount.
6. Setup and Installation
The V120 mount is designed for flexible installation on ceilings or walls. Specific brackets and adapters (sold separately) are required to connect your speaker to the V120 mount and then to the desired surface.
6.1. Understanding Mounting Options
The V120 mount itself includes a ceiling plate for direct ceiling attachment. For other applications, various IsoAcoustics or third-party accessories are needed.

Figure 3: Examples of V120 mount applications including ceiling, wall, and truss mounts.

Figure 4: The V120 mount adapts to various surfaces and structures using specific adapters and third-party products.

Figure 5: Diagram illustrating compatibility with U-Bracket, L-Bracket, and C-Bracket adapters for studio monitors.
6.2. General Installation Steps (Requires additional brackets/adapters)
- Select Mounting Location: Choose a secure location on the ceiling or wall that can support the total weight.
- Attach Ceiling Plate/Adapter: Secure the V120's included ceiling plate or a compatible third-party adapter (e.g., wall bracket, truss clamp) to your chosen surface using appropriate hardware (not included).
- Mount V120 to Plate/Adapter: Attach the V120 main unit to the previously installed ceiling plate or adapter. Ensure it is securely fastened.
- Attach Speaker Bracket to V120: Connect the appropriate IsoAcoustics speaker bracket (e.g., L-Bracket, C-Bracket, U-Bracket Adapter) to the V120 mount.
- Mount Speaker to Bracket: Secure your speaker to the installed bracket. Ensure all connections are tight and stable.

Figure 6: Example of a speaker mounted on a truss using the V120 system.

Figure 7: Example of a speaker mounted to a ceiling using the V120 and an L-bracket.
7. Operation and Adjustment
The V120 mount allows for flexible positioning of your speakers once installed.
- Rotation: The V120 allows for 360-degree horizontal rotation. Gently rotate the speaker and mount assembly to achieve the desired horizontal aiming.
- Tilt: The mount provides up to 90 degrees of vertical tilt. Loosen the tilt adjustment mechanism (refer to specific bracket instructions if applicable), adjust the speaker to the desired angle, and then securely tighten the mechanism. This feature is crucial for directing sound precisely to the listening area.

Figure 8: The V120 mount allows for precise tilt adjustment of the speaker.
8. Maintenance
The IsoAcoustics V120 mount requires minimal maintenance.
- Cleaning: Wipe the mount with a soft, dry cloth. Do not use abrasive cleaners or solvents.
- Inspection: Periodically check all screws and connections to ensure they remain tight and secure. Look for any signs of wear, damage, or corrosion.
9. Troubleshooting
If you encounter issues with your V120 mount, consider the following:
- Speaker Sagging/Tilting: Ensure all tilt and mounting screws are securely tightened. Verify the speaker weight does not exceed the 40 lbs (18.1 kg) capacity.
- Vibrations/Poor Sound: Confirm the V120 mount is properly installed and all connections are firm. Ensure the speaker is correctly seated on its bracket. The patented isolation technology should significantly reduce vibrations; if not, re-check installation.
- Difficulty Adjusting: Check for any obstructions. Ensure adjustment mechanisms are loosened before attempting to rotate or tilt, and tightened afterward.
10. Warranty and Support
For detailed warranty information, please refer to the official IsoAcoustics website or contact their customer support. The manufacturer is IsoAcoustics.
An official Installation Manual (PDF) is available for download: Download Installation Manual
For further assistance, visit the IsoAcoustics Store on Amazon.


