
Rain Bird 1ZEHTMR
Contents
Rain Bird 1ZEHTMR Digital Electronic Irrigation Controller User Manual
Model: 1ZEHTMR | Brand: Rain Bird
Product Overview
The Rain Bird 1ZEHTMR is a professional-grade digital electronic irrigation controller designed for efficient watering of your garden using hose-end sprinklers, drip irrigation systems, or soaker hoses. Its robust design and advanced features ensure reliable performance and water conservation.
This controller offers easy-to-use 7-day programming, allowing you to customize watering schedules for optimal results and reduced water consumption. It features an extra-large dial and display for straightforward setup and quick review of your irrigation settings. Instant override buttons for 'Cancel Watering' and 'Water Now' provide immediate control, and a rain delay function can pause watering for up to 96 hours without affecting your stored program.

Front view of the Rain Bird 1ZEHTMR Digital Electronic Irrigation Controller, showing the large display and control dial.

Side view of the controller, highlighting the ergonomic design and the dial set to 'AUTO' for automatic operation.

Another perspective of the Rain Bird 1ZEHTMR, showcasing its compact and durable build.
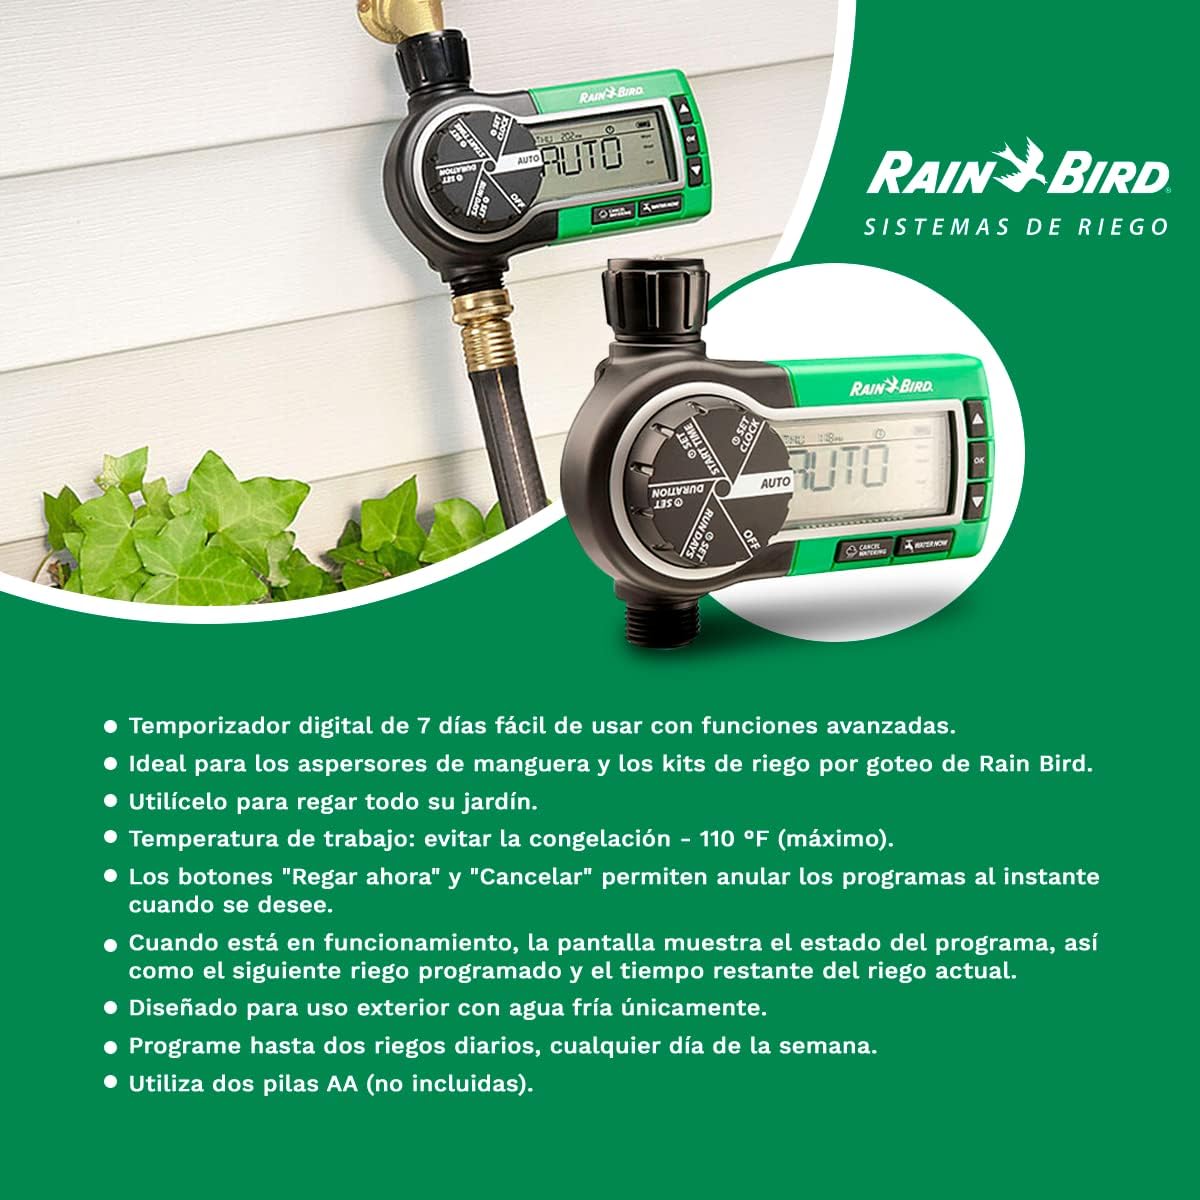
This graphic highlights the controller's main features: a 7-day digital timer, suitability for hose-end sprinklers and drip kits, temperature range considerations (avoid freezing), instant 'Water Now' and 'Cancel' buttons, display showing program status, outdoor use with cold water only, up to two daily watering times, and requirement for two AA batteries (not included).

This image illustrates how the controller automates sprinkler and drip irrigation systems, emphasizing its user-friendly digital programming and versatile, worry-free operation for year-round outdoor use.
Setup Guide
1. Battery Installation
The controller requires two AA batteries (not included) for operation. Ensure batteries are inserted correctly according to polarity markings inside the battery compartment. A low battery indicator will appear on the display when replacement is needed.
2. Connecting the Controller
Attach the controller directly to your outdoor faucet or spigot. Ensure the connection is secure and watertight using the durable inlet collar. Then, connect your hose, sprinkler, or drip irrigation system to the outlet of the controller.

The Rain Bird 1ZEHTMR controller shown installed on an outdoor spigot, connected to a garden hose.

A hand demonstrating the ease of adjusting the controller while it is connected to the water supply.
Operating Instructions
The large dial on the front of the controller allows you to navigate through different settings and modes. Use the 'OK' button to confirm selections and the arrow buttons to adjust values.
1. Setting the Clock
- Turn the dial to SET CLOCK.
- Use the arrow buttons to set the current time (AM/PM). Press OK to confirm.
- Use the arrow buttons to set the current day of the week. Press OK to confirm.
2. Programming Watering Schedules
The controller allows for up to two watering programs per day.
Set Start Time
- Turn the dial to SET START TIME.
- Use the arrow buttons to set the desired start time for Program 1. Press OK.
- If a second start time is desired, use the arrow buttons to set it for Program 2. Press OK. If not, press OK to skip.
Set Duration
- Turn the dial to DURATION.
- Use the arrow buttons to set the watering duration (from 1 minute to 6 hours) for Program 1. Press OK.
- If a second program is set, use the arrow buttons to set the duration for Program 2. Press OK.
Set Run Days
- Turn the dial to RUN DAYS.
- Use the arrow buttons to select the days of the week you want watering to occur. A blinking cursor indicates the selected day. Press OK to toggle watering ON/OFF for that day.
3. Automatic Watering (AUTO Mode)
After setting your programs, turn the dial to AUTO. The controller will now operate automatically according to your programmed schedule. The display will show the current time, day, and the next scheduled watering event.
4. Manual Watering (Water Now)
To manually water at any time, press the WATER NOW button. The controller will begin watering for a default duration (usually 10 minutes). You can adjust this duration using the arrow buttons while it's watering. Press CANCEL WATERING to stop manual watering.
5. Rain Delay (Cancel Watering)
To pause automatic watering due to rain or other reasons, press the CANCEL WATERING button. This will activate a rain delay. Use the arrow buttons to select the duration of the delay (up to 96 hours). The controller will resume its programmed schedule after the delay period ends.
6. Turning Unit Off
To completely turn off all watering programs and manual operations, turn the dial to OFF. The display will show 'OFF'. All programmed settings will be retained.

Page 1 of the multi-language user manual, detailing battery installation and programming steps for setting the clock, start time, duration, and run days.

Page 2 of the multi-language user manual, covering automatic operation, manual watering, rain delay function, and how to turn the unit off.
Maintenance
Proper maintenance ensures the longevity and optimal performance of your Rain Bird 1ZEHTMR controller.
- Winterization: Important: To prevent catastrophic damage, always remove the controller from the water supply when freezing temperatures are expected. Store it indoors in a dry, protected area during winter months.
- Battery Replacement: Replace the two AA batteries when the low battery indicator appears on the display to ensure continuous operation and prevent loss of programming.
- Cleaning: Periodically wipe the exterior of the controller with a damp cloth to remove dirt and debris. Do not use harsh chemicals or abrasive cleaners.
Troubleshooting
If you encounter issues with your Rain Bird 1ZEHTMR controller, refer to the following common problems and solutions:
| Problem | Possible Cause | Solution |
|---|---|---|
| Controller not watering | Unit is in OFF mode; Batteries are dead or low; Water supply is off; Program not set correctly; Rain delay active. | Turn dial to AUTO; Replace batteries; Turn on water supply; Review and adjust program settings; Check and clear rain delay. |
| Display is blank or dim | Dead or low batteries. | Replace batteries. |
| Watering duration is incorrect | Duration not set correctly in program. | Turn dial to DURATION and adjust settings. |
| Watering occurs on wrong days | Run Days not set correctly. | Turn dial to RUN DAYS and adjust settings for each day. |
| Leakage at connection points | Loose connection; Damaged washer. | Ensure connections are tight; Check and replace rubber washers if damaged. |
Product Specifications
| Feature | Specification |
|---|---|
| Model Number | 1ZEHTMR |
| Brand | Rain Bird |
| Dimensions (Package) | 22 x 20 x 8 cm; 36.29 g |
| Material | Plastic |
| Color | Green/Black/White |
| Display Type | LED |
| Batteries Required | Yes (2 x AA, not included) |
| Assembly Required | No |
| Included Components | Controller, User Manual |
| Care Instructions | Always remove from water supply when freezing temperatures are expected. |
Warranty and Support
Warranty Information
This Rain Bird 1ZEHTMR Digital Electronic Irrigation Controller comes with a 3-year warranty from the date of purchase. This warranty covers defects in materials and workmanship under normal use. Please retain your proof of purchase for warranty claims.
Customer Support
For technical assistance, troubleshooting beyond this manual, or warranty inquiries, please contact Rain Bird customer support. Refer to the contact information provided on the product packaging or the official Rain Bird website.
Ask a question about this manual
Ask about setup, troubleshooting, compatibility, parts, safety, or missing instructions. Manuals+ will review the question and use this page’s manual context to help answer it.