1. Introduction and Overview
The Reloop RT-1 BT is a versatile belt-drive turntable designed for both aspiring DJs and Hi-Fi enthusiasts. It combines classic vinyl playback with modern wireless convenience, featuring integrated Bluetooth for seamless connection to compatible speakers. Its robust construction, including a sturdy chassis and precision-cast platter, ensures stable and distortion-free audio reproduction. The turntable comes equipped with a pre-assembled Ortofon OM Black magnetic pickup system and an integrated phono pre-amplifier, offering flexibility for various audio setups.
2. Safety Instructions
Please read and understand all safety instructions before operating the Reloop RT-1 BT turntable. Retain this manual for future reference.
- Power Supply: Use only the provided power adapter. Ensure the voltage matches your local power supply. Disconnect power during thunderstorms or when unused for extended periods.
- Water and Moisture: Do not expose the unit to rain, moisture, or liquids. Avoid placing objects filled with liquids, such as vases, on or near the turntable.
- Ventilation: Ensure adequate ventilation. Do not block ventilation openings. Install the unit according to the manufacturer's instructions.
- Heat: Do not install near any heat sources such as radiators, heat registers, stoves, or other apparatus (including amplifiers) that produce heat.
- Cleaning: Clean only with a dry cloth. Avoid using liquid or aerosol cleaners.
- Servicing: Do not attempt to service this product yourself. Refer all servicing to qualified service personnel. Servicing is required when the apparatus has been damaged in any way, such as power-supply cord or plug is damaged, liquid has been spilled or objects have fallen into the apparatus, the apparatus has been exposed to rain or moisture, does not operate normally, or has been dropped.
- Placement: Place the turntable on a stable, level surface to prevent vibrations and ensure proper operation.
3. Package Contents
Carefully unpack your Reloop RT-1 BT turntable and verify that all the following components are included:
- Reloop RT-1 BT Turntable Unit
- Aluminum Platter
- Belt Drive (pre-installed or separate)
- Reloop OM Black Pickup System (by Ortofon, pre-assembled on headshell)
- Headshell
- Felt Mat
- Dust Cover (removable acrylic)
- Counterweight
- Audio Cable (RCA)
- Center Adapter (for 45 RPM records)
- Power Supply Unit
- Instruction Manual
4. Setup
Follow these steps to set up your Reloop RT-1 BT turntable for the first time.
4.1 Unpacking and Placement
- Carefully remove all components from the packaging.
- Place the turntable unit on a stable, level surface away from direct sunlight, heat sources, and excessive dust.
4.2 Platter and Belt Installation
- Place the aluminum platter onto the spindle of the turntable.
- If the belt is not pre-installed, carefully loop the drive belt around the motor pulley and the inner rim of the platter.
- Place the felt mat on top of the platter.
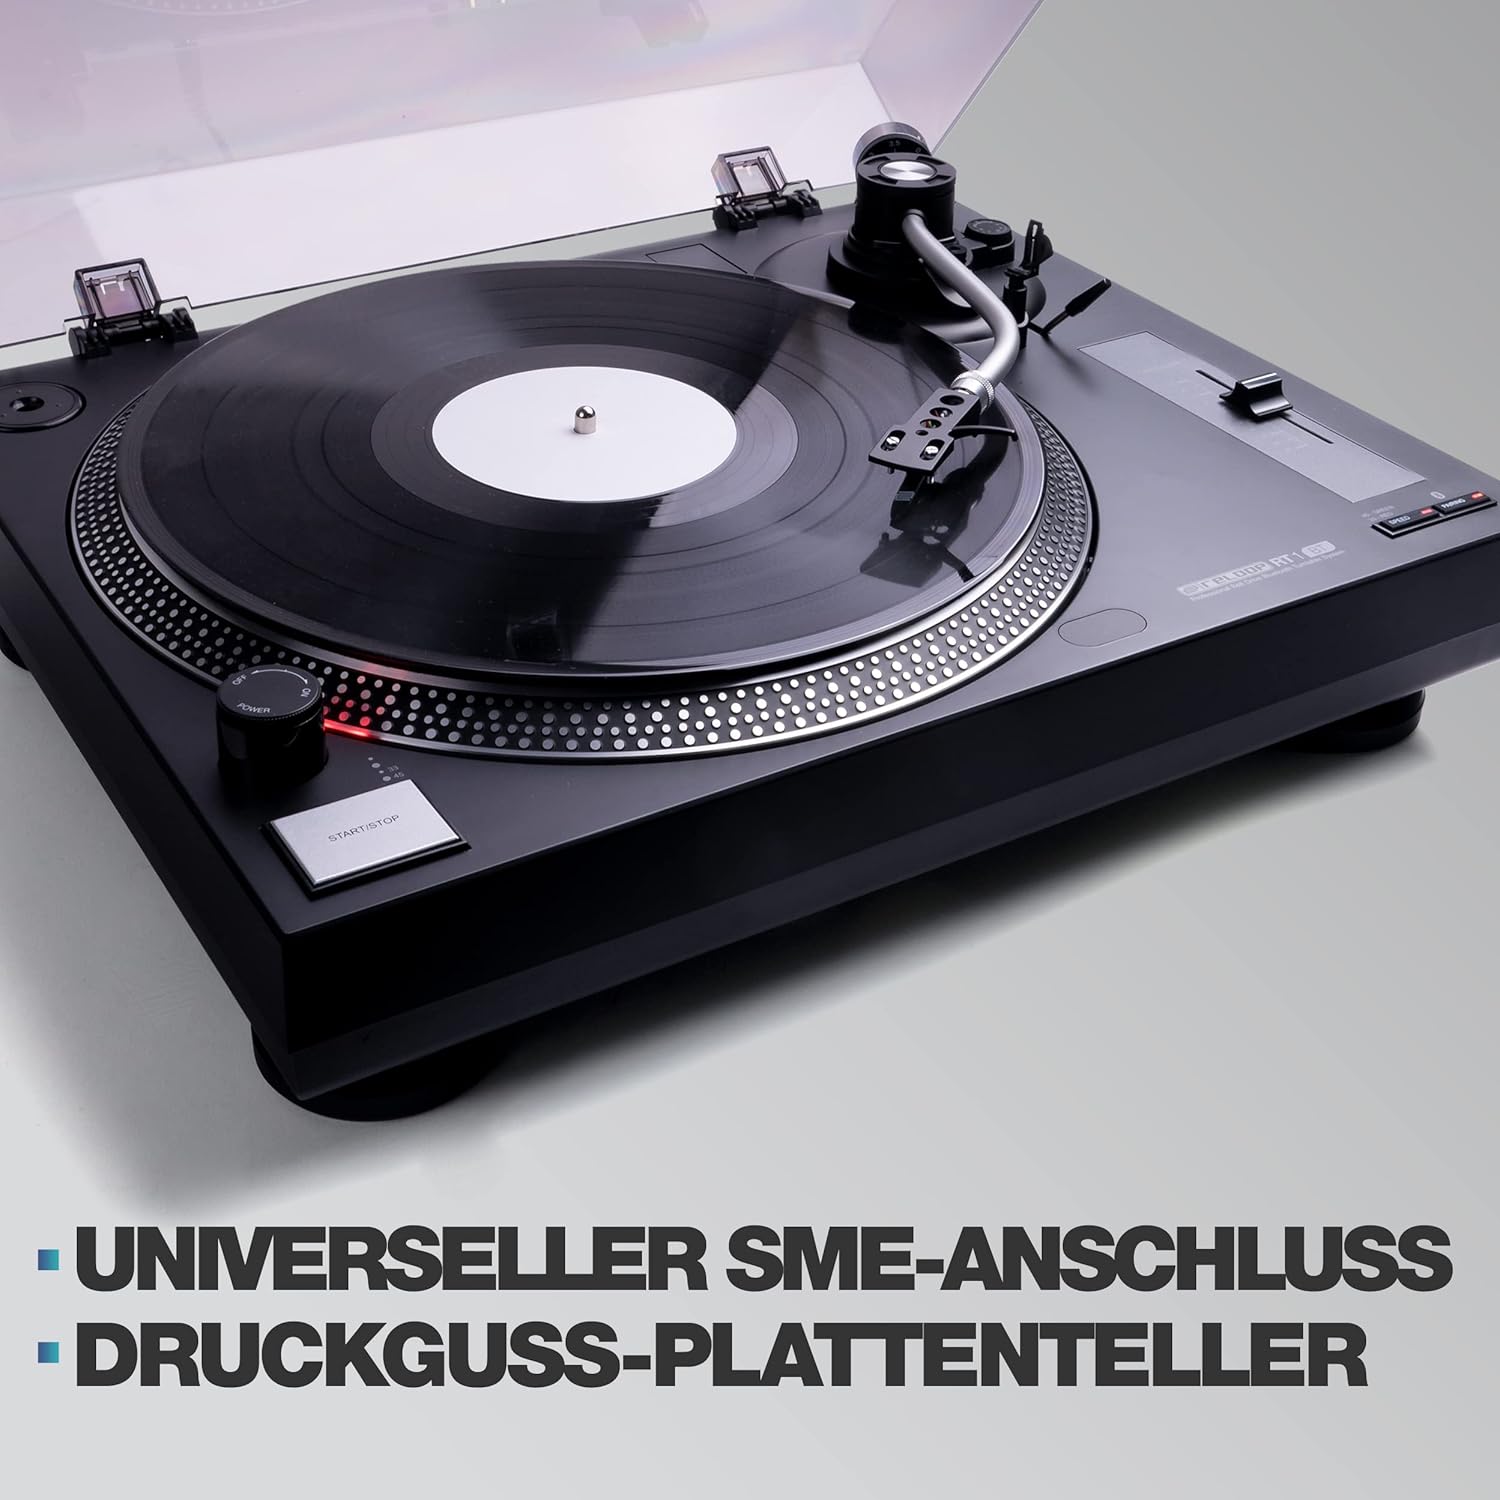
Image: The Reloop RT-1 BT turntable with its aluminum platter and S-shaped tonearm, highlighting the universal SME connection and cast platter.
4.3 Tonearm and Cartridge Setup
- The Ortofon OM Black pickup system is pre-assembled on the headshell. Attach the headshell to the tonearm.
- Install the counterweight onto the rear of the tonearm. Adjust it to balance the tonearm horizontally. Refer to the Ortofon manual for precise tracking force settings (typically 1.5-2.0 grams for OM Black).
- Adjust the anti-skating dial to match the tracking force setting.

Image: The Reloop RT-1 BT turntable shown with its removable acrylic dust cover and the included Reloop OM Black pickup system by Ortofon.
4.4 Audio Connections
The RT-1 BT features an integrated phono pre-amplifier, allowing you to connect it directly to a line-level input on your amplifier or active speakers. You can also use the PHONO output if your amplifier has a dedicated phono input.
- Connect the RCA audio cable from the turntable's output to the appropriate input on your amplifier or powered speakers.
- Select either PHONO or LINE output using the switch on the rear panel, depending on your amplifier's input.

Image: Rear view of the Reloop RT-1 BT turntable, illustrating the integrated phono pre-amplifier and its output connections.
4.5 Power Connection
- Connect the power supply unit to the DC input on the turntable.
- Plug the power adapter into a suitable wall outlet.
5. Operating Instructions
This section details how to operate your Reloop RT-1 BT turntable.
5.1 Playing a Record
- Place a record on the felt mat. For 7-inch records, use the included center adapter.
- Select the correct speed (33 1/3 RPM for LPs, 45 RPM for singles) using the speed selector switch.
- Press the START/STOP button to begin platter rotation.
- Gently lift the tonearm using the cueing lever and position the stylus over the desired groove of the record.
- Lower the cueing lever to slowly drop the stylus onto the record.
- To stop playback, lift the tonearm using the cueing lever, return it to the tonearm rest, and press the START/STOP button.
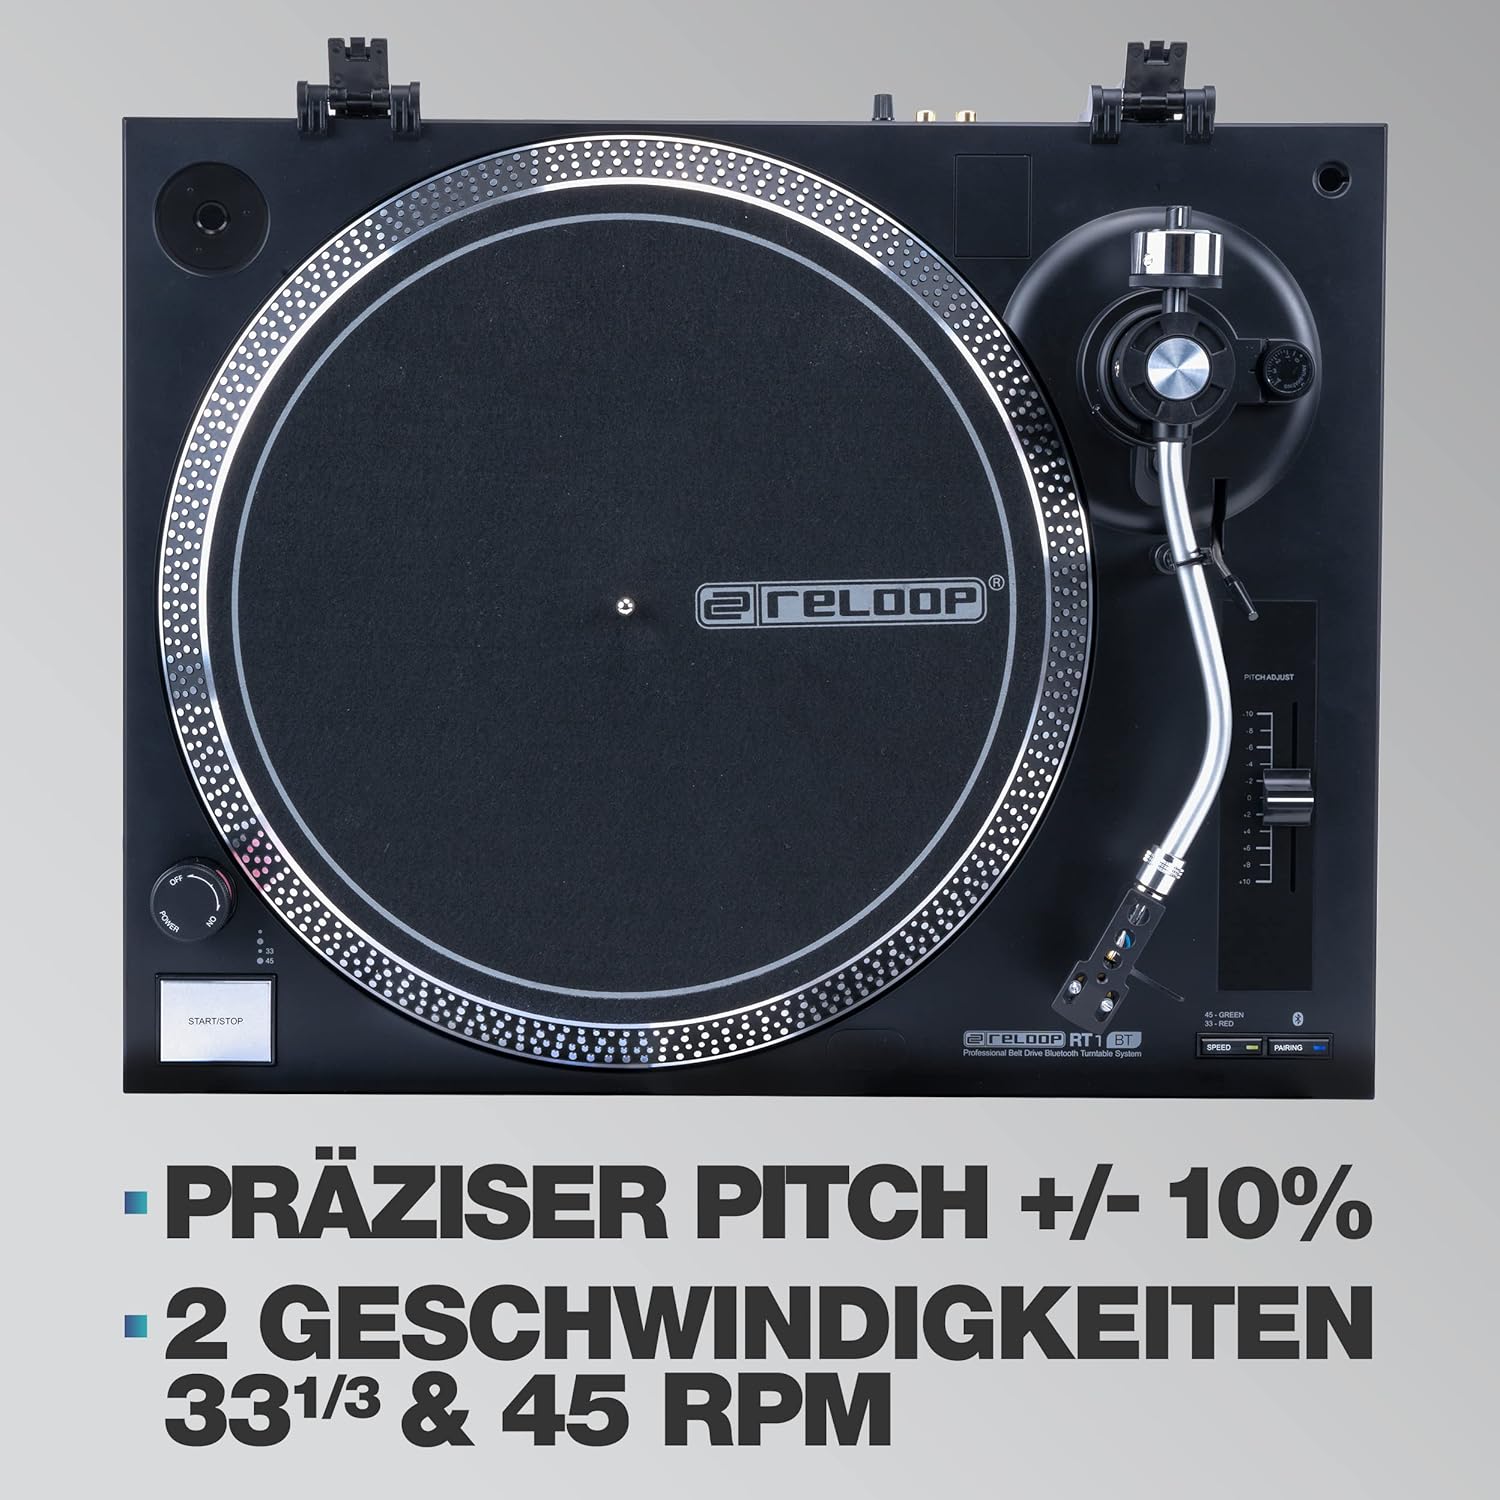
Image: Close-up of the Reloop RT-1 BT turntable's controls, featuring the precise pitch adjustment slider (+/-10%) and the two-speed selector (33 1/3 & 45 RPM).
5.2 Pitch Adjustment
Use the pitch slider to fine-tune the playback speed by +/-10% for precise beat matching or personal preference.
5.3 Bluetooth Connectivity
The RT-1 BT allows wireless audio streaming to Bluetooth-enabled speakers or stereo systems.
- Ensure your Bluetooth speaker or receiver is in pairing mode.
- Press and hold the Bluetooth pairing button on the RT-1 BT (refer to the diagram in your quick start guide for exact location). The Bluetooth indicator light will flash.
- Once successfully paired, the indicator light will remain solid. Audio from the turntable will now stream wirelessly to your connected device.

Image: The Reloop RT-1 BT turntable demonstrating smart connectivity, wirelessly streaming audio to two Bluetooth speakers.
6. Maintenance
Regular maintenance will help ensure the longevity and optimal performance of your turntable.
- Cleaning the Unit: Use a soft, dry, lint-free cloth to wipe the turntable chassis and dust cover. Avoid abrasive cleaners or solvents.
- Stylus Care: Periodically clean the stylus using a soft brush designed for stylus cleaning, brushing gently from back to front. A dirty stylus can degrade sound quality and damage records.
- Dust Cover: Keep the dust cover closed when the turntable is not in use to protect it from dust and debris.
- Belt Inspection: Occasionally inspect the drive belt for signs of wear, stretching, or cracking. Replace the belt if necessary to maintain accurate speed.
7. Troubleshooting
If you encounter issues with your Reloop RT-1 BT, refer to the following common problems and solutions.
| Problem | Possible Cause | Solution |
|---|---|---|
| No sound or low volume |
|
|
| Poor sound quality (distortion, skipping) |
|
|
| Bluetooth connection issues |
|
|
| Incorrect playback speed |
|
|
If the problem persists after trying these solutions, please contact Reloop customer support or your retailer.
8. Specifications
| Feature | Detail |
|---|---|
| Model Name | RT-1 BT |
| Model Number | 245051 |
| Drive Type | Belt Drive |
| Speeds | 33 1/3, 45 RPM (selectable) |
| Pitch Control | +/-10% |
| Tonearm | S-shaped, statically balanced with hydraulic lift and anti-skating |
| Cartridge | Ortofon OM Black (pre-assembled) |
| Pre-amplifier | Integrated Phono Pre-amplifier (switchable PHONO/LINE output) |
| Connectivity | Bluetooth output, RCA audio output |
| Power Source | Corded Electric |
| Color | Black |
| Dimensions (W x D x H) | 53 x 42 x 20.5 cm (approx. 20.9 x 16.5 x 8.1 inches) |
| Weight | 3.96 kg (approx. 8.73 lbs) |
| Compatible Devices | Speakers |
9. Warranty and Support
For warranty information, please refer to the warranty card included with your product or visit the official Reloop website. For technical support, troubleshooting beyond this manual, or service inquiries, please contact your authorized Reloop dealer or Reloop customer service directly. Keep your proof of purchase for warranty claims.


