1. Introduction and Overview
Thank you for choosing the Proventa LED Ceiling Light with Motion Sensor. This product is designed to provide efficient and convenient lighting for indoor spaces, featuring an integrated motion sensor for automatic illumination. Please read this manual thoroughly before installation and use to ensure proper function and safety.

Image 1.1: The Proventa LED Ceiling Light installed, showing its sleek design and warm illumination.
2. Safety Instructions
Always observe the following safety precautions to prevent injury or damage:
- Ensure the power supply is disconnected before installation, maintenance, or cleaning.
- Installation should be performed by a qualified electrician if you are unsure about electrical wiring.
- Do not expose the product to water or excessive moisture (IP20 rating: suitable for dry indoor locations only).
- Do not attempt to modify or disassemble the product.
- Keep out of reach of children.
3. Package Contents
Verify that all components are present in the package:
- Proventa LED Ceiling Light with integrated motion sensor
- Mounting hardware (screws, wall plugs)
- Instruction Manual (this document)
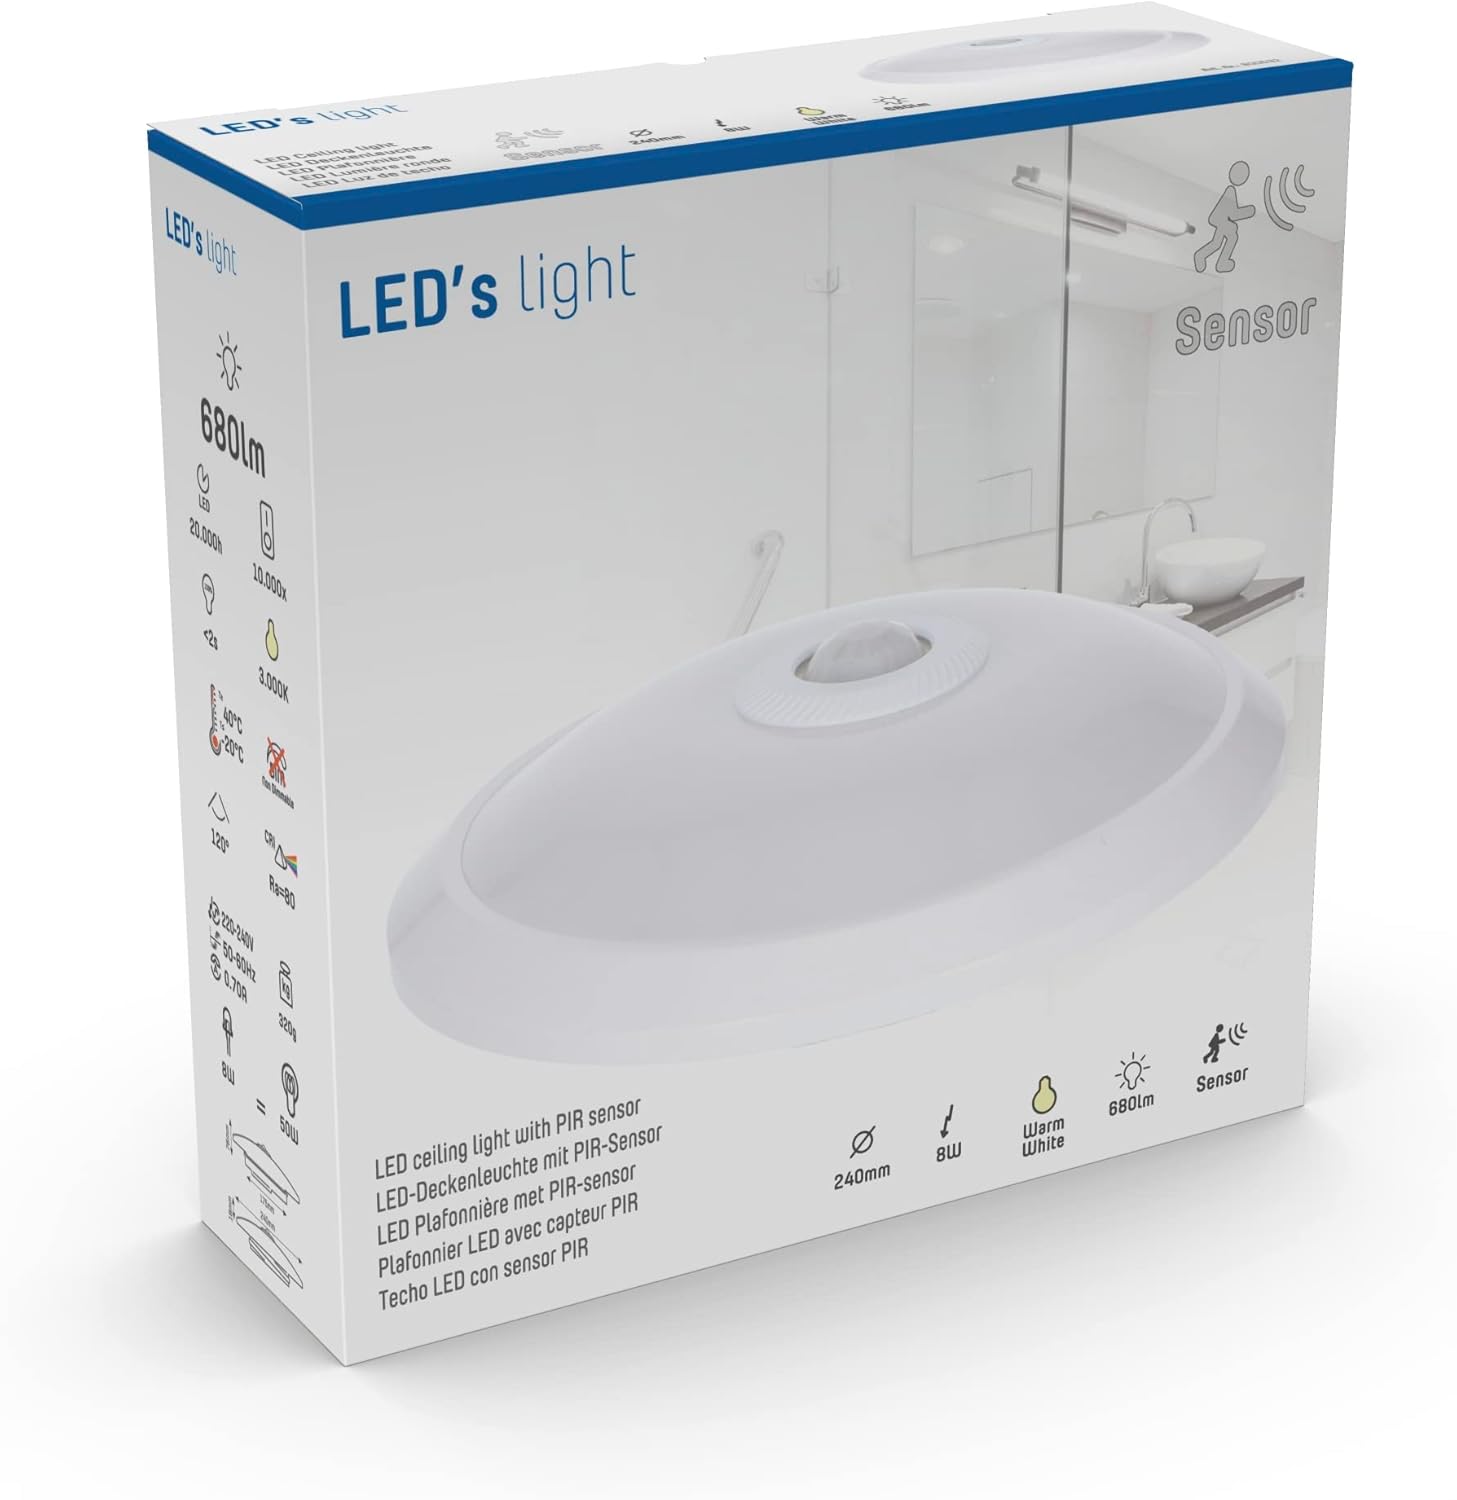
Image 3.1: The product packaging, indicating the contents and key features.
4. Product Features
The Proventa LED Ceiling Light offers the following key features:
- Integrated Motion Sensor: Automatically detects movement to switch the light on and off, providing convenience and energy savings.
- Warm White Illumination: Emits a comfortable 3000K warm white light, ideal for various indoor environments.
- Energy Efficient LED: Utilizes 8W LED technology for bright illumination (680 lumens) with low power consumption.
- Adjustable Settings: Customizable hold time and daylight sensitivity for optimal performance.
- Durable Design: Constructed with metal and aluminum for longevity.

Image 4.1: The ceiling light highlighting its motion sensor capability.
5. Specifications
| Feature | Specification |
|---|---|
| Brand | Proventa |
| Product Dimensions | Ø 24 x 7.6 cm |
| Power Consumption | 8W |
| Luminous Power | 680 lumens |
| Color Temperature | 3000K (Warm White) |
| Color Rendering Index (CRI) | ≥80 |
| Beam Angle | 120 degrees |
| Sensor Type | Daylight, PIR (Passive Infrared) |
| Daylight Sensor Sensitivity | 10 - 200 lx |
| Installation Height Range | 1 - 4 m |
| Motion Detection Speed | 0.6 - 1.5 m/s |
| Maximum Detection Angle | 120 degrees |
| Hold Time (adjustable) | 10 - 1200 seconds |
| Detection Range (typical) | Up to 3 m |
| Protection Class | IP20 |
| Lifespan | 20,000 hours |
| Net Weight | 320 g |
| Material | Metal, Aluminum |
| Power Source | Corded Electric |
| Certifications | CE |
6. Setup and Installation
Important: Ensure the main power supply is turned off at the circuit breaker before beginning installation.
- Prepare the Mounting Surface: Choose a suitable location on the ceiling, ensuring it is clean, dry, and structurally sound. The recommended installation height is between 1 and 4 meters for optimal sensor performance.
- Mark Drilling Points: Use the light fixture's base as a template to mark the drilling points on the ceiling.
- Drill Holes: Drill holes at the marked points and insert the provided wall plugs.
- Connect Wiring: Open the light fixture to access the wiring terminals. Connect the live (L) and neutral (N) wires from your ceiling power supply to the corresponding terminals on the fixture. Ensure connections are secure.

Image 6.1: Internal view showing the L (Live) and N (Neutral) wiring terminals.
- Mount the Fixture: Align the fixture's base with the drilled holes and secure it to the ceiling using the provided screws.
- Restore Power: Once the fixture is securely mounted and wired, restore power at the circuit breaker. The light may turn on briefly as it initializes.
7. Operating Instructions
The Proventa LED Ceiling Light features an integrated PIR motion sensor and a daylight sensor for automatic operation.
Sensor Functionality:
- The light will automatically turn on when motion is detected within its range.
- The light will remain on for the set 'Hold Time' after the last detected motion.
- The daylight sensor prevents the light from turning on if there is sufficient ambient light, saving energy.
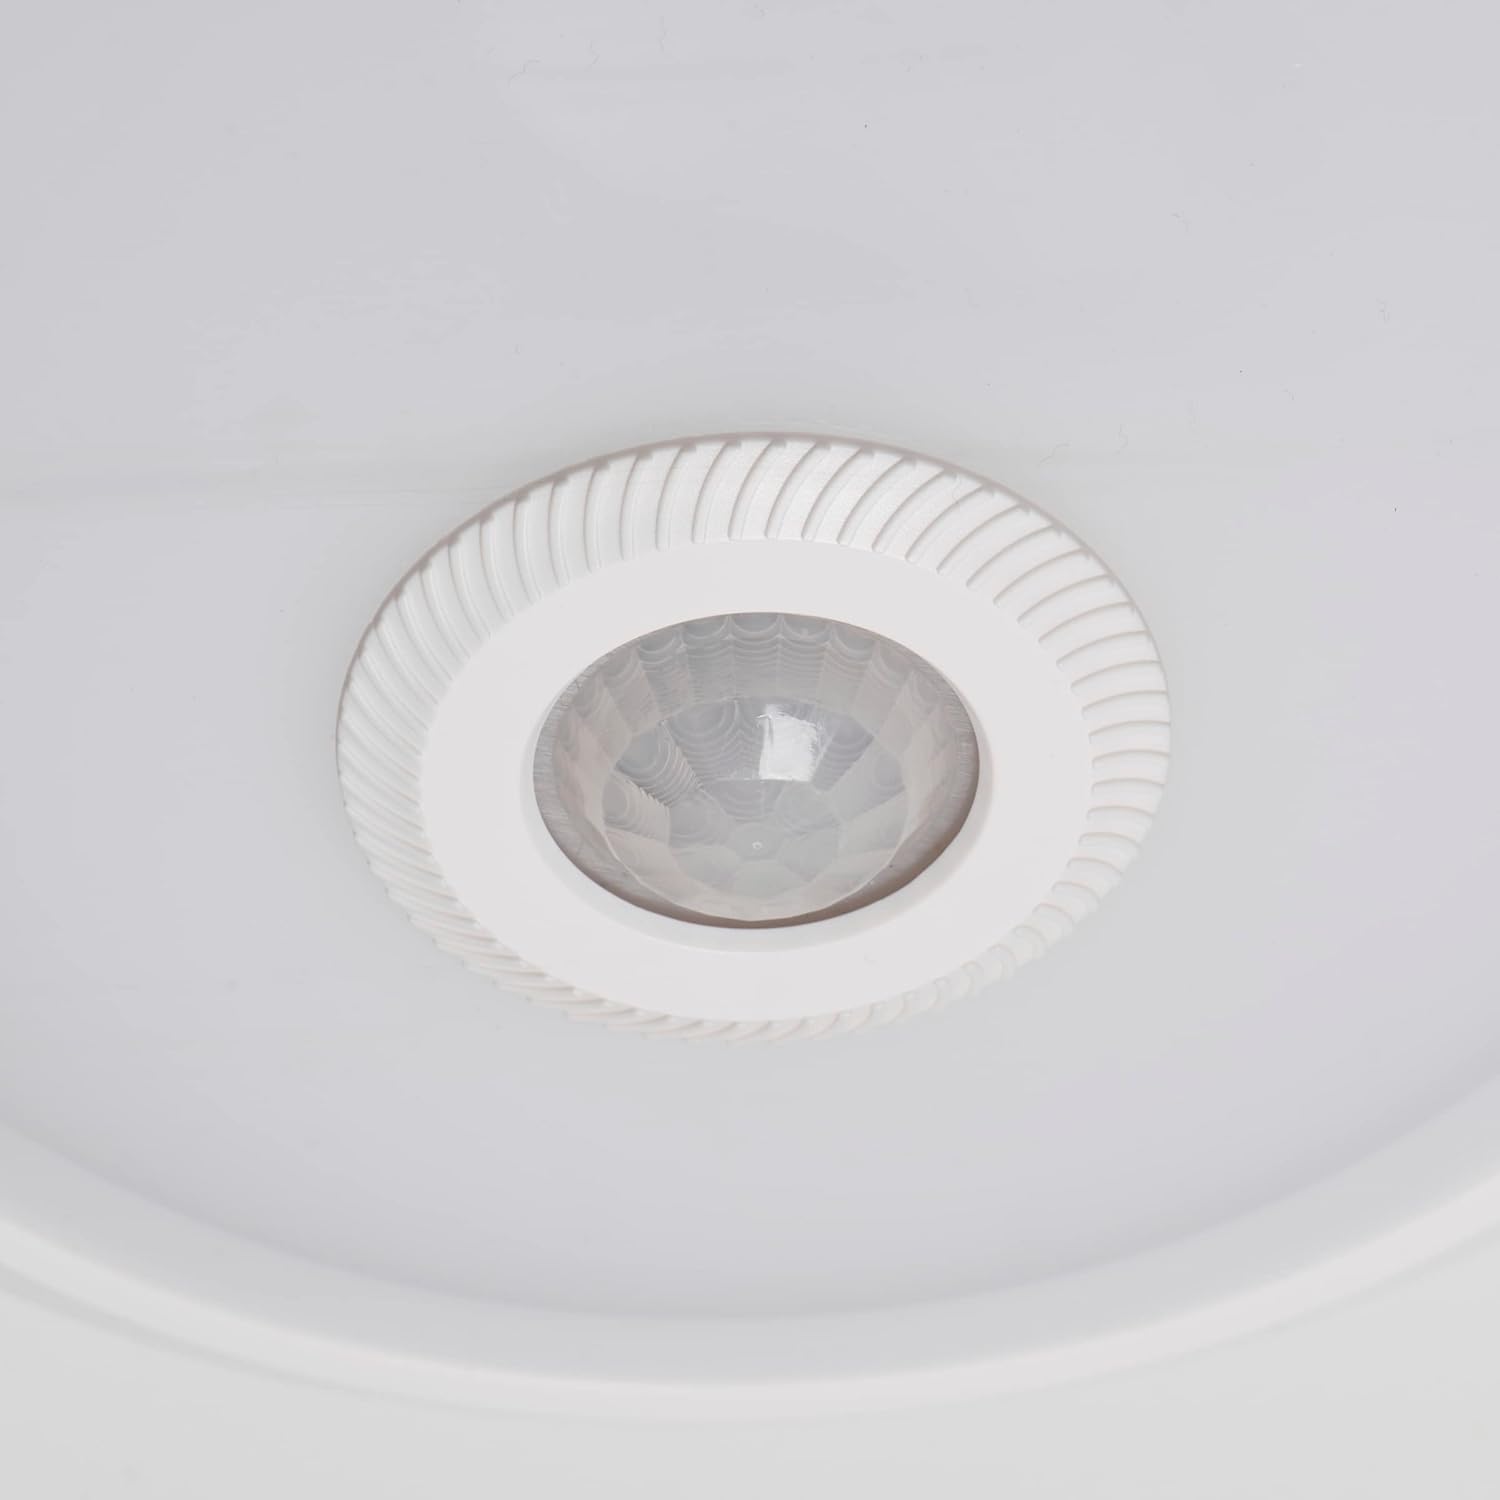
Image 7.1: Detailed view of the integrated motion sensor.
Adjusting Sensor Settings:
The sensor has two adjustable knobs: 'TIME' and 'LUX'. These are typically located near the sensor module inside the fixture.

Image 7.2: Internal view showing the 'TIME' and 'LUX' adjustment controls.
- TIME (Hold Time): This knob adjusts how long the light remains on after motion is no longer detected. Turn clockwise to increase the hold time (from 10 seconds to 1200 seconds).
- LUX (Daylight Sensitivity): This knob determines the ambient light level at which the sensor will activate the light. Turn clockwise for the light to activate only in darker conditions (e.g., night), or counter-clockwise for it to activate in brighter conditions (e.g., dusk). The range is 10 - 200 lx.
Note: Adjust these settings carefully to suit your specific environment and preferences. Test the settings after each adjustment.
8. Maintenance and Care
To ensure the longevity and optimal performance of your Proventa LED Ceiling Light, follow these maintenance guidelines:
- Cleaning: Disconnect power before cleaning. Wipe the fixture with a soft, dry, or slightly damp cloth. Do not use abrasive cleaners, solvents, or harsh chemicals, as these can damage the finish or internal components.
- Bulb Replacement: This fixture uses integrated LED technology, meaning the LED light source is not user-replaceable. The expected lifespan is 20,000 hours.
- Regular Inspection: Periodically check the fixture for any signs of damage or loose connections. If any issues are found, disconnect power and consult a qualified electrician.
9. Troubleshooting
If you encounter issues with your Proventa LED Ceiling Light, refer to the following common problems and solutions:
| Problem | Possible Cause | Solution |
|---|---|---|
| Light does not turn on. | No power supply; incorrect wiring; LUX setting too high (daylight sensor preventing activation); sensor malfunction. | Check circuit breaker and wiring connections. Adjust LUX setting to a lower value. Test sensor by covering it or moving in a dark room. If problem persists, consult an electrician. |
| Light stays on constantly. | Continuous motion detected; TIME setting too long; sensor malfunction. | Ensure no constant motion in the detection area. Adjust TIME setting to a shorter duration. |
| Light turns on/off randomly. | Interference from heat sources (HVAC vents, direct sunlight); sensor sensitivity issues. | Ensure no heat sources are within the sensor's detection range. Adjust LUX setting. |
| Motion not detected. | Obstruction in sensor's field of view; incorrect installation height; LUX setting too low (light always on); sensor malfunction. | Clear any obstructions. Verify installation height is within 1-4m. Adjust LUX setting. |
If the problem persists after trying these solutions, please contact customer support.
10. Recycling and Disposal
This product contains electronic components and should not be disposed of with general household waste. Please follow local regulations for the recycling of electrical and electronic equipment (WEEE Directive). Proper disposal helps prevent potential negative consequences for the environment and human health.
For information on recycling this product and other types of bulbs, please consult your local waste management authority or recycling center.
11. Warranty and Support
Proventa products are manufactured to high-quality standards. For warranty information or technical support, please refer to the warranty card included with your purchase or visit the official Proventa website. Please have your product model number and purchase date ready when contacting support.


