
1. Introduction
This manual provides detailed instructions for the installation, operation, and maintenance of your Roinvou 9-inch HD IPS Car Stereo Radio. Please read this manual thoroughly before installation and use to ensure proper functionality and safety. This unit is designed for Lexus RX300, RX330, RX350, and RX400H models manufactured between 2004 and 2009.
2. Safety Information
- Disconnect Battery: Always disconnect the vehicle's 12V battery before starting any installation or wiring work to prevent electrical shorts and damage.
- Professional Installation Recommended: If you are unsure about any steps, seek professional assistance.
- Wiring: Ensure all wiring connections are secure and insulated to prevent short circuits. Refer to the wiring diagrams provided.
- Driving Safety: Do not operate the unit in a way that distracts you from driving. Always prioritize road safety.
3. Package Contents
Verify that all items listed below are included in your package:
- Lexus RX300 RX330 RX350 RX400H Car Stereo
- Power Cable
- CANBUS Box
- Air Conditioning Adapter Cable
- RCA Cable
- GPS Antenna
- AHD Backup Camera
- External Microphone
- Rear Camera Input Cable
- Dual USB Cable
- Installation Tool

Image: Overview of all components included in the Roinvou car stereo package.
4. Setup and Installation
Follow these steps for proper installation. It is recommended to watch the provided installation video for visual guidance.
4.1. Disassembly of Original Car Stereo
- Shift the gear selector to 'Low' (2-L) position.
- Carefully pry off the lower trim panel around the gear selector.
- Remove the two 10mm bolts securing the lower part of the stereo unit.
- Remove the two 10mm bolts located higher up, behind the main stereo unit.
- Gently pull out the entire stereo and climate control assembly.
- Disconnect all wiring harnesses from the back of the original stereo unit.
Video: Detailed guide on center console disassembly and wiring method for Lexus RX models. This video demonstrates the removal of the original stereo unit and preparation for the new installation.
4.2. Wiring Connections
Connect the provided wiring harness to the new Roinvou stereo and the vehicle's existing wiring. Match colors carefully. Refer to the standard EIA color code for aftermarket stereo installations.

Image: Comparison showing the original Lexus RX dashboard and the new Roinvou stereo installed.
4.2.1. Standard Wiring Color Code (EIA)
| Wire Color | Function |
|---|---|
| Yellow | 12V Battery : Constant (+) |
| Red | 12V Ignition : Switched (+) |
| Black | Chassis Ground (-) |
| Black / White | Factory Amplifier Ground |
| Blue | Antenna Power (when tuner is on) |
| Blue / White | Amplifier Turn-On |
| Orange | Dash Illumination 12V |
| Orange / White | Dash Light Dimmer 1V - 12V |
| Orange / Black | Dimmer Ground (neg. trigger circuits) |
| Brown | Phone Mute |
| White | Left Front Speaker (+) |
| White / Black | Left Front Speaker (-) |
| Gray | Right Front Speaker (+) |
| Gray / Black | Right Front Speaker (-) |
| Green | Left Rear Speaker (+) |
| Green / Black | Left Rear Speaker (-) |
| Purple | Right Rear Speaker (+) |
| Purple / Black | Right Rear Speaker (-) |
Diagram: Standard wiring color codes for aftermarket stereo installations.
4.2.2. Climate Control Resistor (Specific Models)
For proper climate control operation, specific Lexus RX models may require a resistor to be added:
- 2004-2006 RX330 & 2006 RX400H: Add a resistor between the Yellow wire in pin 9 and Brown in pin 10 of the 12-way connector.
- 2007-2009 RX350 & 2007-2009 RX400H (with factory navigation): Add a resistor between the Black wire in pin 9 and White in pin 10 of the 12-way connector.
- 2007-2009 RX350 & 2007-2009 RX400H (without factory navigation): Add a resistor between the Red wire in pin 9 and Black in pin 10 of the 20-way connector.
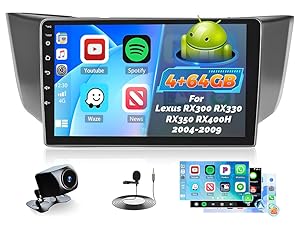
Image: Example of a resistor added to a 12-way connector for climate control functionality.
4.3. Reassembly
Once all wiring is connected, carefully slide the new stereo unit into the dashboard opening. Secure it with the previously removed 10mm bolts. Reattach the trim panels.
5. Operating Instructions
5.1. Initial Power On
After installation, reconnect the vehicle's battery. Turn on the ignition. The unit should power on and display the Android interface.
5.2. Bluetooth Connection
- On the car stereo, navigate to the 'Apps' menu and select 'BT' (Bluetooth).
- On your mobile phone, go to 'Settings' and enable Bluetooth.
- Search for available devices on your phone and select 'CarBT'.
- Enter the PIN '0000' on your phone when prompted.
- Once connected, 'phone audio' and 'media audio' should appear under 'Paired devices' on the car stereo. If not, restart the Bluetooth on both devices.
Video: Demonstrates the process of connecting a mobile phone to the car stereo via Bluetooth for audio and media functions.
5.3. Wireless CarPlay / Android Auto (ZLINK)
- Ensure Bluetooth is connected (see 5.2).
- On the car stereo, navigate to the 'Apps' menu and select 'ZLINK'.
- The ZLINK application will attempt to connect to your phone.
- If the connection is not successful, manually connect to your phone's WiFi hotspot from the car stereo's Android settings. After connecting to WiFi, delete the ZLINK history record on the car stereo, then re-open ZLINK.

Image: Illustrates the wireless CarPlay and Android Auto interface on the Roinvou car stereo.
5.4. GPS Navigation & WiFi
The unit includes a built-in GPS module. Navigation software like Waze and free offline maps can be used. Connect to a WiFi hotspot for online maps and to download apps from the Play Store.
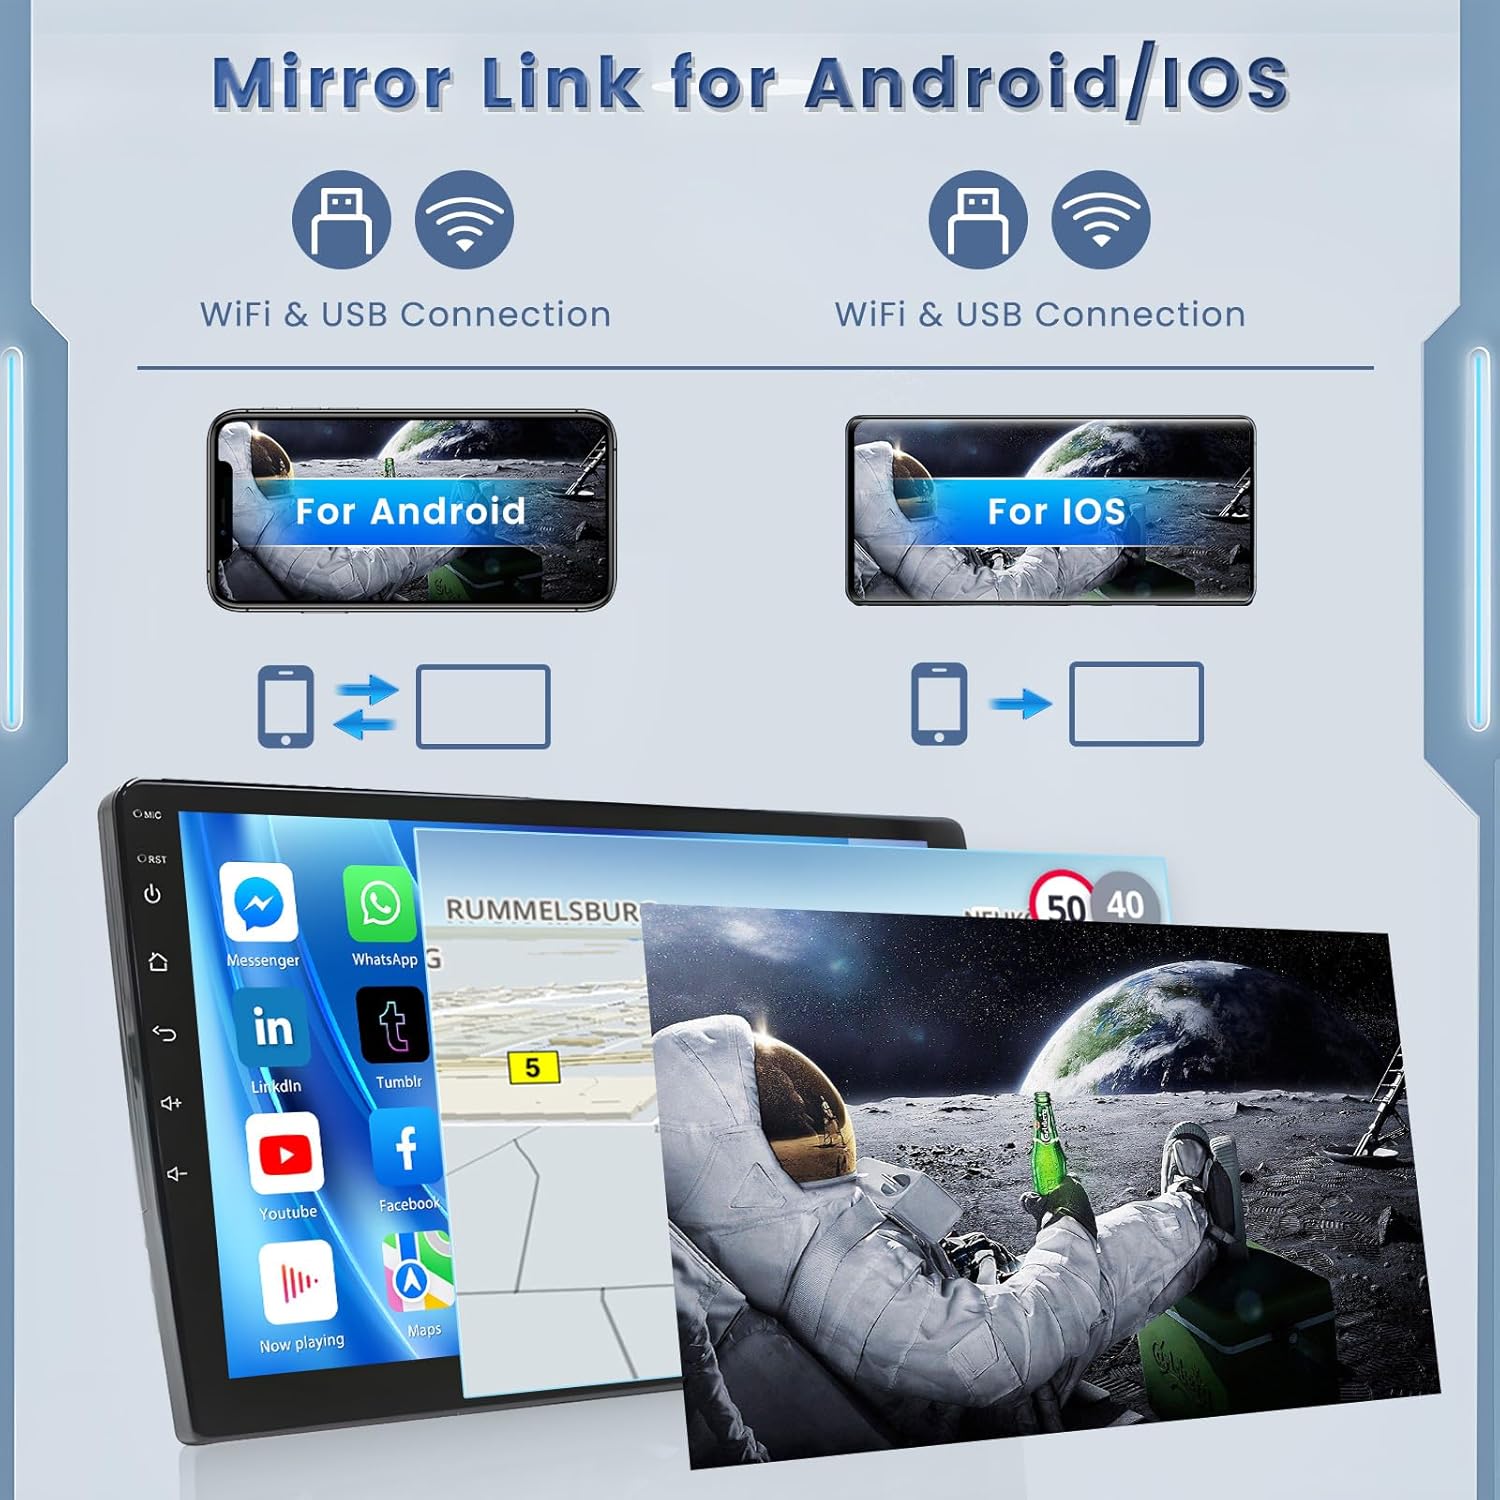
Image: The car stereo displaying GPS navigation and other applications, highlighting WiFi connectivity.
5.5. Android/iOS Mirror Link
Connect your phone via WiFi hotspot/Bluetooth (wireless) or original USB cable (wired) to mirror your phone's screen on the car stereo. Android supports bidirectional control, while iPhone supports unidirectional control.

Image: Visual representation of Mirror Link for both Android and iOS devices, showing connection methods.
5.6. FM/RDS Radio & Hi-Fi Sound
The unit features a stable FM/RDS radio with 18 preset stations and Hi-Fi sound support for a superior music listening experience.
5.7. Steering Wheel Control (SWC)
- Without CANBUS Decoder: Connect the Key1/Key2 wires in the power cable to the corresponding port or wire of your original car. Then, manually match the button functions in the 'SteeringWheelKey' settings.
- With CANBUS Decoder: Connect the CANBUS before powering on the machine. Go to 'Settings' > 'Factory Settings' (Password 8888) > 'Protocol settings'. Select the brand of the CANBUS decoder and the matching model and year.

Image: Guide for setting up steering wheel controls, showing both CANBUS and non-CANBUS methods.
5.8. AHD Backup Camera
The unit supports an AHD backup camera for clear, high-definition reversing images. Ensure the reverse input cable is plugged in, even if the camera is not used, to avoid affecting Bluetooth and WiFi signal reception.

Image: The car stereo screen displaying the clear view from the AHD backup camera.
6. Maintenance
- Cleaning: Use a soft, dry cloth to clean the screen and unit. Avoid abrasive cleaners.
- Software Updates: Periodically check for software updates to ensure optimal performance and access to new features.
- Temperature: Avoid exposing the unit to extreme temperatures.
7. Troubleshooting
- No Power: Check all power connections and vehicle fuses. Ensure the 12V battery is properly connected.
- No Sound: Verify speaker connections. Ensure the amplifier turn-on wire (Blue/White) is connected. Check volume levels and audio settings.
- Bluetooth/WiFi Connectivity Issues: Ensure both devices have Bluetooth/WiFi enabled. Try restarting Bluetooth on both devices or manually connecting to WiFi hotspot as described in section 5.3.
- Steering Wheel Controls Not Working: Recheck SWC wiring. If using CANBUS, verify protocol settings. If not using CANBUS, ensure manual mapping is correct.
- Climate Control Issues: For specific models, ensure the correct resistor is installed as per section 4.2.2.
8. Specifications
| Feature | Detail |
|---|---|
| Operating System | Android 13 |
| Memory | 2GB RAM + 64GB ROM |
| Display Size | 9 Inches |
| Resolution | 1024 x 600 HD IPS |
| Connectivity | Bluetooth, USB, Wi-Fi |
| Special Features | Wireless CarPlay, Android Auto, Hi-Fi Sound, FM/RDS, Mirror Link, GPS Navigation, EQ Settings, SWC, AHD Backup Camera |
| Item Weight | 3.08 pounds |
| Product Dimensions | 12.6 x 3.82 x 5.91 inches |
9. Warranty and Support
This Roinvou car stereo comes with a 1-Year Warranty. For any questions, technical support, or warranty claims, please contact Roinvou customer service. You can typically find contact information on the seller's page or through the Amazon platform.

Image: Roinvou customer support details, including email address.


