
1. Introduction
The Viessmann 7784189 Programmable Wireless Room Thermostat is designed to provide precise temperature control for your heating system, enhancing comfort and energy efficiency. This manual provides detailed instructions for the installation, operation, and maintenance of your thermostat. Please read this manual thoroughly before attempting to install or operate the device.
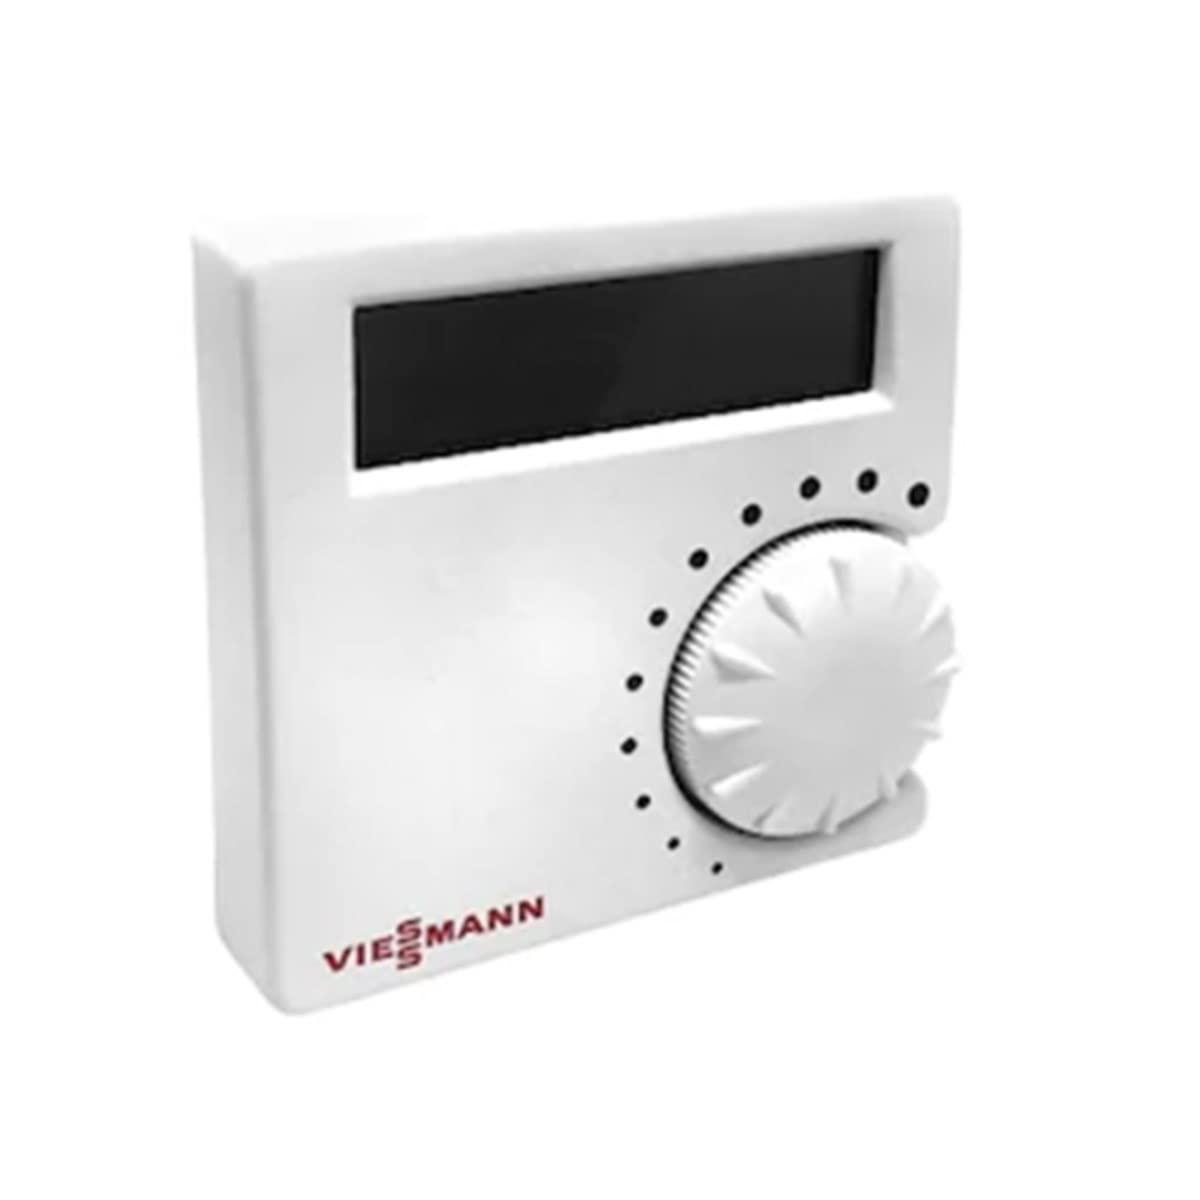
This image shows the front view of the Viessmann 7784189 programmable wireless room thermostat, featuring its digital display and control buttons.
2. Safety Information
Please observe the following safety precautions to prevent damage to the device or personal injury:
- Always disconnect power to the heating system before performing any installation or maintenance.
- Installation should be performed by a qualified and authorized professional in accordance with local electrical codes and regulations.
- Do not expose the device to moisture, water, or extreme temperatures.
- Do not open the device casing; there are no user-serviceable parts inside.
- Keep the device out of reach of children.
- Use only the specified battery type for the thermostat unit.
3. Setup
3.1 Package Contents
Ensure all components are present:
- Viessmann 7784189 Wireless Room Thermostat Unit
- Receiver Unit
- Mounting Screws and Wall Plugs
- User Manual (this document)
Note: 2 x 1.5V AA Alkaline batteries for the thermostat unit are not included and must be supplied by the installer.
3.2 Compatibility
The Viessmann 7784189 Wireless Room Thermostat is compatible with the following Viessmann boiler models:
- Vitodens 050-T/050-W
- Vitodens 100-W
- Vitopend 100-W
3.3 Installation Steps
- Mount the Receiver Unit: Choose a suitable location near your boiler for the receiver unit. Ensure it is easily accessible and away from direct heat sources or moisture. Secure it to the wall using the provided screws.
- Wire the Receiver Unit: Connect the receiver unit to your boiler's control terminals. Refer to your boiler's specific wiring diagram for correct connections. The receiver unit requires an AC 230V power supply. This step must be performed by a qualified professional.
- Insert Batteries into Thermostat Unit: Open the battery compartment on the back of the thermostat unit and insert 2 x 1.5V AA Alkaline batteries, observing the correct polarity. Close the compartment securely.
- Mount the Thermostat Unit: Select a central location in the room where temperature control is desired. Avoid areas with direct sunlight, drafts, or close to heat-emitting appliances. Mount the thermostat unit to the wall using the provided screws.
- Pairing (if necessary): The thermostat and receiver units are typically pre-paired. If pairing is required, follow the on-screen instructions on the thermostat or refer to the specific pairing procedure in the supplementary documentation provided with the product.
4. Operating Instructions
4.1 Powering On
Once batteries are inserted and the receiver is powered, the thermostat display should illuminate. The current room temperature will be shown.
4.2 Setting the Temperature
Use the UP/DOWN buttons (or similar controls on your specific model) to adjust the desired set temperature. The thermostat allows for a temperature set range of 5°C to 35°C, with a sensitivity of 0.2°C.
4.3 Temperature Display
The thermostat displays the current room temperature within a range of -9.9°C to 50°C, with a sensitivity of 0.2°C.
4.4 Programming Schedules
As a programmable thermostat, the device allows you to set daily or weekly heating schedules. This feature helps optimize energy consumption and ensures comfort when needed. Refer to the on-screen menu and navigation buttons to access and configure your desired heating programs. Typically, you can set different temperatures for various times of the day or days of the week.
4.5 Operating Delay (Hysteresis)
The thermostat features an operating delay, or hysteresis, which is factory set to 0.2°C. This means the heating system will activate when the room temperature drops 0.2°C below the set temperature and deactivate when it rises 0.2°C above the set temperature, preventing rapid cycling of the boiler.
5. Maintenance
5.1 Battery Replacement
When the low battery indicator appears on the thermostat display, replace the 2 x 1.5V AA Alkaline batteries. Open the battery compartment, remove old batteries, insert new ones observing polarity, and close the compartment.
5.2 Cleaning
Clean the thermostat and receiver units with a soft, dry cloth. Do not use abrasive cleaners, solvents, or chemical sprays, as these can damage the device's surface or internal components.
5.3 Periodic Inspection
Periodically check the wiring connections at the receiver unit to ensure they are secure. If any damage is observed, contact a qualified technician.
6. Troubleshooting
If you encounter issues with your thermostat, refer to the following common problems and solutions:
| Problem | Possible Cause | Solution |
|---|---|---|
| Thermostat display is blank. | Dead batteries in thermostat unit. | Replace AA alkaline batteries. |
| Heating system not responding to thermostat. | Receiver unit not powered or incorrectly wired. Thermostat and receiver not paired. Boiler issue. | Check power to receiver. Verify wiring (professional). Re-pair thermostat and receiver. Check boiler status. |
| Incorrect room temperature reading. | Thermostat exposed to direct sunlight, drafts, or heat sources. | Relocate thermostat to a more suitable position. |
| Heating cycles too frequently or infrequently. | Operating delay (hysteresis) setting. | The operating delay is factory set to 0.2°C. This is normal operation. |
If the problem persists after attempting these solutions, please contact Viessmann customer support.
7. Specifications
| Feature | Detail |
|---|---|
| Model Number | 7784189 |
| Product Type | Programmable Wireless Room Thermostat |
| Brand | Viessmann |
| Compatible Devices | Vitodens 050-T/050-W, Vitodens 100-W, Vitopend 100-W |
| Thermostat Power Supply | 2 x 1.5V AA Alkaline batteries (not included) |
| Receiver Power Supply | AC 230V |
| Switching Capacity | Min. 1 mA, Max. 2A - 30 VDC, Max. 0.25A - 230 VAC |
| Temperature Set Range | 5°C - 35°C (0.2°C sensitivity) |
| Temperature Display Range | -9.9°C - 50°C (0.2°C sensitivity) |
| Operating Delay (Hysteresis) | Factory set value - 0.2°C |
| ASIN | B0BL1B86XN |
| First Available Date | October 31, 2022 |
8. Warranty and Support
For detailed information regarding the product warranty, please refer to the warranty card included with your purchase or visit the official Viessmann website. For technical support, troubleshooting assistance beyond this manual, or to inquire about spare parts, please contact Viessmann customer service directly. Contact details can typically be found on the Viessmann website or in your product packaging.


