
1. Introduction
Thank you for choosing the Front Runner Easy-Out Awning. This manual provides essential information for the safe and effective installation, operation, and maintenance of your awning. Please read these instructions thoroughly before use to ensure optimal performance and longevity of your product.
2. Important Safety Information
Adhering to these safety guidelines is crucial for preventing injury and damage to your equipment.
- Always ensure the awning is properly mounted to a suitable roof rack system.
- Use guy lines and tent stakes for stability, especially in windy conditions, to prevent the awning from collapsing or being damaged.
- Be aware of potential overhang on certain vehicle types and ensure it does not obstruct visibility or vehicle operation.
- Always use proper lifting techniques when setting up or taking down the awning. It may require two people for safe handling.
- Store the awning properly in its protective cover when not in use to shield it from environmental damage.
- Do not use the awning as a shelter during severe weather conditions such as heavy storms, strong winds, or heavy snowfall.
3. Package Contents
Verify that all components are present before beginning installation:
- Front Runner Easy-Out Awning (2M)
- Heavy-duty PVC coated 650g nylon travel cover
- Telescopic aluminum twist-lock upright poles (integrated)
- Telescopic aluminum rafter poles (integrated)
- Reflective guy ropes
- Tent stakes
- Mounting hardware (specific to roof rack, may be sold separately)
4. Setup and Installation
The Easy-Out Awning is designed for quick deployment and attachment to your vehicle's roof rack. Ensure your roof rack is compatible and securely installed before mounting the awning.
4.1. Mounting the Awning to Your Roof Rack
The awning typically mounts to the side of your roof rack. Specific mounting brackets may vary depending on your roof rack model. Refer to your roof rack's instructions for proper attachment of the awning brackets.

Image: The Front Runner Easy-Out Awning in its compact, travel-ready state, enclosed within its protective cover on the roof rack.
4.2. Initial Setup (First Use)
- Unzip the heavy-duty PVC cover along the length of the awning.
- Roll out the awning fabric from its housing.
- Extend the telescopic aluminum rafter poles outwards from the awning housing.
- Extend the telescopic aluminum upright poles to the desired height (up to 2.4m maximum) and secure them by twisting the lock mechanism. The poles have spikes for secure ground placement.
- Secure the awning to the ground using the provided reflective guy ropes and tent stakes. This is crucial for stability.
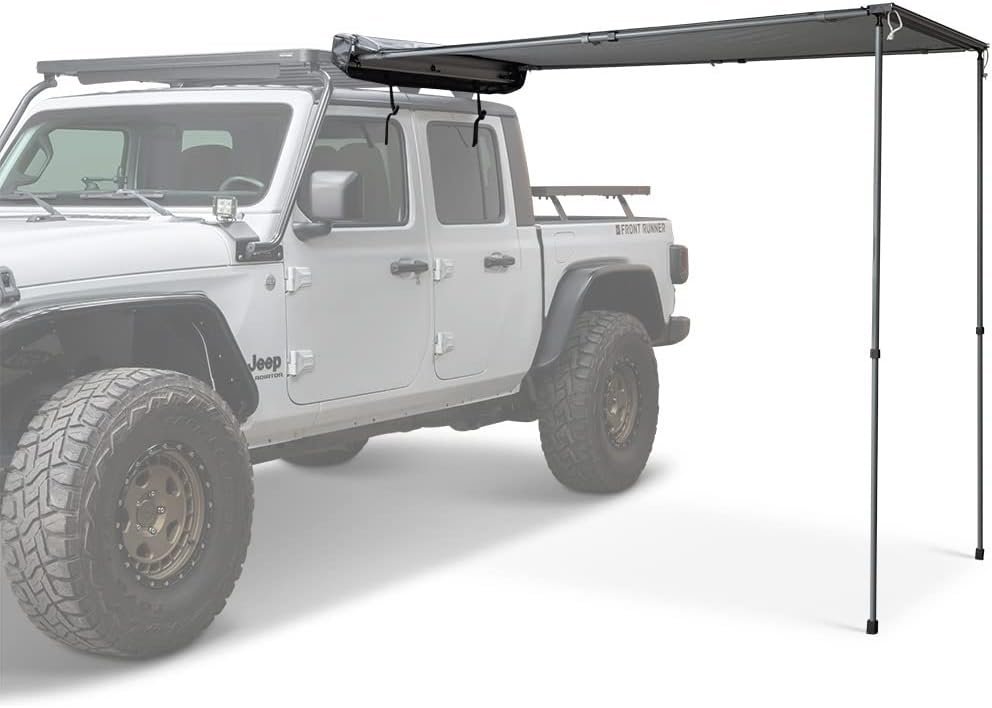
Image: The Front Runner Easy-Out Awning shown fully extended from the side of a vehicle, providing shade.
5. Operating the Awning
5.1. Deploying the Awning
- Park your vehicle on a level surface and engage the parking brake.
- Unzip the awning cover.
- Grasp the front edge of the awning fabric and pull it outwards from the vehicle.
- Extend the integrated rafter poles to create the canopy structure.
- Extend the integrated upright poles to the desired height and lock them into place.
- Secure the upright poles to the ground using the tent stakes.
- Attach the guy ropes to the awning and stake them firmly into the ground at an angle to provide additional stability, especially in breezy conditions.
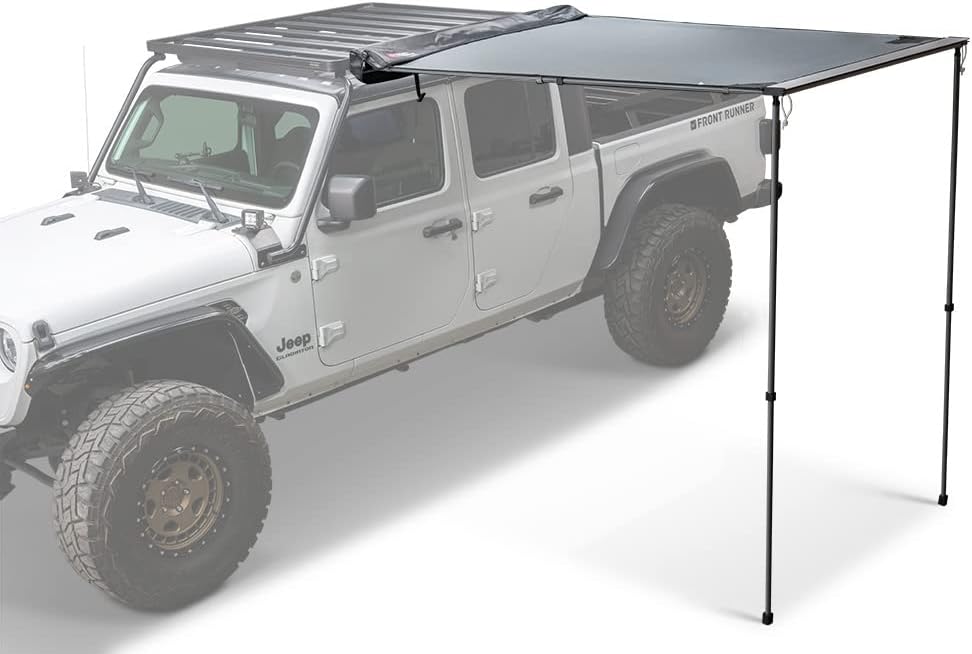
Image: A wider view of the deployed awning, illustrating its coverage area next to a vehicle.

Image: Detail of the awning's internal structure, showing the aluminum rafters and adjustable support poles.
5.2. Retracting the Awning
- Remove all guy ropes and tent stakes from the ground.
- Collapse the telescopic upright poles and rafter poles.
- Carefully roll the awning fabric back into its housing, ensuring it is neat and free of wrinkles to prevent damage.
- Zip up the heavy-duty PVC cover completely to protect the awning during transit and storage.

Image: The durable zipper mechanism on the PVC-coated nylon cover, designed for secure closure.
6. Maintenance and Care
Regular maintenance will extend the life of your Front Runner Easy-Out Awning.
- Cleaning: Clean the awning fabric with mild soap and water. Do not use harsh chemicals or abrasive cleaners. Ensure the awning is completely dry before stowing to prevent mold and mildew.
- Pole Care: Keep the telescopic poles clean and free of dirt or sand. Lubricate moving parts periodically with a silicone-based spray to ensure smooth operation.
- Cover Care: Inspect the PVC cover for tears or damage. Repair any damage promptly to maintain its protective qualities.
- Storage: Always store the awning in its protective cover when not in use. If possible, store it in a cool, dry place away from direct sunlight.
- Inspection: Periodically check all mounting hardware, poles, ropes, and fabric for signs of wear, corrosion, or damage. Replace any worn or damaged components immediately.
7. Troubleshooting
Here are solutions to common issues you might encounter:
- Awning not stable: Ensure all upright poles are fully extended and locked. Verify that guy ropes are properly staked and taut. Check that the awning is securely mounted to the roof rack.
- Difficulty extending/retracting poles: Clean any dirt or debris from the telescopic sections. Apply a small amount of silicone lubricant to the pole joints.
- Awning fabric sagging: Ensure rafter poles are fully extended and properly tensioned. Adjust the height of the upright poles to create proper tension.
- Water pooling on awning: Adjust the angle of the awning slightly to allow water to run off. Ensure proper tension to prevent sagging.
8. Product Specifications
| Feature | Detail |
|---|---|
| Model Number | AWNI100 |
| Material | PVC-coated nylon |
| Color | Black |
| Size (Deployed) | 2m wide x 2.1m projection (6.56' x 6.89') |
| Item Weight | 30 Pounds |
| Product Dimensions (Stowed) | 8.27 x 8.27 x 8.27 inches |
| Operation Mode | Manual |
| Assembly Required | Yes |
9. Official Product Videos
The following video demonstrates the use of Front Runner camping solutions, including an awning similar to this product, providing a visual guide to setup and outdoor living.
Video: 'Camping Solutions - By Front Runner' demonstrates various Front Runner products in a camping setup, including the deployment of an awning and other gear.
10. Warranty and Support
For warranty information, product support, or to purchase replacement parts, please visit the official Front Runner website or contact their customer service department. Keep your proof of purchase for any warranty claims.