Introduction
This manual provides detailed instructions for the setup, operation, and maintenance of your LFF Atomic Clock Model LWC204. This digital clock features a large, easy-to-read display, atomic time synchronization, and a wireless sensor for indoor and outdoor temperature readings. Please read this manual thoroughly before use to ensure proper functionality and longevity of your device.
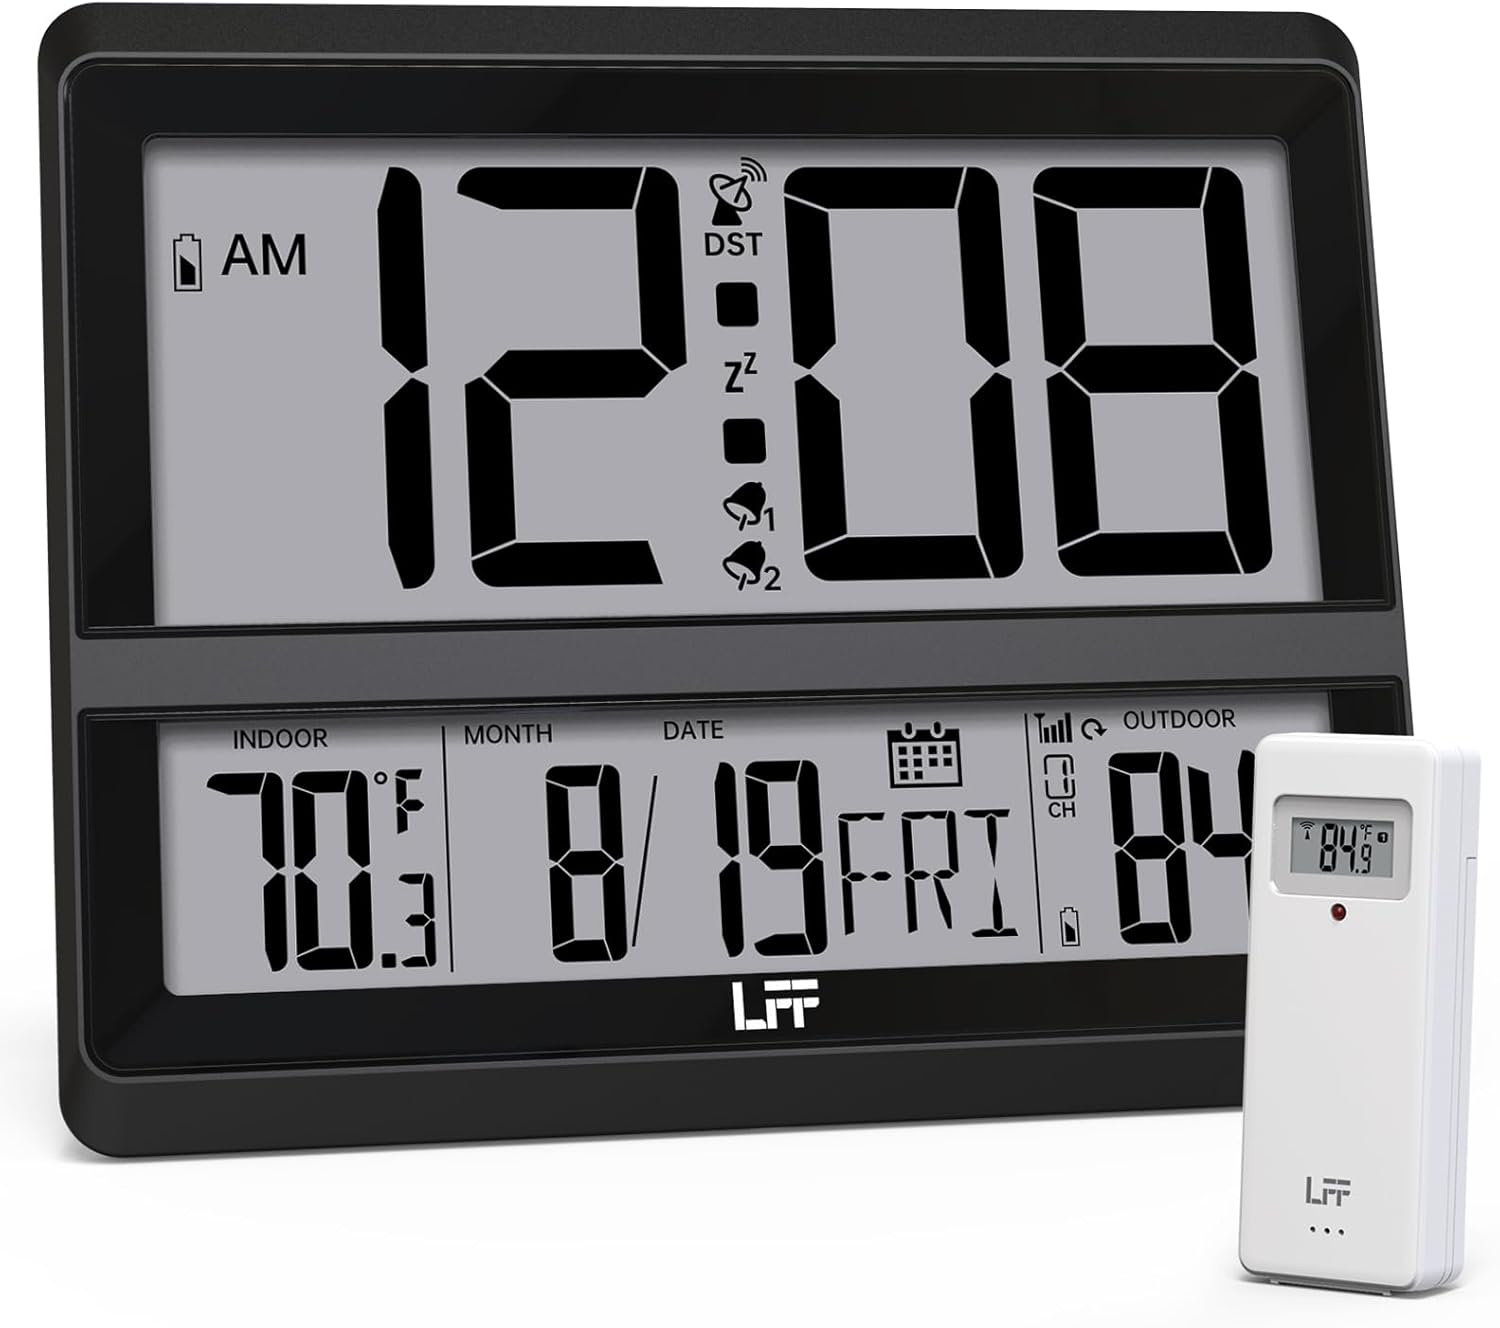
Image: The LFF Atomic Clock main unit with its wireless outdoor temperature sensor.
Package Contents
- LFF Atomic Clock Main Unit
- Wireless Outdoor Temperature Sensor
- Instruction Manual (this document)
- Bracket for table standing
Note: Batteries are not included. The main clock unit requires 3x AA batteries, and the outdoor sensor requires 2x AAA batteries.
Product Overview
Familiarize yourself with the main components and controls of your LFF Atomic Clock.

Image: Front display and rear button layout of the LFF Atomic Clock.
Display Features:
- Time Display: Large digits for current time (12/24 Hour format).
- AM/PM Indicator: For 12-hour format.
- DST Symbol: Indicates Daylight Saving Time is active.
- RCC Reception Icon: Shows status of atomic time signal reception.
- Alarm Icons (Zz, 1, 2): Indicate active alarms and snooze function.
- Indoor Temperature: Current temperature inside (°C/°F).
- Outdoor Temperature: Current temperature from wireless sensor (°C/°F).
- Date & Weekday: Month, Day, and Day of the Week.
- Low Battery Indicator: For both main unit and outdoor sensor.
Rear Buttons:
- SET Button: Enters setting mode.
- ALARM Button: Accesses alarm settings.
- CHANNEL Button: Cycles through outdoor sensor channels (if multiple sensors are used).
- DOWN/WAVE/°C/°F Button: Decreases values in setting mode, manually initiates atomic signal search (WAVE), or switches temperature units.
- UP/ALARM Button: Increases values in setting mode, or activates/deactivates alarm.
Setup
1. Battery Installation
- Outdoor Sensor:
- Open the battery compartment on the back of the wireless outdoor sensor.
- Insert 2x AAA batteries, observing the correct polarity (+/-).
- Close the battery compartment securely.
- Note: For temperatures below -4°F (-20°C), Lithium batteries are recommended for the outdoor sensor.
- Main Clock Unit:
- Open the battery compartment on the back of the main clock unit.
- Insert 3x AA batteries, observing the correct polarity (+/-).
- Close the battery compartment securely.

Image: Battery compartments for the main clock and outdoor sensor.
2. Initial Synchronization and Settings
Upon battery installation, the clock will automatically begin searching for the WWVB atomic time signal and attempt to connect with the outdoor sensor.
- The RCC Reception Icon will flash during the atomic signal search. This process may take several minutes or up to 24 hours depending on signal strength.
- The outdoor temperature should appear on the display within a few minutes after the sensor batteries are installed. If not, press the CHANNEL button on the main unit to cycle through channels or press the reset button on the outdoor sensor.
3. Manual Settings (if needed)
If the atomic signal is not received or you wish to adjust settings manually:
- Time Zone Setting:
- Press and hold the SET button for 3 seconds to enter time zone setting.
- Use the UP/ALARM or DOWN/WAVE/°C/°F buttons to select your time zone (e.g., PST, MST, CST, EST).
- Press SET to confirm and move to the next setting.
- 12/24 Hour Format:
- After time zone, the hour format will flash. Use UP/ALARM or DOWN/WAVE/°C/°F to select 12-hour or 24-hour format.
- Press SET to confirm.
- Manual Time and Date Setting:
- Continue pressing SET to cycle through Year, Month, Day, Hour, Minute settings.
- Use UP/ALARM or DOWN/WAVE/°C/°F to adjust each value.
- Press SET to confirm each setting.
- Daylight Saving Time (DST):
- After setting the time, the DST setting will flash. Use UP/ALARM or DOWN/WAVE/°C/°F to enable or disable DST.
- Press SET to exit setting mode.

Image: The clock automatically corrects time daily via WWVB signal.
4. Outdoor Sensor Placement
- Place the wireless outdoor sensor within 330 feet (100 meters) of the main unit.
- Choose a shaded location to avoid direct sunlight, which can affect temperature accuracy.
- Ensure the sensor is protected from direct rain and snow.
- Avoid placing the sensor near large metal objects or electrical appliances that may interfere with the wireless signal.

Image: Wireless range of 330 feet for the outdoor sensor.
Operating Instructions
1. Display Modes
- The clock continuously displays time, indoor temperature, outdoor temperature, date, and day of the week.
- Press the DOWN/WAVE/°C/°F button to switch between Celsius (°C) and Fahrenheit (°F) for temperature display.
2. Alarm Function
- Setting the Alarm:
- Press the ALARM button once to display Alarm 1 time. Press again for Alarm 2.
- While an alarm time is displayed, press and hold the ALARM button for 3 seconds to enter alarm setting mode. The hour will flash.
- Use UP/ALARM or DOWN/WAVE/°C/°F to adjust the hour. Press ALARM to confirm.
- The minute will flash. Use UP/ALARM or DOWN/WAVE/°C/°F to adjust the minute. Press ALARM to confirm and exit alarm setting.
- Activating/Deactivating Alarm:
- Press the ALARM button to display Alarm 1 or Alarm 2.
- Press the UP/ALARM button to toggle the alarm ON or OFF. The corresponding alarm icon (1 or 2) will appear/disappear on the display.
- Snooze Function:
- When the alarm sounds, press the SNOOZE button (usually located on top or a dedicated button) to activate snooze. The alarm will sound again after approximately 5-10 minutes.
- To stop the alarm completely, press any other button (e.g., ALARM, SET).
3. Manual Atomic Signal Search
If you wish to manually initiate a search for the WWVB atomic time signal, press and hold the DOWN/WAVE/°C/°F button for 3 seconds. The RCC Reception Icon will flash, indicating the search is in progress.
Maintenance
- Cleaning: Wipe the clock and sensor with a soft, dry cloth. Do not use abrasive cleaners or solvents.
- Battery Replacement: When the low battery indicator appears on the display for either the main unit or the outdoor sensor, replace the batteries promptly to ensure continuous operation and accurate readings. Refer to the "Battery Installation" section for details.
- Storage: If storing the device for an extended period, remove all batteries to prevent leakage.
Troubleshooting
| Problem | Possible Cause | Solution |
|---|---|---|
| No display on main unit. | Batteries are dead or incorrectly installed. | Check battery polarity and replace with fresh AA batteries. |
| Outdoor temperature not displayed or incorrect. |
|
|
| Atomic time signal not received (RCC icon flashing or not displayed). |
|
|
| Time is incorrect after atomic synchronization. | Incorrect time zone setting. | Adjust the time zone setting as described in the "Manual Settings" section. |
Specifications
| Feature | Detail |
|---|---|
| Model Number | LWC204 |
| Display Type | Digital LCD |
| Power Source (Main Unit) | 3x AA Batteries (not included) |
| Power Source (Outdoor Sensor) | 2x AAA Batteries (not included) |
| Indoor Temperature Range | 32°F to 122°F (0°C to 50°C) |
| Outdoor Temperature Range | -58°F to 158°F (-50°C to 70°C) |
| Wireless Range | Up to 330 feet (100 meters) in open air |
| Time Format | 12/24 Hour selectable |
| Dimensions (Main Unit) | 7.48" W x 8.66" H (approx.) |
| Mounting Options | Wall Mount or Tabletop (bracket included) |
Warranty and Support
LFF products are designed for reliability and performance. For specific warranty information, please refer to the warranty card included with your purchase or contact LFF customer support.
For technical assistance or further inquiries, please visit the official LFF website or contact their customer service department. Contact details are typically available on the product packaging or the brand's official online presence.


