
1. Introduction
This manual provides detailed instructions for the proper use, setup, operation, and maintenance of your ASHATA CS03 Portable DV Camera. Please read this manual thoroughly before using the device to ensure optimal performance and longevity. Keep this manual for future reference.
2. Product Features
The ASHATA CS03 Portable DV Camera is designed for capturing high-quality video and photos in various environments. Key features include:
- Full HD 1080P Recording: Capture clear and vibrant video with a premium lens, ensuring rich color and detail.
- Built-in Microphone: Record audio with HiFi sound quality, capturing a wide range of sounds to complement your video footage.
- WiFi Connectivity: Connect directly to your mobile phone via the built-in WiFi module to view live footage and manage recordings.
- USB Charging & Long Battery Life: Equipped with a high-capacity lithium-ion battery for extended standby time. Supports USB charging, allowing recording while charging.
- Water and Dust Resistance: Designed to withstand splashes and dust, expanding its usability in outdoor conditions.

Figure 2.1: ASHATA CS03 Portable DV Camera with mounting accessories.
3. Package Contents
Please verify that all items are present in your package:
- ASHATA CS03 Portable DV Camera
- Mounting Bracket
- Mounting Base
- USB Charging Cable
- User Manual (this document)
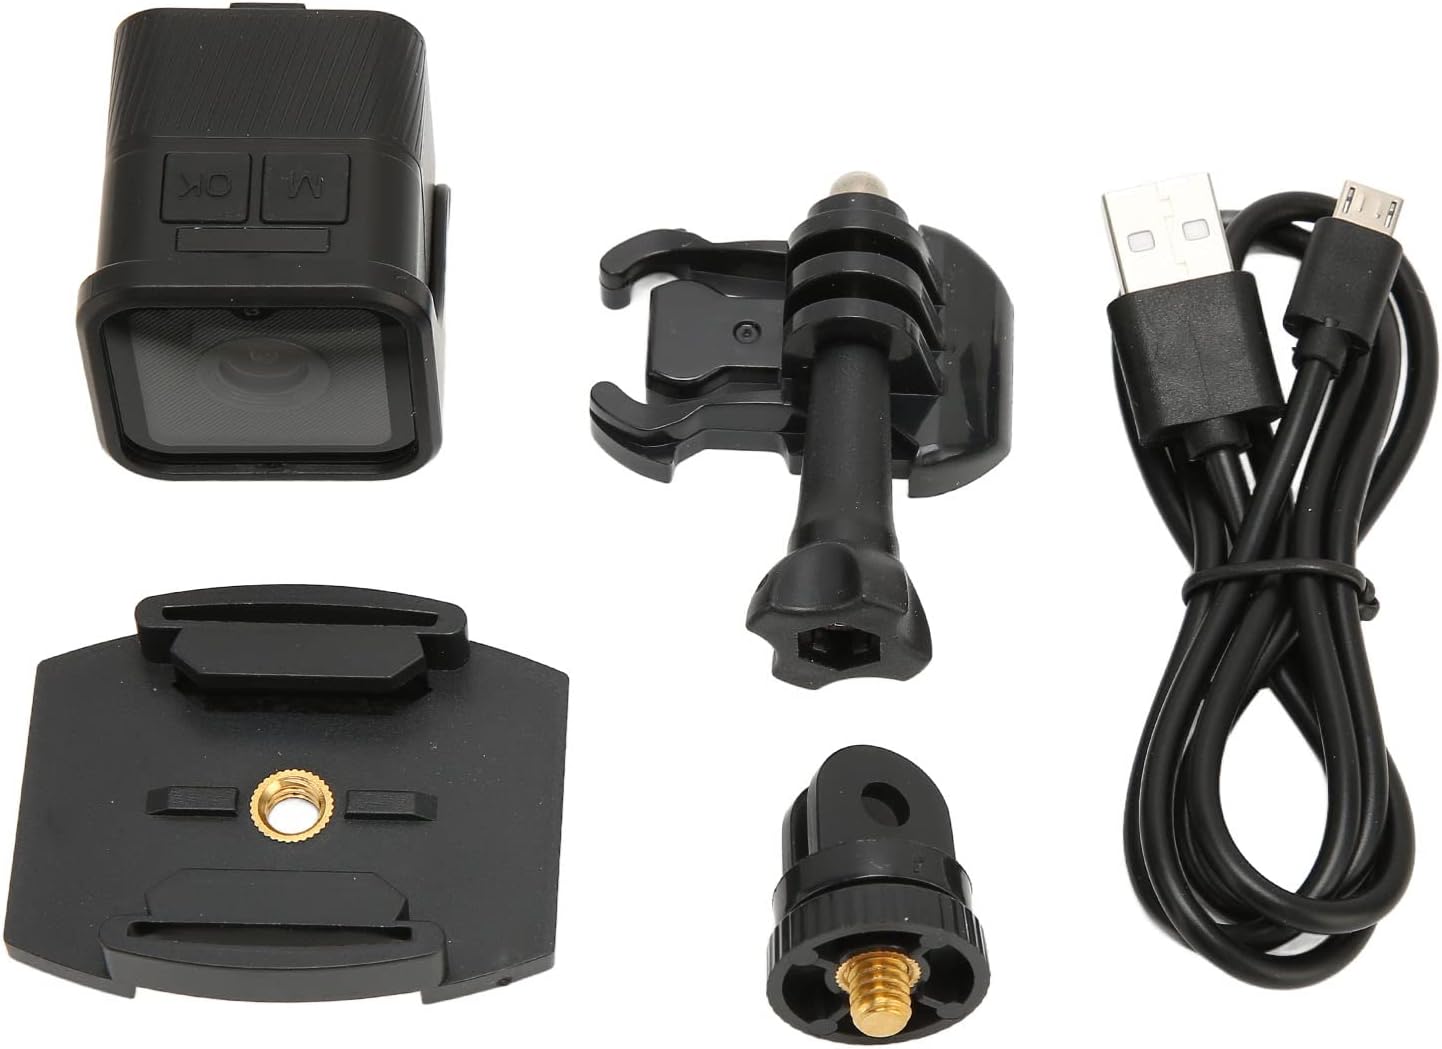
Figure 3.1: Included components in the ASHATA CS03 package.
4. Setup
4.1. Charging the Battery
Before first use, fully charge the camera's internal lithium-ion battery. Connect the camera to a USB power source (e.g., computer USB port, USB wall adapter) using the provided USB charging cable. The charging indicator light will illuminate during charging and turn off when fully charged.

Figure 4.1: The camera features a built-in high-capacity lithium-ion battery for extended use.
4.2. Inserting a Memory Card
The camera requires a MicroSD card (not included) for storing recordings. Locate the MicroSD card slot on the camera. Gently insert the MicroSD card with the contacts facing down until it clicks into place. To remove, press the card gently until it springs out.
4.3. Mounting the Camera
Attach the camera to the desired surface using the included mounting bracket and base. Ensure the camera is securely fastened to prevent accidental detachment during use.
5. Operation
5.1. Power On/Off
- To Power On: Press and hold the Power button for approximately 3 seconds until the indicator light illuminates.
- To Power Off: Press and hold the Power button for approximately 3 seconds until the indicator light turns off.
5.2. Video Recording
- With the camera powered on, press the Record button once to start video recording. The indicator light will flash to indicate recording is in progress.
- Press the Record button again to stop recording. The indicator light will stop flashing.
5.3. Photo Capture
- Ensure the camera is in photo mode (refer to the mode switch button, if available, or consult the quick start guide for specific model instructions).
- Press the Shutter button once to take a photo.
5.4. WiFi Connection and Smartphone App
The camera features a built-in WiFi hotspot for direct connection to your smartphone. This allows for live viewing, remote control, and file management via a dedicated app.
- Download the compatible smartphone application (refer to the packaging or quick start guide for app name/QR code).
- Power on the camera.
- Activate the camera's WiFi mode (usually by pressing a dedicated WiFi button or a combination of buttons). The WiFi indicator light will flash.
- On your smartphone, go to WiFi settings and connect to the camera's WiFi network (SSID and password typically found on the camera or in the quick start guide).
- Open the smartphone app to access camera functions.

Figure 5.1: Wireless connection to a smartphone for live viewing and control.
5.5. File Access and Transfer
To access recorded videos and photos:
- Via Smartphone App: Connect the camera to your smartphone via WiFi and use the app to browse, download, or delete files.
- Via USB Connection: Connect the camera to a computer using the USB cable. The camera will appear as a removable disk, allowing you to copy files directly.
- Via MicroSD Card Reader: Remove the MicroSD card from the camera and insert it into a card reader connected to a computer.
6. Maintenance
6.1. Cleaning
- Lens: Use a soft, lint-free cloth specifically designed for camera lenses. Avoid harsh chemicals.
- Body: Wipe the camera body with a soft, damp cloth. Do not use abrasive cleaners or solvents.
6.2. Storage
Store the camera in a cool, dry place away from direct sunlight and extreme temperatures. If storing for extended periods, ensure the battery is partially charged (around 50%) to maintain battery health.
6.3. Water Resistance
The ASHATA CS03 camera is designed with