
ECONTROLLY V5
ECONTROLLY Replacement Remote Control User Manual
For Mini Projector V5, V6, V7, T5, T6, TOUMEI, COCAR T Series
1. Introduction
This user manual provides essential information for the proper setup, operation, and maintenance of your ECONTROLLY Replacement Remote Control. This remote is designed to be compatible with various Mini Projector models, including V5, V6, V7, T5, T6, TOUMEI, and COCAR T series projectors. It requires no programming and is ready for use upon battery installation.
2. Product Overview
The ECONTROLLY replacement remote control is an infrared (IR) remote designed for ease of use. It features an ergonomic design for comfortable handling and provides direct access to common projector functions.

Figure 2.1: Front view of the remote control, highlighting its button layout.
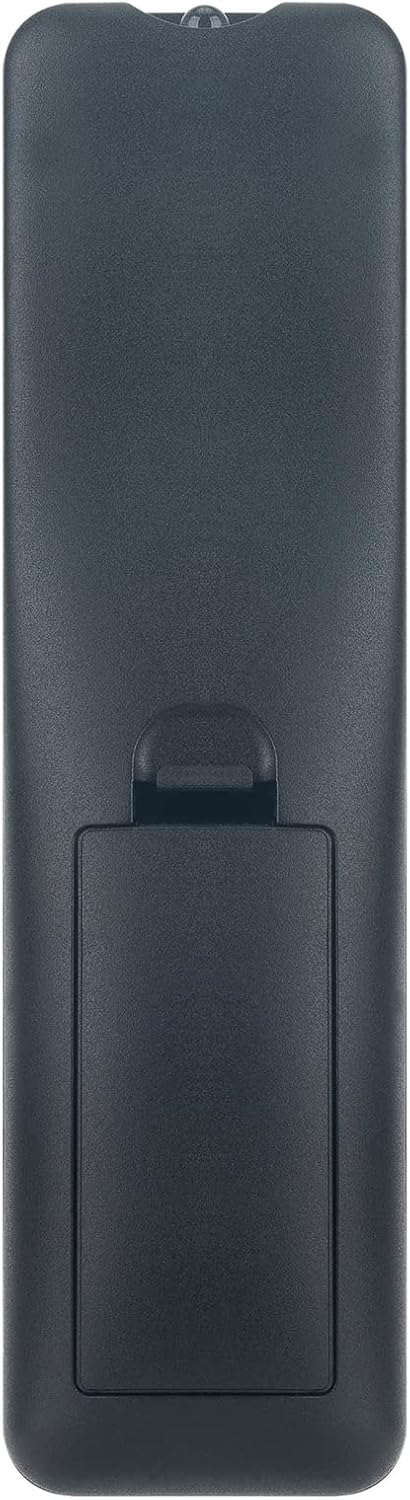
Figure 2.2: Back view of the remote control, illustrating the battery compartment.
3. Setup
3.1 Battery Installation
The remote control requires two (2) AAA batteries (not included) for operation. Follow these steps to install the batteries:
- Locate the battery compartment on the back of the remote control (refer to Figure 2.2).
- Press down on the tab and slide the battery compartment cover downwards to open it.
- Insert two new AAA alkaline batteries, ensuring the positive (+) and negative (-) terminals align correctly with the markings inside the compartment.
- Slide the battery compartment cover back into place until it clicks securely.
Once batteries are installed, the remote is ready for use with your compatible projector.
4. Operating Instructions
Point the remote control directly at the infrared receiver on your projector. Ensure there are no obstructions between the remote and the projector.
4.1 Button Functions
- Power Button (Red): Turns the projector on or off.
- 3D Button: Activates or deactivates 3D mode (if supported by projector).
- Mute Button: Mutes or unmutes the projector's audio.
- F+ / F- Buttons: Adjusts focus (F+ for sharper, F- for softer).
- Navigation Pad (Up, Down, Left, Right): Navigates through menus and options.
- OK Button: Confirms selections or enters menus.
- Back/Return Button: Returns to the previous screen or menu.
- Home Button: Returns to the projector's main home screen.
- Menu Button: Opens the projector's main menu or options.
- Volume Down (-) / Volume Up (+) Buttons: Adjusts the audio volume.
- Settings/Gear Button: Accesses projector settings or quick settings menu.
5. Maintenance
5.1 Cleaning
To clean the remote control, use a soft, dry cloth. Do not use abrasive cleaners, waxes, or solvents. Avoid getting moisture into any openings.
5.2 Battery Replacement
Replace batteries when the remote control's response becomes sluggish or stops working. Always replace both batteries at the same time with new AAA alkaline batteries. Do not mix old and new batteries, or different types of batteries.
Dispose of used batteries according to local regulations.
6. Troubleshooting
- Remote not responding:
- Ensure the remote is pointed directly at the projector's IR receiver.
- Check if there are any obstructions between the remote and the projector.
- Replace the batteries with new AAA alkaline batteries.
- Verify that the projector is powered on.
- Limited range:
- Ensure batteries are fresh.
- Reduce the distance between the remote and the projector.
- Remove any potential sources of interference.
- Specific button not working:
- Check if the button is physically stuck.
- Ensure the projector model fully supports all functions of this replacement remote.
7. Specifications
| Feature | Detail |
|---|---|
| Product Dimensions | 7 x 2 x 0.65 inches |
| Item Weight | 3 ounces |
| Compatible Devices | Mini Projector V5, V6, V7, T5, T6, TOUMEI, COCAR T Series |
| Connectivity Technology | Infrared (IR) |
| Batteries Required | 2 x AAA batteries (not included) |
| Model Number | V5 |
| Brand | ECONTROLLY |
8. Warranty and Support
Information regarding product warranty and customer support is not provided within this manual. For warranty claims or technical assistance, please refer to the product packaging or contact the seller/manufacturer directly through their official channels.
Ask a question about this manual
Ask about setup, troubleshooting, compatibility, parts, safety, or missing instructions. Manuals+ will review the question and use this page’s manual context to help answer it.