
1. Introduction
Thank you for choosing the EUGAD Wall-Mounted Bamboo Bathroom Mirror Cabinet. This manual provides essential information for the safe and efficient assembly, installation, and maintenance of your new cabinet. Please read these instructions carefully before beginning assembly and keep them for future reference.

Figure 1: The EUGAD Bamboo Bathroom Mirror Cabinet, showcasing its storage capabilities with various items.
2. Safety Information
- Always assemble the cabinet on a clean, soft surface to prevent scratches.
- Ensure all parts are present and undamaged before assembly. Do not proceed if any parts are missing or broken.
- Use appropriate tools for assembly. Do not overtighten screws to avoid damaging the bamboo material.
- For wall mounting, ensure the wall material is suitable for supporting the cabinet's weight (10 kg) plus contents. Use appropriate wall anchors and screws for your wall type.
- It is recommended that two people assemble and install the cabinet for safety.
- Keep small parts and packaging materials away from children to prevent choking hazards.
3. Package Contents
Please verify that all components listed below are included in your package:
| Part | Description | Quantity |
|---|---|---|
| A | Main Cabinet Frame | 1 |
| B | Mirror Door | 1 |
| C | Adjustable Shelves | 3 |
| D | Side Shelves (Fixed) | 6 |
| E | Hardware Pack (Screws, Wall Anchors, Hinges, Handle) | 1 set |
4. Assembly Instructions
Follow these steps carefully for assembly. Refer to the included diagram for visual guidance.
4.1. Prepare the Cabinet Frame
- Unpack all components and lay them out on a soft, flat surface.
- Attach the side panels to the top and bottom panels of the main cabinet frame (Part A) using the provided screws from the Hardware Pack (Part E). Ensure all connections are secure.
4.2. Install Fixed Side Shelves
- Insert the fixed side shelves (Part D) into their designated slots on the cabinet frame. These shelves are typically pre-fitted or slide into fixed grooves.
4.3. Attach Mirror Door
- Attach the hinges from the Hardware Pack (Part E) to the Mirror Door (Part B) and the main cabinet frame (Part A).
- Carefully align the mirror door with the cabinet and secure the hinges. Ensure the door opens and closes smoothly.
- Install the metal handle onto the mirror door.

Figure 2: Detailed view of the cabinet's features, including the magnetic latch for secure closure, the metal handle, and the adjustable shelf mechanism.
4.4. Insert Adjustable Shelves
- Place the adjustable shelves (Part C) into the central compartment behind the mirror door. You can adjust their height by selecting different pre-drilled holes.
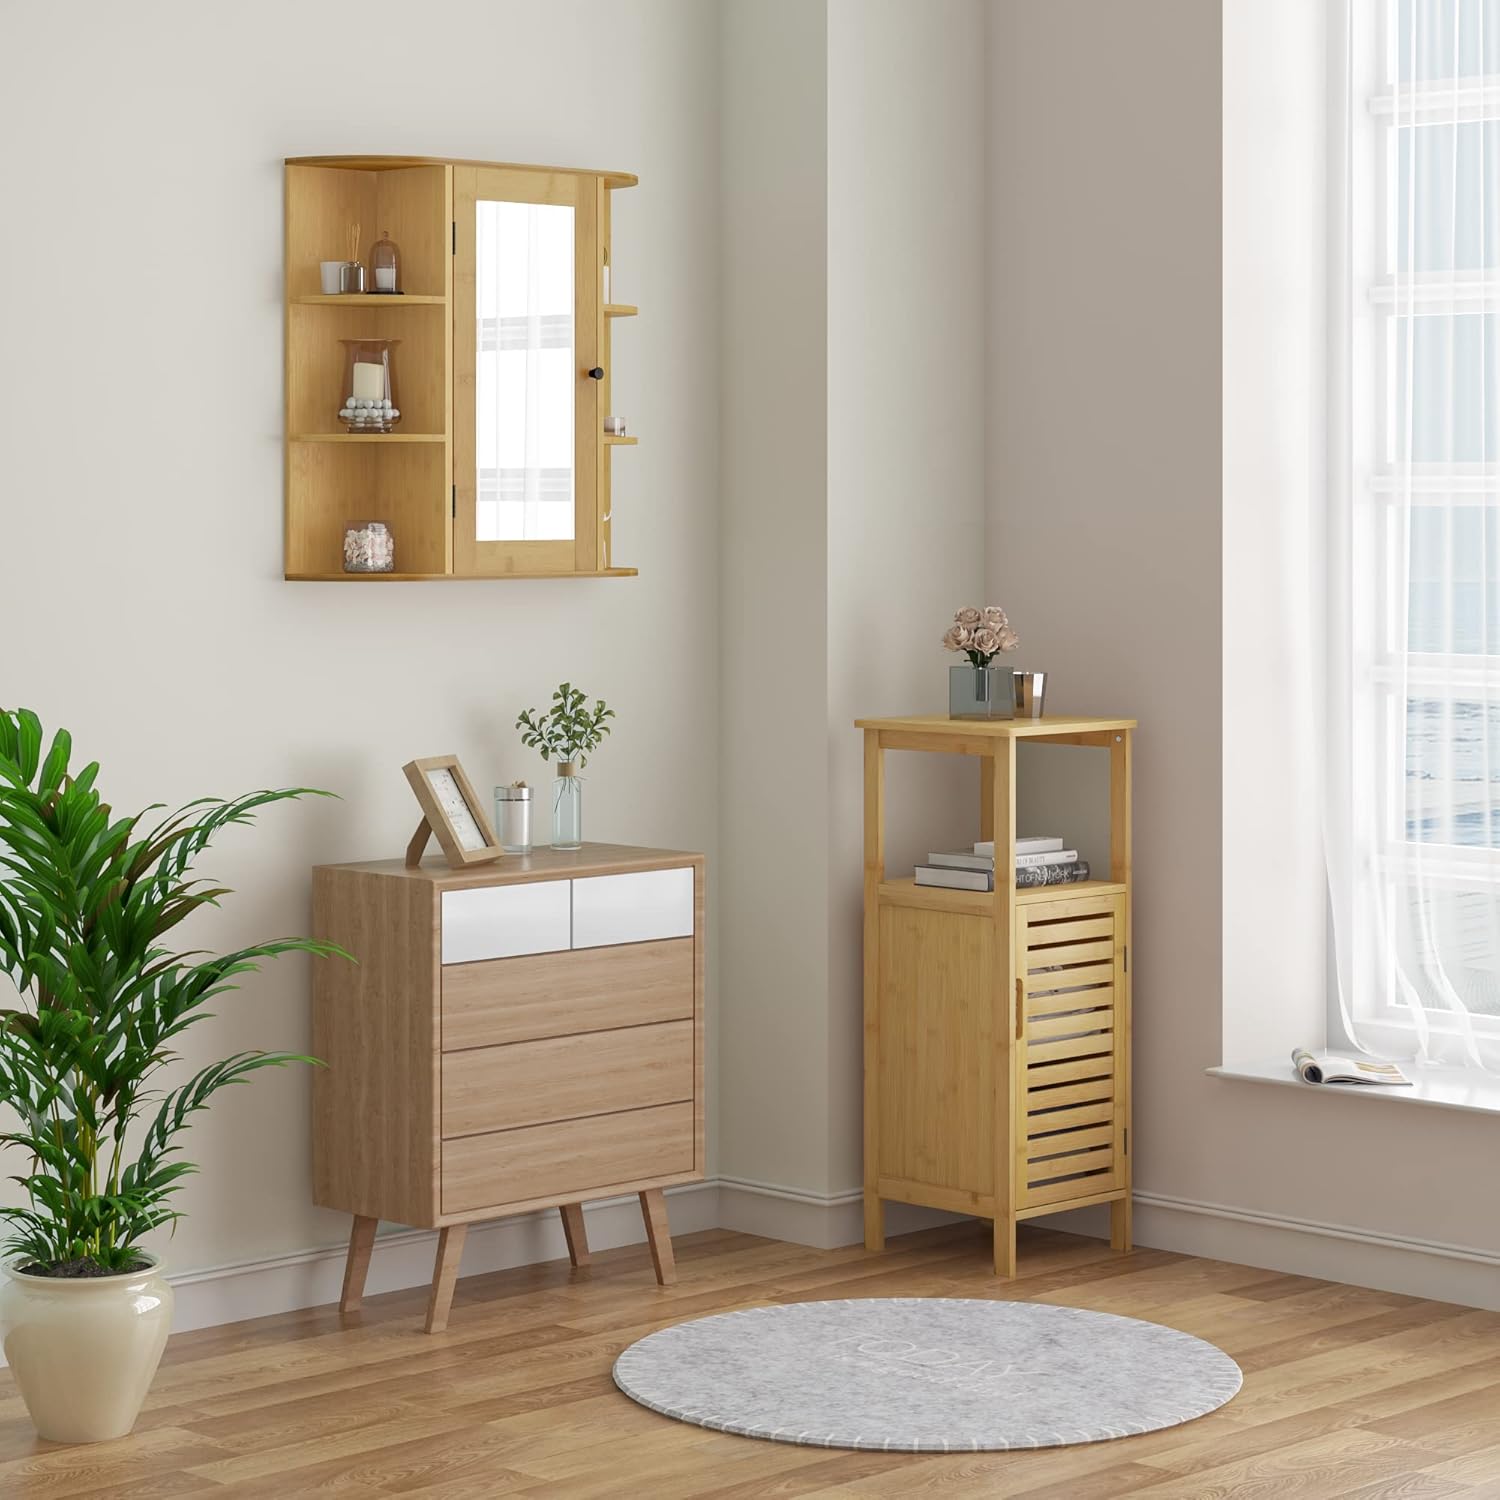
Figure 3: Illustration demonstrating the 3cm height adjustment capability of the internal shelves, allowing for flexible storage configurations.

Figure 4: The cabinet with its adjustable shelves removed, illustrating how this feature can expand the storage space for taller items.
5. Setup and Installation
This cabinet is designed for wall mounting. Proper installation is crucial for safety and stability.
5.1. Choosing a Location
- Select a wall location that is structurally sound and can support the cabinet's weight (10 kg) and its contents.
- Avoid installing near heat sources or in areas with excessive humidity.
5.2. Wall Mounting
- Measure and mark the desired mounting height on the wall.
- Using the cabinet's pre-drilled mounting holes as a template, mark the drill points on the wall.
- Drill holes at the marked points using an appropriate drill bit for your wall type.
- Insert the wall anchors (from Hardware Pack E) into the drilled holes.
- Align the cabinet with the wall anchors and secure it using the provided screws. Ensure the cabinet is level and firmly attached to the wall.
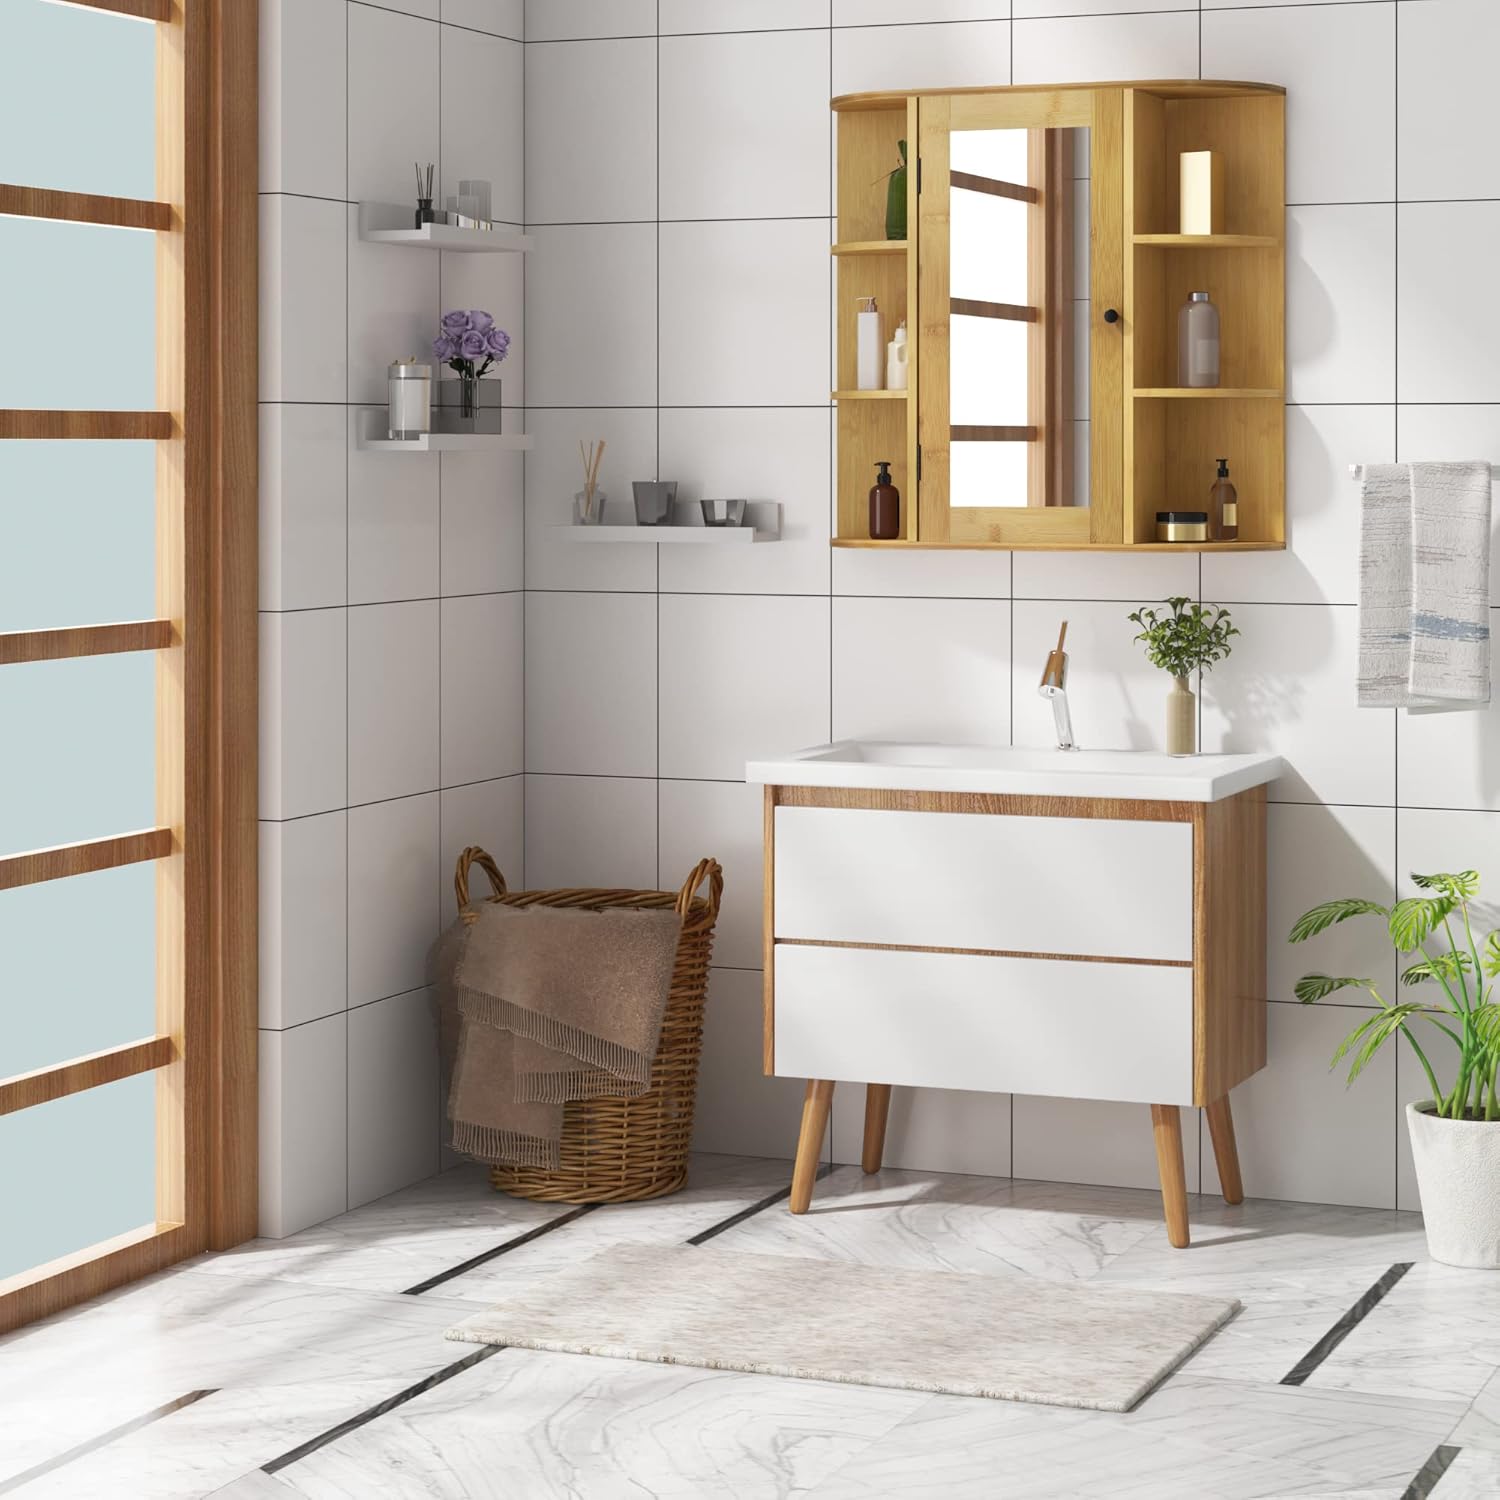
Figure 5: The cabinet seamlessly integrated into a modern bathroom setting, demonstrating its wall-mounted installation.

Figure 6: The cabinet's practical application in a bathroom, emphasizing its ample storage, versatile design, stable construction, and straightforward assembly process.
6. Operating Instructions
6.1. Using the Mirror
The integrated mirror on the door provides a convenient surface for daily grooming and checking your appearance.
6.2. Adjusting Shelves
The three internal shelves can be adjusted to different heights to accommodate items of various sizes. To adjust, simply lift the shelf, reposition the support pins into the desired holes, and lower the shelf onto the pins. Each adjustment point allows for a 3 cm change in height.
6.3. Storage Capacity
- The open side compartments are ideal for frequently used items.
- The compartments behind the mirror door are suitable for personal items or those used less frequently, helping to keep your space tidy.
- Maximum load capacity for each side shelf: 5 kg.
- Maximum load capacity for each inner adjustable shelf: 10 kg.
7. Maintenance
To ensure the longevity and appearance of your EUGAD cabinet, follow these maintenance guidelines:
- Cleaning: Wipe the cabinet surfaces with a soft, damp cloth. For stubborn marks, use a mild soap solution and then dry thoroughly. Avoid abrasive cleaners or harsh chemicals, as they can damage the bamboo and paint finish.
- Mirror Care: Clean the mirror with a standard glass cleaner and a lint-free cloth.
- Moisture: Although the cabinet is moisture-resistant, avoid prolonged exposure to excessive water or humidity. Wipe up any spills immediately.
- Inspection: Periodically check all screws and connections to ensure they remain tight. Retighten if necessary.
8. Troubleshooting
If you encounter any issues with your cabinet, refer to the following common problems and solutions:
| Problem | Possible Cause | Solution |
|---|---|---|
| Cabinet feels wobbly after installation. | Screws are not fully tightened or incorrect wall anchors used. | Ensure all mounting screws are securely tightened. Verify that appropriate wall anchors were used for your wall type. If necessary, consult a professional. |
| Mirror door does not close properly. | Hinges are misaligned or loose. | Check and adjust the hinges. Ensure all hinge screws are tight. |
| Shelves are difficult to adjust. | Shelf pins are not fully inserted or misaligned. | Ensure shelf pins are fully inserted into the desired holes and are level before placing the shelf. |
9. Specifications
| Feature | Detail |
|---|---|
| Brand | EUGAD |
| Product Dimensions (L x W x H) | 60 x 16 x 58 cm (23.6 x 6.3 x 22.8 inches) |
| Material | Bamboo |
| Item Weight | 10 Kilograms (22 lbs) |
| Mounting Type | Wall Mount |
| Room Type | Bathroom |
| Shape | Rectangular |
| Number of Pieces | 1 |
| Assembly Required | Yes |
| Max Load (Side Shelf) | 5 kg (11 lbs) |
| Max Load (Inner Shelf) | 10 kg (22 lbs) |

Figure 7: Detailed dimensions of the cabinet and its components, along with specified weight capacities for different sections.
10. Warranty and Support
For any questions, missing parts, or issues not covered in this manual, please contact EUGAD customer support. Please have your product model number (B0BJ98FH39) ready when contacting support.
While specific warranty details are not provided in this document, EUGAD is committed to customer satisfaction. Please refer to your purchase documentation or the retailer's website for warranty information.
Thank you for choosing EUGAD.
